Margarita Recipe

Posted on
Follow Me on PinterestPin It

Happy Cinco De Mayo!

I hope everyone is having a great Sunday. Enjoy a cucumber margarita or if you prefer a regular one try this margarita recipe, it’s for an individual drink:

Ingredients:

  • 2oz tequila
  • 2oz simple syrup, the recipe for this can be found on my cucumber margarita page
  • 2oz lime juice
  • ice
  • lime wedge for garnish

Frozen:

1. Combine all ingredients plus around 4 ice cubes and blend.

2. Pour into salted rim cup and garnish with lime wedge

On the rocks:

1. Pour all ingredients over 3 ice cubes in a salted rim glass

2. Stir to mixture

3. Enjoy!


Oven Baked Salmon Recipe

Posted on
Follow Me on PinterestPin It

As a kid I use to hate all types of fish. I’m still not a huge fan of it but I do like oven baked salmon. Here’s how I do it:

Ingredients:

  • salmon fillet
  • olive oil
  • lemon juice
  • salt and pepper
  • dill

Directions:

1. Pre-heat the oven to 450°

2. Lightly coat the bottom of the baking dish in olive oil, I like to use my Misto

3. Place the salmon in the dish, scale side down

4. Squirt a couple of lemon wedges or pour a couple of tablespoons of lemon juice over the salmon

5. Salt and pepper the salmon to taste

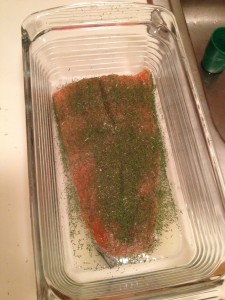
6. Put a heavy coating of dill on the salmon

oven baked salmon

7. Place in oven and bake for 9-15 minutes. You always want to make sure it’s cooked all the way, should flake easily, but at around 9 minutes it’s done and tastes more like fish but at around 13-15 minutes it’s more of a steak consistency for me which I prefer.

8. Enjoy!

– If using a convection oven, it will cook a little faster.

– If using a regular oven, the salmon should be baked on the top rack! Otherwise, it will take a lot longer to bake.


7 Layer Dip Recipe

Posted on
Follow Me on PinterestPin It

A party favorite of mine is 7 Layer Dip. Granted mine has eight layers, sometimes nine but 7 layer dip sounds better than nine layer dip to me.

Here is what is needed, but amount depends upon how big of a plate you’re putting it on.

  1. Refried Beans
  2. Guacamole 
  3. Sour Cream
  4. Salsa, I like to use mild
  5. Tomatoes, chopped
  6. Green Onions chopped
  7. Ground beef with taco seasoning (sometimes I omit this)
  8. Shredded Cheese, I prefer cheddar and more specifically a blend of mild and sharp cheddar
  9. Cilantro, chopped

On a plate spread and layer each ingredient in order as it is listed above. Serve with a bag of tortilla chips.

Enjoy!


breadcrumbs

How to Make Breadcrumbs

Posted on
Follow Me on PinterestPin It

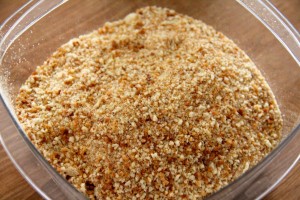
One thing I like to make is breadcrumbs. We have a bread machine, and I don’t always make bread I enjoy because I try out new recipes. One recipe I tried, the bread came out too dense for me. I like my bread light and fluffy. So I decided to make breadcrumbs out of it so it wasn’t a waste.

Need:

  • bread
  • cookie sheet
  • food processor
  • seasonings

Directions:

  1. Preheat the oven to 275°

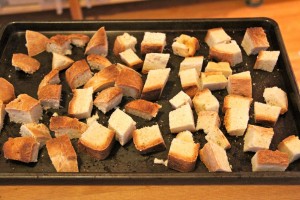
  2. cut the bread into 1-2 inch cubes

  3. place on a cookie sheet, I like to use one with a lip all the way around it to prevent cubes accidentally sliding off of the sheetbreadcrumbs

  4. place in the oven for about 20 minutes, the goal is to dry out the bread

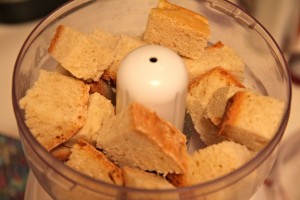
  5. after the bread is dried out, place the cubes into the food processor in small batches. This will be very loud!makecrumbs

  6. Season and use immediately or freeze. They’ll go bad quickly if you don’t freeze them. I try to use my breadcrumbs within a month.breadcrumbs

I sometimes add seasoning and sometimes don’t. I add italian seasonings to the breadcrumbs if I want to make chicken parm or something similar. If I want to make chicken bites or fried pickles I season the breadcrumbs with red and black pepper, cumin, salt and garlic.


cross stitch heart

Cross Stitch Heart Pattern

Posted on
Follow Me on PinterestPin It

Cross Stitch Heart

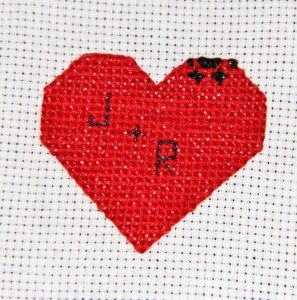
I was thinking about Valentine’s Day and realized I didn’t have a cross stitch heart pattern. I wanted it to be like something I use to draw in junior high, you know, the heart with my love’s and I’s initials in it. Then I thought about Rusty and how he is part of this family, so I put half a paw peeking out over the top of the heart.

cross stitch heart

Pattern


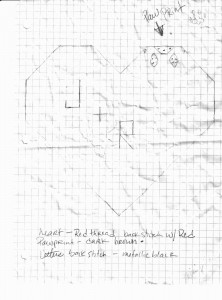
The pattern didn’t turn out the greatest when I scanned it because I pretty much beat it to death while I was completing the stitching, taking it everywhere with me. Next time I’ll scan it before I start the stitching. Lesson learned.


cross stitch heart

Stitching the paw print was a pain in my rear. Even though I had my pattern the squares are so tiny that it would have benefited me and the pattern to make it a bit bigger if I want to stitch this heart again.


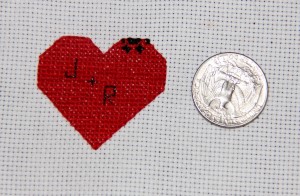
I really need graph paper with smaller squares so I can make bigger patterns. This tiny heart reminds me of a Pound Puppy patch! I don’t know what I’ll do with it now that the stitching is complete, maybe I will put it on a stuffed animal and then watch the Pound Puppies.


ready

Simple Biscuit Recipe

Posted on
Follow Me on PinterestPin It

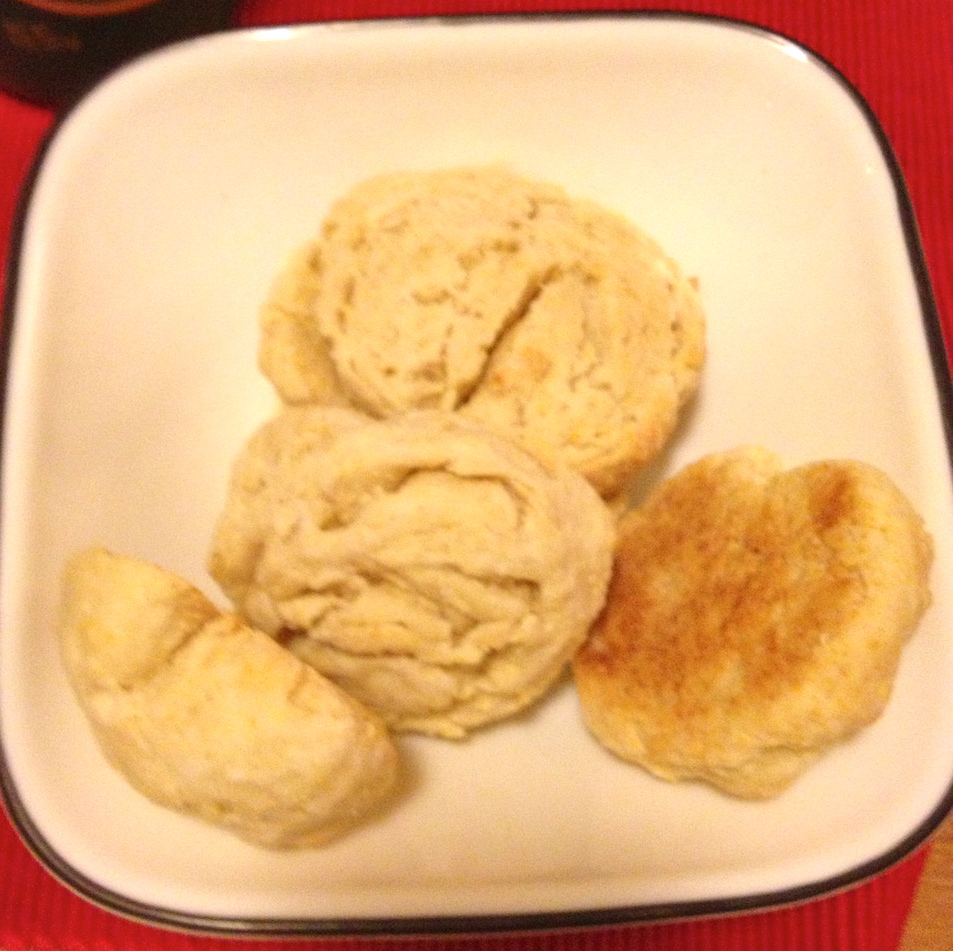
I have this biscuit recipe because my husband requires bread at all meals. He doesn’t always get it but he’d prefer to have it. Here is my simple biscuit recipe I sometimes make him because it is easy and simple to make and it doesn’t take all day to make.

Ingredients:

  • 2 cups all purpose flour
  • 1 1/2 tsp baking powder
  • 1/2 tsp salt
  • 5 Tbsp butter, cut into tiny pieces
  • 2-4 Tbsp honey, depending on how sweet you want them, I normally do 3
  • 3/4 cup milk, whole, buttermilk, 2% I’ve used all and prefer whole, they all change the taste a little bit

Directions:

  1. Preheat oven to 400° and line a cookie sheet with parchment paper
  2. In a medium bowl, combine flour, baking powder, salt and butter until it’s coarse
  3. In a small bowl, combine milk and honey
  4. Pour milk mixture into flour mixture and combine until all of the ingredients are no longer dry
  5. Put dough on a flour surface and kneed for a couple of minutes
  6. Roll dough into a log a couple of inches thick
  7. from log, cut 1.5-2 inch thick biscuits and place on cookie sheet

    biscuit recipe

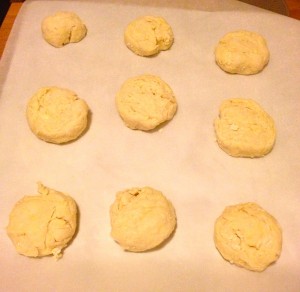
    cut and ready to be baked

  8. Bake for 10-12 minutes
  9. Enjoy!


biscuit recipe

yum!


tree skirt fabric

How to sew a quick Tree Skirt

Posted on
Follow Me on PinterestPin It

all finished!

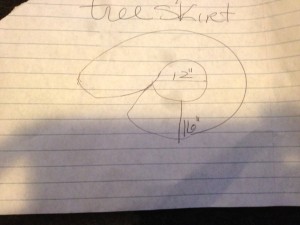
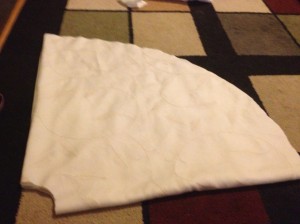
We have a Christmas tree at work and it was looking bare to me because it didn’t have a tree skirt. So, I decided to make one. Here is my very professional pattern that I drew at work.

tree skirt

my make shift pattern

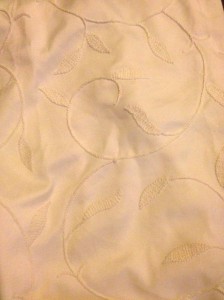
I have this fabric from curtains that I made and am no longer using. I thought it would make a beautiful tree skirt.

tree skirt fabric

fabric

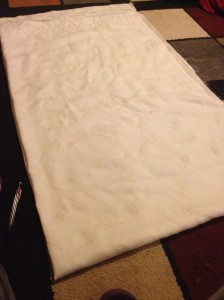
Since I had a long panel, I folded it in half and then in half again so it is folded into fours.

folded in half and half again

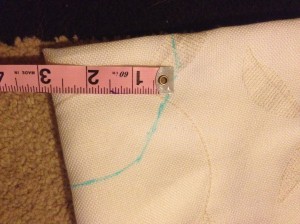
Next is time to measure. I divided the diameter in 4 because I folded it so it needs to be 3 inches from the point. I did the semi-circle by just measuring out 3 inches from the point in different spots on the fabric.

measure with a fabric marker

I did the same thing with the outer measurement but went with 22.5 inches instead of the 16 inches I originally wrote down on my professional pattern. The I cut along the lines I drew.

cut the along the lines

a few steps left

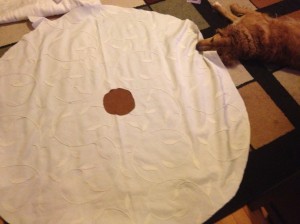
This is what is looks like unfolded and of course Rusty needed to help me out.

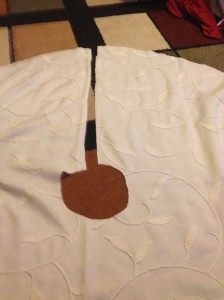
Next I cut a line down the fabric.

cut down to be able to wrap around the tree

The last, and time-consuming thing to do is finish it to hide the raw edges. This can be done in three ways.

  1. folding edge over and folding it again and hem to encase the raw edge
  2. add binding to the edges to encase the raw edge
  3. zigzag stitch around the edge to prevent fraying and then folding over and sew a hem

Although the first two options are probably the better options, I went with the zig zag stitch and press seam and sew a hem because the first two requires more time at the ironing board and pinning. I hate ironing so I went with the zig zag stitch.

all finished!

all finished!


rock climbing

Rock Climbing Cross Stitch

Posted on
Follow Me on PinterestPin It

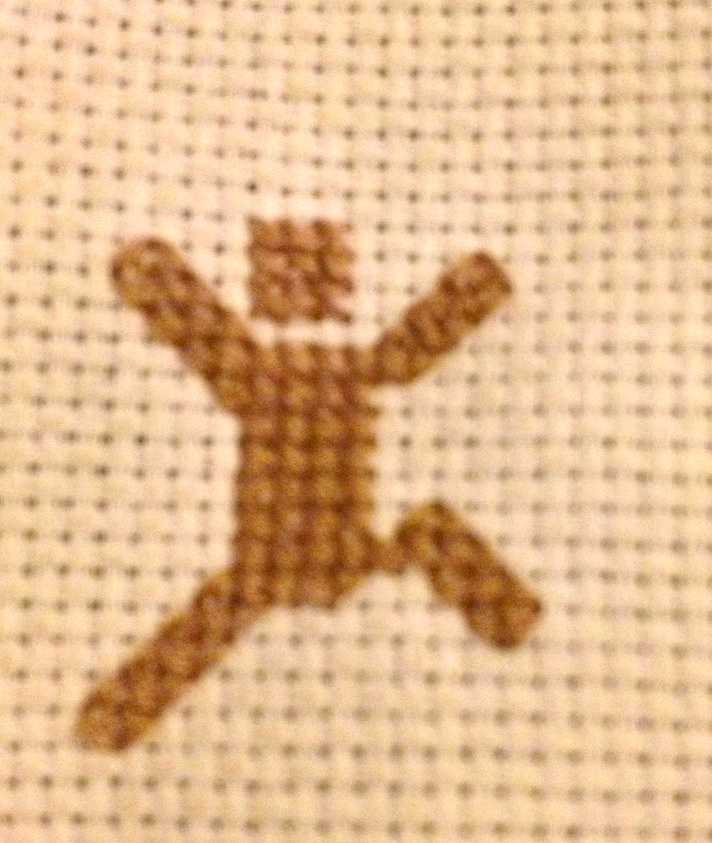
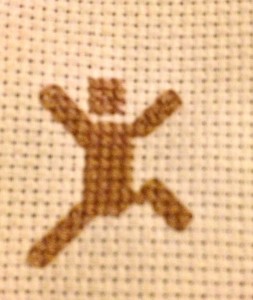
Over the weekend I cross stitched Joshua’s rock climbing ornament. I made a few adjustments to the rock climbing man/pattern. Here is my rock climbing cross stitch.

rock climbing cross stitch

naked rock climbing man?

I asked Joshua what color he wanted his rope and belt to be, and his response was “I want to rock climb naked” :/ So the little guy is naked and without equipment.  I guess that means he’s bouldering and not rock climbing.

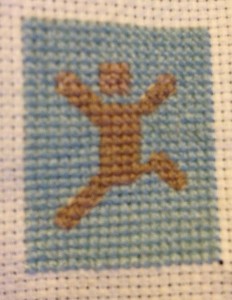
with background

background done

At this point it looks like a “It’s a Boy!” announcement to me.

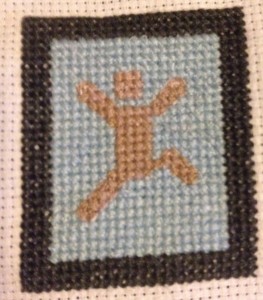
I put a border to help curb that look.

with border

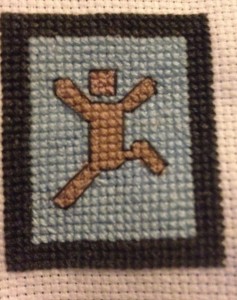
One last step, I backstitched around the rock climbing man the same color as the border.

rock climbing cross stitch

finished

Joshua’s guy is complete! Well, the stitching part anyways.


background complete

Paw Print, How to Cross Stitch

Posted on
Follow Me on PinterestPin It

After I drew my paw print pattern I got to stitching! Here’s how to cross stitch. First I’ll go a little backwards with photos of doing the cross stitch with a border I’m putting around it. But a starting note, remember, is that there is no knot at the end of the thread, you simply leave about an inch on the back side of the fabric.
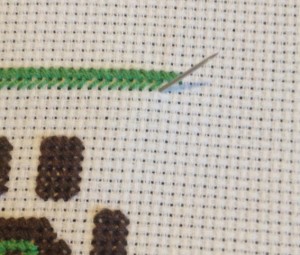
step 1

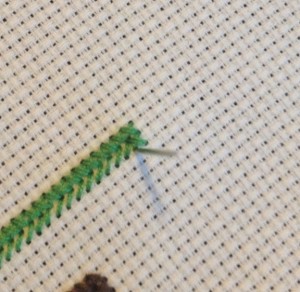
take the needle through to the front side of the canvas from the bottom hole
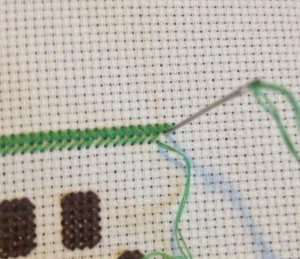
step 2

pull through and go to the next row over, up and to the right diagonally, pull needle all the way through to the back of the canvas
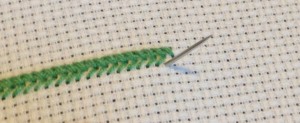
step 3

next go to the hole directly underneath the hole in the previous step and pull the needle through to the right side of the fabric
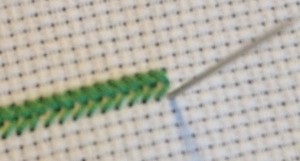
step 4

after you’ve done another diagonal stitch, go to the hole underneath the one previously used and pull needle through to the right side of the fabric
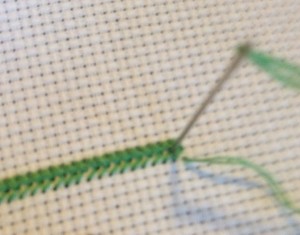
step 5

now go up and diagonal to the left

step 5

now go up and diagonal to the left

step 6

the first X is complete and now repeat
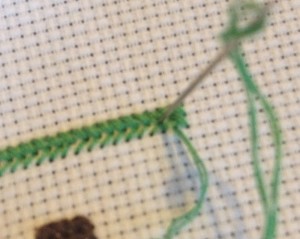
step 7

go diagonal again to complete the second X

In my pattern I have a lot of half squares which could be confusing. But really it either means a half of stitch, literally a half of a stitch where the needle goes through the center of the square making the diagonal half of it’s usual length.
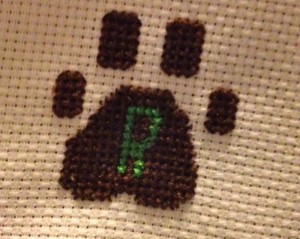
with green

Pattern Complete

This is the pattern complete! But I needed a way to finish it, make it actually look complete. So I decided to make a border around it.
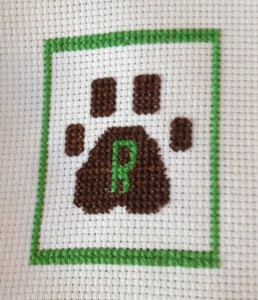
green

It still quite wasn’t what I hoped so I added another border.
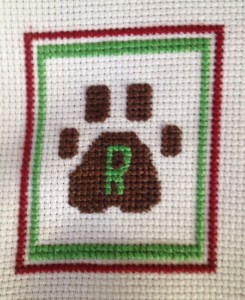
red and green

almost complete

That looks much better to me, so now I’m going to fill it in with a cream colored thread to leave no square unstitched.
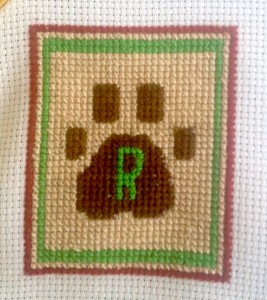
background complete

background is filled in

To finish the stitching part of this I decided to backstitch around the paw print to highlight it. This is easier, I think, than back stitching in sewing because it has the holes to put your needles in to make your stitches the same length and it is often used as a finishing stitch in cross stitch.
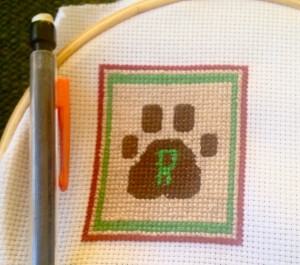
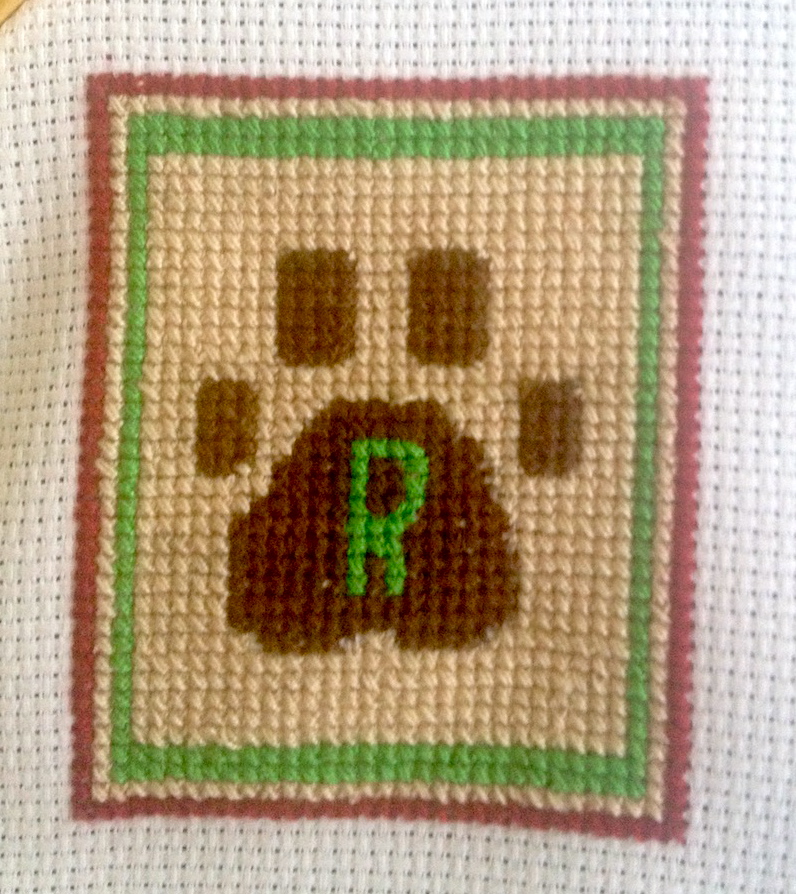
Stitching is Finished!

I put a pencil next to it to give a size reference. Now I need to figure out how to turn this into an ornament.


More Cross Stitch Patterns

Posted on
Follow Me on PinterestPin It

I’ve drawn more cross stitch patterns! I’ve gotten the pattern making bug! But thank goodness for pencils and erasers because I used them a lot! 🙂

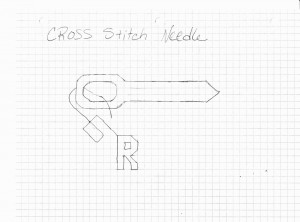
I made more patterns because I made Rusty a cross stitch pattern, which will be turned into an ornament that I decided my husband and I needed one too. Granted they are very basic, beginner cross stitch patterns, but they are my first group of patterns I’ve ever drawn. I can’t really draw that well to begin with but I wanted to try.

I have decided not to do a color legend for these because I wanted to keep my options open, as in, I wanted to make sure I had enough thread in my thread mess ball.

needle cross stitch pattern

my pattern

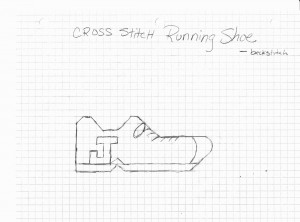
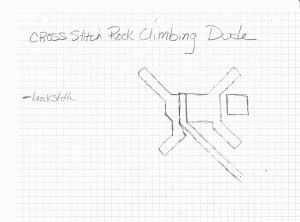
I couldn’t decide what to make for Joshua, my husband, so I sketched a couple of his hobbies and let him choose which one I made.

running shoe cross stitch pattern

running shoe

climber cross stitch pattern

mountain climber

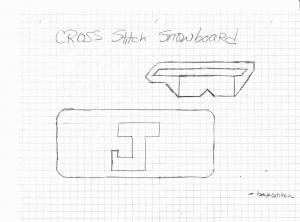
snowboard and goggles cross stitch pattern

snowboard and goggles

He picked the mountain climber so now I have two more ornaments to stitch and make into ornaments! Still deciding on whether or not to backstitch the year onto it.

Graph paper really is a girls best friend when trying to draw cross stitch patterns.