tortilla

Tortilla Recipe

Posted on
Follow Me on PinterestPin It

tortilla

I love soft shell tacos and love to make tacos at home. I decided I wanted to learn how to make tortillas. I’ve made these flour tortillas with two different types of flour, all-purpose and bread flour. Whichever flour I have the most of, that’s the one I use. All-purpose flour tends to be a little stiff but still good choice. Bread flour is chewier than all-purpose so it really depends on what you have on hand and what you prefer. My husband can barely tell the difference between the two so I don’t think it really matters.

Makes around 6 tortillas.

Ingredients:

  • 1½ cups of flour, bread or all-purpose
  • 1 Tbsp olive oil
  • 1 tsp garlic salt
  • ½ cup hot water

Directions:

  1. Pre-heat large skillet on medium heat.
  2. In a medium bowl, add all ingredients and stir until it becomes an elastic lump, about 5 minutes. If it’s too sticky, add some more flour. If it’s too dry, add some more water.
  3. Divide into 6 pieces and roll into balls.
  4. On a floured surface, place a ball and roll into a flat tortilla. *I can never get mine into circles. They’re always ovals or rectangles.
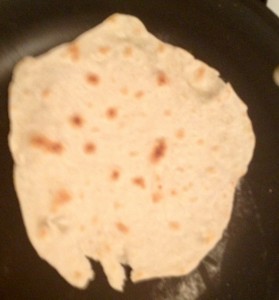
  5. Place tortilla onto preheated, non-greased, skillet. Cooking each side for about 5 minutes, until there are golden brown circles on it.
  6. Roll out another tortilla while one is cooking on the skillet. Repeat until all are cooked.
  7. Enjoy!

I like to make my tortillas before the rest of the meal, when I’m done making them I wrap them in tin foil so they stay warm while I’m making the rest of dinner. These can be refrigerated for a couple of days but are best when eaten on the same day.

yoga pants

Shortened Yoga Pants

Posted on
Follow Me on PinterestPin It

yoga pants

This always happens when I buy new pants. They’re too long and these new yoga pants are no exception. I was a little worried about altering them because my experience with stretch fabric is next to zero. There was that one time when I used lycra for Rusty’s lions mane. But these pants needed to be about three inches shorter if I was ever going to get any use out of them. And let’s face it, when I say use, I mean lounging around my apartment, not working out in a yoga studio.

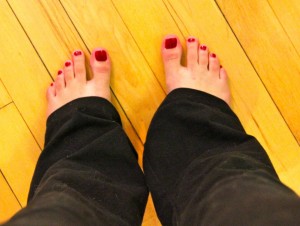
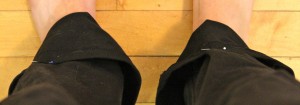
yoga pantsI folded and pinned the pants so they were the proper length while they were still on me. I changed and then measured the in-seam and the folded part to make sure that the lengths of each pant leg were even. Also, to see how much length, 3 inches, needed to be taken from each leg.

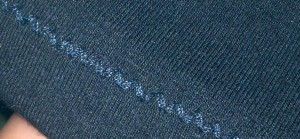
Next, I removed the pins and turned the pants inside out. I then carefully measured and cut 2 inches from each pant leg.

yoga pants

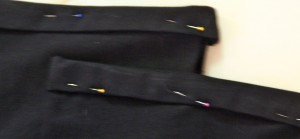
I then folded over ½ inch of fabric and pressed and then another ½ inch and pressed. Then I pinned the folds into place.

yoga pants

Rusty was not impressed by my cutting and ironing skills. I gave him a stretchy collar but he was even less impressed with that.

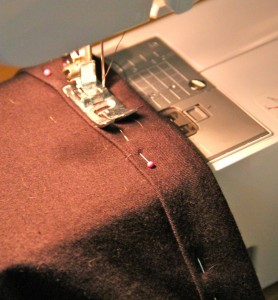
yoga pantsI placed my pins so they could be quickly and easily removed as I was sewing. I realized that although my machine can use a double needle, I don’t have two spools of thread in the same color. So that option was thrown out and instead I used a stretch stitch function my machine, a triple zig-zag stitch. I definitely had to pull out my user’s manual to make sure I was doing it correctly, very glad I kept it.

yoga pants

I stitched both legs using the edge of the folded fabric as my seam guide. I then pressed the seams.

yoga pants

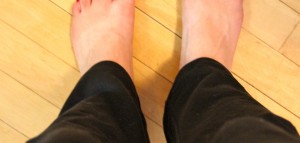
I have crazy flip-flop tan lines on my feet. :/

I turned the pants right side out, put them on, and enjoyed my shortened yoga pants by watching TV and cuddling with Rusty.


How to Add a New Ball of Yarn to a Project

Posted on
Follow Me on PinterestPin It

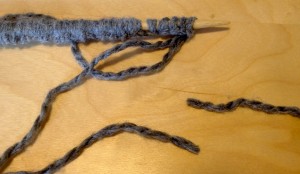
 I am starting a new knitting project. I cast on 80 stitches and then realized that the tail was way too long and decided to trim it. Only, I didn’t just trim the tail. I also cut the thread attached to the yarn ball. You know it is time for a nap when that happens.add a new ball of yarn

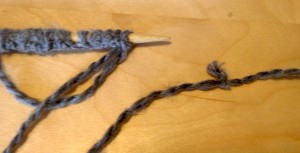
I freaked out a little bit thinking I was going to redo it and then I realized that I can just tie the ends together! Like I needed to add a new ball of yarn to a project. So that’s what I did. I tied a little knot and now I go back to my project and knit away.

add a new ball of yarn


hard boiled eggs

How to make Hard Boiled Eggs

Posted on
Follow Me on PinterestPin It

Every time I want to make hard boiled eggs I have to call my dad and ask how to do it. It really is a simple process but for some reason I can never remember how to do it. Well, I finally wrote it down and decided to share.

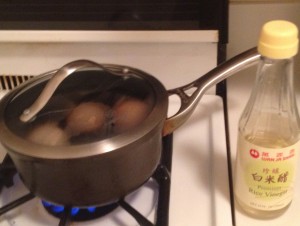
Get a sauce pan, with lid, large enough to put the eggs in a single at the bottom of the pan.

Put enough room temperature water in the pan to fully cover the eggs.

Place on stove and add a dash of salt and vinegar. I usually add rice vinegar but I’m not sure if it really matters what kind of vinegar you use.

Carefully place the eggs in the pan and put the lid on.

hard boiled eggs

Put the heat on medium and bring water to a rolling boil.

Turn the heat off and leave the eggs in the pan with the lid on for 15 minutes.

Remove lid and carefully remove eggs from pan with a slotted spoon.

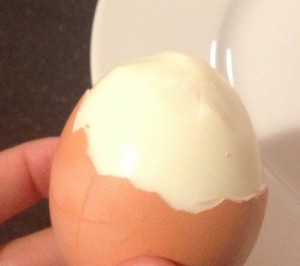
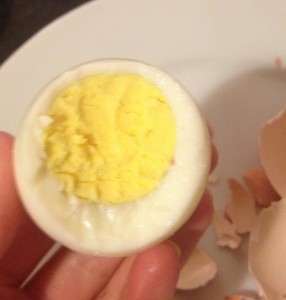
Let eggs cool down and then peel and enjoy!

hard boiled eggshard boiled egg