 Pin It
After I drew my paw print pattern I got to stitching! Here’s how to cross stitch. First I’ll go a little backwards with photos of doing the cross stitch with a border I’m putting around it. But a starting note, remember, is that there is no knot at the end of the thread, you simply leave about an inch on the back side of the fabric.
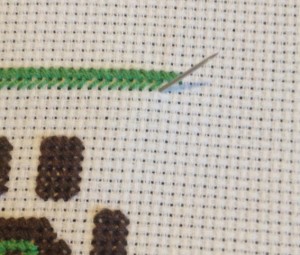
take the needle through to the front side of the canvas from the bottom hole
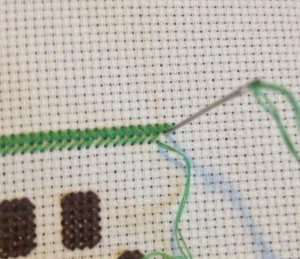
pull through and go to the next row over, up and to the right diagonally, pull needle all the way through to the back of the canvas
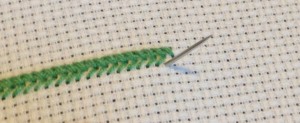
next go to the hole directly underneath the hole in the previous step and pull the needle through to the right side of the fabric
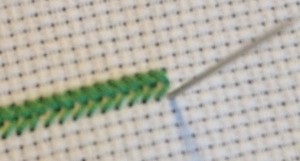
after you’ve done another diagonal stitch, go to the hole underneath the one previously used and pull needle through to the right side of the fabric
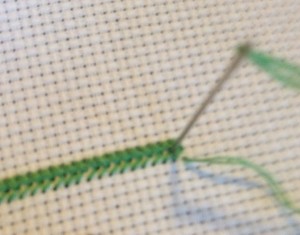
now go up and diagonal to the left

now go up and diagonal to the left
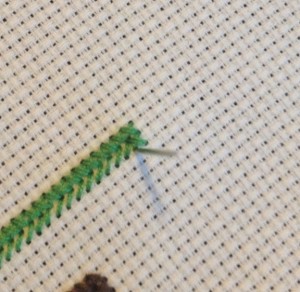
the first X is complete and now repeat
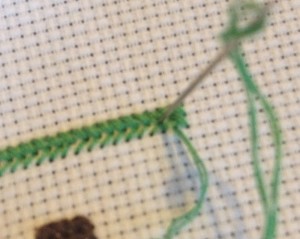
go diagonal again to complete the second X
In my pattern I have a lot of half squares which could be confusing. But really it either means a half of stitch, literally a half of a stitch where the needle goes through the center of the square making the diagonal half of it’s usual length.
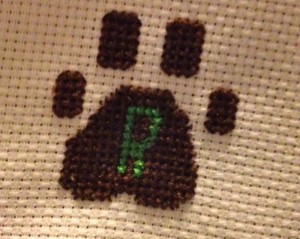
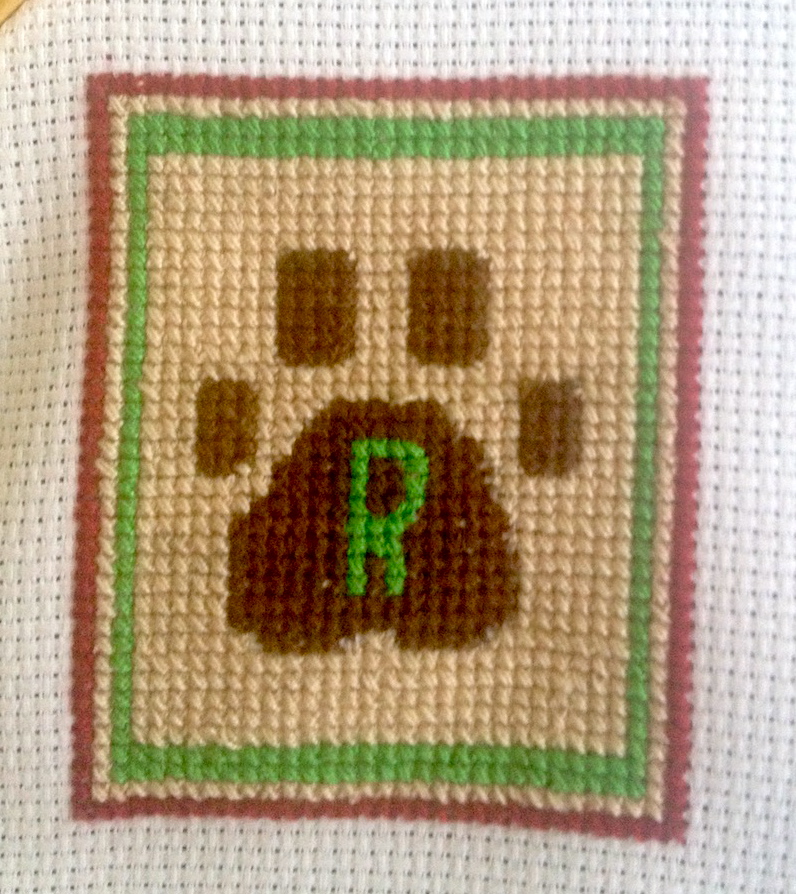
Pattern Complete
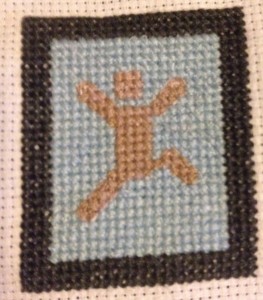
This is the pattern complete! But I needed a way to finish it, make it actually look complete. So I decided to make a border around it.
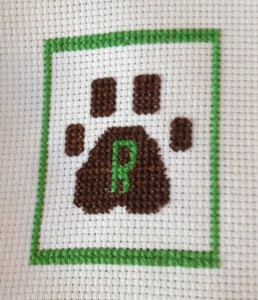
It still quite wasn’t what I hoped so I added another border.
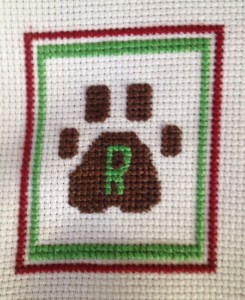
almost complete
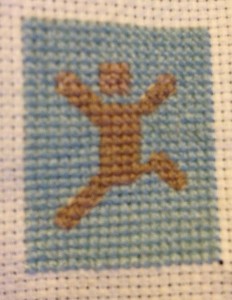
That looks much better to me, so now I’m going to fill it in with a cream colored thread to leave no square unstitched.
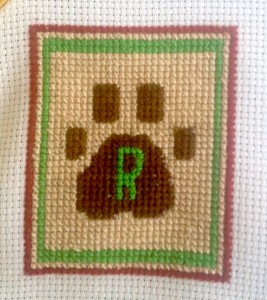
background is filled in
To finish the stitching part of this I decided to backstitch around the paw print to highlight it. This is easier, I think, than back stitching in sewing because it has the holes to put your needles in to make your stitches the same length and it is often used as a finishing stitch in cross stitch.
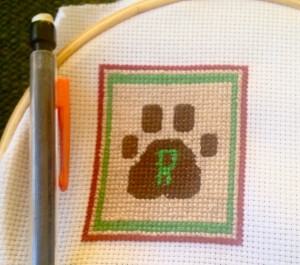
Stitching is Finished!
I put a pencil next to it to give a size reference. Now I need to figure out how to turn this into an ornament.
 Pin It