from the front

How to Make a Knit HeadBand

Posted on
Follow Me on PinterestPin It

I’m going to the Harvard vs. Yale football game this Saturday and realized I don’t have a lot of Crimson to support Harvard. I have plenty of orange and navy to support the Fighting Illini and Da Bears but not much else. I decided on a knit headband.

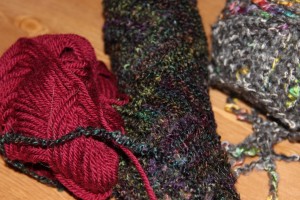
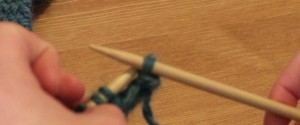
So I took the extra maroon yarn from my felted knit bag and counting the slip knot, cast on 7.

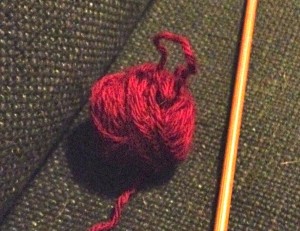
yarn

tiny yarn ball

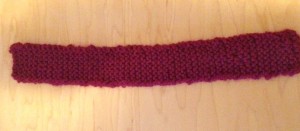
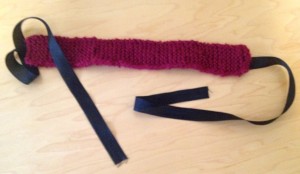
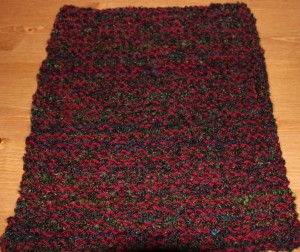
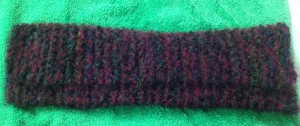
I went until I had little yarn left and finished it. It ended up being 11 3/4 inches long.

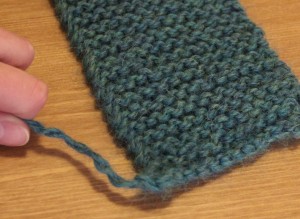
all knitted up

supplies

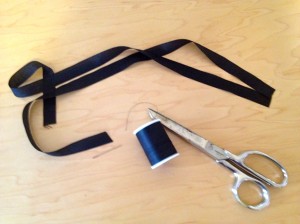
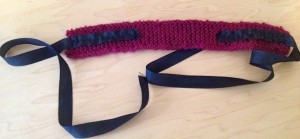
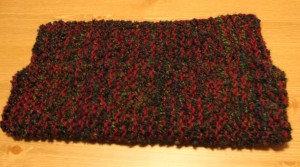
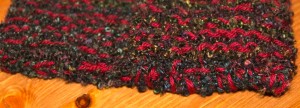
Then I got one yard of black ribbon a little bit smaller in width than the knitted piece, cut it in half and hand sewed it to the knitted piece. I used a running stitch  along the top, bottom and down the middle of the ribbon. I tried to make sure not to go over the knit stitches so the black stitches wouldn’t be seen. I also put the ribbon about four inches onto the knit piece to give the head band some strength.

The ends of the ribbon will fray so it’s best to fold over the end, to create a hem and sew to enclose the end of the ribbon.

front view

back view

I tried my best to get a good shot of me wearing it but apparently I am no good at it, and every straight on view, I looked a little cooky so maybe I’ll get some good pictures at the game!

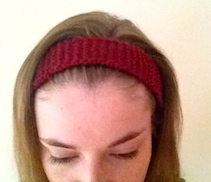
from the front

Now I have a nice unique headband to wear to the game and just a fun winter accessory!

  1. wool yarn, cast on 7 on size 6 needles
  2. knit stitch until about 12 inches long
  3. 2 pieces of 1/2 yard ribbon
  4. sew ribbon to knitted piece
  5. wear and look great!


lion mane costume

Lion Mane Dog Costume

Posted on
Follow Me on PinterestPin It

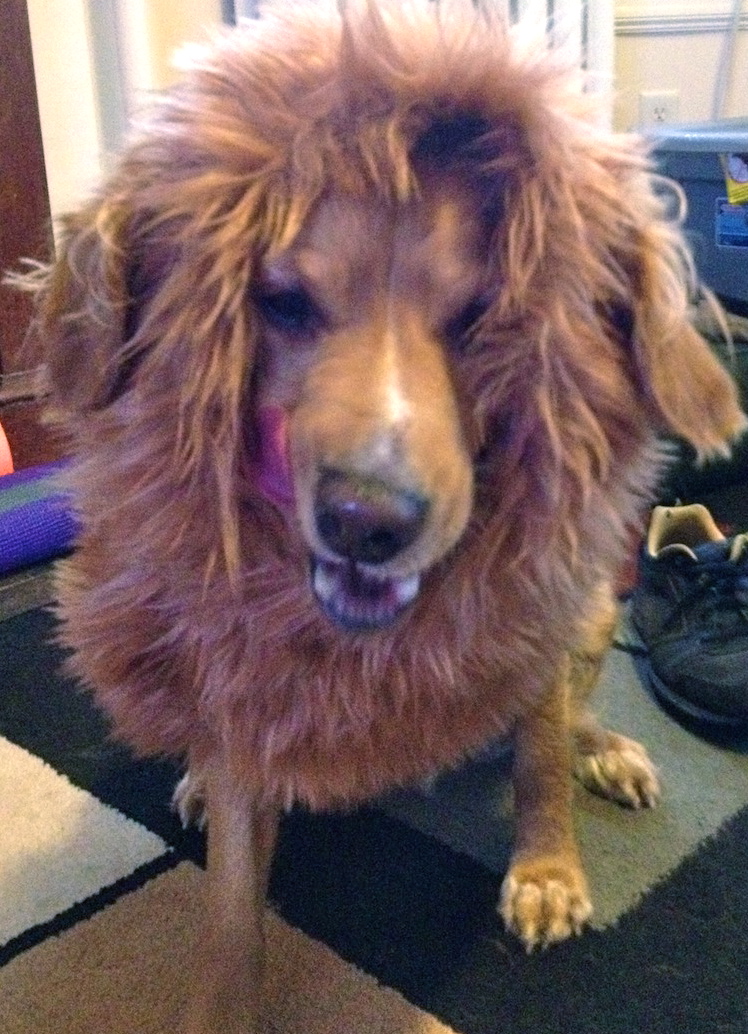
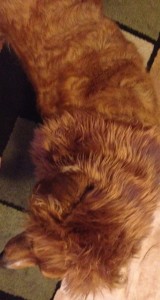
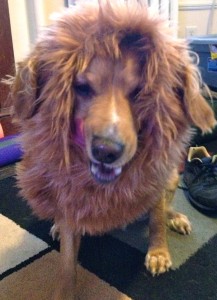
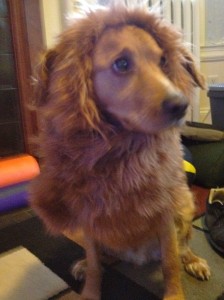
Happy Halloween! Yesterday I showed how I made Rusty’s lion mane dog costume. Here is the finished result!

top view

Top View

lion mane costume

Give me treat!

He is a very scary lion! Or an adorable one!

Ready for the day!

I love how his ears turned out in this costume!

Hope you all have a safe and fun Halloween!

Check out a second version of a lion mane dog costume here!


How to Make a Simple Braid

Posted on
Follow Me on PinterestPin It

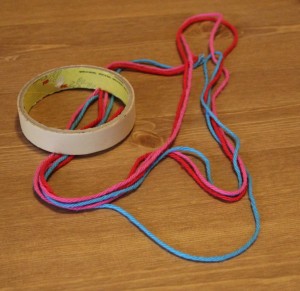
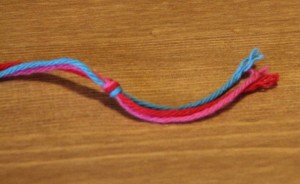
First I need supplies. Three pieces of thread or string at the desired length and then I usually add about four to sixes inches to my desired length because of the knot I need to tie at the ends of the braid.

Supplies for Braiding

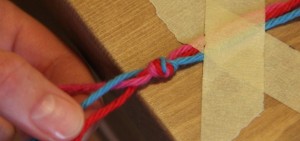
knot

Tie a Knot

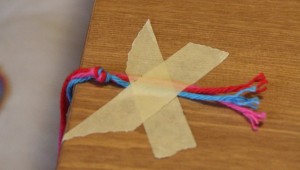
braid

Tape

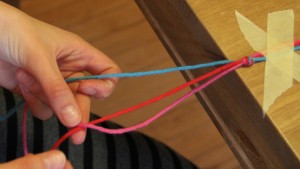
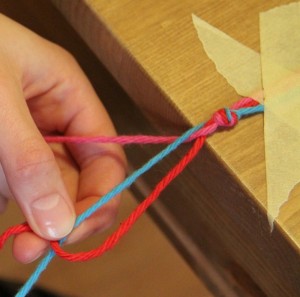
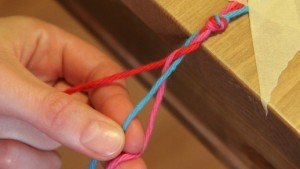
Now something I always think about when I’m braiding, is think of as the three strands are fighting to stay in the middle. The outside always wants to be in the middle.

colors

outside towards to the middle

So in the picture above the pink thread, outside right, is crossing over the center, red, thread.

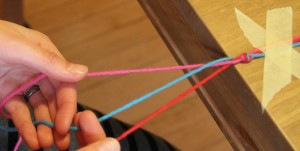
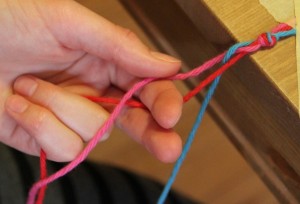
bring the other side to the middle

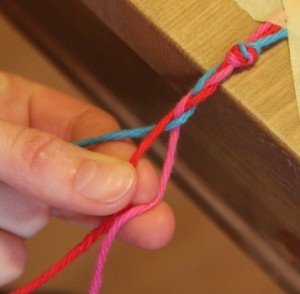
Now the pink is in the middle and I need to bring the blue, outside left, over the pink and into the middle.

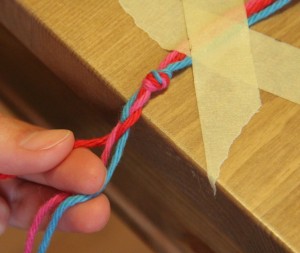
close up

close up of first braid

middle

to the middle again

Again, bring the outside right, now the red, over the blue to the middle.

again

pink to the middle

Now the blue is the outside right, the red is in the middle and the pink is outside left. Bring the pink over the red making the red now the outside left and the pink the middle thread.

close up of the braiding

If you’re yarn long thread, be careful and separate the threads after each passing because the ends can get tangled. Also try to keep the same tension as you braid so there’s an even pattern.

continue to braid

keep going

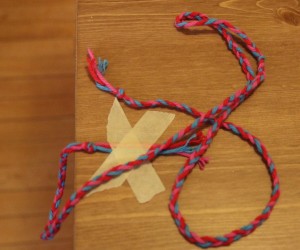
Continue all the way down until there is only about an inch or so left of thread, or until you can’t braid anymore. Then, I like to tie a knot to keep the braid from separating.

complete

braid complete!

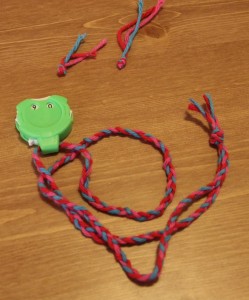
This is going to be the string for my stitch counter, so I carefully cut the knot off each end, as close to the knot as I possibly can, and carefully thread the stitch counter and then knot both ends together.

necklace

my stitch counter is ready

I’m now ready to use my new stitch counter necklace!


Felted Knit Envelope Bag

Posted on
Follow Me on PinterestPin It

My first project in the book I’m going to tackle is the felted knit envelope bag which actually the second project in the book because the first project is a scarf with a knit stitch and since I have completed two already I decided it was ok for me to skip that one. 🙂 Here are my yarn choices. They are in skeins, so I don’t need to hand wind them.

skeins

time to knit a bag

I was a little worried at first about combining two different yarns but it hasn’t been too big of a deal. It is a little difficult to see where the stitches are so I have employed the use of some awesome knitting tools. First one is a stitch/row counter. It helped me keep track of the number of stitches in each row. I think I will braid some yarn in order to make a necklace out of it. It even has a lock on it so I can stop wherever. Second is the use the purple knit stoppers. It’s great to place them on the needle points when I am finished knitting and I do not have to worry about the stitches falling off the needle.

I have skipped stitches a couple of times and with the fuzzy novelty yarn it was hard to tell at first, but you just carefully pull the yarn to where the skipped stitch is and place the stitches back on the needle, carefully, and start knitting again.

The bag is basically a giant rectangle and could be made into any size. It just depends on your intended use.  You fold and then whip stitch the edges to create the pocket which turns it into a bag. I’m using both threads to do the whipstitching. I’ll do a separate tutorial on the whip stitch because it is used in knitting, needlepoint and a hand stitch for finishing in sewing and at the beginning I had a bit of trouble making sure I was going through both layers to connect them. That’s probably because I was too busy watching television as I was finishing. :/

rectangle

knitted rectangle

fold

whip stitch close up

This is also a felted bag which really concerns me. Something about doing all of this work just to place it in the wash to shrink rubbed me the wrong way. How much will it shrink anyways? It’s currently about 15inches by 10inches. But here is how it turned out. :/

How to Felt:

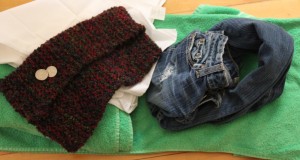
First I needed to get all of my materials, the bag, a zippered pillowcase, towels, jeans, and quarters for the washing machine.

felting supplies

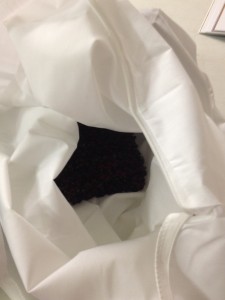
put knitted bag in zippered pillowcase

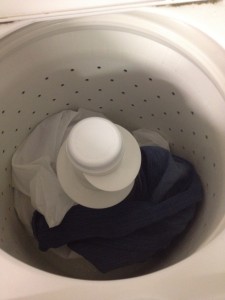
put pillowcase and jeans in the washer

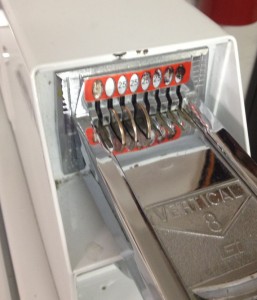
feed the machine

Place on small load, hot wash, and check after awhile, 10 minutes, to make sure it is felting and take it out when it has reached the size I want and also not let the cycle go into spin or rinse.  Now maybe the washer I chose in my building is old or maybe because it is a commercial machine or I picked the wrong wool yarn but I don’t think it looks like it’s suppose to..

finished?

So it was suppose to turn out to be a thick fabric where you can no longer see the stitches and shrink a little bit and it didn’t. So, maybe I’ll try the felting process again?

So felting fail, but no worries that’s why it’s good to practice.


Finishing Knitting, How to Bind Off

Posted on
Follow Me on PinterestPin It

I’m at the point in my scarf that it is time to finish it! So I need to bind off of my needles.

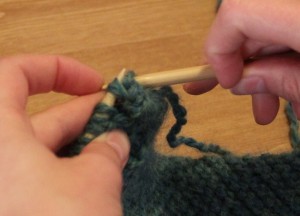
To start, I need to knit two stitches, but do not do it too tightly.

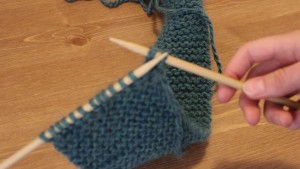
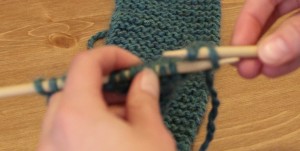
Take the left hand needle under the first stitch on the right hand (the stitch farthest away from the point of the needle) and hook it back on the left hand needle and pull the first stitch over the second stitch and then drop, the one that is being pulled over, the stitch leaving only one stitch on the right hand needle.

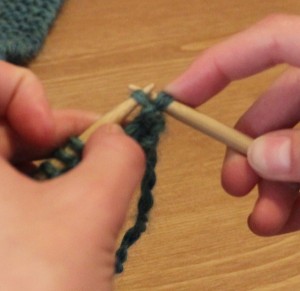
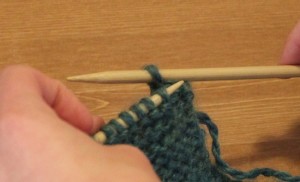
Next knit stitch another stitch to make two stitches on the right hand needle again, and again take the left needle under the first stitch and pull it over the second stitch, then drop the stitch that you pulled over. Continue this until there is only one stitch left on the needle. Carefully pull the needle out of the loop, and place the yarn tail through the loop and pull tight. All there is left to do before completing the scarf is weaving in the tails of the scarf.

Bind Off Knitting

First complete two knit stitches

put left needle under first stitch

Take left needle under first stitch on the right

Pull first stitch over second stitch

Pull First Stitch Over the Second Stitch

drop the stitch

Drop the pulled over stitch off of the needle

repeat

Knit another stitch so there are two stitches back on the needle and repeat

Under the first

Under the first stitch

over

Pull over the stitch still on the needle and drop it

you've completed the last knit stitch

Continue knit stitching and dropping until there is only one stitch/loop left on the needle

carefully

Carefully pull out the needle from the loop

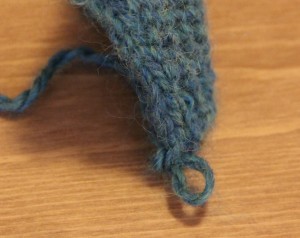
Loop

The Loop

loop

Another view of the loop, be careful not to tighten the loop

If you aren’t at the end of your yarn ball simply cut the yarn so a tail a few inches long remains.

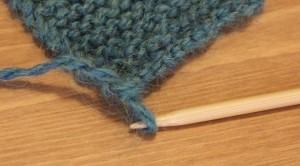
Tail in loop

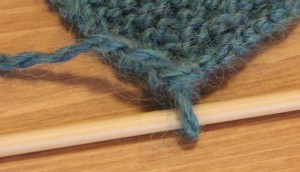
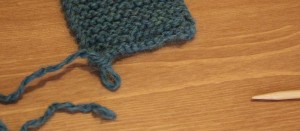
Take the tail of the scarf and place it through the loop

pull

And pull it tight

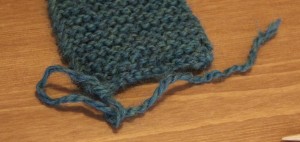
yarn ends

Now all there is left to do is to weave in the ends of the scarf


Side note to this, if you created a pattern with your knitting project like knit 2 purl 2 then you bind off in that same pattern.

I’m almost done! I’m so excited to finish this scarf for my niece! Both nieces are going to look super cute all bundled up in their scarves this winter!


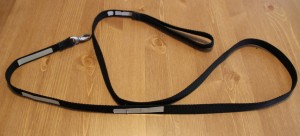
hand made reflective leash

How to Sew a Reflective Dog Leash

Posted on
Follow Me on PinterestPin It

So I have two how-to’s already written out that I had done for others so I thought I would share! The first one is a reflective dog leash and the second is a double sided door draft.

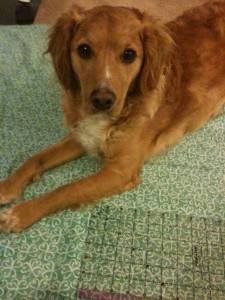
Today I’ll share how I made Rusty, my dog, a reflective leash. Meet Rusty. He just turned three and is a cockerpoo, cocker spaniel/poodle mix. This is what he does when I lay fabric out on the floor, when my table isn’t big enough, to measure and cut. He loves to “help.”
Materials:

  • nylon webbing
  • matching thread
  • reflective fabric tape
  • clip
  • sewing machine with heavy duty needle or hand needle
  • tape measure
I picked out black nylon webbing at 3/4 in wide and had the clip from the old leash my dog chewed through. My dog is only 35lbs but if your dog is bigger or smaller you should adjust the size of your nylon. You should be able to find the nylon and clip from craft stores or online.
Next is figuring out, measuring and cutting the right size leash for you. I tie this leash around my waist when Rusty, my dog, and I go on runs so I wanted it to be about 5ft long so it was long enough to give us some slack but short enough to keep him close by but I think the average length of most leashes. When figuring the length out, you also have to add to the length the amount it will take to attach it to the clip, about 2in and the hand hold, I added 14in for that. Measure it out and cut!
Next it’s time to sew! Either use a heavy duty sewing needle in your machine or hand stitch. Do not use a universal needle in your machine, it’s not meant to go through the nylon and could mess up your tension which could result in having to get your machine serviced and that can be costly.
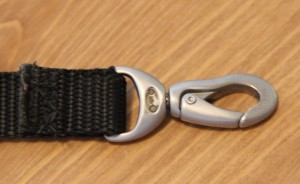
I started by slipping the nylon through the clip and put enough through to where there was enough to sew and sewed until I felt like it was secure. If you’re hand sewing, I suggest cutting about a foot of string, tie a knot at the end and go from there. If your pup likes to pull when going on a walk, more thread might be needed to keep it in place.
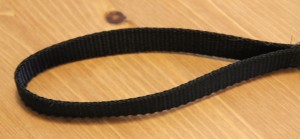
Next came the hand hold.  I measured out 7.5in from the top and folded it down and sewed, making the handhold a total of 14in not counting the part I sewed. I also put from some Fray Check on the ends of the leash after I sewed them down just in case.
Now the easy part. The reflective fabric tape, which I assume you can just peel the backing off and stick on the places you want but I had reflective tape on hand but it wasn’t for fabric. :/ But no worries, I cut up the pieces I wanted, I choose to have three stripes of at the bottom and both sides of the leash along with a pieces a couple inches long at the top on both sides of the hand hold. I decided not to cover the whole thing in the tape because I want people to see us but I don’t want to blind people either. I then placed some fabric glue on each piece and adhered them to the leash and allowed them to dry.
After a couple of months the reflective tape is showing a little wear but if it does come off I am going to get the fabric reflective tape to replace it.
Enjoy! I know Rusty and I are 🙂