 Pin It
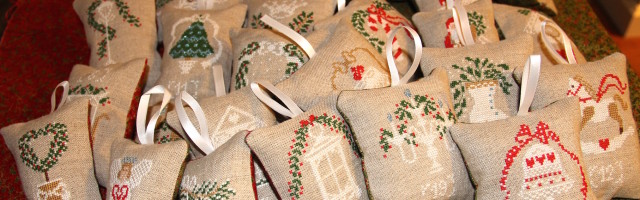
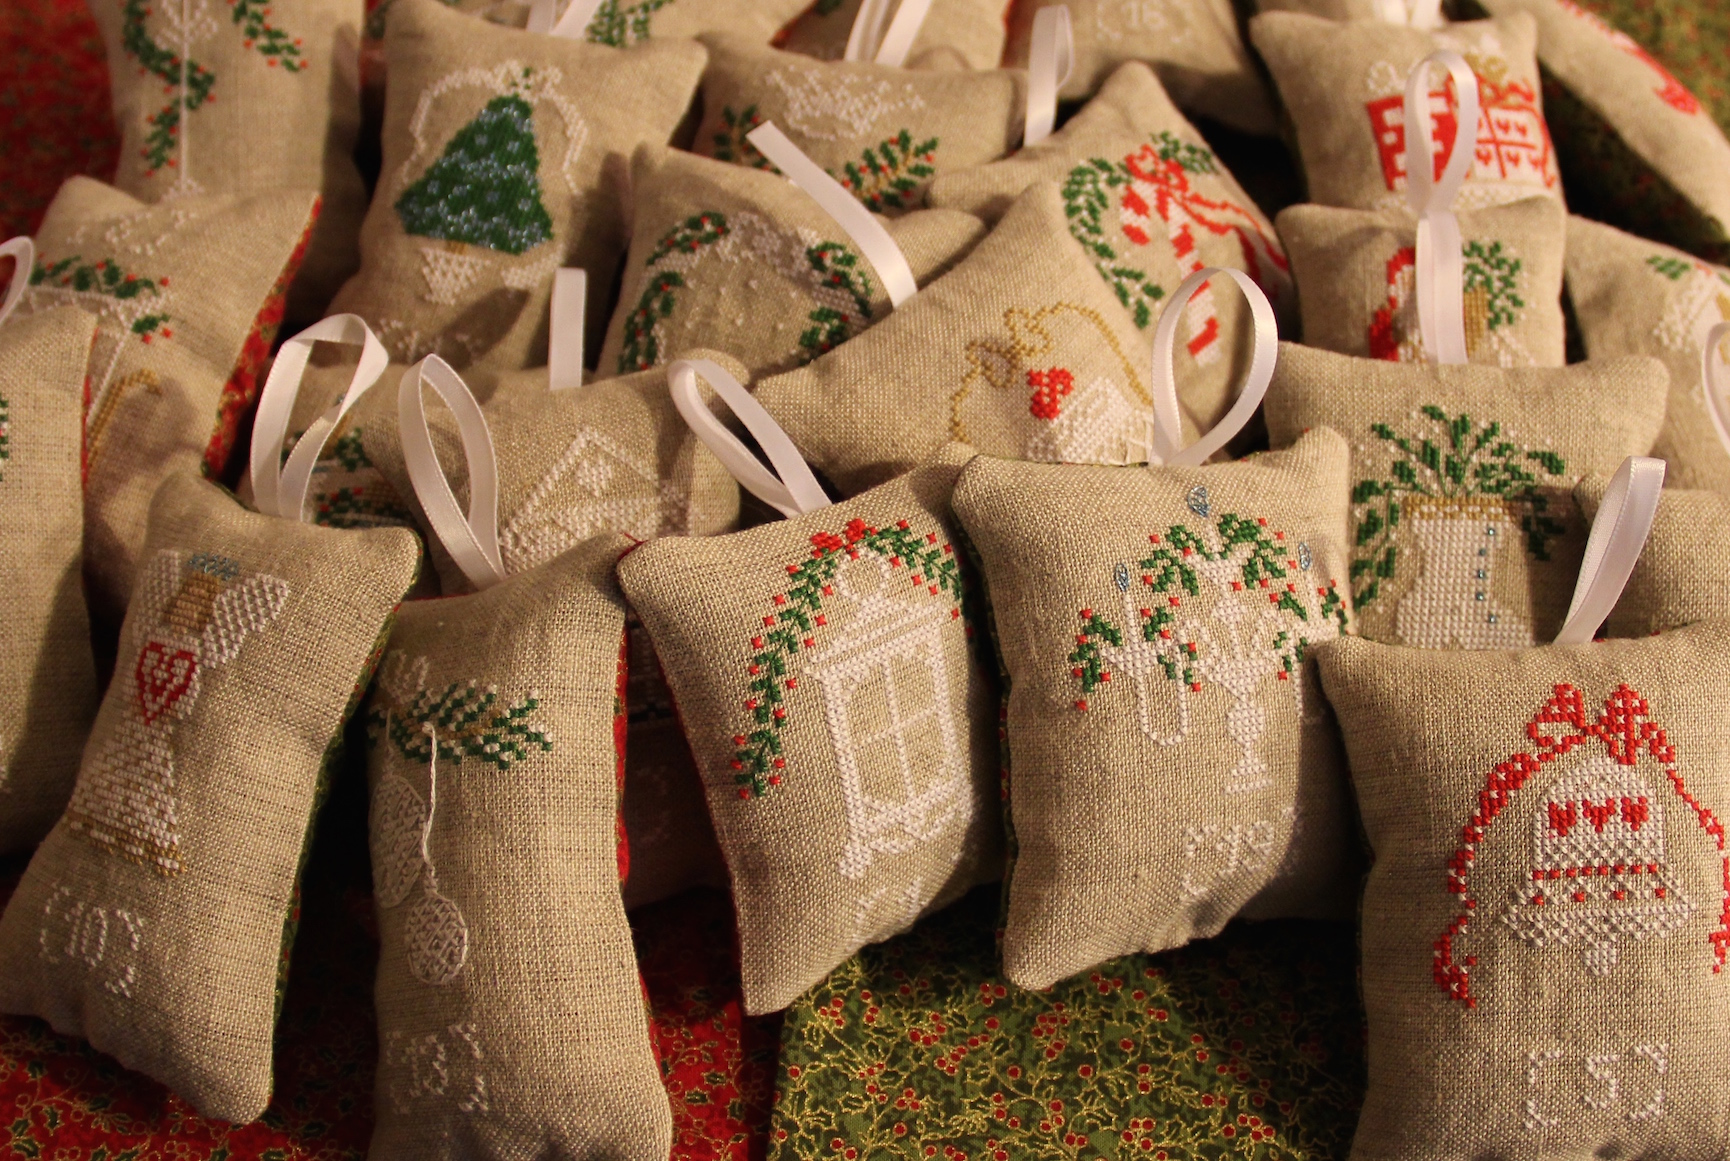 I have worked hard to complete cross stitch advent calendar ornaments. I loved how they turned out!
Materials:
- I purchased the pattern from Cuoree Batticcuore Etsy Shop and the pattern is called Shabby Advent Calendar.
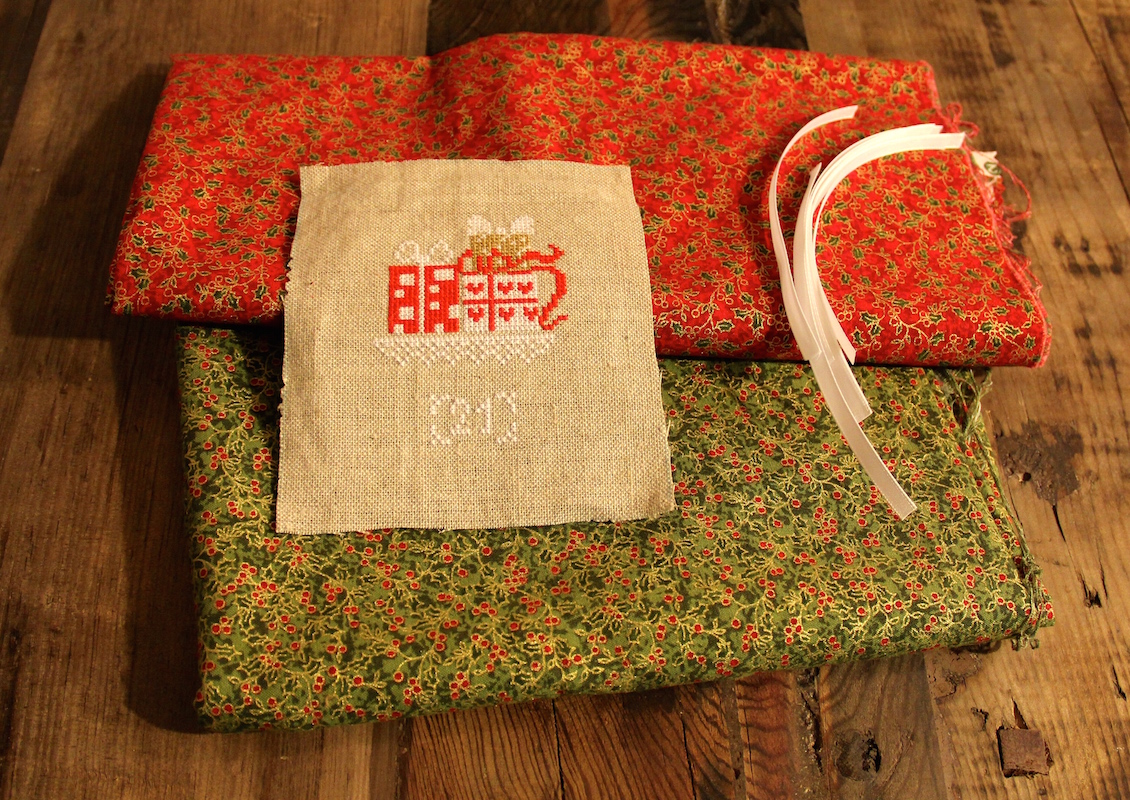
- The linen came from Amazon. It is MCG Textiles Fabric for Counted Cross stitch 32 count in Natural.
- The thread came from Austintatious Offerings
- The fabric is from Fabric.com and is Nutcracker Christmas Metallic Berry Green and Red designed by Judy Hansen
- The ribbon is 1/4inch wide white ribbon that I bought from a local store I bought 5 yards had some left over
- They are stuffed with Poly-Fil which I purchased on Amazon.
What I did:
 First I decided how to space out the ornaments on the linen. I should have measured it but I didn’t. Then I cross stitched them all which felt like it took forever mainly because it almost did.
Next, I measured about in inch around all sides on the pattern pieces and cut. I then took out my sewing machine and found matching thread and did a zigzag stitch around the edges of all 25 pieces.
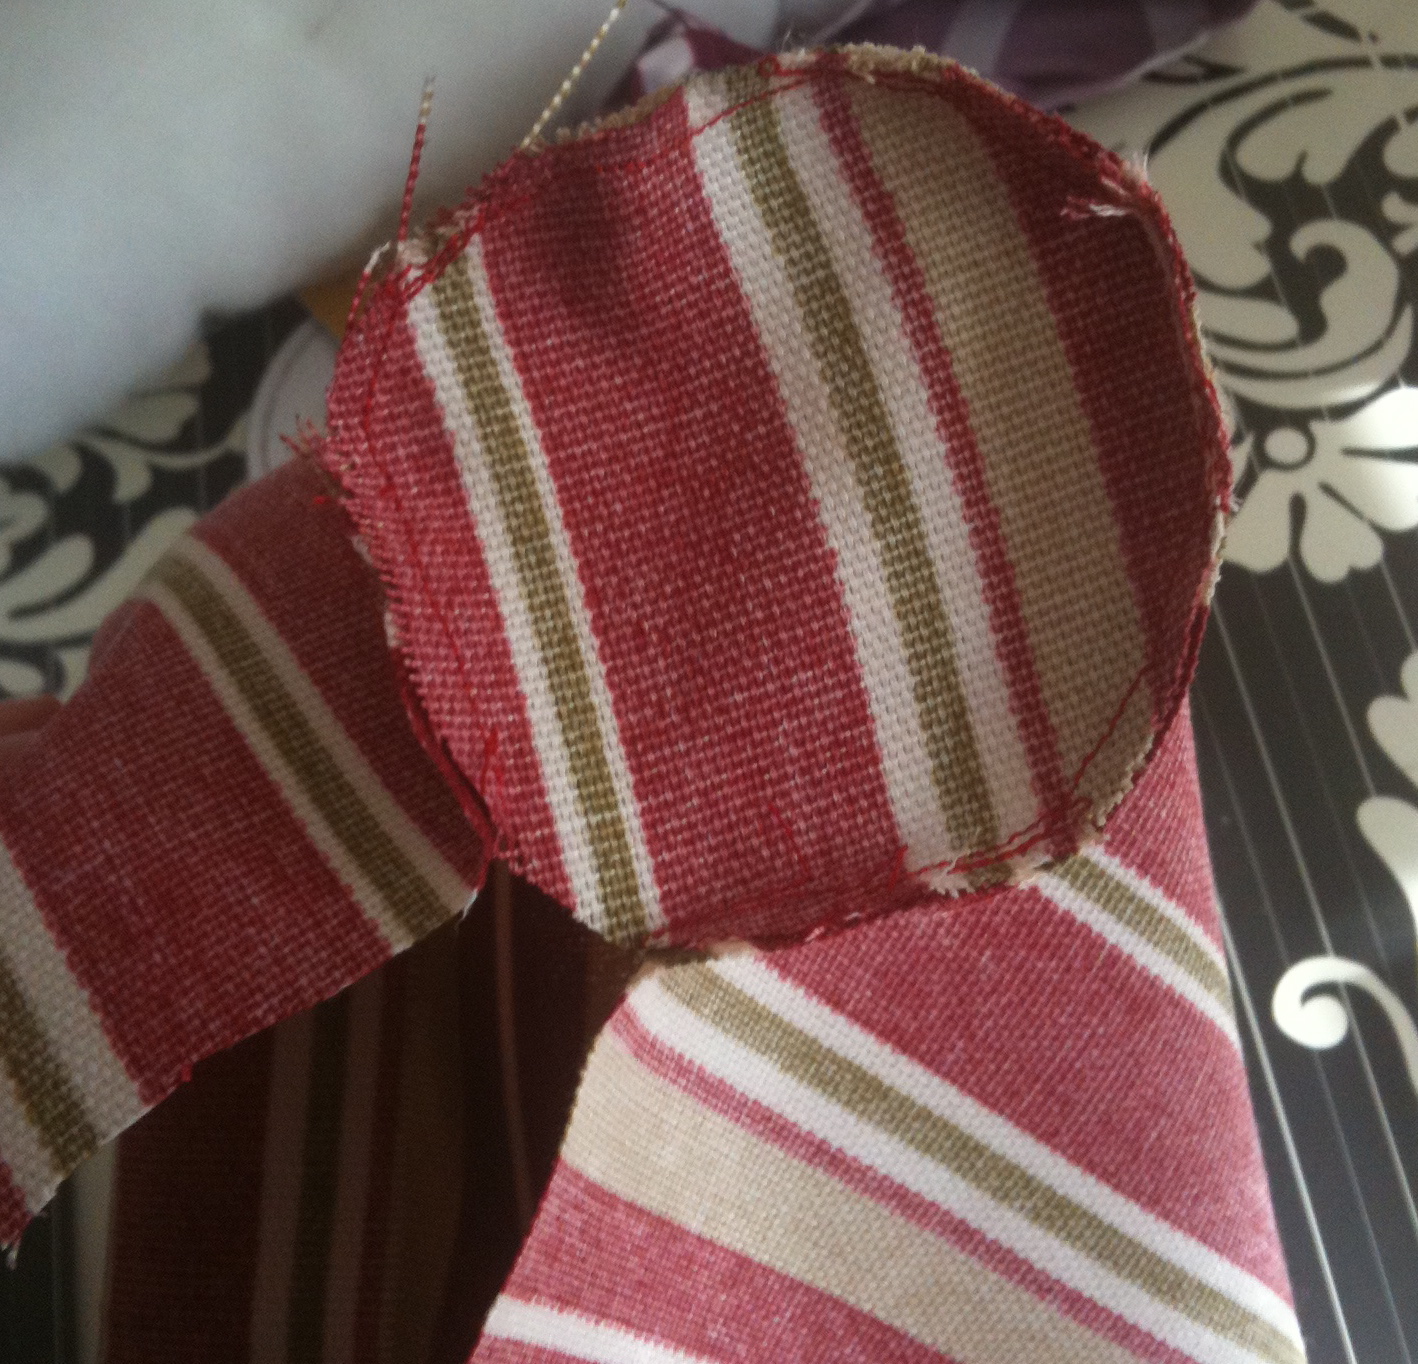
Then I decided which color of fabric would go best with each ornament. I then placed the fabric right side up on table and laid the cross stitched pieces wrong side up and pinned them to the fabric. Then I took pinking shears and cut out the fabric around the linen getting as close to it as possible without cutting the linen.
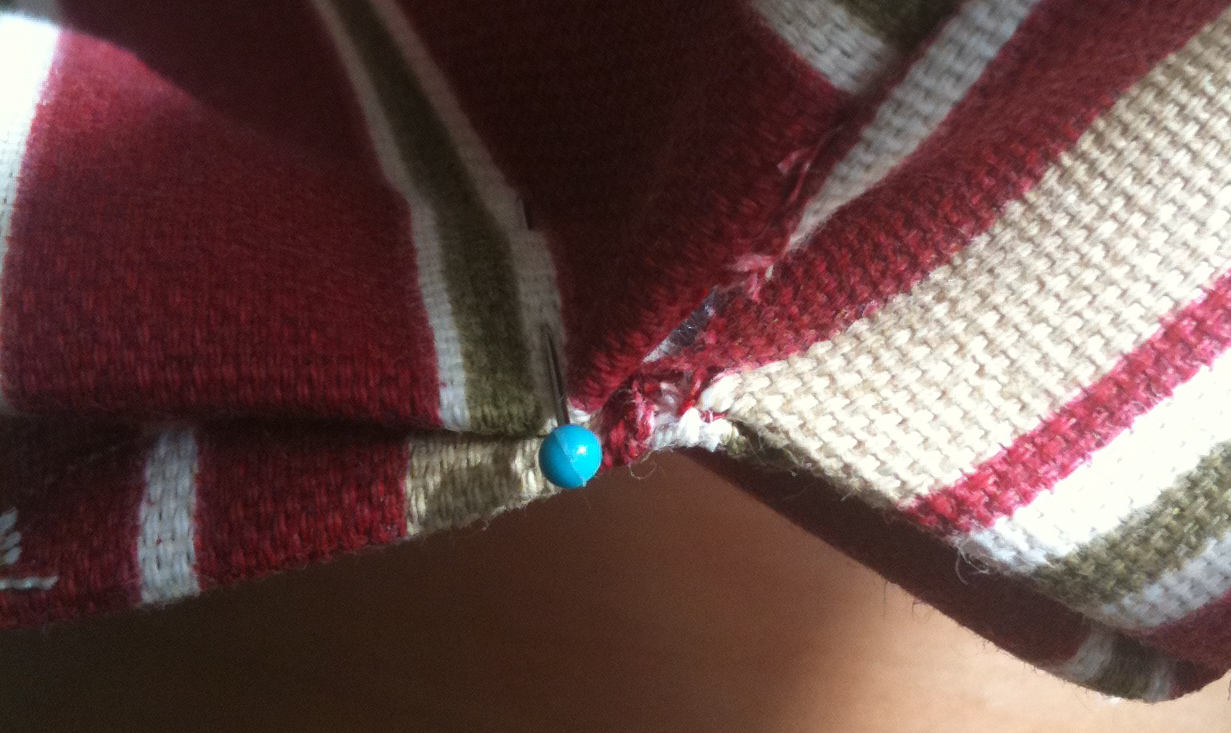
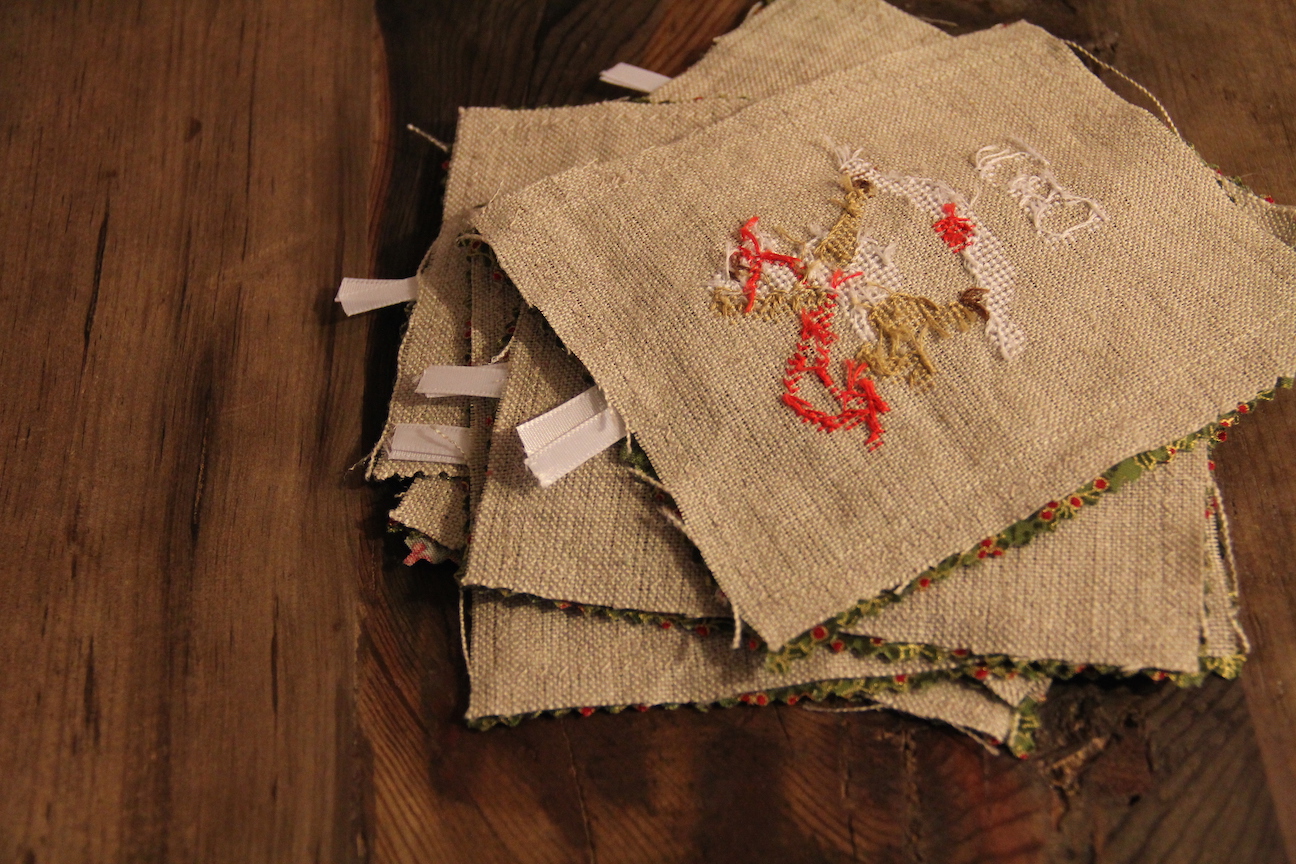 Next, I cut 6 inch pieces of ribbon and slipped a folded in half piece between the two fabric layers and centered and pinned it with about ½ inch of the cut sides sticking out.
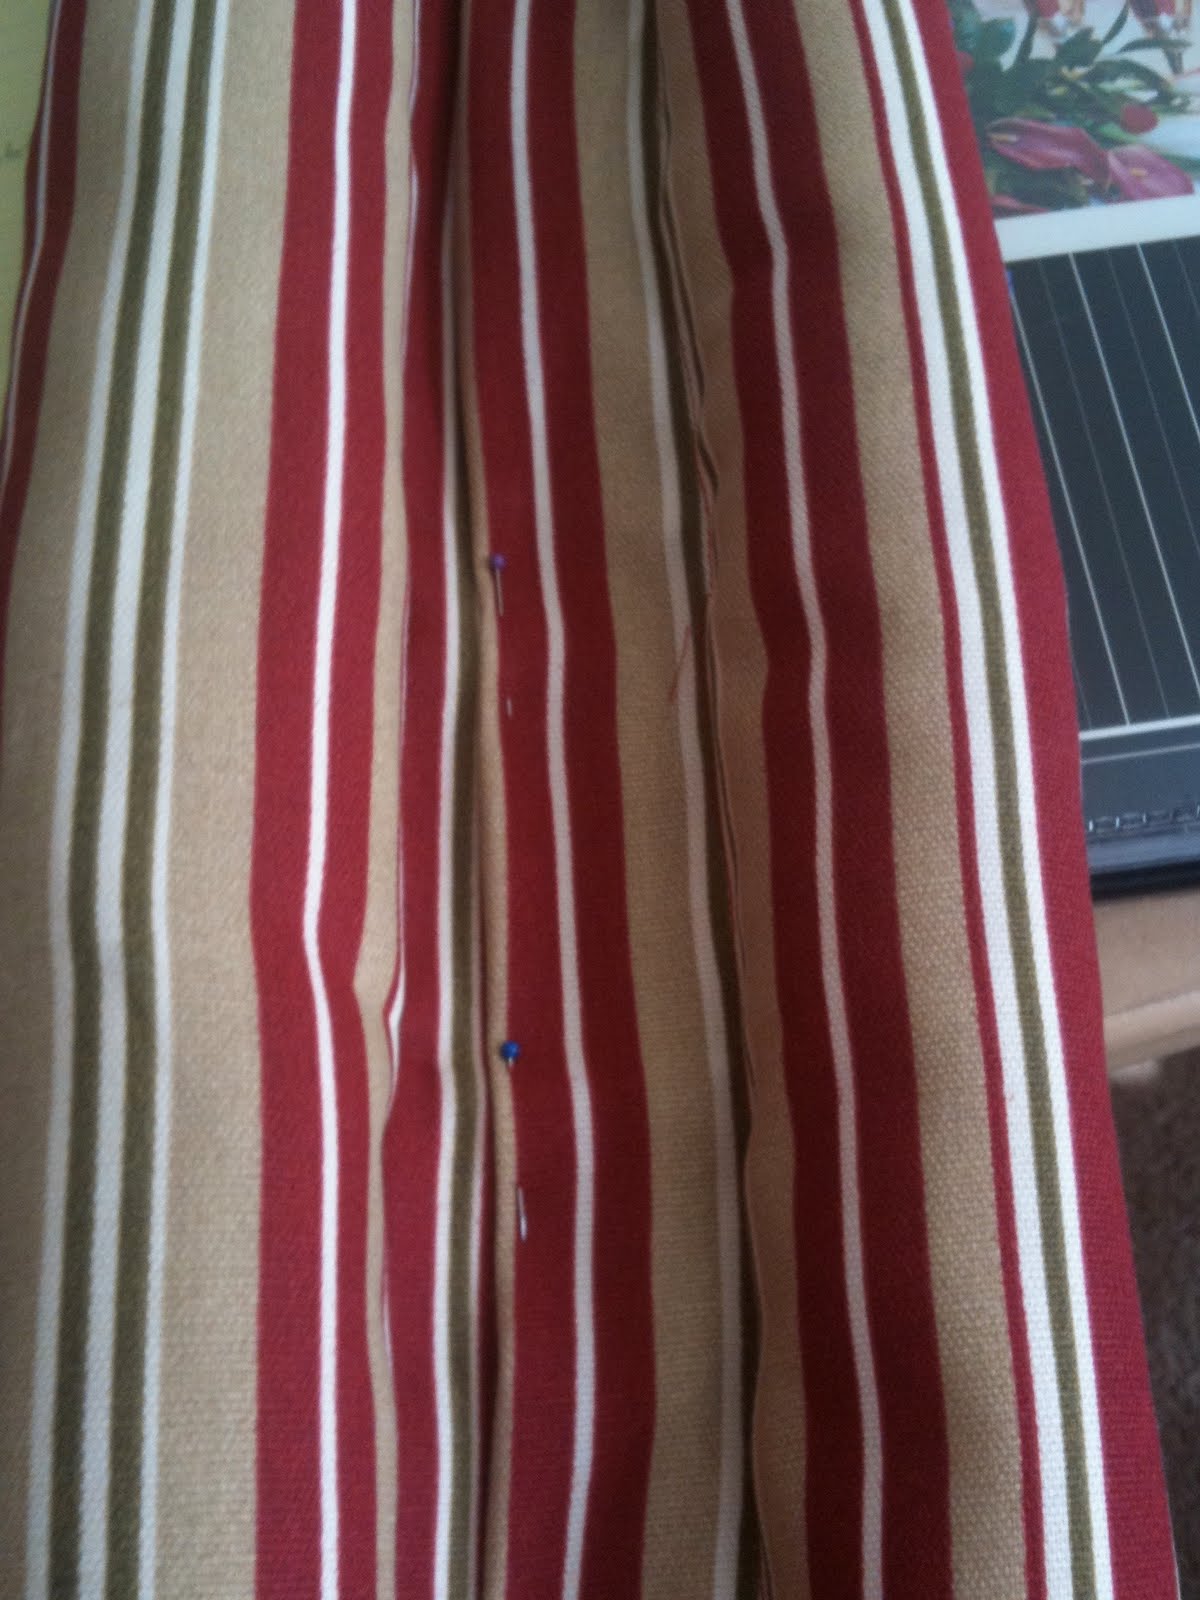
Then, leaving about an 1½ inch opening (to be able to turn right side out) I straight stitched with about ½ inch seam going back and forth over the ribbon a couple of times.
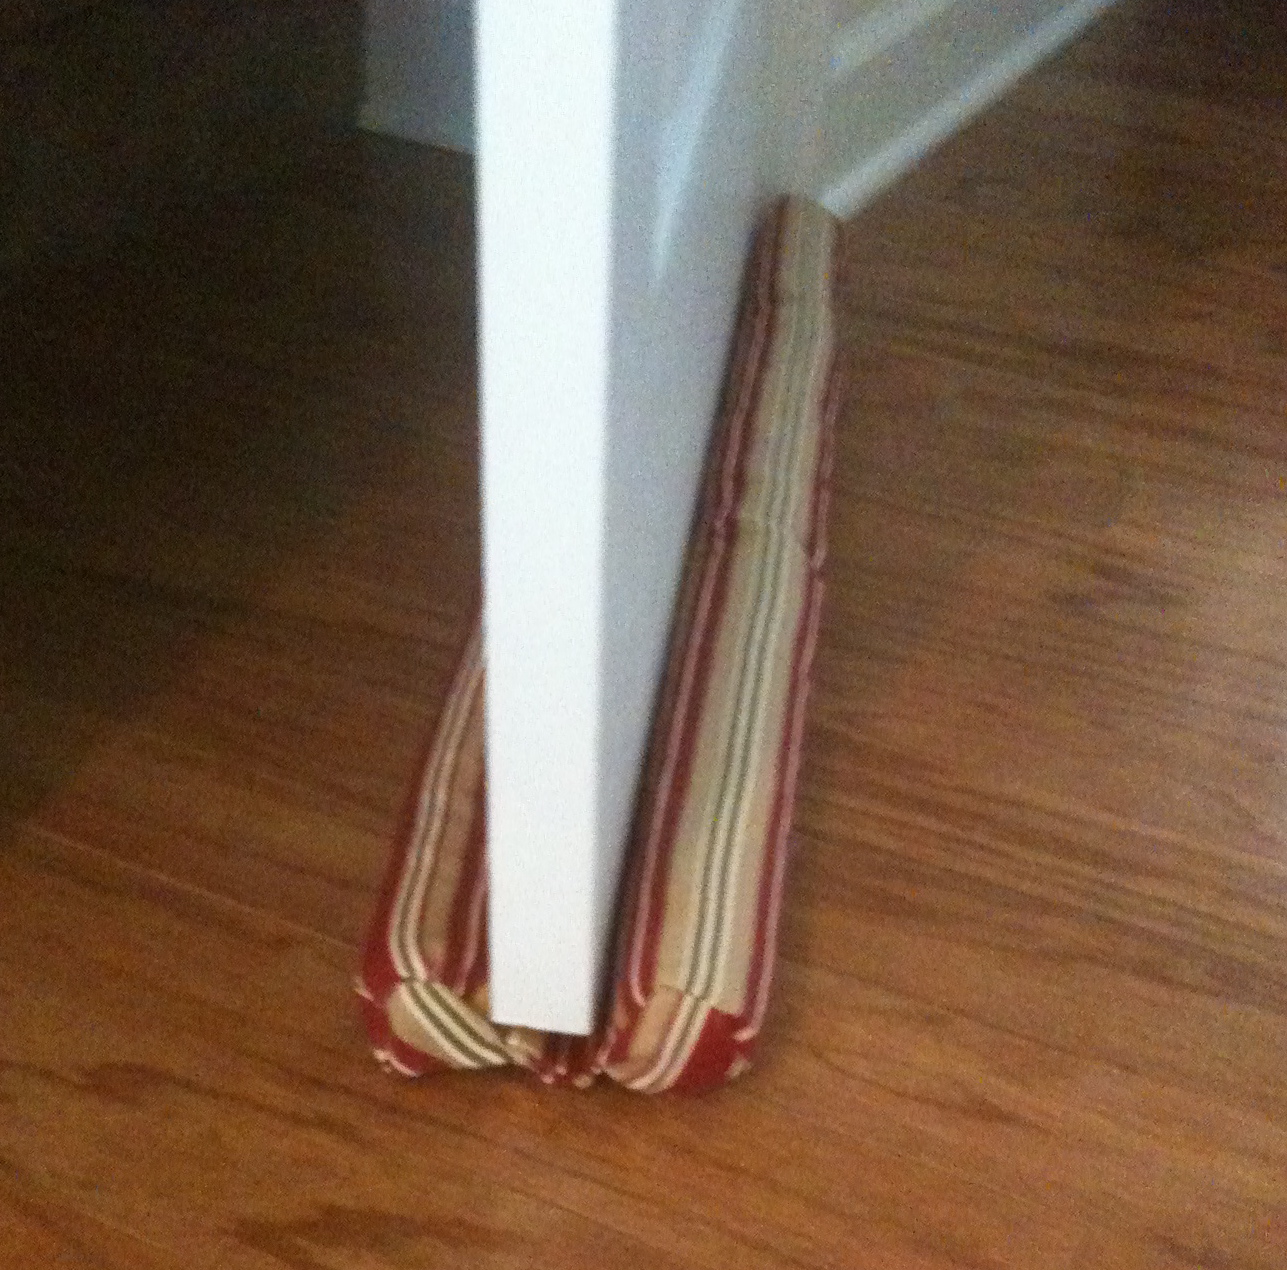
Press, on the fabric side, and carefully turn ornaments right side out, pushing corners out. Press again.
Stuff to your desired fullness.
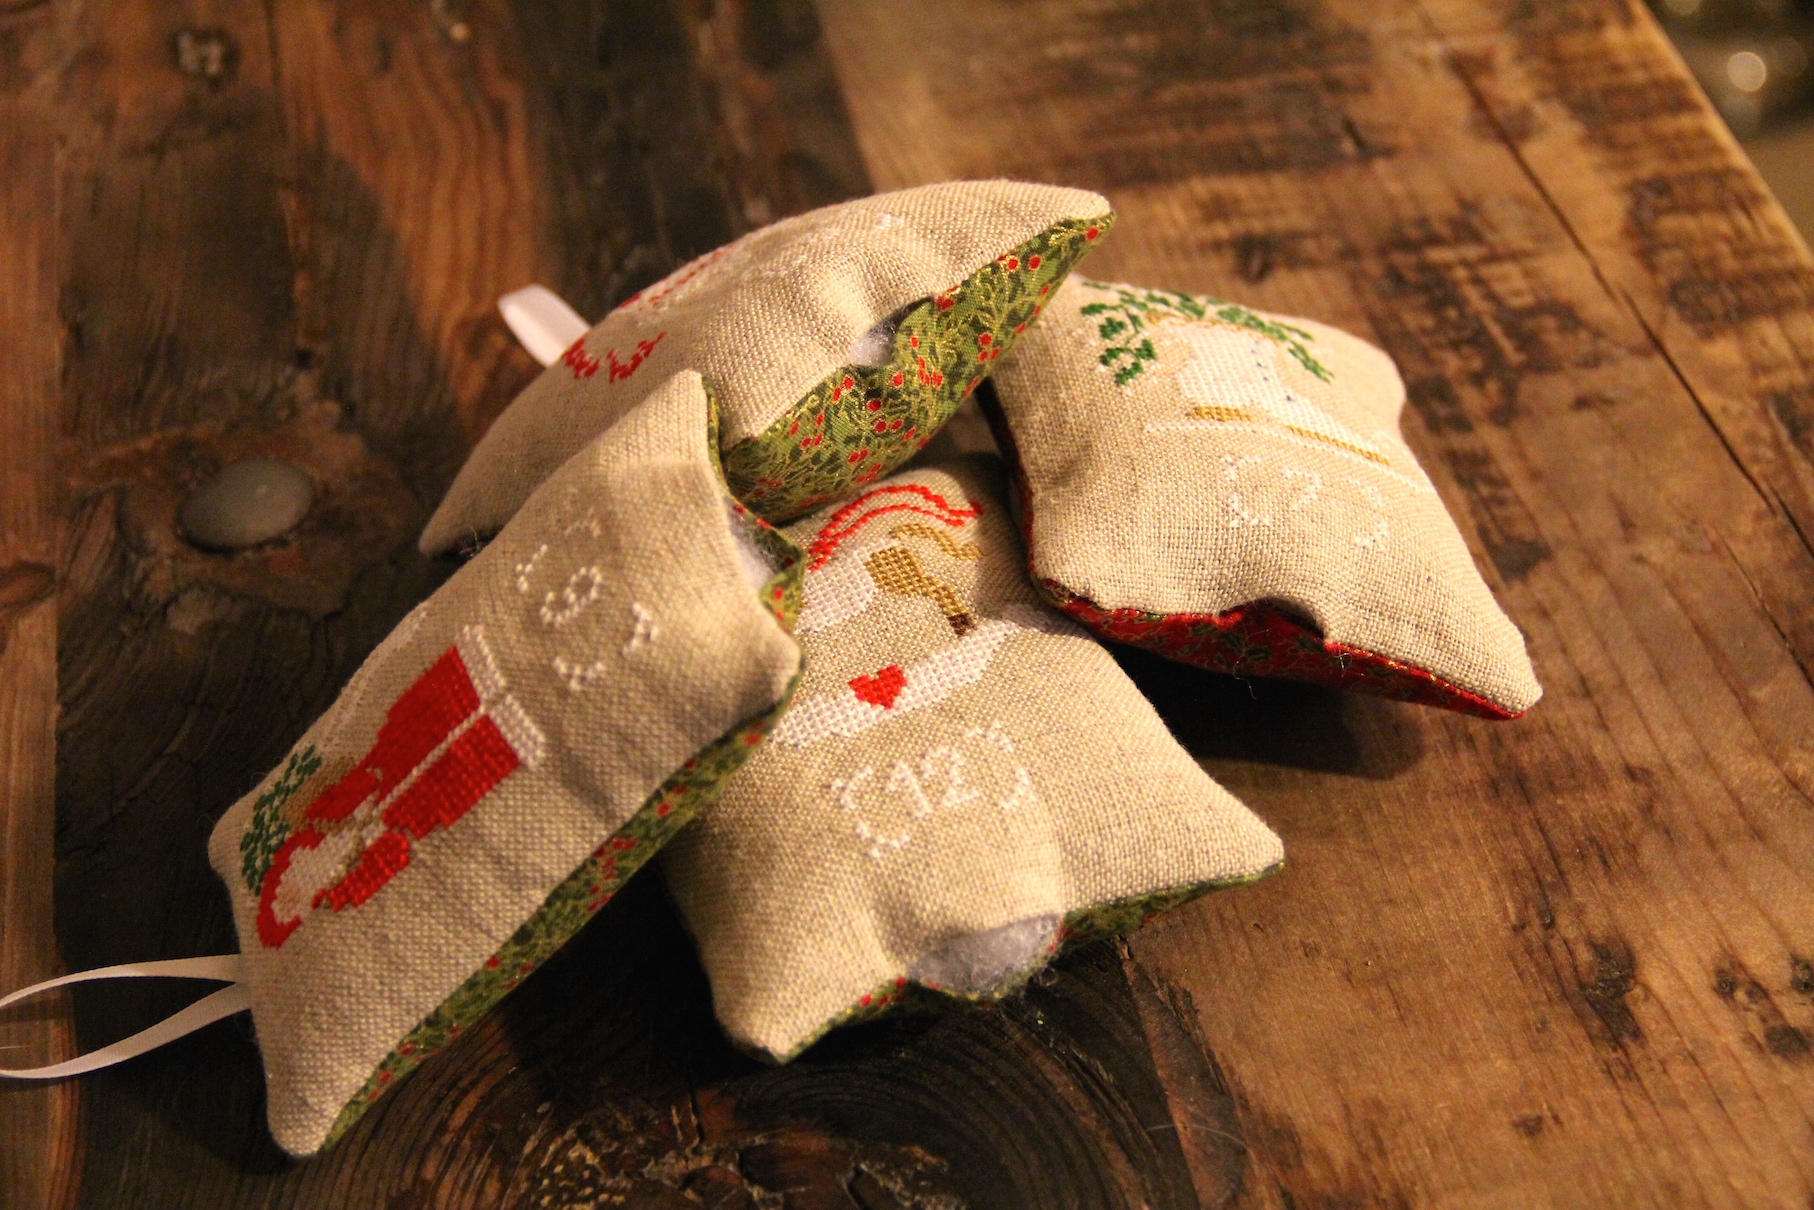 Hand stitch the openings closed.
Enjoy your hard work!


