 Pin It
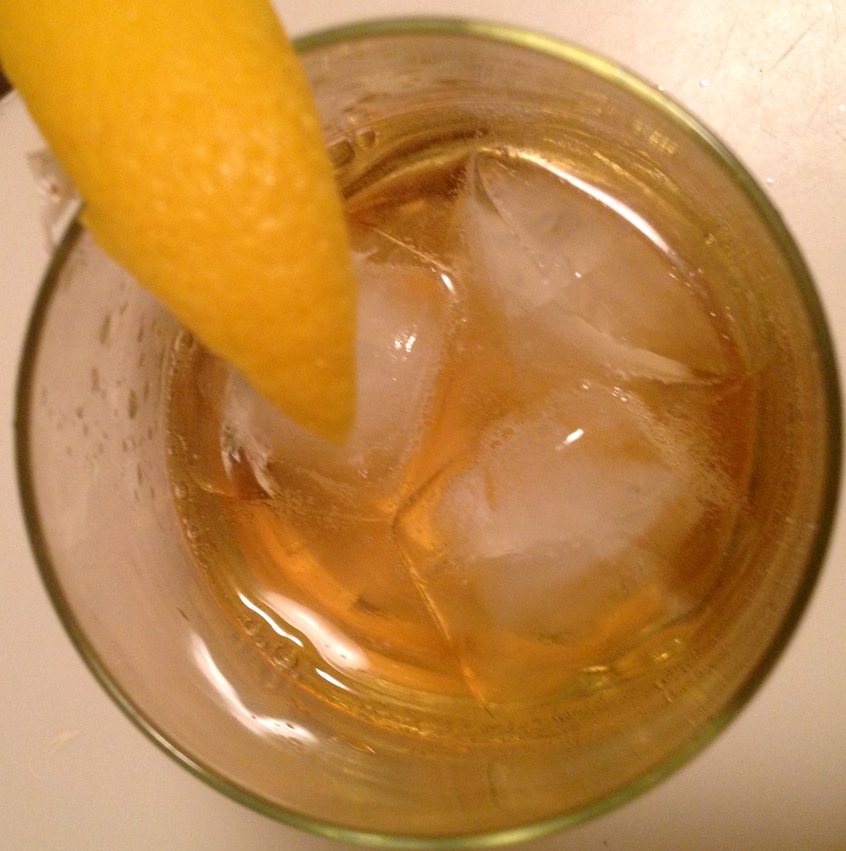
I love ginger ale so I often try to find ways to include it in my drinks.
Jack and Ginger:
- 3 ice cubes
- 4oz oz ginger ale
- 1oz Jack Daniels
- 1 lemon wedge or 1/2oz lemon juice
- Mix them all together and garnish with lime.
- Enjoy!
 Pin It
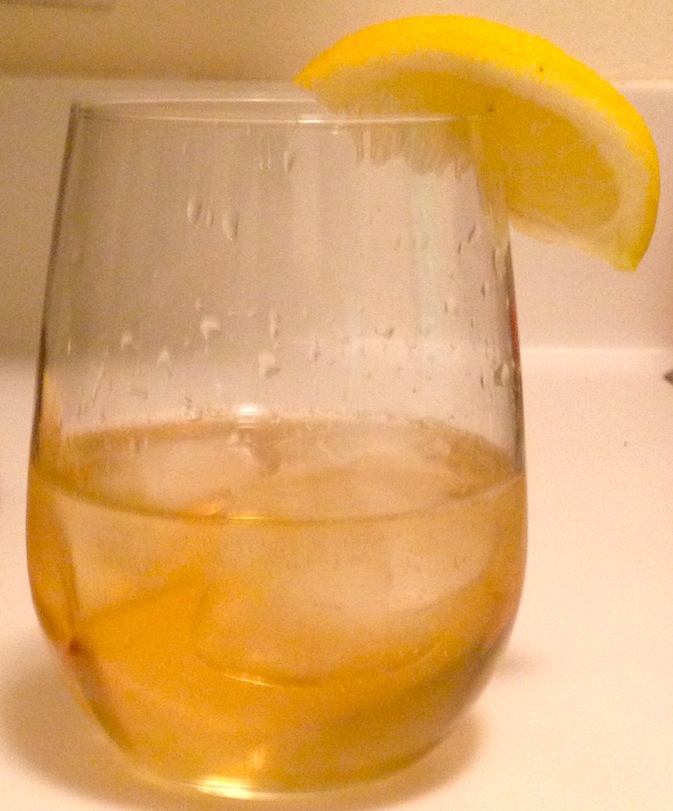
I love ginger ale so I often try to find ways to include it in my drinks.
Jack and Ginger:
 Pin It
I’m always looking for useful websites and apps for crafting. I’ve created a list of some of the more useful websites I have found.
1. Stitchpoint.com, Stitch Point has a cross stitch writing tool. It let’s you pick from six different fonts styles and creates a chart for the text you want to stitch. It even has handy tools in the upper right hand corner that helps you plot out the design to make it the right size for the fabric space you’re using. Great to use for designing simple text only patterns or to add text to another pattern.
2. Crosstitch.com, Cross Stitch Caption Maker, is similar to Stitch Point in the fact that it allows you to create your own text patterns. But it only has two free fonts available. For $12/year you can have access to 40 font options and can add borders to your text designs.
3. Janlynn.com, this website has a selection of free cross stitch patterns. All of the patterns look simple enough complete and are super cute. My favorite one that is available right now is the Dolly Mama Wine Bag. I’m thinking about stitching it and giving it as a gift next Christmas. It has seasonal, holiday and other options to choose from and I think it’s a pretty big selection of free patterns.
4. Maurer Stroh, this website also has a variety of free cross stitch patterns. I found the site slightly annoying to use but the patterns were worth the annoyance.
5. To get an even bigger list of places for cross stitch patterns and information go to JuliaXstitch.

 Pin It
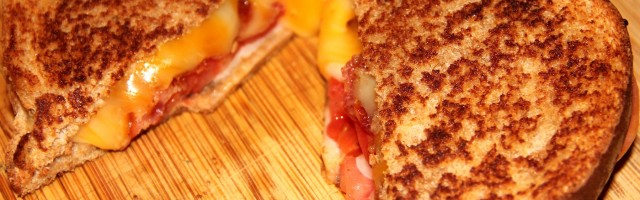
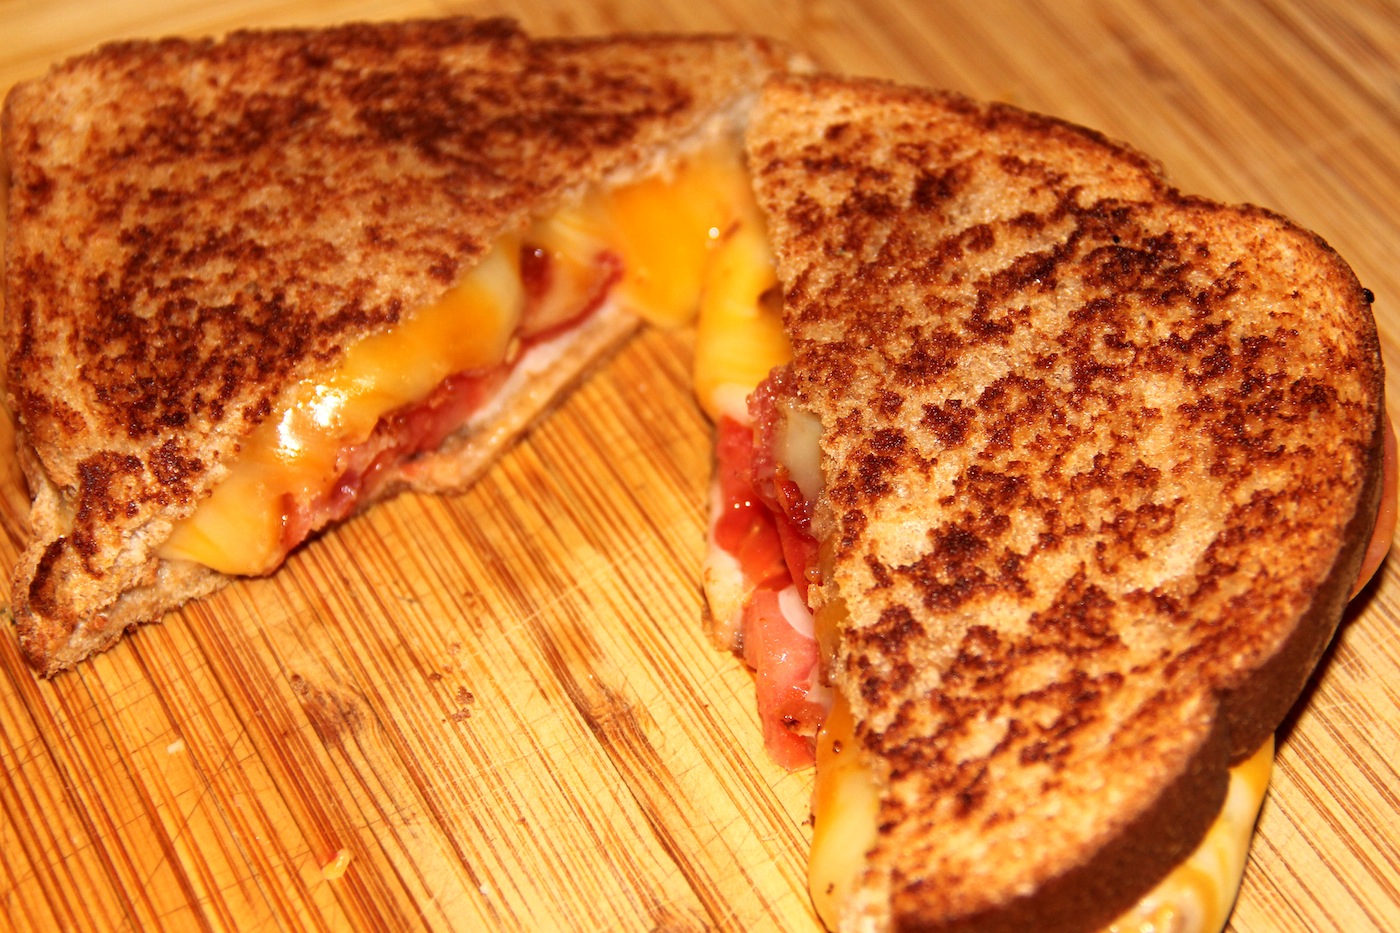 It’s no secret by now that I LOVE grilled cheese sandwiches. I probably should have a category just for all the grilled cheeses I have made. I made a bacon, tomato grilled cheese and ate with tomato soup and it was delicious. But how can you go wrong with melted cheese and bacon?
Ingredients:
Directions:

 Pin It
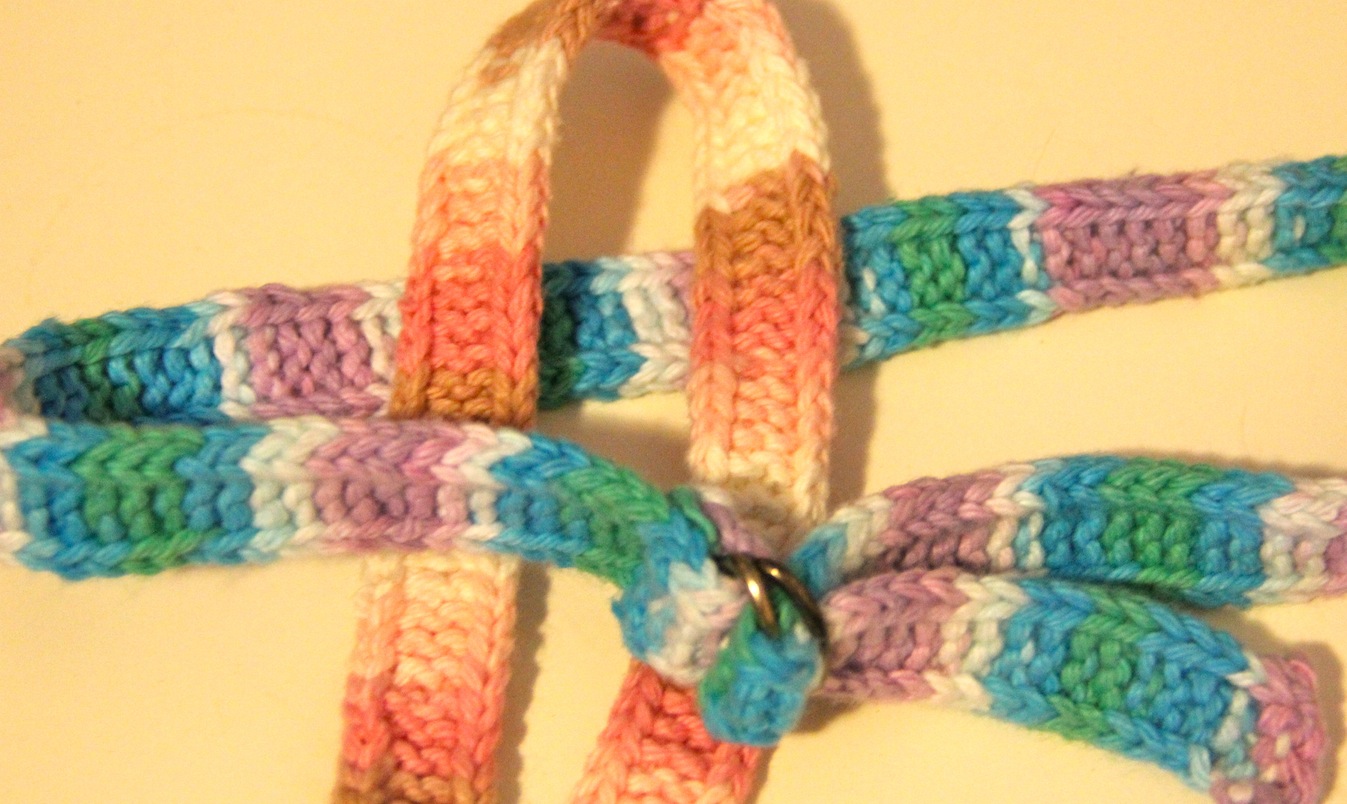
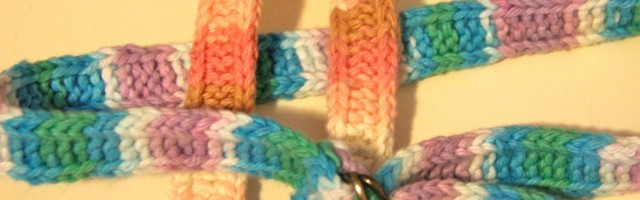
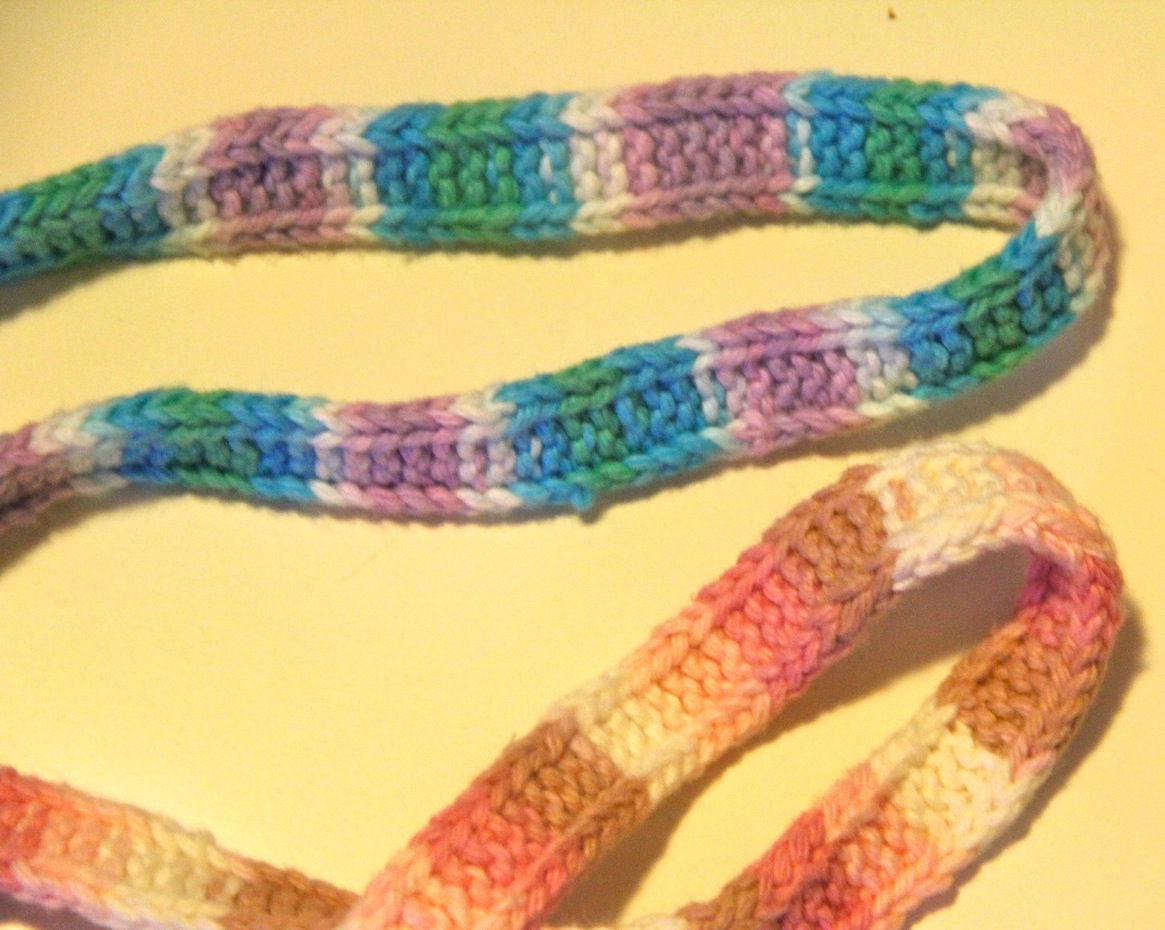
I decided to make slip stitch knit belts for nieces because I loved mine so much! But the problem was the pattern is for an adult and too wide for 4 and 6-year-old girls. I needed to come up with a new knit belt pattern. You can find the adult version in Chick with Sticks. I decided to use the leftover yarn from when I knitted wash cloths. It’s 100% cotton and I think worsted weight? Actually, I’m making the weight of the yarn up because I no longer have the labels for them. I’ll have to remember to keep them from now on.
Using US size 4 needles (3.50mm), I cast on 6 stitches.
Knit stitch the first 4 stitches
Bring the yarn forward
Slip stitch the last 2 stitches
Repeat until desired length, I usually go about 4-6 inches longer than waist size
Cast off.
I hope my nieces love them!
 Pin It
I usually sew cotton with my sewing machine. I have tried other types of fabric and one fabric that scares me to sew but would love to use is all knit fabric mainly jersey. I am always drawn to jersey in the fabric store but get frightened by the idea of sewing it. Since I am self-taught through instructional books and web searches, I’m not always sure how to complete a project. Prudent Baby website has a great tutorial about sewing jersey including pictures of what’s right and what’s wrong. It is definitely a reference I need to remember.
First thing I need to remember when sewing knit fabric is to have the right needle in my machine. My previous failed efforts, I think, have had a lot to do with the fact I left the universal needle in and it poked holes and pulled on the fabric. I also need to practice with the stretch stitch options on my machine.
Click here for the tutorial. It’s worth reading.
 Pin It
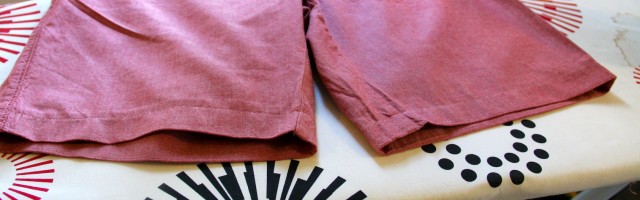
My husband needed his shorts hemmed. They were about an inch too long and it’s almost summer, well it’s May we just aren’t having summer weather yet, his shorts needed to be completed. The measuring and pressing part of hemming them is the most important part of this process. It is with most but usually I don’t pay too close attention but with it I needed to be precise.
Step 1. I needed to figure out what the desired length was and then turn the shorts right side in.
Step 2. Seam rip the bottom of both legs
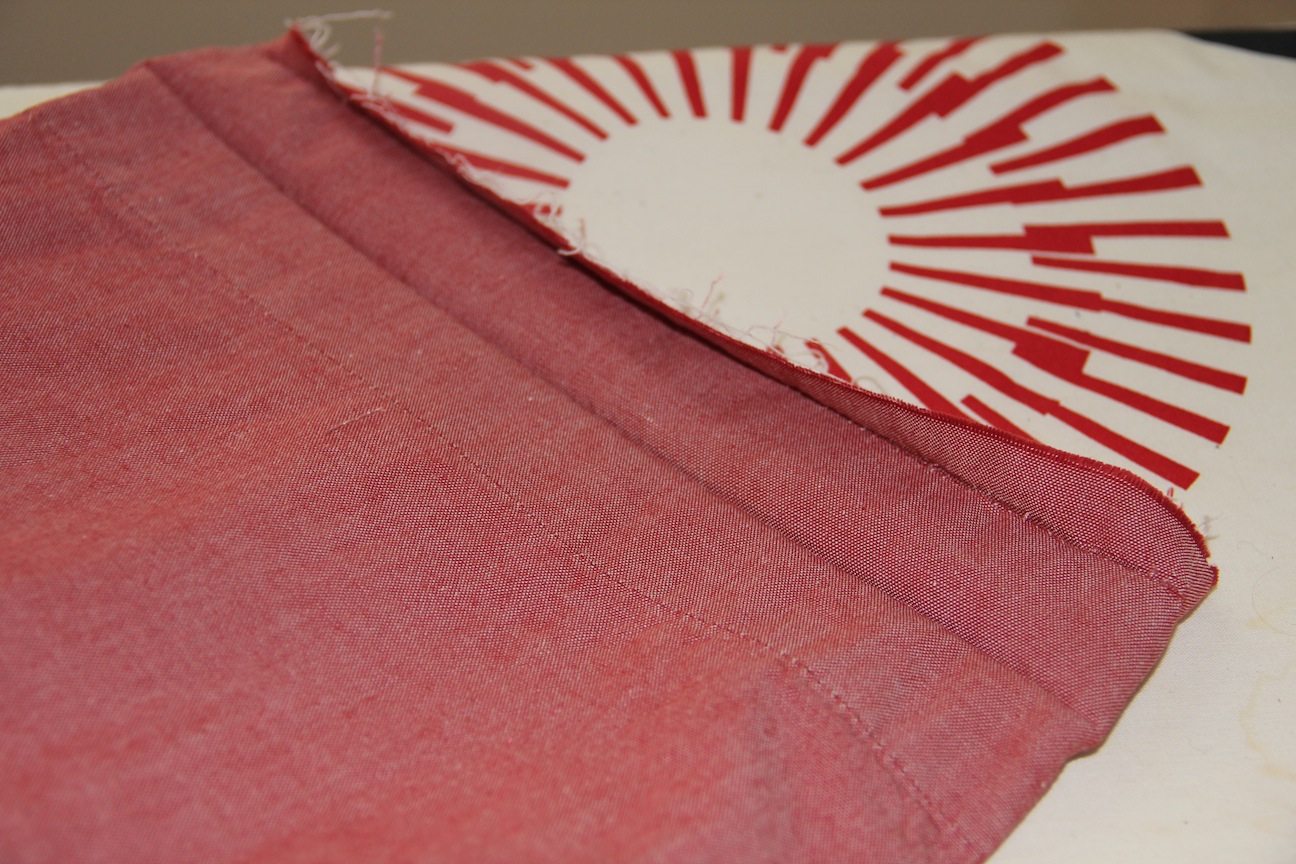
Step 3. Press the bottom of the shorts and measure and mark desired length.
Step 4. Measure about an inch and a half below your desired finished length and cut off excess fabric.
Step 5. Fold over about 1/4 of an inch and press
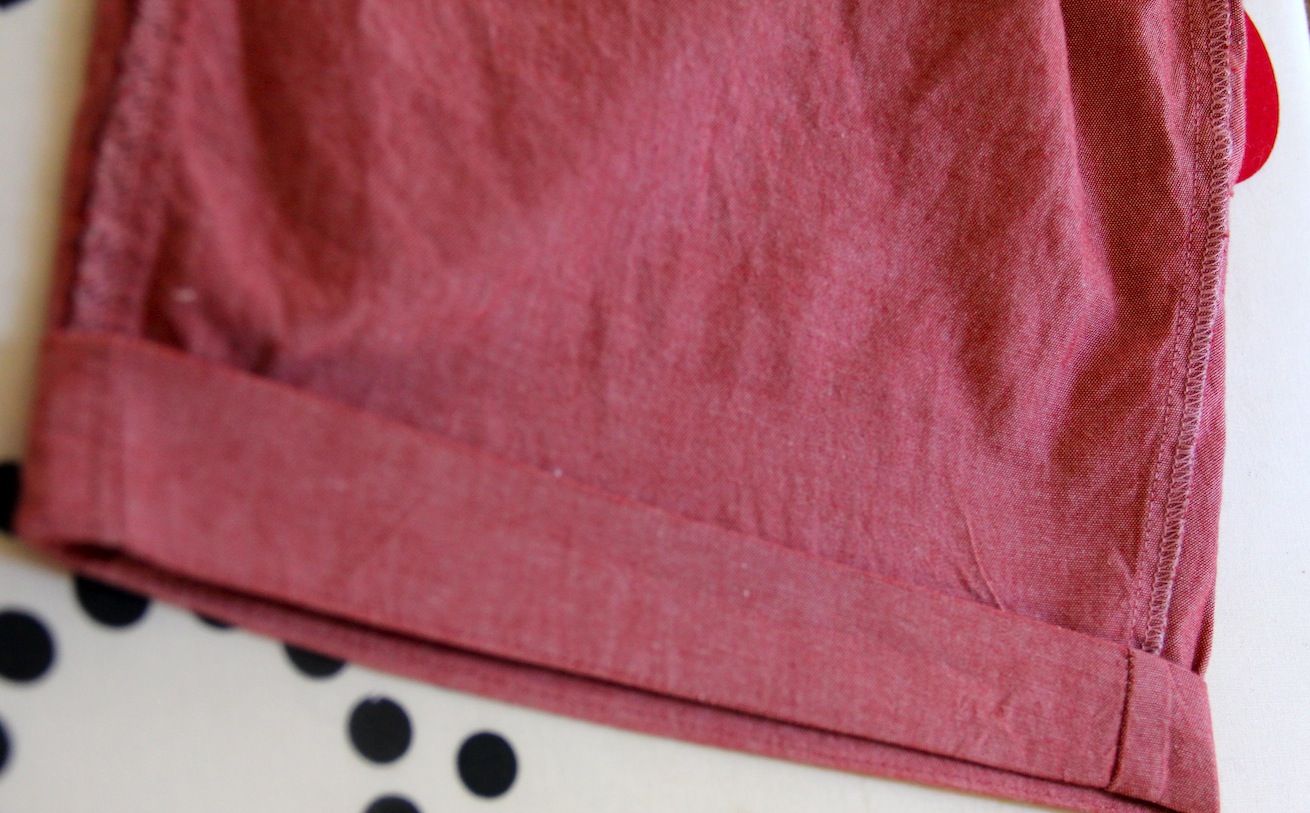
Step 6. Fold over about 1.5 inches and press
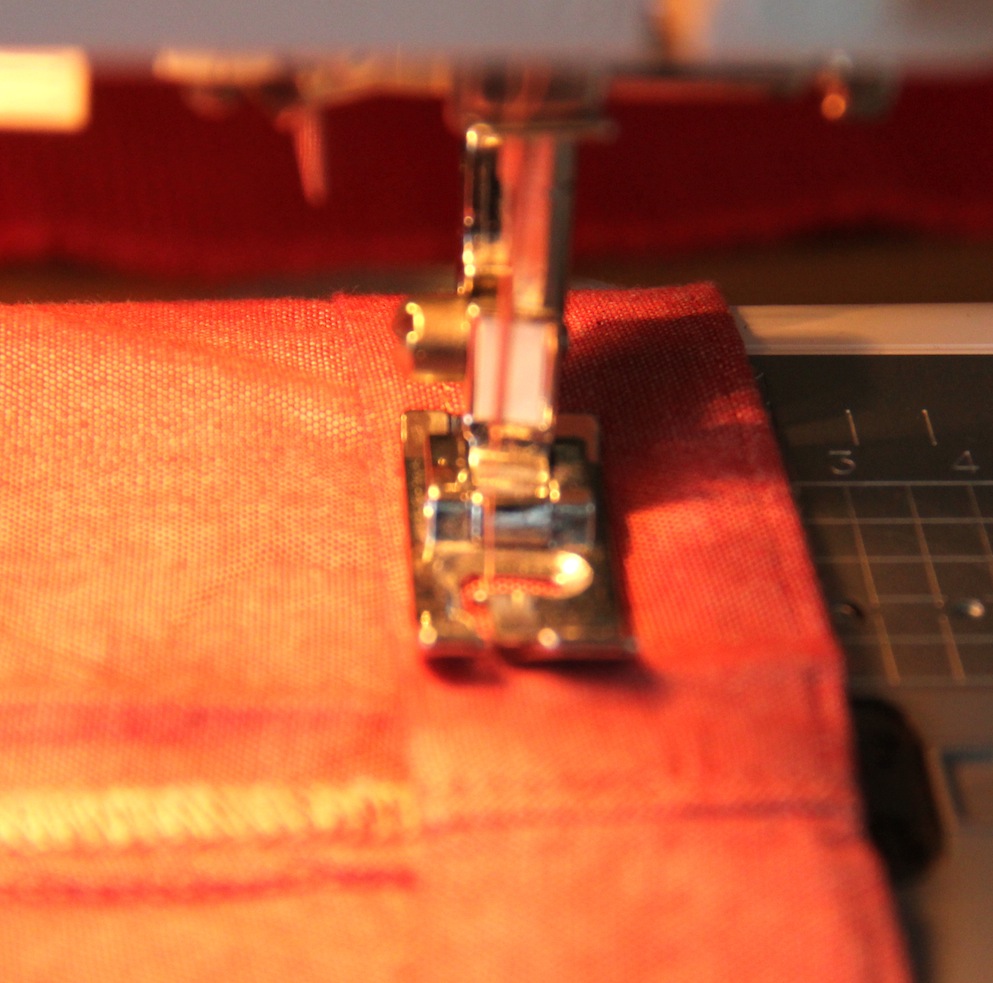
Step 7. Sew your new seam as close to the edge as possible, I moved my needle over to the left and used the foot edge as my guide.
Step 8. Press again, flip right side out and press again.
Step 9. Repeat for the other leg.

inside finished seam
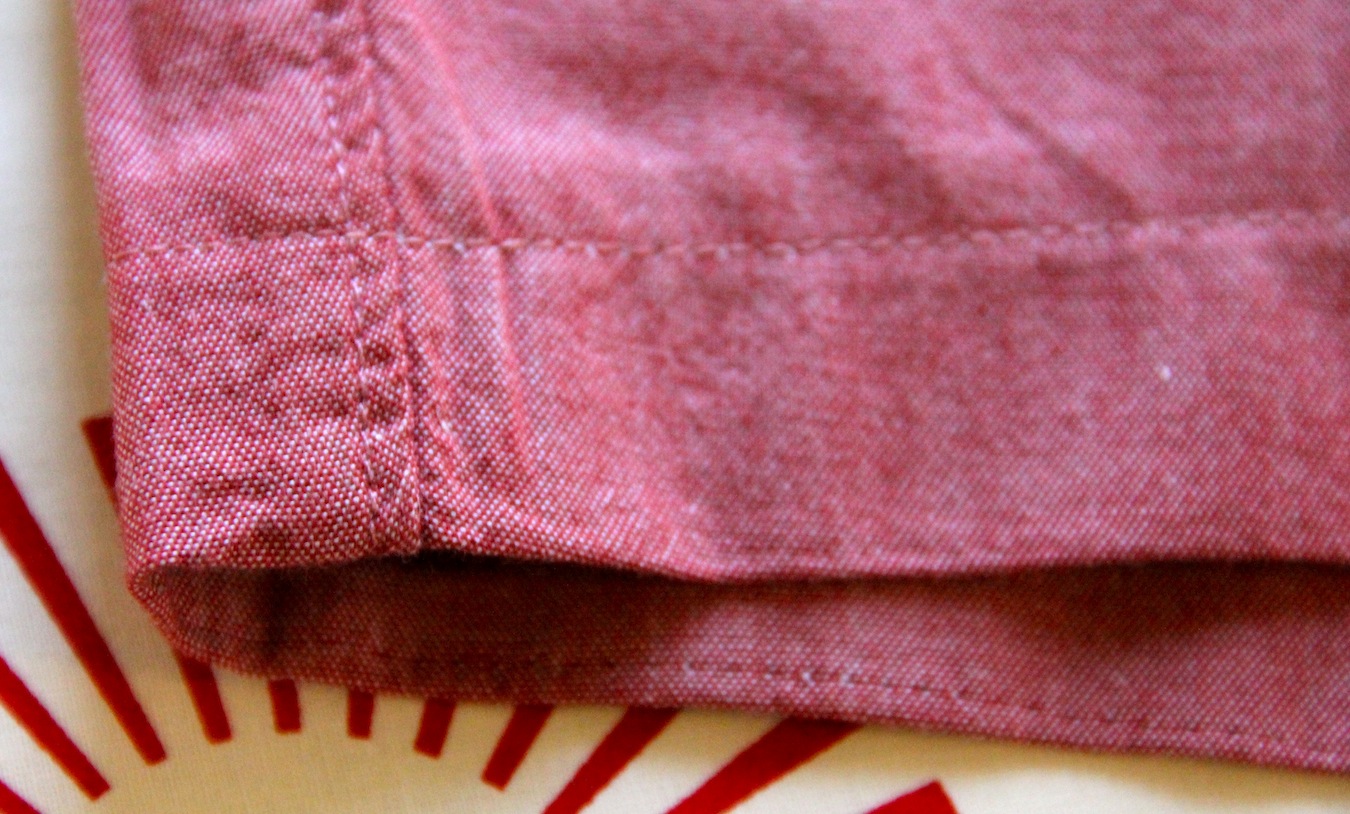
ready to wear close up

ready to wear

 Pin It
 My husband was getting rid of an old pair of athletic shorts and I saw them and thought that would be a cute dog tank top. Let’s face it, I have a difficult time coming up with things that aren’t costumes for Rusty. But this tank top is the perfect summer athletic shirt for him. Even if he didn’t seem too impressed with it, I like it.
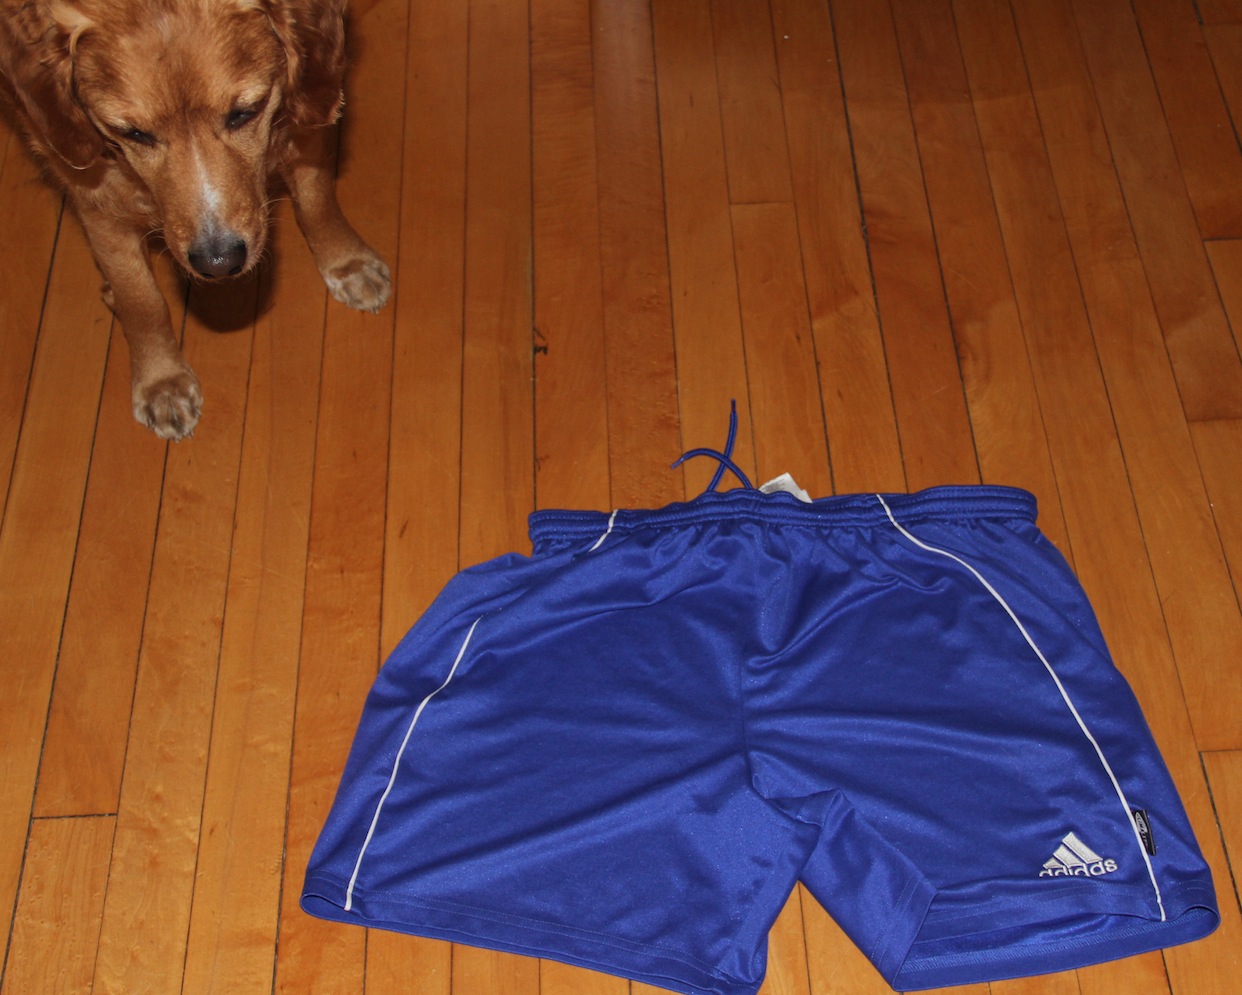
Rusty checking out the shorts.
First thing I did was cut off the top of the shorts right below where the tired elastic and draw string are. Next thing I did was seam rip the two legs apart.
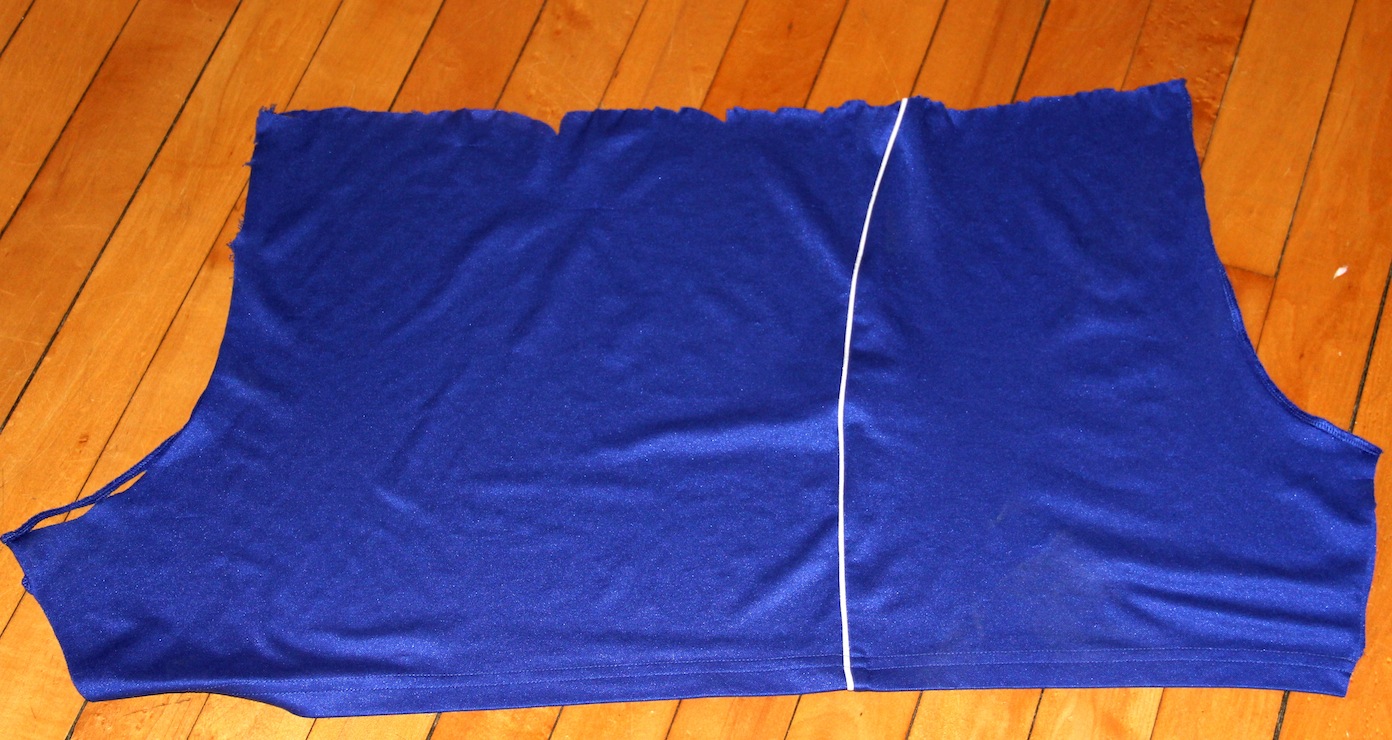
Next, I folded the fabric in half and pinned it closed. Then I took a tank top I had with large arm holes and measured Rusty and it to make sure it would work as a pattern for him and traced the lines for the arm holes and neck.
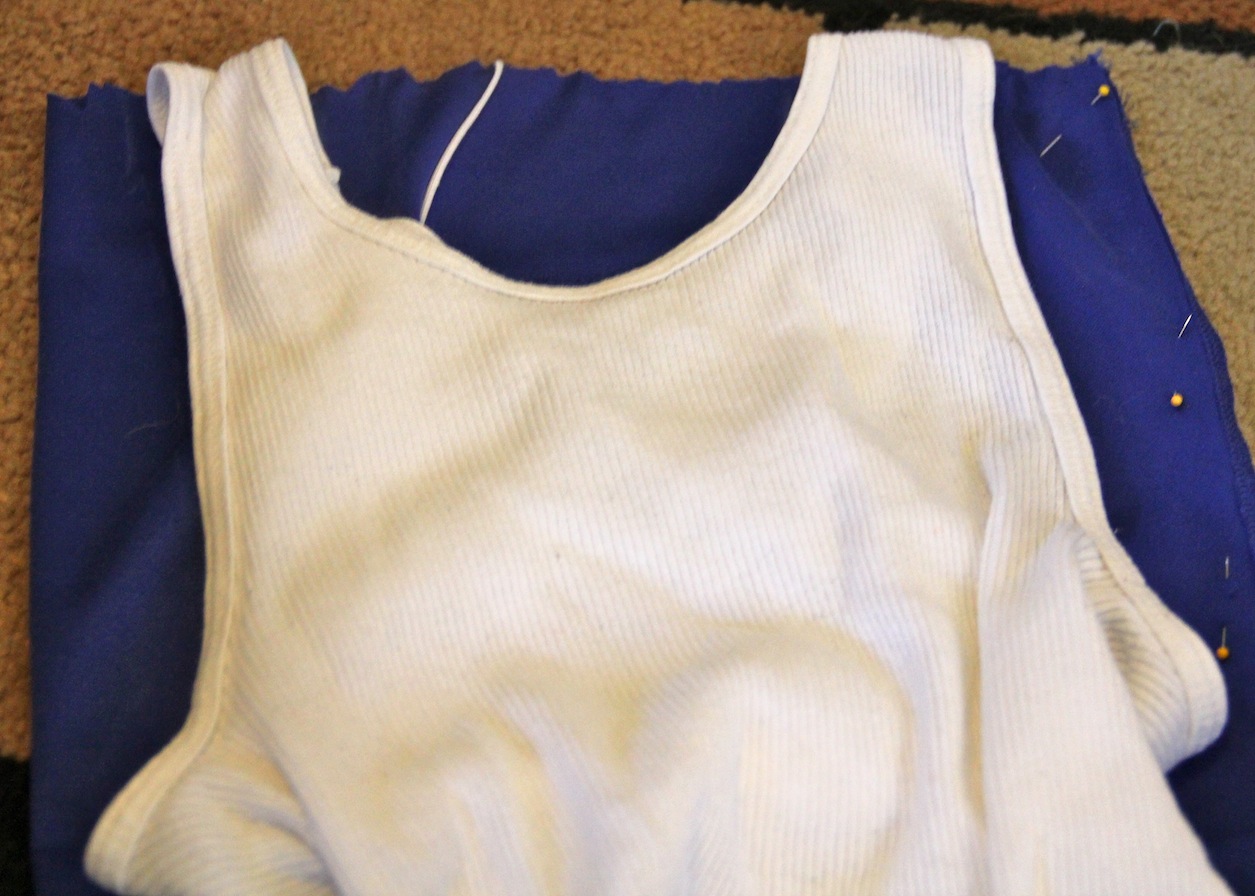 Then I cut out the pattern and placed the fabric inside out. I pinned and sewed the shoulder seams together. I used a jersey needle in my sewing machine because I found the universal needle was too rough on the nylon fabric. I then tried it on Manne to check fit and how I wanted to velcro it shut.
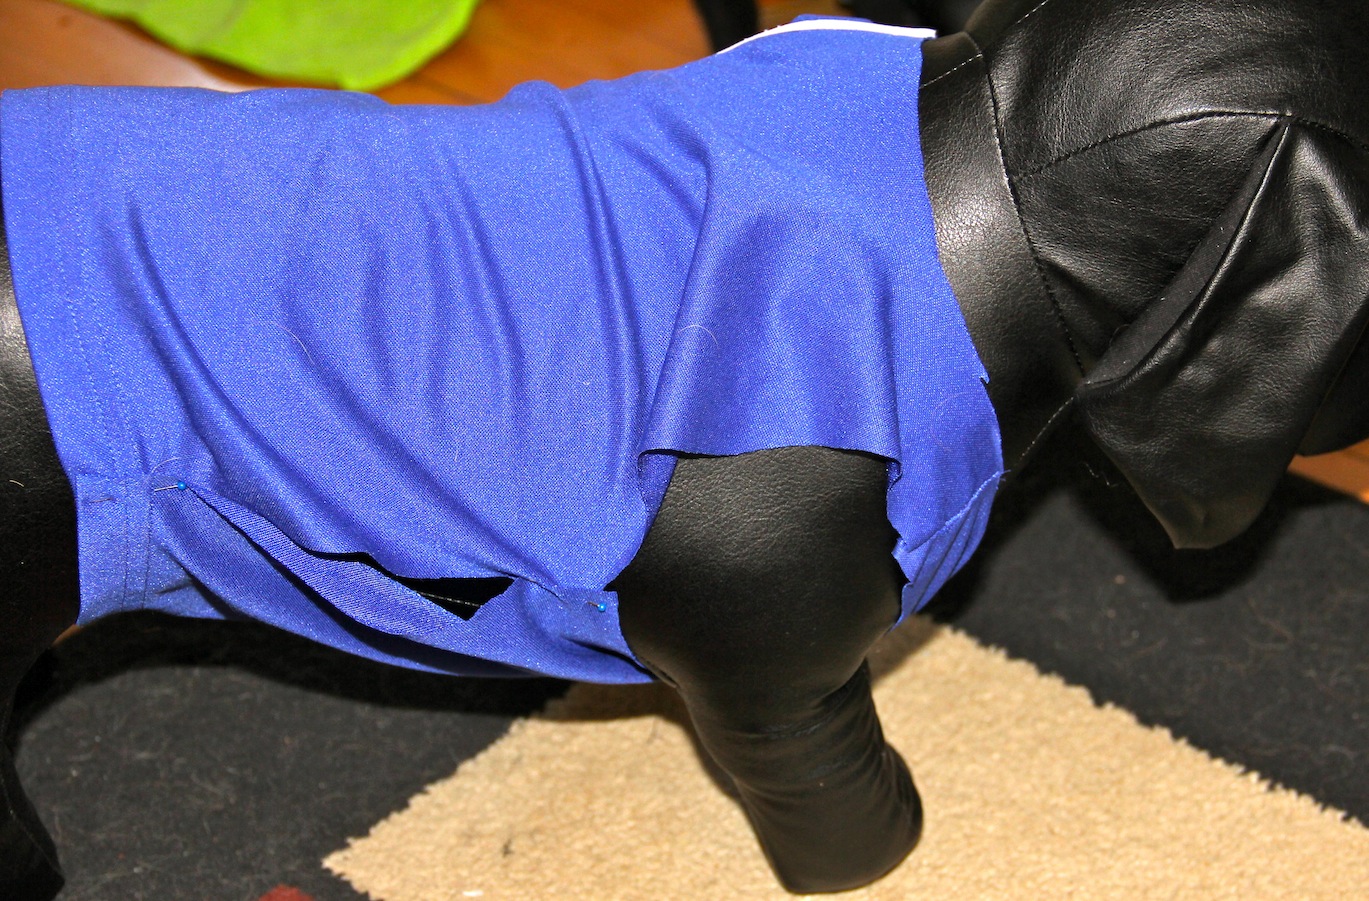
Manne the model
It might not be very noticeable in the picture, but I made this tank top to where one of Rusty’s leg has to go through a hole and then his head goes through the neck hole and it velcro to make the other leg hole and close the shirt. I did it this way so couldn’t shake it off.
Next I folded over and pressed all unfinished edges, and then folded them over again to encase the raw edges and sewed the seam.
To finish I took some fusible velcro, cut to the right size, and ironed them on to correct spots. I used a pressing cloth for this because the iron needed to be set to a steam setting. All that there was left for me to do was to have Rusty model it.
Model shot
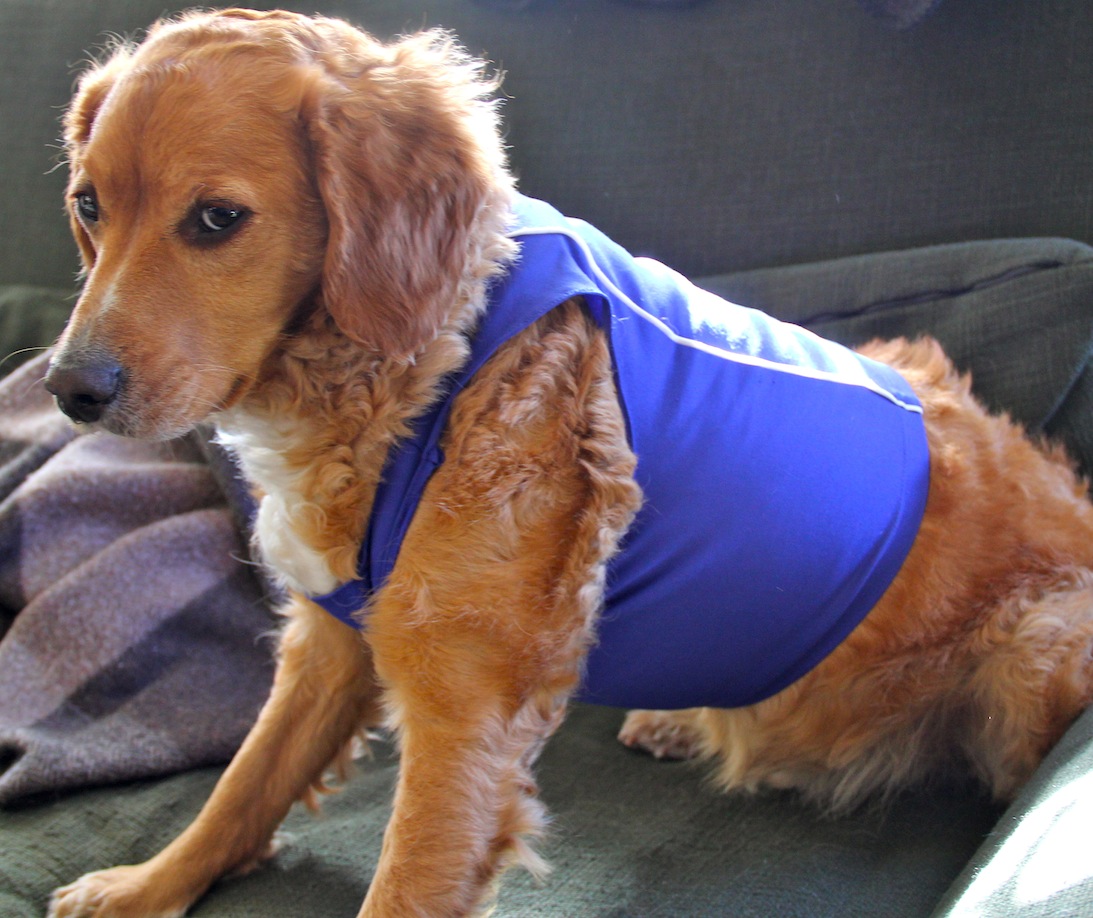
He’s about had it.

He’s over it.
 Pin It
Happy Cinco De Mayo!
I hope everyone is having a great Sunday. Enjoy a cucumber margarita or if you prefer a regular one try this margarita recipe, it’s for an individual drink:
Ingredients:
Frozen:
1. Combine all ingredients plus around 4 ice cubes and blend.
2. Pour into salted rim cup and garnish with lime wedge
On the rocks:
1. Pour all ingredients over 3 ice cubes in a salted rim glass
2. Stir to mixture
3. Enjoy!
 Pin It
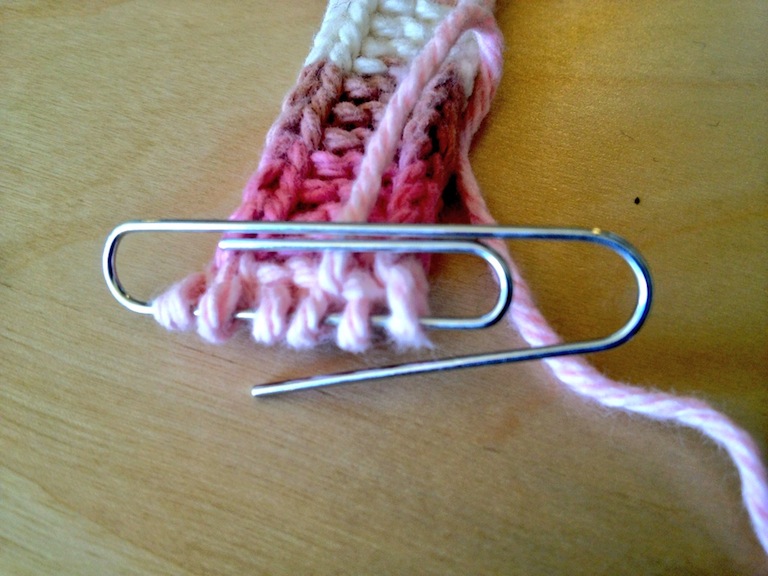 I noticed I was running low on yarn and needed to add a new ball of yarn but I’m not at home and I need the needles for another project. I didn’t want to ruin my stitches so I used a paper clip to hold them until I get home and I can start another project now. This works great for small projects!
