fingerless gloves

Simple Knit Men’s Fingerless Gloves Pattern

Posted on
Follow Me on PinterestPin It

Homemade presents are the best presents in my opinion because you know the person really thought about the gift and put some time into it. Also, I enjoy making gifts for people too so it’s a win win.

I needed to get a gift for a friend and decided on fingerless gloves. I have a pair and love them.  I have also decided to make a pair of fingerless gloves for my dad because he uses a cane and these will allow him to keep his hands warm and still have the ability to grip the cane. For my friend’s gloves, I decided on a 100% baby alpaca chunky yarn in gray because it’s so soft and warm. It’s also just my favorite yarn to knit and gray goes with everything.

easy pattern/ how I did it:

  1. cast on 32
  2. k2 p2
  3. continue pattern until it reaches desired length  I made mine about 8 inches because I wanted the glove to go all the way under the coat sleeve so no skin was exposed
  4. cast off in the k2 p2 pattern
  5. fold in half lengthwise and whip stitch up the side leaving an opening for your thumb about an inch down from the top

Then you have great fingerless gloves for the late fall and winter!

This pattern can easily be adjusted for men and women. Just reduce or increase the stitches by the pattern of 4 stitches (k2p2)

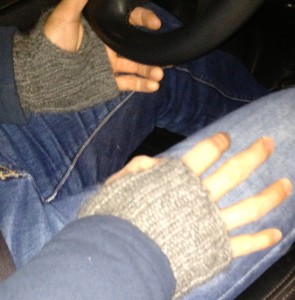
fingerless gloves

action shot


Fabric Information for Sewing

Posted on
Follow Me on PinterestPin It

If you haven’t noticed, I’m not a professional sewer. I’m a self taught through books and google and make things up as I go. But  I have learned some things about the fabric I’ve worked with and I decided to share the fabric information.

Fabric                  Absorbency                  Dye-Ability                      Wrinkle Resistance
Cotton                      good                                good                                         no
Linen               very very good                     not good                                       no
Silk                      very good                         very good                                    good
Wool                       good                                 good                                        great
Polyester                 low                                   good                                        great
Rayon                     good                                 good                                        great
Nylon                       low                                   good                                     very good


grilled cheese

Grilled Cheese BLT Recipe

Posted on
Follow Me on PinterestPin It

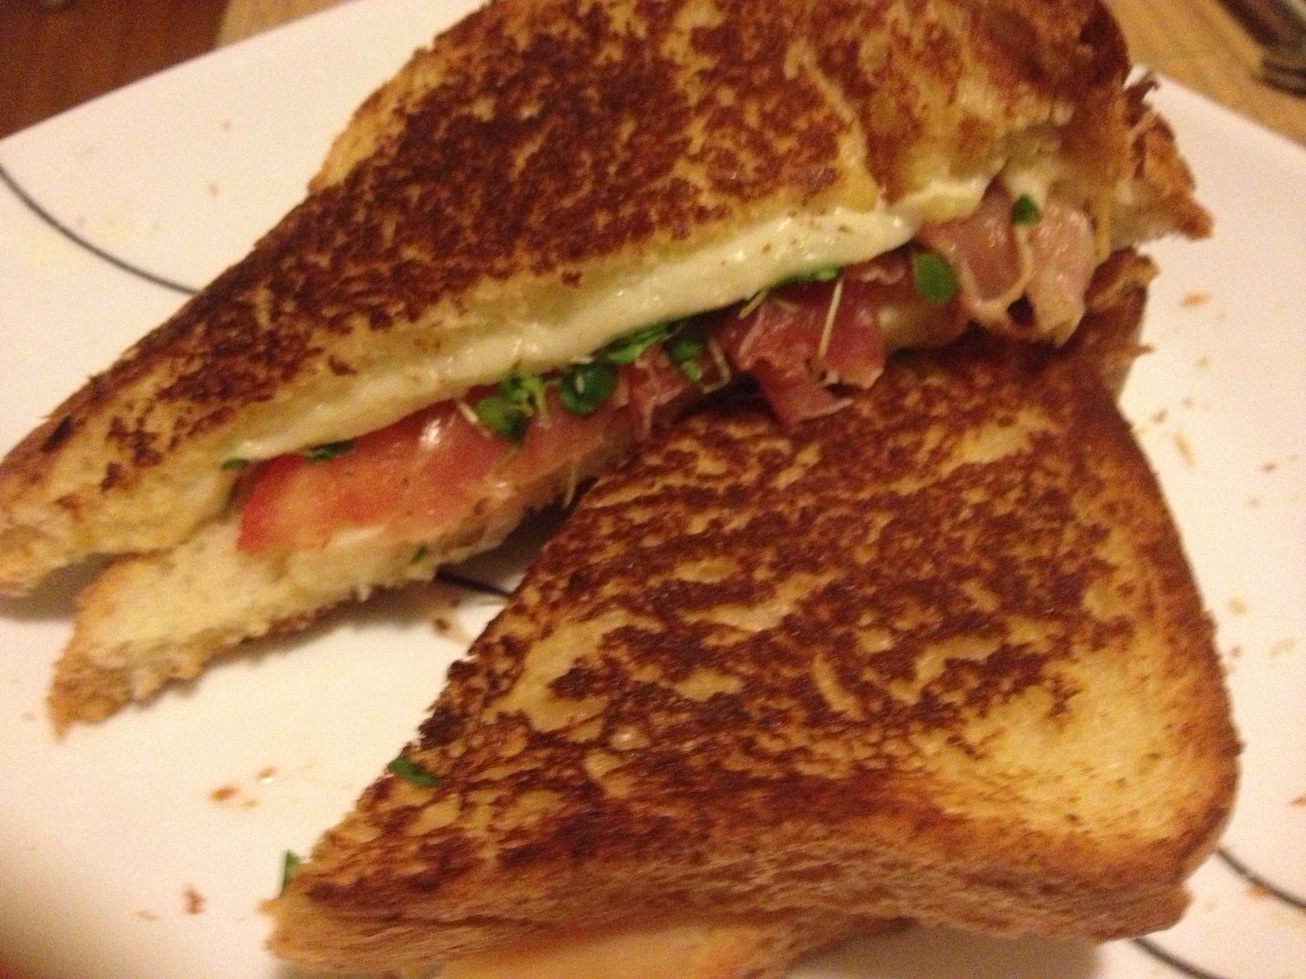
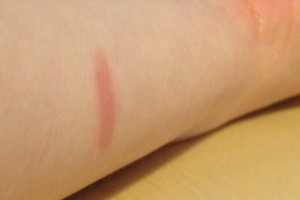
Made a delicious grilled cheese this weekend. It’s my version of a kind of grilled cheese fancy BLT combo. I’m glad it was good too because I have a battle wound from it! But that’s not out of the ordinary for me. I’m a bit of a klutz. I burned my arm on the pan in my closet sized kitchen. Guess I needed more space to stand and watch the cheese melt on my sandwich. 🙂

awkward picture of the burn on my arm

awkward picture of the burn on my arm

Ingredients:

  • bread
  • butter
  • prosciutto
  • muenster cheese
  • tomato slices
  • arugula micro-greens
  1. I like to sear the prosciutto a bit first so it’s cooked. I treat it likes it’s bacon.
  2. Butter two slices of bread on one side.
  3. On medium heat, place a piece of bread, butter side on the pan.
  4. Next, place prosciutto, tomato slices, sprinkle the arugula over it and finally the cheese slice or slices, followed by the other piece of bread butter side up.
  5. Cook until butter on bottom of bread is a nice brown color, a few minutes
  6. Carefully, flip the sandwich and cook until that piece of bread is a nice brown color and the cheese has melted
  7. Enjoy!
grilled cheese

yum

The great thing about this is, it is so versatile. Many ingredients can be swapped for another. Grilled cheese is probably my favorite sandwich!


mushroom

Simple Cross Stitch Patterns made from an App

Posted on
Follow Me on PinterestPin It

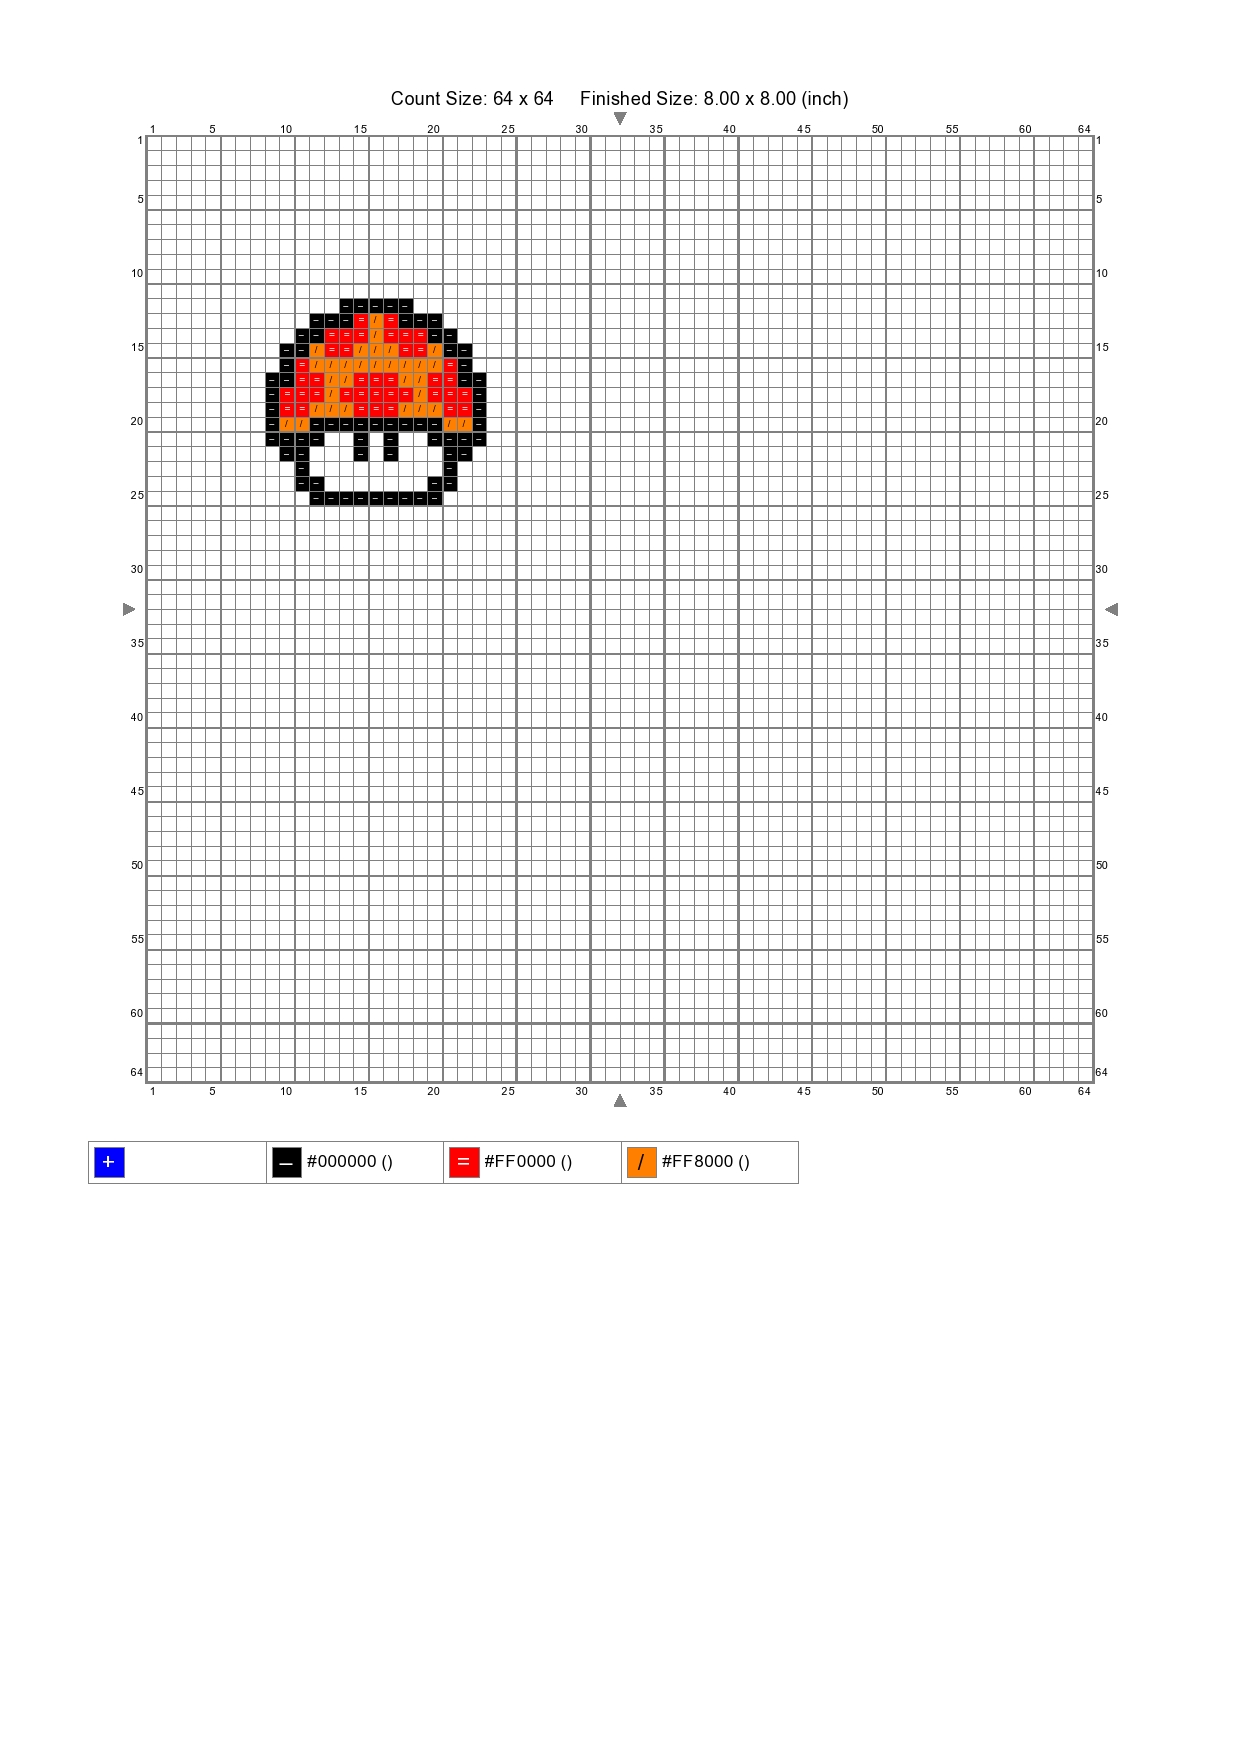
I mentioned previously that I found an app for iPhone and iPad. It’s basically pixel art transferred to cross stitch patterns. I did make some simple cross stitch patterns. But, the app doesn’t allow for half stitch, back stitch or knots. It is fun to play with and see just how difficult it is to create a pattern. I’m posting pictures of the ones I made. They are very basic and the graph space doesn’t expand to be a very large canvas. For some reason, some of the patterns I could save with the graph behind it, as a .pdf.  Other patterns, the program had issues with and had me save as an image file resulting in no chart. All in all the program is fun to play with and to get a basic idea of pattern making but it’s not for serious pattern makers. Now I know what I’ll be doing to pass the time when I ride the T.

simple cross stitch pattern


simple cross stitch pattern

Key

background in Mario Brothers

background in Mario Brothers


mushroom


Found a Cross Stitch App! Stitch Sketch Review

Posted on
Follow Me on PinterestPin It

Found a cross stitch app for iPhone and iPad! It’s called StitchSketch! The website also has a download for PC computers. The lite version of the app is free and the full version is only $5! It takes some getting use to especially on my phone because the screen is so small. But it allows you to save and send/email the charts as images and pdf files. It can also upload your designs to your DropBox account.  This is the only app I can find that allows you to create your own designs as well as turn a picture into a cross stitch pattern. I’m so pumped for this and to keep learning more things about it because I no longer have to draw the patterns out by hand! Bottom line, this app is fun but not for large or detailed projects because it doesn’t have backstitch or half stitches. Now, I just need to take the time to get familiar with the program.


pattern

Cross Stitch Chevron iPhone Case

Posted on
Follow Me on PinterestPin It

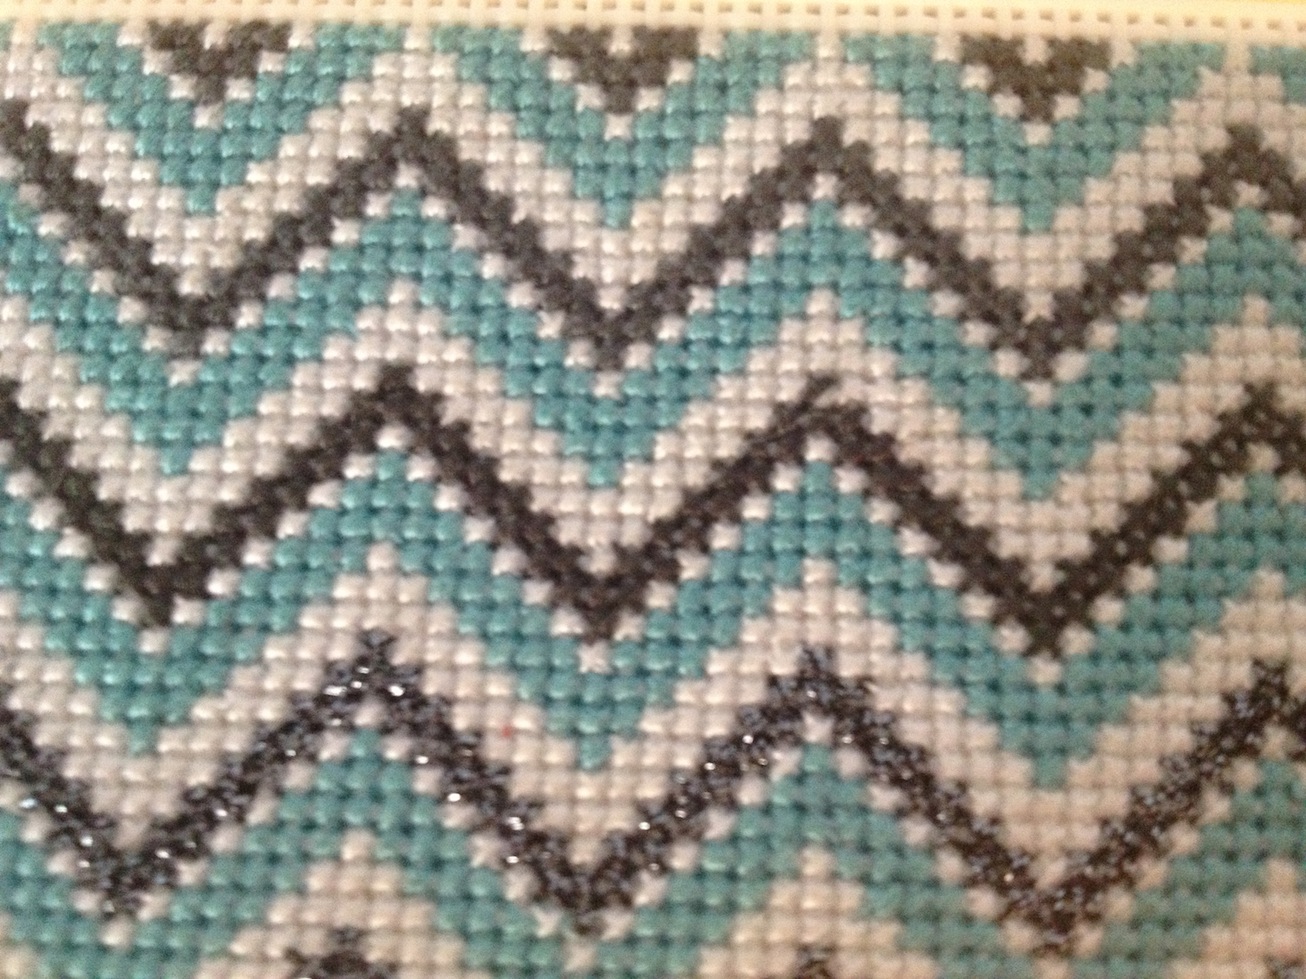
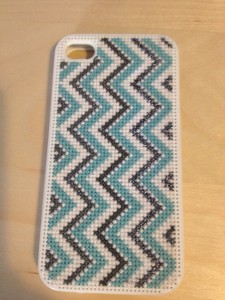
As mentioned before, I was cross stitching a chevron patterned iPhone case. It’s finished and I LOVE it! Isn’t it beautiful?

chevron iphone


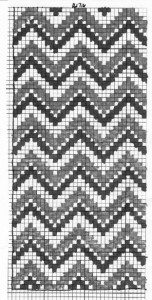
I decided to do the chevron pattern in white, turquoise and 3 different shades of grey.

I was going to do all of the grey stripes in the metallic thread but I decided it would be too much shine for me and I find metallic thread to be a pain in the you know what to work with. But I like the way there’s just a little bit of shine. I wanted to find a grey that was just the matte version of the metallic and I knew I had some in my tangled ball of thread left over from other projects. There are two shades because the lighting in my apartment is bad and I didn’t realize they were two different shades until I was in natural light and had already stitched using both colors. But I am really thrilled with how it turned out. The variations add just enough personality without being too loud. I find it to be perfect for me.


ready

Simple Biscuit Recipe

Posted on
Follow Me on PinterestPin It

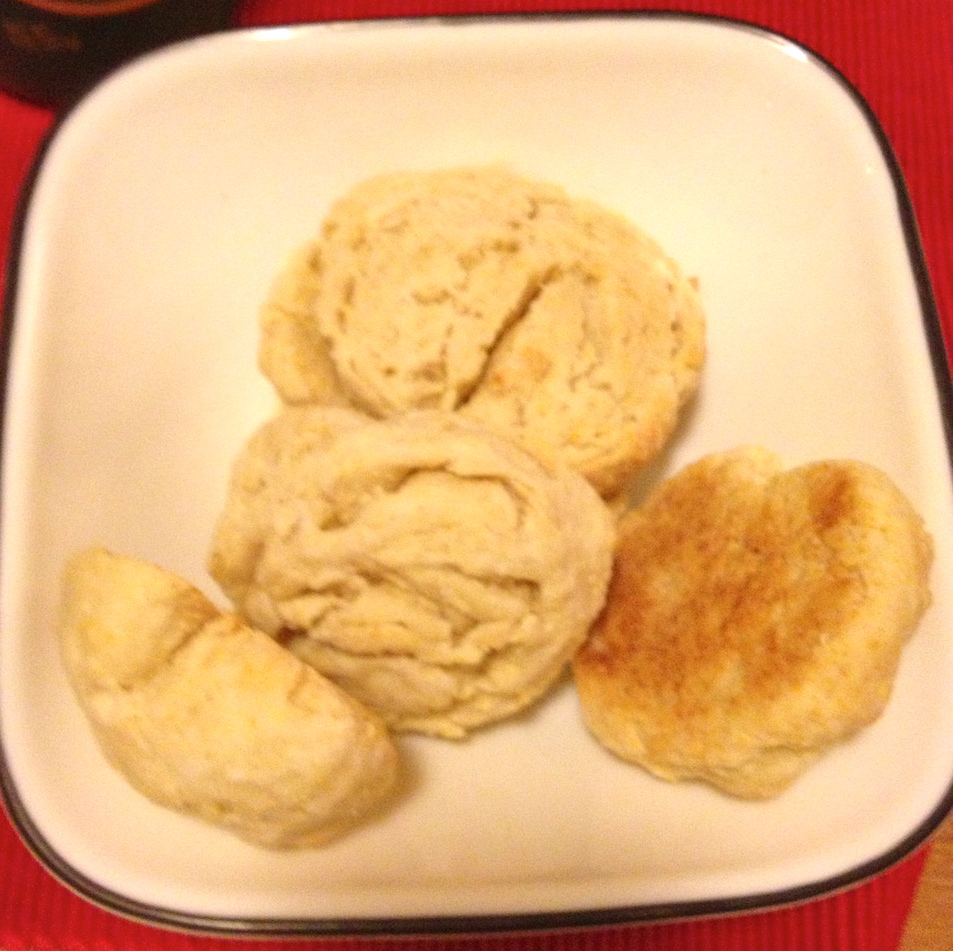
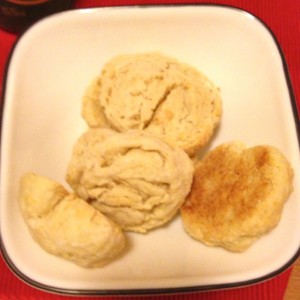
I have this biscuit recipe because my husband requires bread at all meals. He doesn’t always get it but he’d prefer to have it. Here is my simple biscuit recipe I sometimes make him because it is easy and simple to make and it doesn’t take all day to make.

Ingredients:

  • 2 cups all purpose flour
  • 1 1/2 tsp baking powder
  • 1/2 tsp salt
  • 5 Tbsp butter, cut into tiny pieces
  • 2-4 Tbsp honey, depending on how sweet you want them, I normally do 3
  • 3/4 cup milk, whole, buttermilk, 2% I’ve used all and prefer whole, they all change the taste a little bit

Directions:

  1. Preheat oven to 400° and line a cookie sheet with parchment paper
  2. In a medium bowl, combine flour, baking powder, salt and butter until it’s coarse
  3. In a small bowl, combine milk and honey
  4. Pour milk mixture into flour mixture and combine until all of the ingredients are no longer dry
  5. Put dough on a flour surface and kneed for a couple of minutes
  6. Roll dough into a log a couple of inches thick
  7. from log, cut 1.5-2 inch thick biscuits and place on cookie sheet

    biscuit recipe

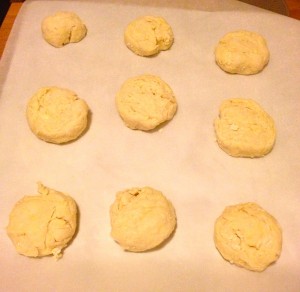
    cut and ready to be baked

  8. Bake for 10-12 minutes
  9. Enjoy!


biscuit recipe

yum!


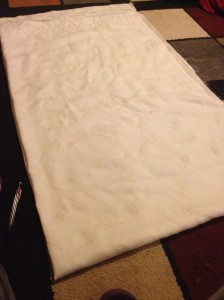
tree skirt fabric

How to sew a quick Tree Skirt

Posted on
Follow Me on PinterestPin It

all finished!

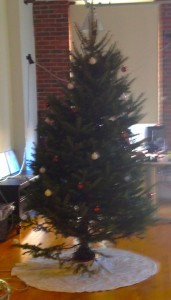
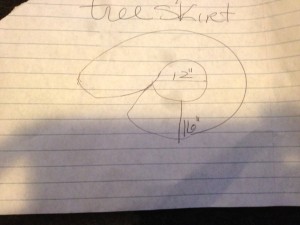
We have a Christmas tree at work and it was looking bare to me because it didn’t have a tree skirt. So, I decided to make one. Here is my very professional pattern that I drew at work.

tree skirt

my make shift pattern

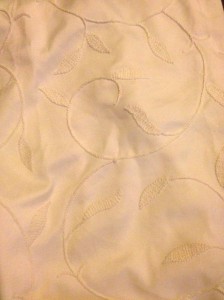
I have this fabric from curtains that I made and am no longer using. I thought it would make a beautiful tree skirt.

tree skirt fabric

fabric

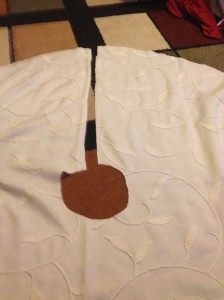
Since I had a long panel, I folded it in half and then in half again so it is folded into fours.

folded in half and half again

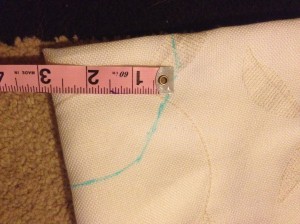
Next is time to measure. I divided the diameter in 4 because I folded it so it needs to be 3 inches from the point. I did the semi-circle by just measuring out 3 inches from the point in different spots on the fabric.

measure with a fabric marker

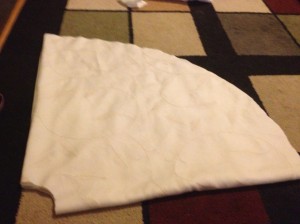
I did the same thing with the outer measurement but went with 22.5 inches instead of the 16 inches I originally wrote down on my professional pattern. The I cut along the lines I drew.

cut the along the lines

a few steps left

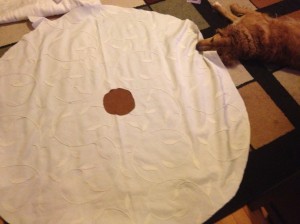
This is what is looks like unfolded and of course Rusty needed to help me out.

Next I cut a line down the fabric.

cut down to be able to wrap around the tree

The last, and time-consuming thing to do is finish it to hide the raw edges. This can be done in three ways.

  1. folding edge over and folding it again and hem to encase the raw edge
  2. add binding to the edges to encase the raw edge
  3. zigzag stitch around the edge to prevent fraying and then folding over and sew a hem

Although the first two options are probably the better options, I went with the zig zag stitch and press seam and sew a hem because the first two requires more time at the ironing board and pinning. I hate ironing so I went with the zig zag stitch.

all finished!

all finished!


Chevron Cross Stitch Case Iphone 4 Pattern

Posted on
Follow Me on PinterestPin It

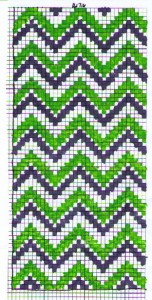
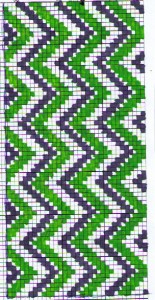
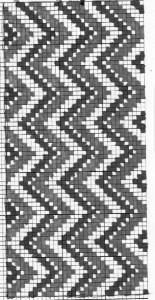
I ordered a cross stitch cover from ThinkGeek! I am so excited to have a chevron cross stitched phone case. The case actually came with three colors of thread, needle and some patterns and the company has more case patterns at Leese Design. Just go to the bottom right of the page and click the red “chart” box. There are a lot of patterns to choose from but most were of certain themes/holidays and I wanted something to that didn’t look out of place throughout the year. I decided to create a chevron stripe pattern because I’m kind of obsessed with them at the moment. I didn’t know which way I wanted the stripes to go so I found some blank graph paper at Better Cross Stitch Patterns website, and started coloring. These are the two I made.


chevron cross stitch iphone horizontalvertical chevron cross stitch

Black and white versions

b&w horizontalvertical black and white

I don’t have the little camera hole in the upper left corner on the patterns because I figured it’d be pretty simple to omit it. Now I need to decide which pattern to use!