 Pin It
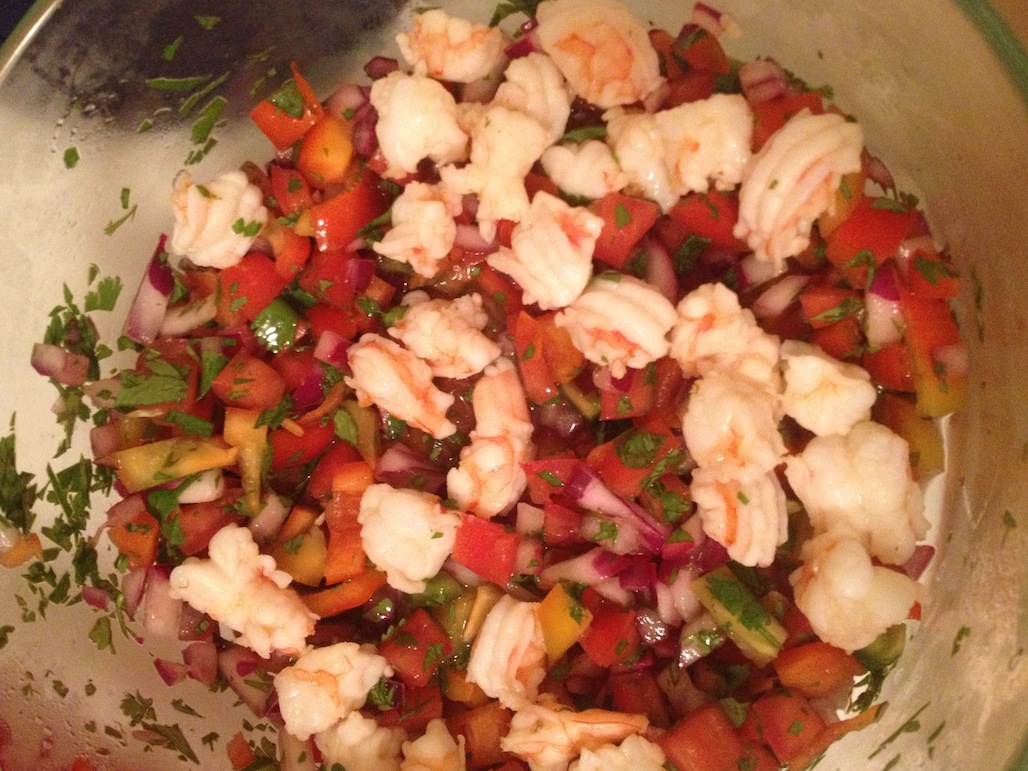
A few summers back when my husband and I spent a couple of days in Miami we ordered a shrimp ceviche and the waiter politely told us that was fine but a shrimp ceviche isn’t a real ceviche because you have to cook the shrimp with heat, as opposed to traditional ceviche where the acidity in the juice cooks the fish, before you put into the vegetables. I’m not sure why it needs to be cooked first but it’s not a big deal because it actually speeds up the time from making to eating which is always a good thing.
Ingredients:
- 10 or more medium-sized shrimp, peeled, tail removed and deveined (or be smarter than me and buy some that are already like that) cut into bite size pieces
- 1/2 cup of fresh squeezed lime juice
- 1/2 cup of fresh squeezed lemon juice
- 1/2 red onion, finely diced
- 1-2 chopped fresh seeded vine tomatoes
- 1 chopped bell pepper, no color preference
- 1/2 jalapeño pepper, chopped and 1/4 of the seeds, add more seeds if you want it a little hotter.
- Salt to taste
- Cilantro to taste, stem removed and chopped
Directions:
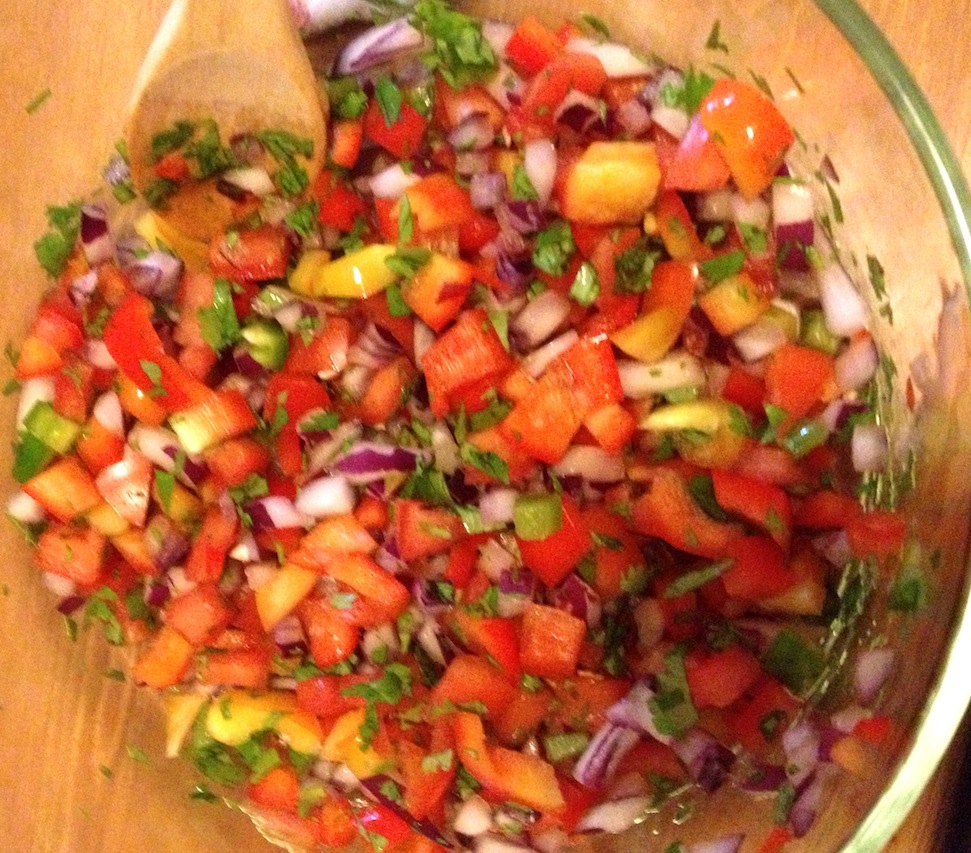
1. In a glass bowl with lid, like a Pyrex, combine equal parts tomatoes, onion, and bell pepper. Next add the jalapeño. Mix well with a spoon.
2. Add cilantro and mix. Then add the salt to taste and a little bit of lime juice. The salt is to take some of the sweetness away from the lemon and lime juice.
3. In a small saucepan on medium heat, bring the lime and lemon juice to a soft boil.
4. Add the shrimp and cook until it goes from clear to white.
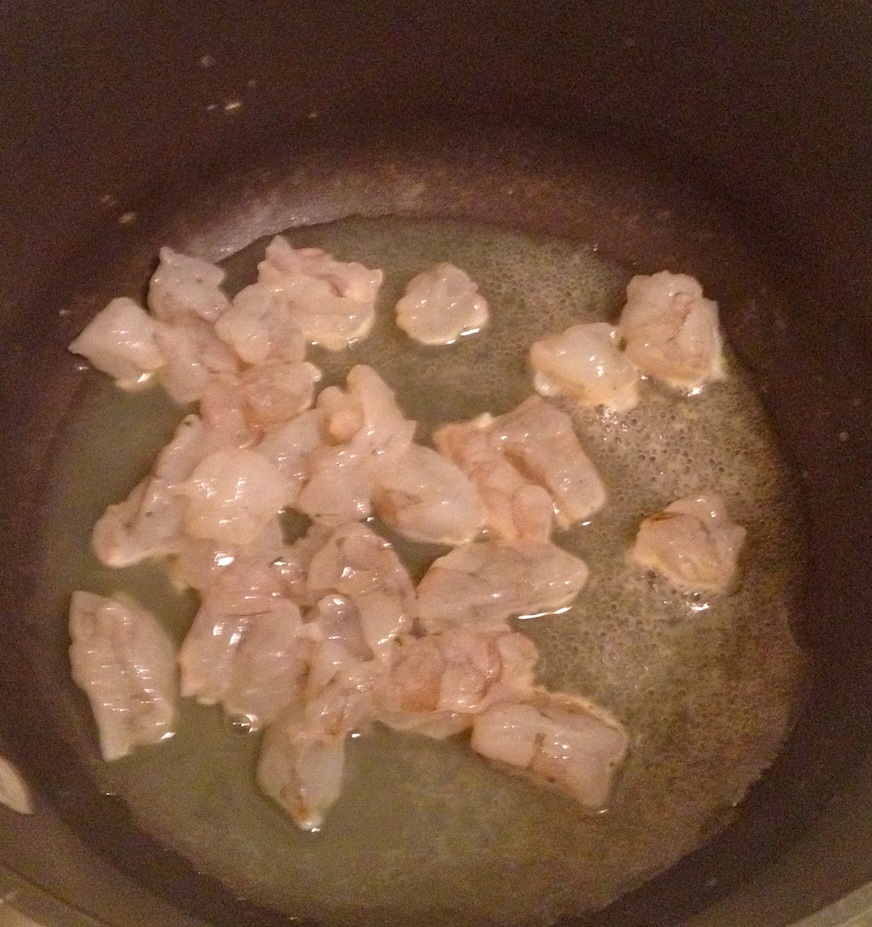
raw shrimp
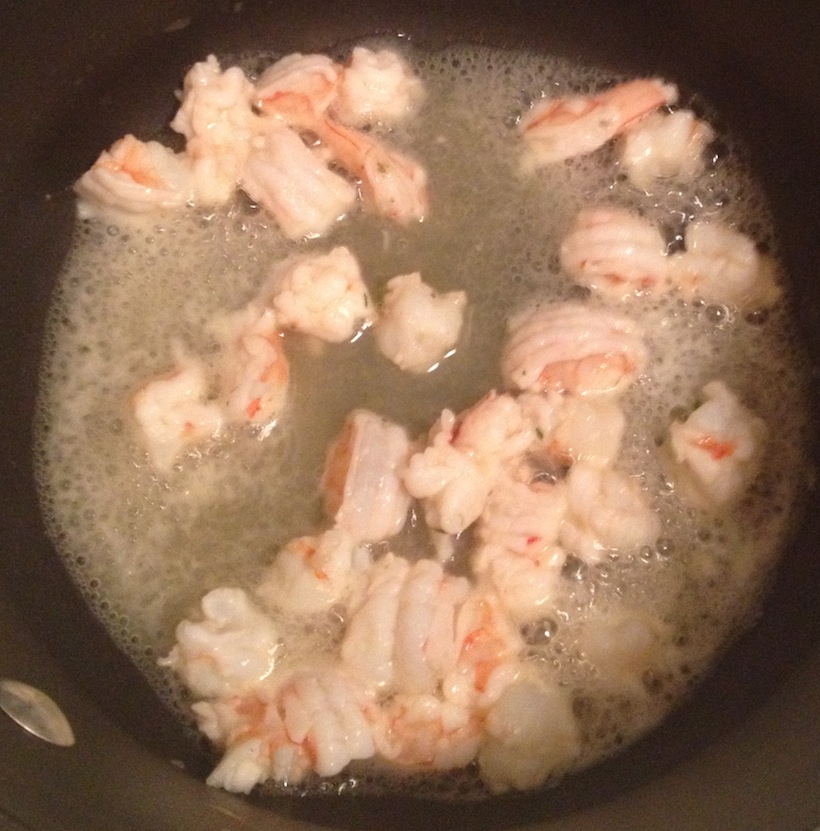
cooked
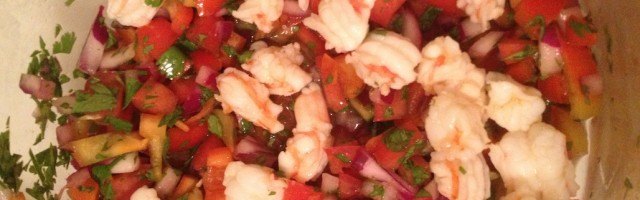
5. Add the shrimp and a little bit of the juice to the veggies and mix.
6. Enjoy! With tortilla chips, crackers, pita bread and/or guacamole.


