Basket Weave Pattern Knit Scarf

Posted on
Follow Me on PinterestPin It

My next project was a basket weave pattern scarf for my husband. I’m using a crimson color wool yarn on size 8 needles. The pattern I decided on was:

  • Cast on 30
  • Knit 5 Purl 5 for 5 rows
  • Purl 5 Knit 5 for 5 rows
  • Repeat until it’s long enough
  • Bind off

It is a skinny scarf for a man but the basket weave pattern is very nice because it gives the scarf texture without being girly.  I think it will be good when it’s really cold so he can bundle up with it.

I don’t know when I’ll finish but hopefully it’ll be soon so I can post a picture.

rusty, basket weave pattern

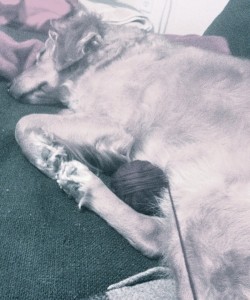
This is Rusty hard at work making sure my yarn ball doesn’t roll off of the couch while I’m knitting.

 Finally finished in June!


rock climbing

Rock Climbing Cross Stitch

Posted on
Follow Me on PinterestPin It

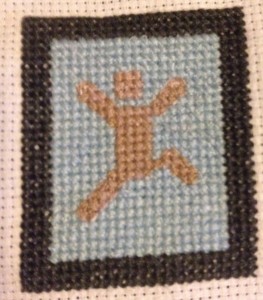
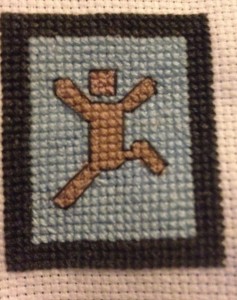
Over the weekend I cross stitched Joshua’s rock climbing ornament. I made a few adjustments to the rock climbing man/pattern. Here is my rock climbing cross stitch.

rock climbing cross stitch

naked rock climbing man?

I asked Joshua what color he wanted his rope and belt to be, and his response was “I want to rock climb naked” :/ So the little guy is naked and without equipment.  I guess that means he’s bouldering and not rock climbing.

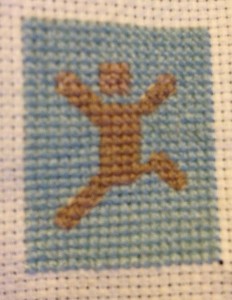
with background

background done

At this point it looks like a “It’s a Boy!” announcement to me.

I put a border to help curb that look.

with border

One last step, I backstitched around the rock climbing man the same color as the border.

rock climbing cross stitch

finished

Joshua’s guy is complete! Well, the stitching part anyways.


cheese

Chili Recipe

Posted on
Follow Me on PinterestPin It

We stayed home for Thanksgiving. It was nice weekend just the three of us and in the tradition of Thanksgiving, we needed to make something that would give us a lot of leftovers. I didn’t really want to tackle a turkey again so we went with chili. I say we because Joshua helped A LOT with this since I have never made chili before and we weren’t using a recipe. It turned out delicious! Here is our chili recipe.

Heres what we used:

  • 2 28oz cans of crushed tomatoes
  • 2 little cans of tomato paste
  •  1lbs. ground sirlion
  • 1lbs. ground mild italian sausage
  • 1/2 package of bacon
  • 2 poblano peppers, chopped
  • 1 red bell pepper, chopped
  • 1 can black beans, drained
  • 1 medium yellow onion, chopped
  • 1/4 of a garlic bulb chopped
  • 4 large basil leaves chopped
  • a lot of chili powder
  • a lot of oregano
  • black pepper
  • salt
  • powered mustard
  • celery salt
  • tarragon
  • some beer
  • cheese
  1.  put crushed tomatoes and tomato paste in a big pot, and put it on the stove to simmer
  2. I then cooked the meat in a skillet, I seasoned the sirloin with red and black pepper, salt and chili powder while it browned, then I cooked the sausage, followed with the bacon, and then put it all in the pot with the crushed tomatoes
  3. leaving a little bit of the bacon grease in the pan, I sautéed the peppers, onions, and garlic a little bit to get them to soften and sweeten just a bit but still leaving them with a crunch to them, and put it all in the pan
  4. add the basil to the chili and stir to combine it all
  5. add some beer, we used an ale, probably about 6oz, but it’s really up to the person making it, but too much, will make it runny
  6. then it was time to season the chili, which consisted of throwing a lot of spices in it and tasting it until we liked it
  7. we left it to simmer, covered, for a few hours, stirring occasionally
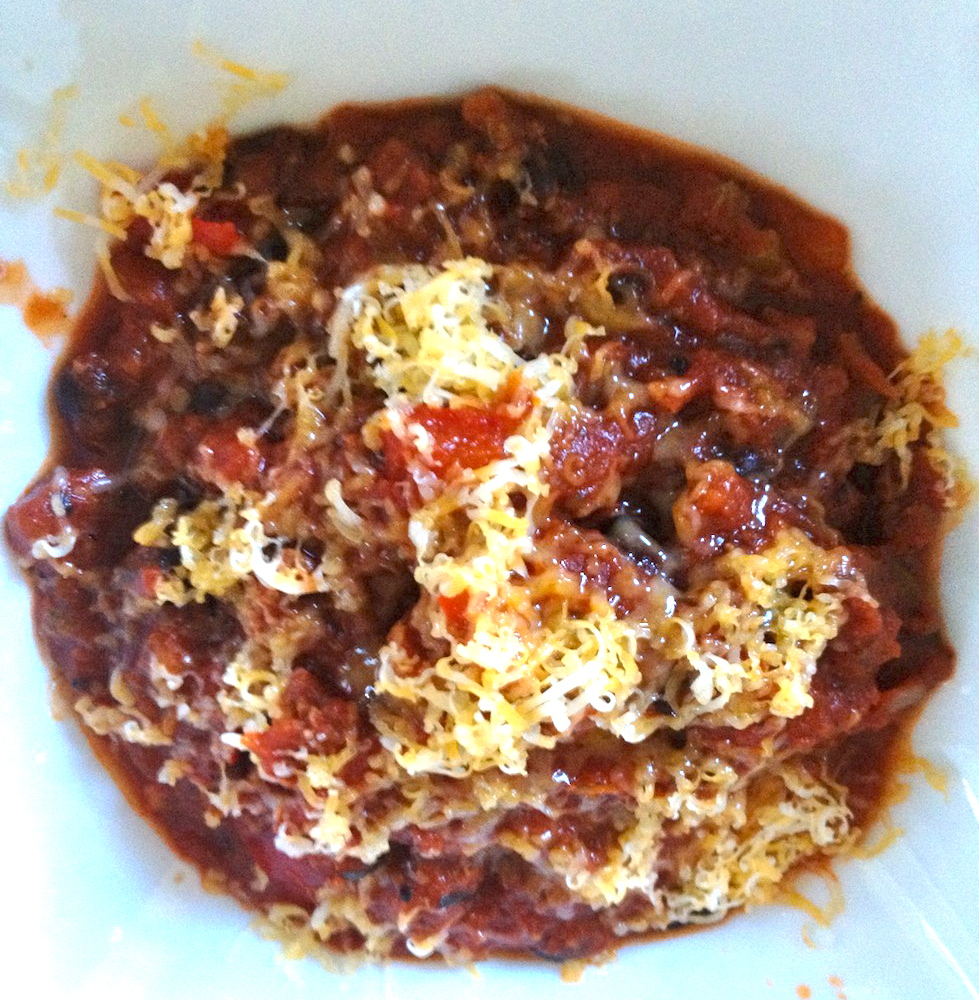
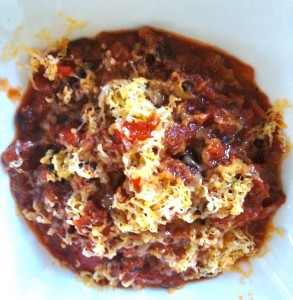
  8. when it was time to eat, we topped it with some shredded colby jack, but cheddar would be good on it too
yum

Chili!

It ended up having just a little bit of a kick to it, well in my opinion it did, but I don’t handle spicy food too well, but it was amazing! It was nice to eat chili on this chilly weekend. 🙂 It’s thick enough to make a chili dog, or what I did when it got a bit too spicy for me, scoop a cracker into it and eat it that way.
cheese

cheese!

Definitely had enough leftovers to last and some to even freeze for other chilly winter days!


background complete

Paw Print, How to Cross Stitch

Posted on
Follow Me on PinterestPin It

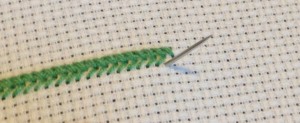
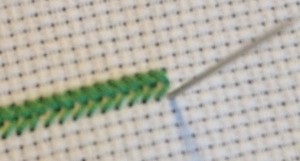
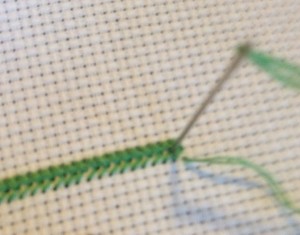
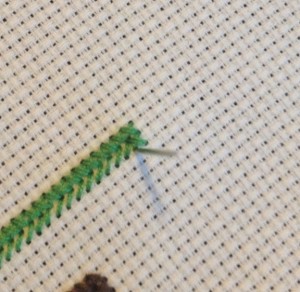
After I drew my paw print pattern I got to stitching! Here’s how to cross stitch. First I’ll go a little backwards with photos of doing the cross stitch with a border I’m putting around it. But a starting note, remember, is that there is no knot at the end of the thread, you simply leave about an inch on the back side of the fabric.

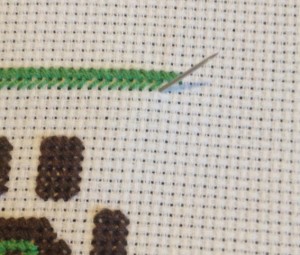
step 1

take the needle through to the front side of the canvas from the bottom hole

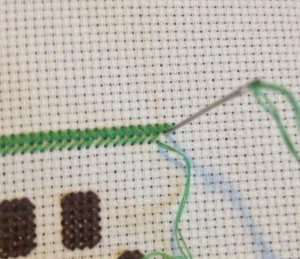
step 2

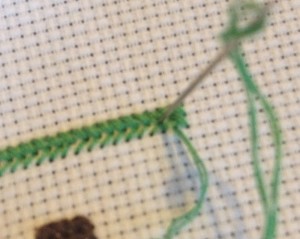
pull through and go to the next row over, up and to the right diagonally, pull needle all the way through to the back of the canvas

step 3

next go to the hole directly underneath the hole in the previous step and pull the needle through to the right side of the fabric

step 4

after you’ve done another diagonal stitch, go to the hole underneath the one previously used and pull needle through to the right side of the fabric

step 5

now go up and diagonal to the left

step 5

now go up and diagonal to the left

step 6

the first X is complete and now repeat

step 7

go diagonal again to complete the second X

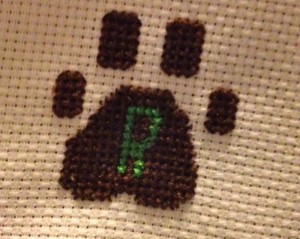
In my pattern I have a lot of half squares which could be confusing. But really it either means a half of stitch, literally a half of a stitch where the needle goes through the center of the square making the diagonal half of it’s usual length.

with green

Pattern Complete

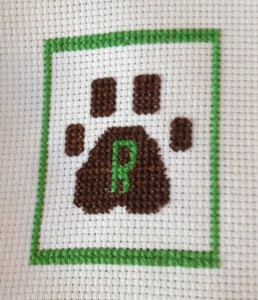
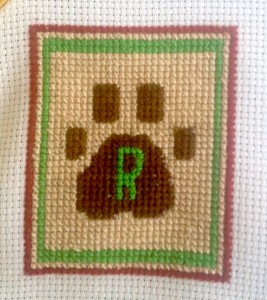
This is the pattern complete! But I needed a way to finish it, make it actually look complete. So I decided to make a border around it.

green

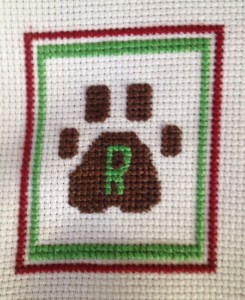
It still quite wasn’t what I hoped so I added another border.

red and green

almost complete

That looks much better to me, so now I’m going to fill it in with a cream colored thread to leave no square unstitched.

background complete

background is filled in

To finish the stitching part of this I decided to backstitch around the paw print to highlight it. This is easier, I think, than back stitching in sewing because it has the holes to put your needles in to make your stitches the same length and it is often used as a finishing stitch in cross stitch.

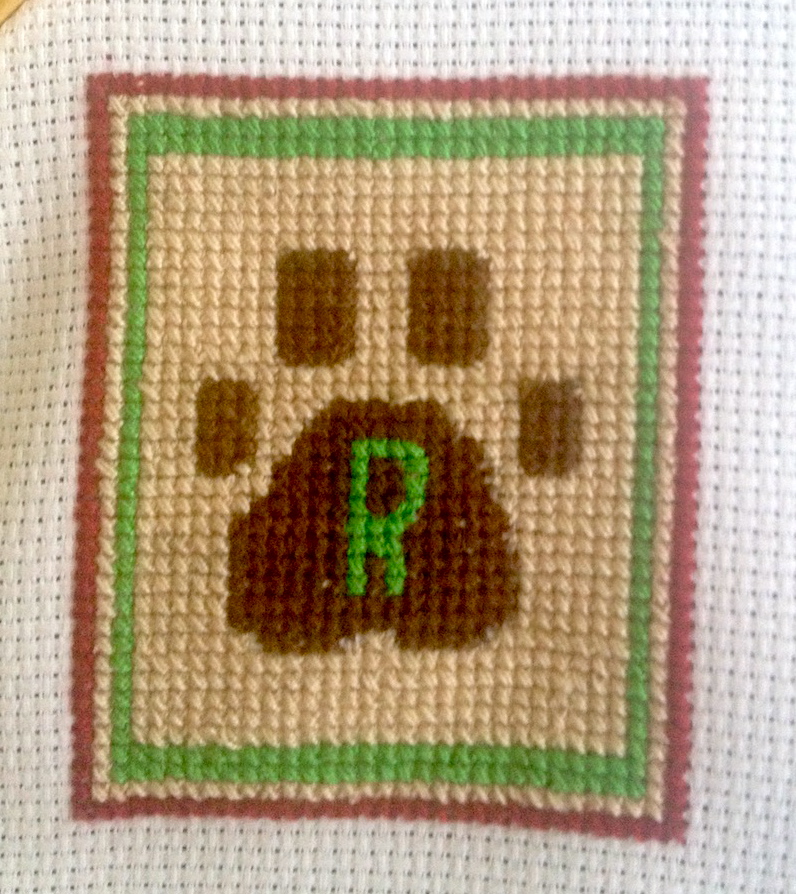
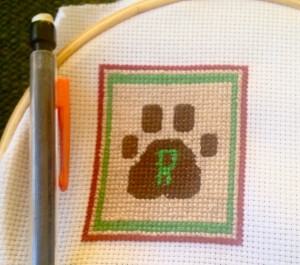
Stitching is Finished!

I put a pencil next to it to give a size reference. Now I need to figure out how to turn this into an ornament.


More Cross Stitch Patterns

Posted on
Follow Me on PinterestPin It

I’ve drawn more cross stitch patterns! I’ve gotten the pattern making bug! But thank goodness for pencils and erasers because I used them a lot! 🙂

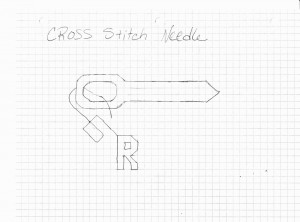
I made more patterns because I made Rusty a cross stitch pattern, which will be turned into an ornament that I decided my husband and I needed one too. Granted they are very basic, beginner cross stitch patterns, but they are my first group of patterns I’ve ever drawn. I can’t really draw that well to begin with but I wanted to try.

I have decided not to do a color legend for these because I wanted to keep my options open, as in, I wanted to make sure I had enough thread in my thread mess ball.

needle cross stitch pattern

my pattern

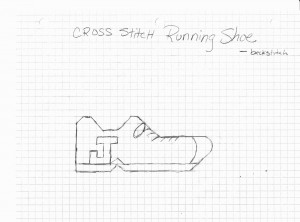
I couldn’t decide what to make for Joshua, my husband, so I sketched a couple of his hobbies and let him choose which one I made.

running shoe cross stitch pattern

running shoe

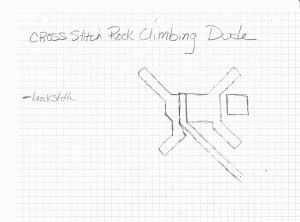
climber cross stitch pattern

mountain climber

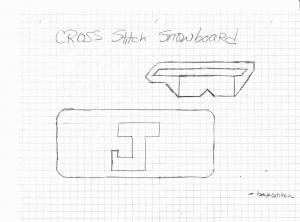
snowboard and goggles cross stitch pattern

snowboard and goggles

He picked the mountain climber so now I have two more ornaments to stitch and make into ornaments! Still deciding on whether or not to backstitch the year onto it.

Graph paper really is a girls best friend when trying to draw cross stitch patterns.


Drawing a Cross Stitch Pattern

Posted on
Follow Me on PinterestPin It

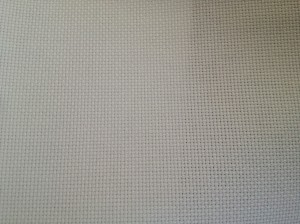
I have never sketched out my own pattern before. I’ve only bought patterns or found them for free online. I figured I would try it. This is what a blank canvas used for cross stitch looks like:

cross stitch canvas

canvas

Lots of tiny squares with holes at each corner. So graphing paper is the perfect tool to help me because it will make things easier to draw. I have decided to try to make a paw print with a R in the middle of it for Rusty!

It’s important to know that the size of the squares on my graphing paper are big so the finished cross stitch will actually be quite small.

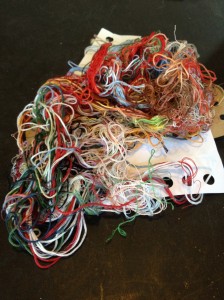
Another reason why I decided to draw my own cross stitch pattern is because I have this mess of thread left over from previous projects that I wanted to put to use.

ball o thread

my thread mess

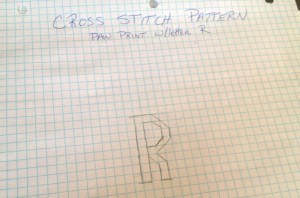
I started with drawing the R.

R

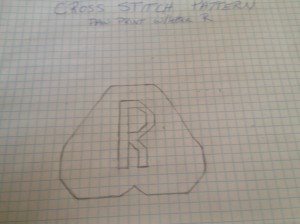
After staring at Rusty’s paws for what seemed like a long time, I decided the part surrounding the R will look like an upside down heart with the point chopped off.

paw pad

upside down heart

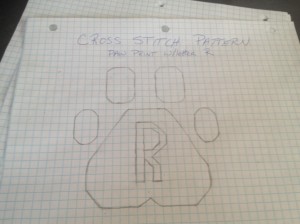
Next I needed the four little guys to go around the pad. I went with ovals but with angles instead of rounded edges to make the stitching easier.

paw complete

paw

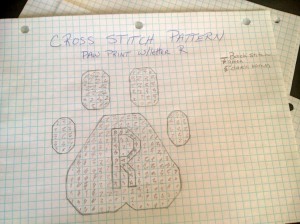
The next thing I did was unnecessary, but when you get a cross stitch pattern, there is usually a symbol that represents the color you need to stitch for that square. So I made my own key.

pictures

with symbols

Now I have a pattern to make the paw print! Eventually I will turn it into an ornament. Maybe I should put the year on it?


How to Cross Stitch

Posted on
Follow Me on PinterestPin It

I feel like the holiday season is a popular cross stitch theme. Mainly because I have cross stitched and finished three cross stitch stockings. So I thought I’d show how to cross stitch.

To start with new thread, there is no knot at the end of the thread, you simply leave about an inch on the back side of the fabric and your stitches will make it tight.

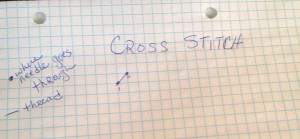
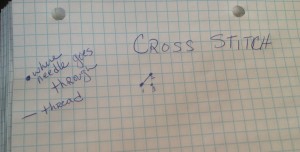
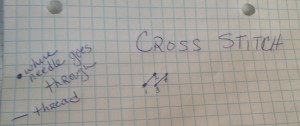
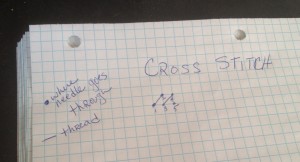
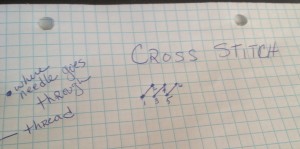
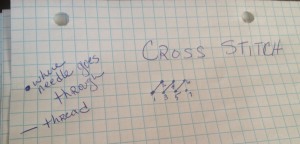
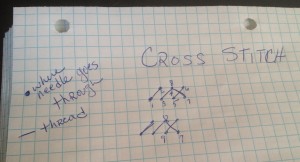
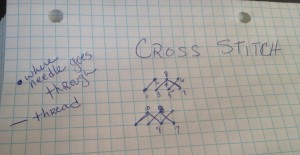
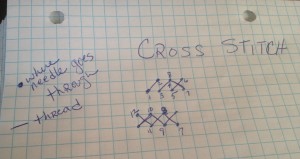
Here’s the basic cross pattern, thank goodness for graph paper:

the . are where the needle goes through the needlework fabric

the solid lines represent thread.

step 1 how to cross stitchstep 2 how to cross stitchstep 3 how to cross stitchstep 4 how to cross stitchstep 5step 6step 7

Drew the same row of Xs underneath because it was getting crowded on the top row with all of the numbersstep 8step 9 and 10cross complete You are literally making an X with your thread. Going left to right, when all of the / are done in that row you go right to left with a stitch that looks like this \  completing the X in cross stitch.

To end make sure your needle is on the back, wrong side, or your canvas and pull needle under a couple stitches to secure the thread in place.


from the front

How to Make a Knit HeadBand

Posted on
Follow Me on PinterestPin It

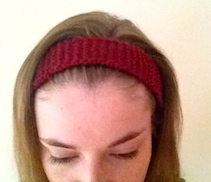
I’m going to the Harvard vs. Yale football game this Saturday and realized I don’t have a lot of Crimson to support Harvard. I have plenty of orange and navy to support the Fighting Illini and Da Bears but not much else. I decided on a knit headband.

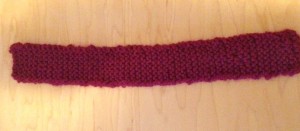
So I took the extra maroon yarn from my felted knit bag and counting the slip knot, cast on 7.

yarn

tiny yarn ball

I went until I had little yarn left and finished it. It ended up being 11 3/4 inches long.

all knitted up

supplies

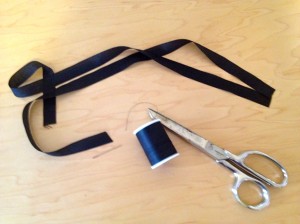
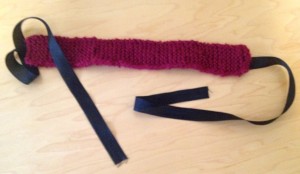
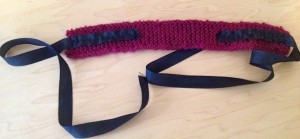
Then I got one yard of black ribbon a little bit smaller in width than the knitted piece, cut it in half and hand sewed it to the knitted piece. I used a running stitch  along the top, bottom and down the middle of the ribbon. I tried to make sure not to go over the knit stitches so the black stitches wouldn’t be seen. I also put the ribbon about four inches onto the knit piece to give the head band some strength.

The ends of the ribbon will fray so it’s best to fold over the end, to create a hem and sew to enclose the end of the ribbon.

front view

back view

I tried my best to get a good shot of me wearing it but apparently I am no good at it, and every straight on view, I looked a little cooky so maybe I’ll get some good pictures at the game!

from the front

Now I have a nice unique headband to wear to the game and just a fun winter accessory!

  1. wool yarn, cast on 7 on size 6 needles
  2. knit stitch until about 12 inches long
  3. 2 pieces of 1/2 yard ribbon
  4. sew ribbon to knitted piece
  5. wear and look great!


Needlepoint Weight Bench

Posted on
Follow Me on PinterestPin It

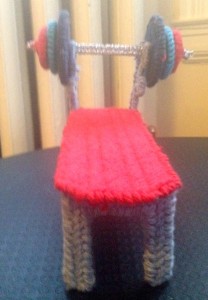
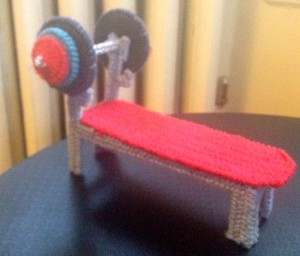
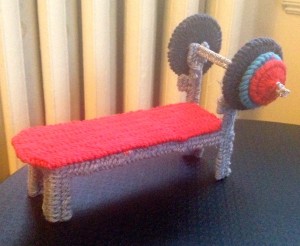
I have finally completed the weight bench!

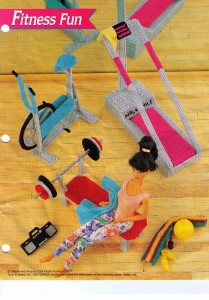
For those who don’t remember I was working on needlepoint exercise equipment for dolls.

I changed the colors a little bit but that’s the great thing about needlepoint, all colors are merely suggestions! You can customize it to how ever you want. This, like the treadmill, is more for show than use. I mean it can be played with and I want them to be played with, but the weights don’t come off of the bar but the bar does come off of the weight bench.

benchside viewother side view

Now, my nieces dolls can have a well rounded workout with cardio and strength training. The only piece left is the bicycle!


all three

Knitting Washcloths

Posted on
Follow Me on PinterestPin It

My next project was knitting washcloths using different stitches. It requires all cotton yarn, because you need to be able to use and wash them regularly.
wash clothes

yarn for wash clothes

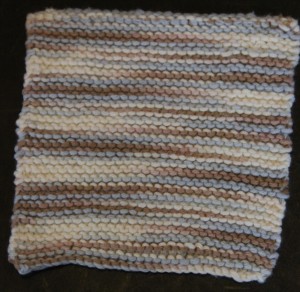
The first one, a plain knit stitch wash cloth, I have cast on multiple times. I find 100% cotton yarn to be much more difficult to work with than wool and alpaca. Maybe because it’s a stiffer material.  Also, I found the pattern in the book for the first washcloth, which is to cast on and do a knit stitch which creates a garter stitch, to be quite large for a wash cloth. So I cast on only 35 stitches. But, I found that 35 was a bit smaller than my other wash clothes but not so small that I couldn’t use it. But cotton is not my favorite. I can see why the book suggests to do just a knit stitch for the first cloth. I was having a lot of problems with it.

problem

issues

I probably cast on five different times until it looked close to normal and once I got to knitting, I found it different to keep the end of each row as tight as the other stitches. But this is the finished result. I think it looks nice.
knit stitch

knit stitch

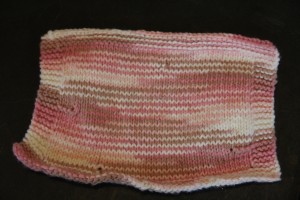
Next one is using a purl stitch. This was my first project with it. The cloth has a knit stitch border.

-knit stitch a few rows for the top border

-knit stitch a few stitches to continue border, I used 5 stitches,

-purl stitch the row until the last 5 stitches, knit stitch those

-knit

-repeat until last few rows

-knit last few rows for bottom border

-bind off
purl

purl stitch with a knit stitch border

I obviously had a couple of issues, but that’s what happens when you’re watching the newest episode of Revenge, thank God for Hulu Plus :), and not paying enough attention to your needles, so from now, after I complete a few rows I’ll always check to see if there is anything I should fix.

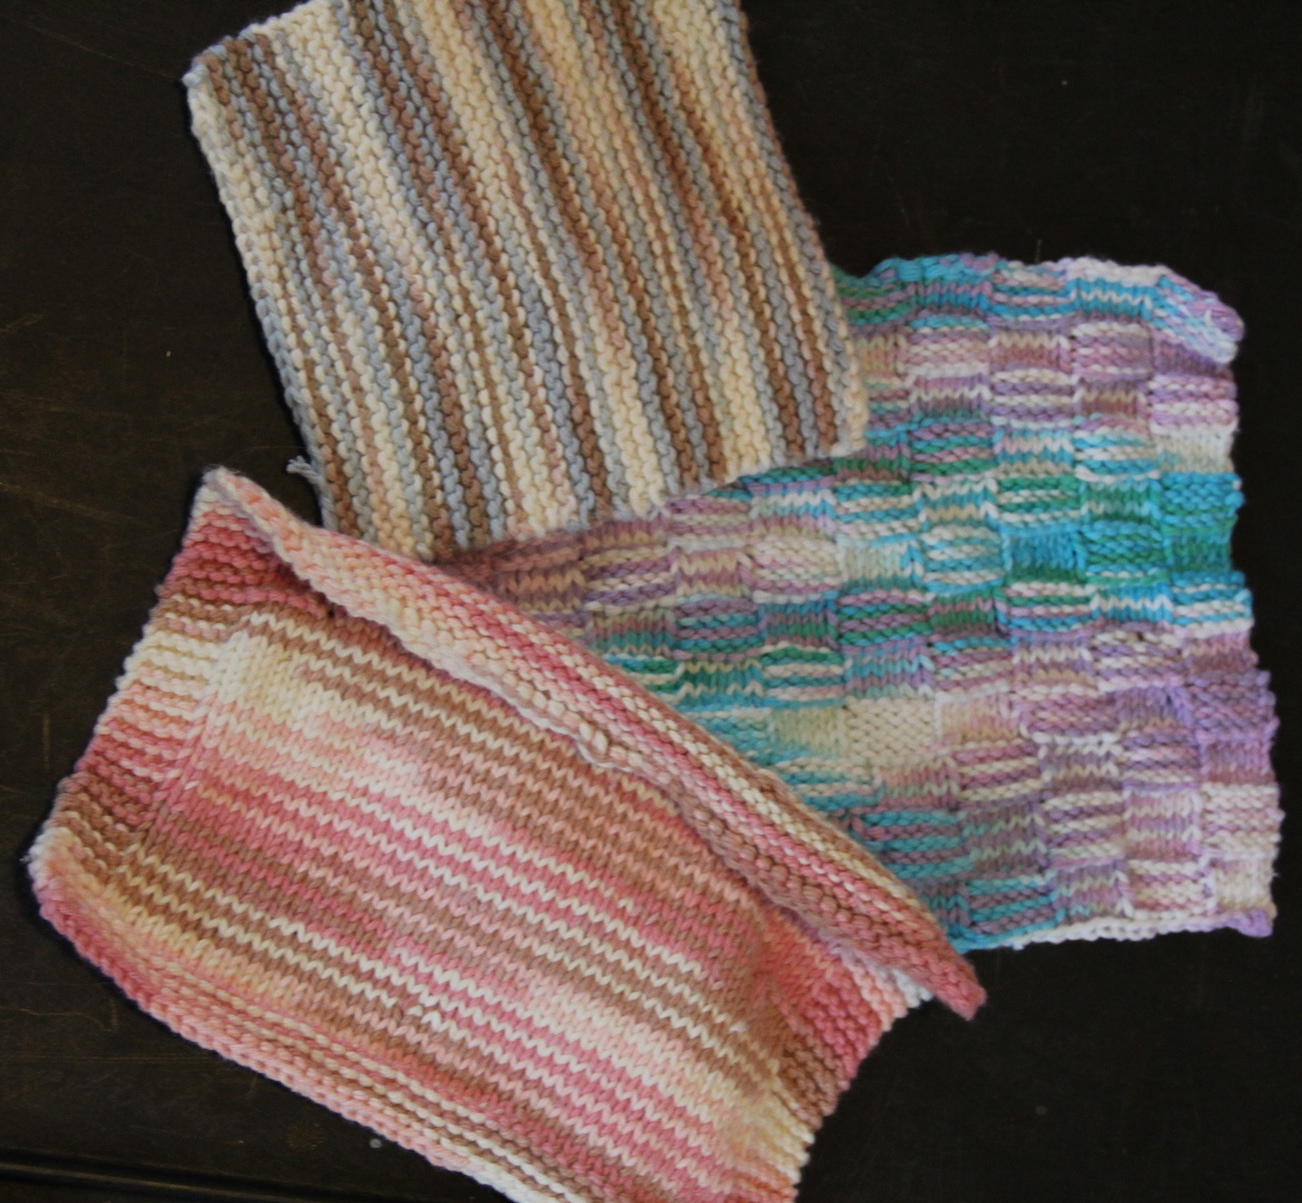
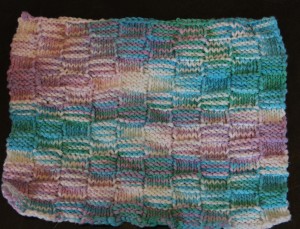
Next was the basket weave washcloth! Probably my favorite, pattern wise and the colors in the yarn. This is what I did:

-cast on 50

-knit 5, purl 5, continue pattern

do this for 5 rows

-purl 5, knit 5, continue pattern

do this for 5 rows

-continue to alternate until desired length is reached.

-bind off

I just did it until I ran out of yarn. I used my row counter for this just incase I forgot what stitch to start with and even wrote out, row 1-5 start with knit, 6-10 purl, 11-15 knit, 16-20 purl, and so on to keep me on track.
weave

basket weave

As much as I do not enjoy cotton yarn, I know I’ll use it again if I redecorate and I make wash clothes and other kitchen items.
all three

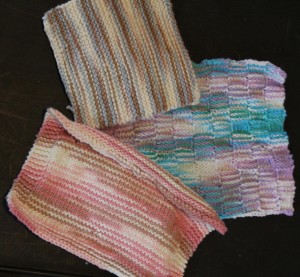
completed wash clothes

So now I have three wash clothes to use in my kitchen 🙂 Maybe I’ll enjoy cleaning more knowing I created/made the wash clothes I’m using? Hopefully?