 Pin It
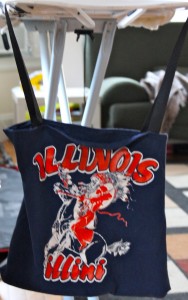
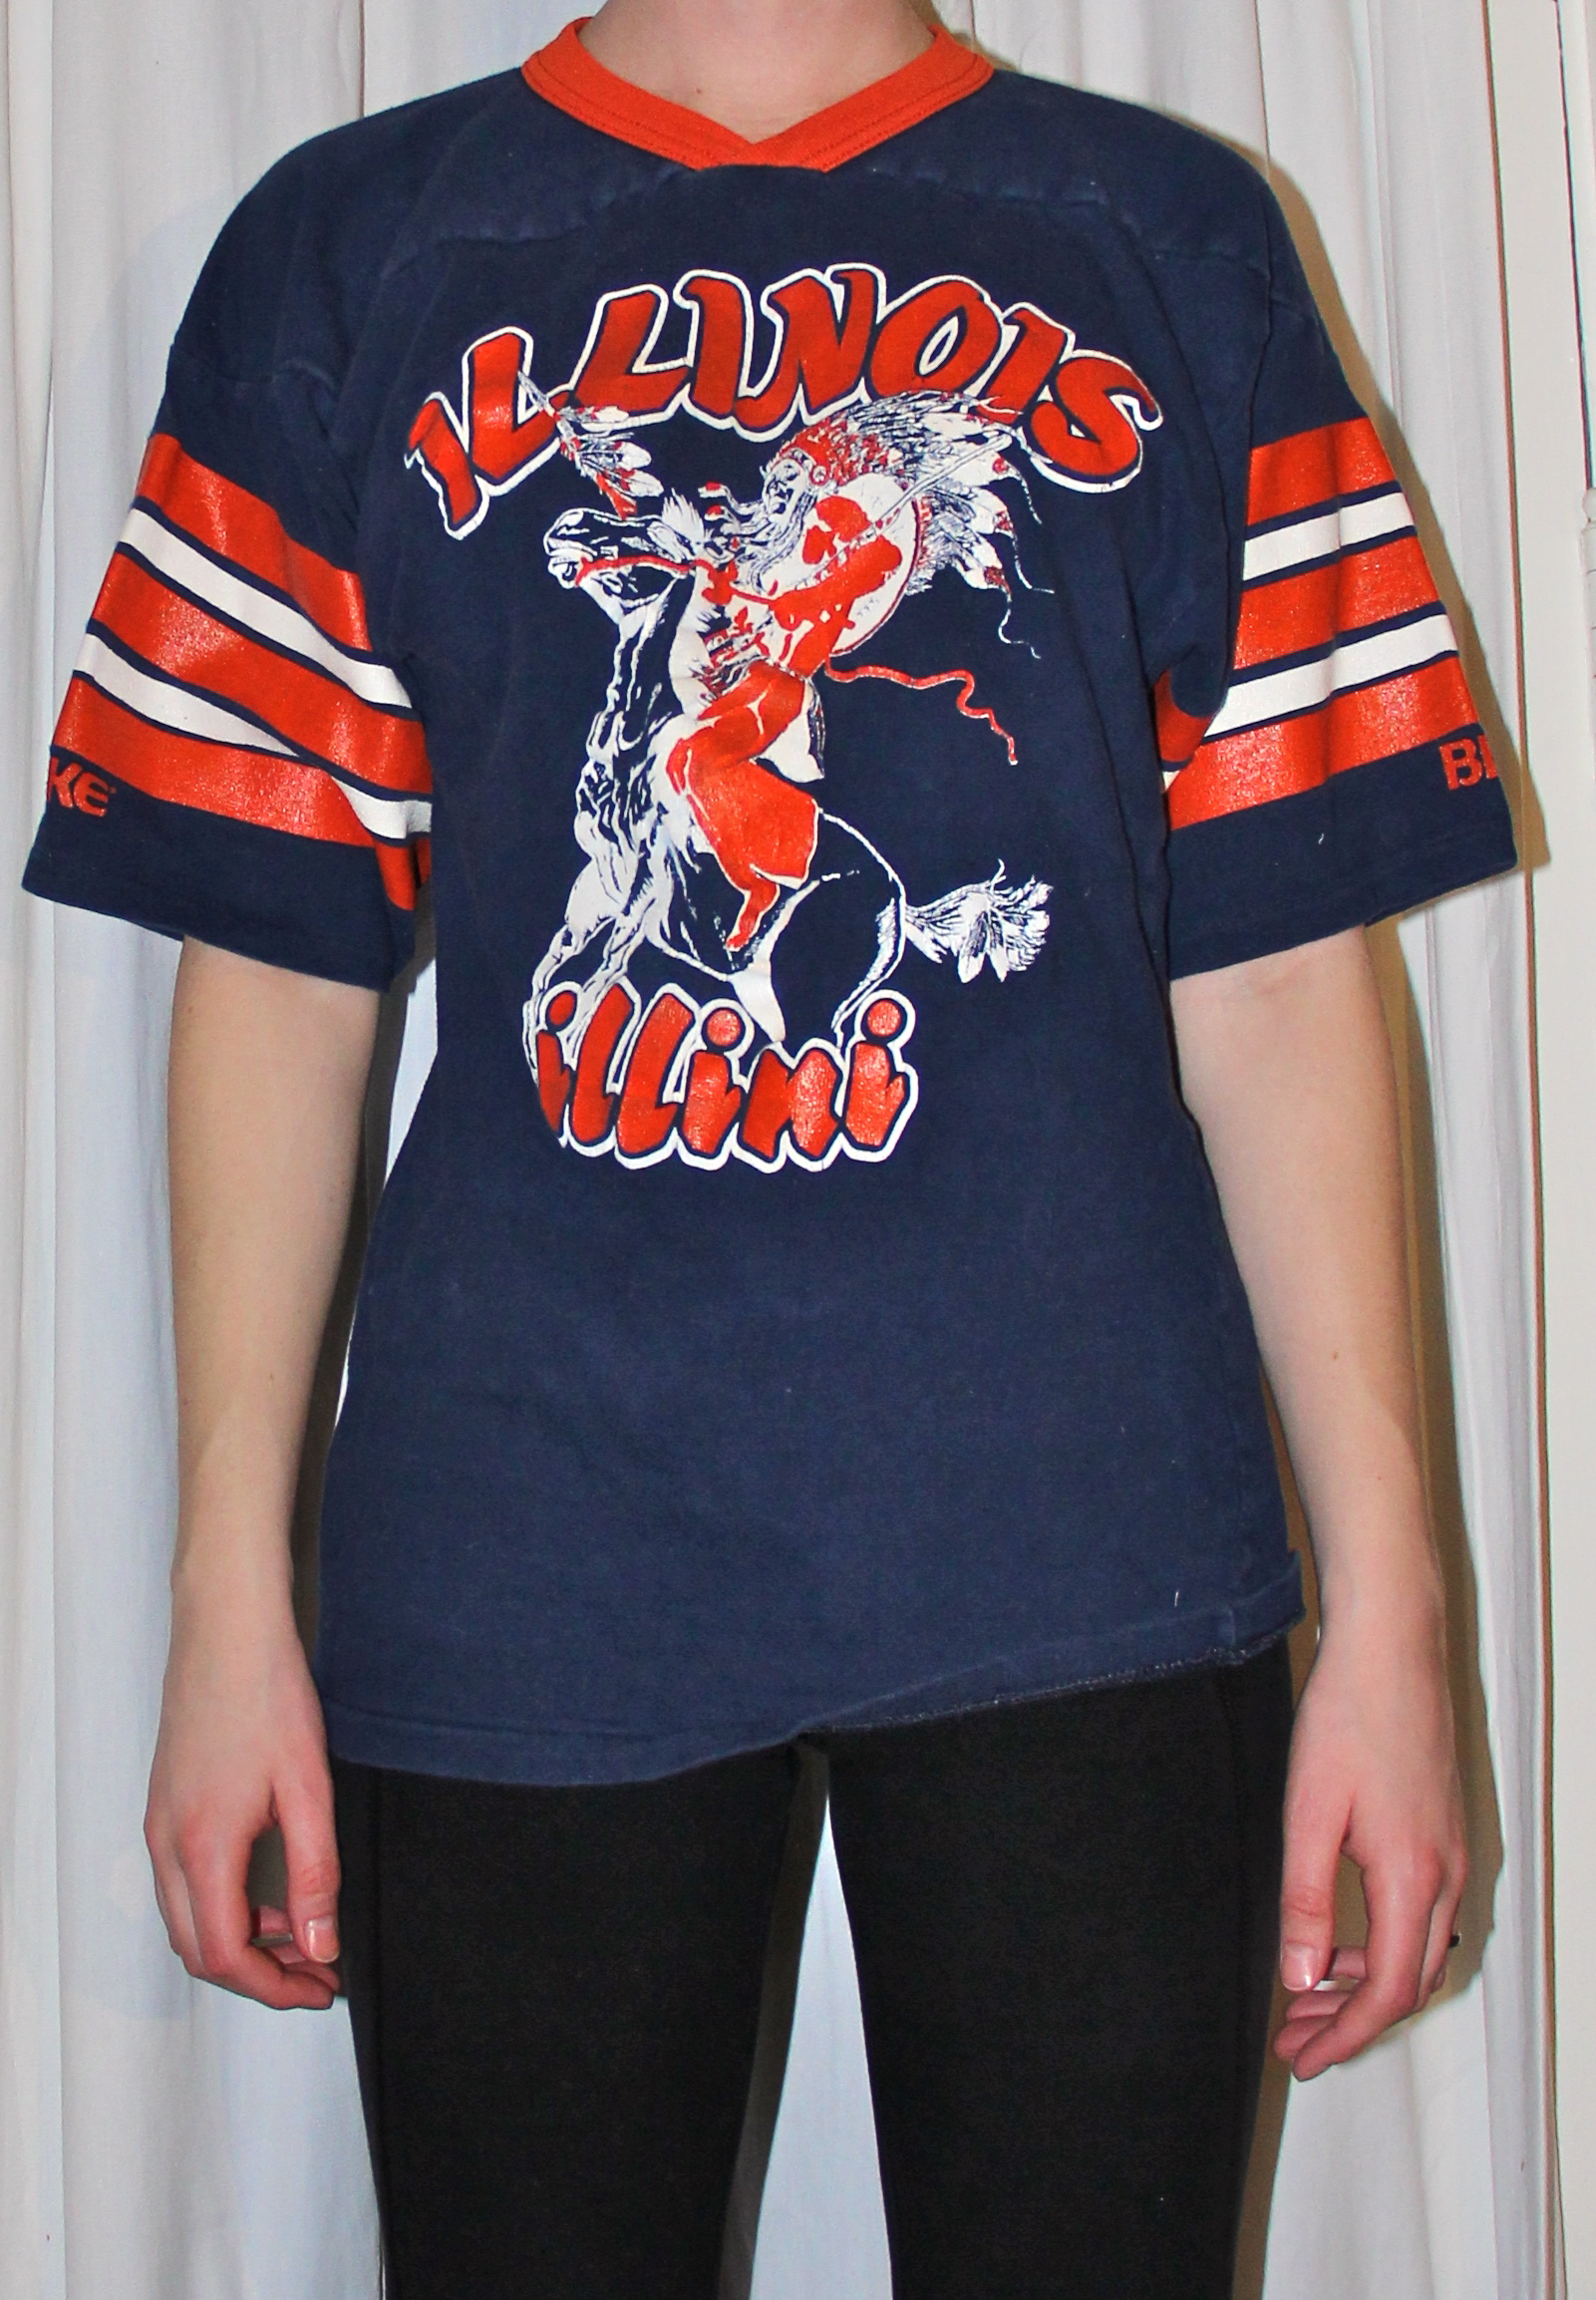
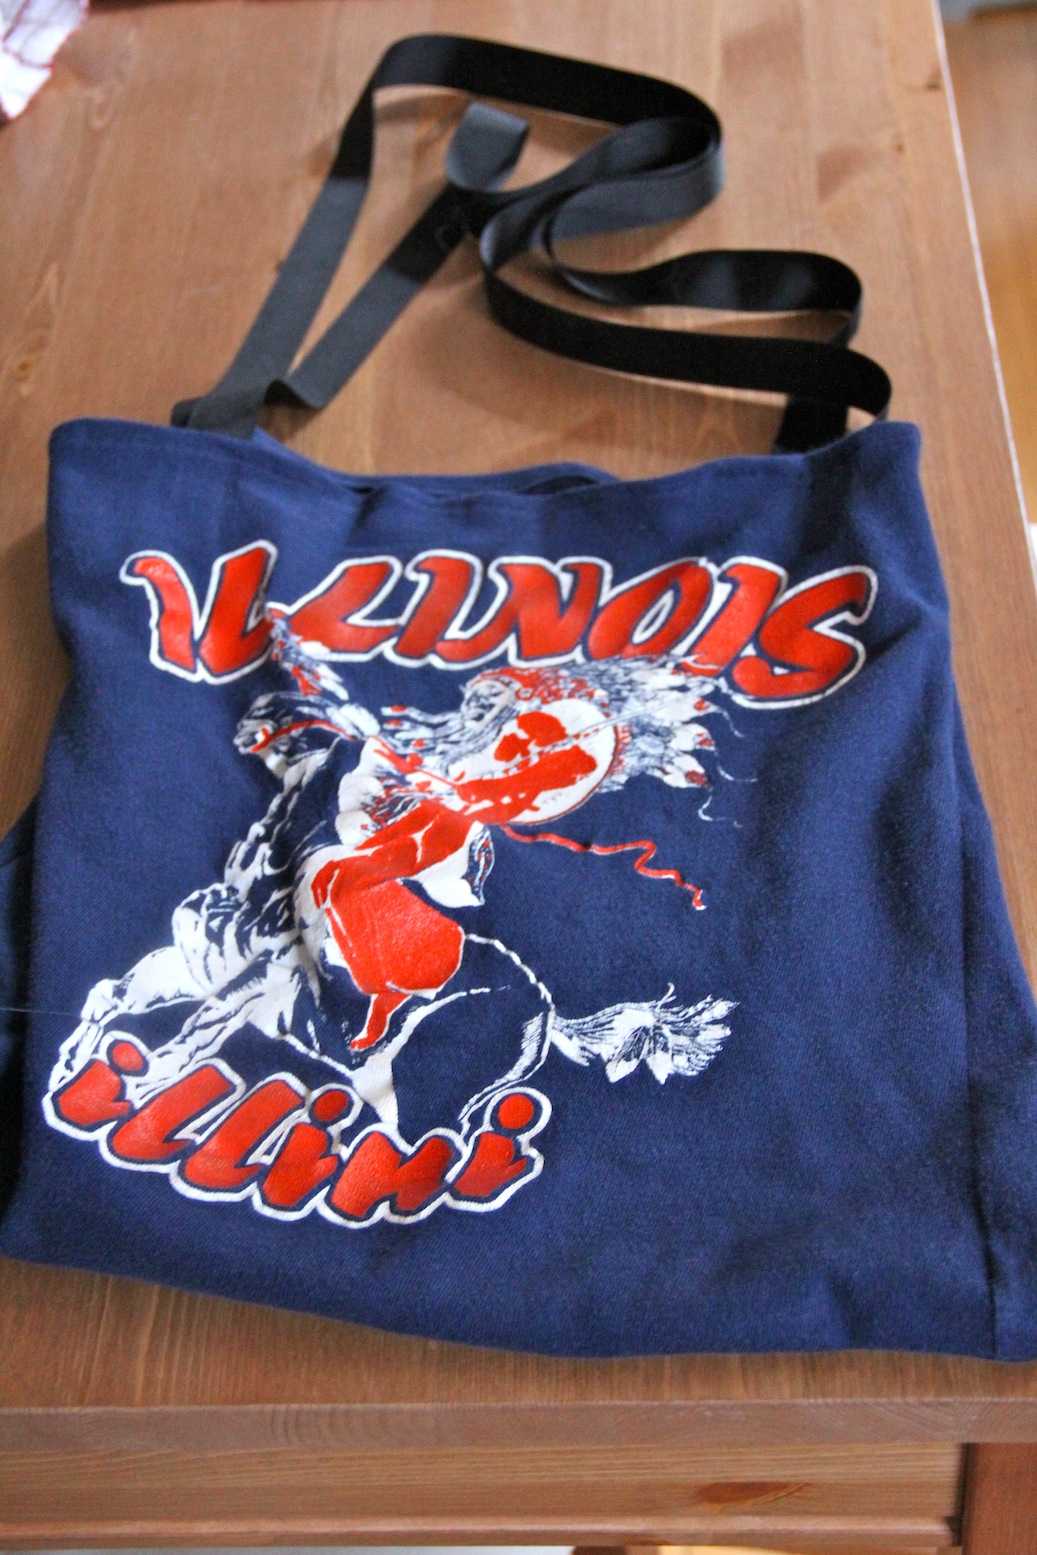
 I had this old University of Illinois shirt that I got on Ebay when I was a sophomore there. I wore it a few times and it was a fantastic and soft shirt. But it was old and didn’t fit me quite right. I first tried to make it a more fitted shirt and that was a fail. The weird seam line above the chest just made it look like a ruined sports jersey or something. So, I decided to turn it into a tote bag. Now I just need to decide what to do with the sleeves. I’m thinking Rusty might need some leg warmers or a hat.
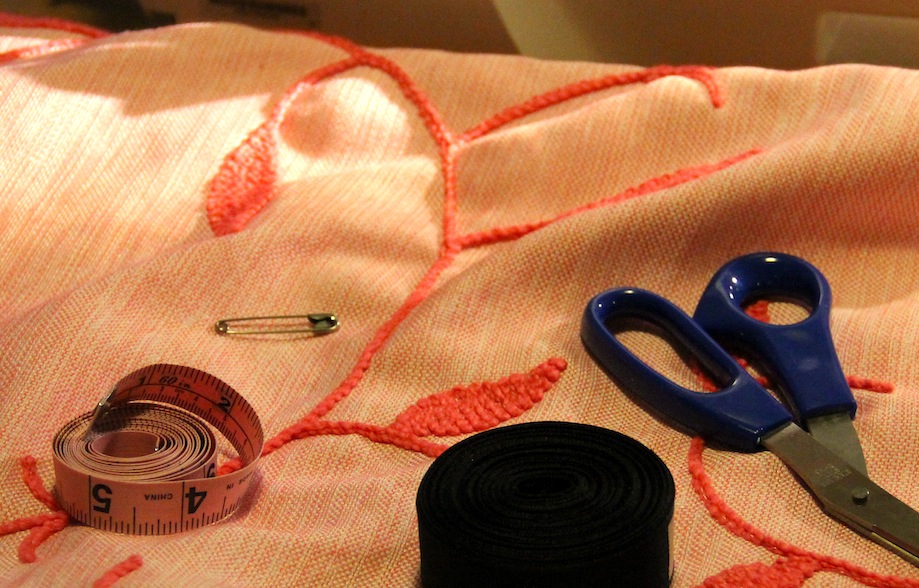
Materials Needed:
- Shirt with design you love but don’t really want to wear
- Nylon Webbing or durable Ribbon for the straps, I used this ribbon.
- Sewing Machine
- Matching thread
Directions:

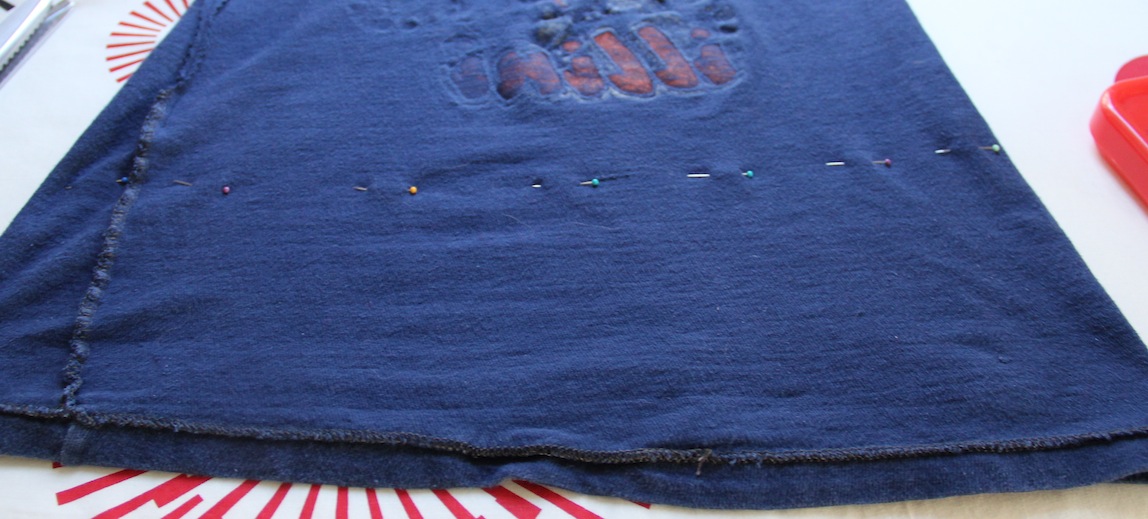
Measure and Mark
1. Measure and mark where on your shirt you’d like to cut on the top and bottom of the shirt. I decided to make it a little easier on myself and re-use the side seams of the shirt. My finished bag was 15″x 14″
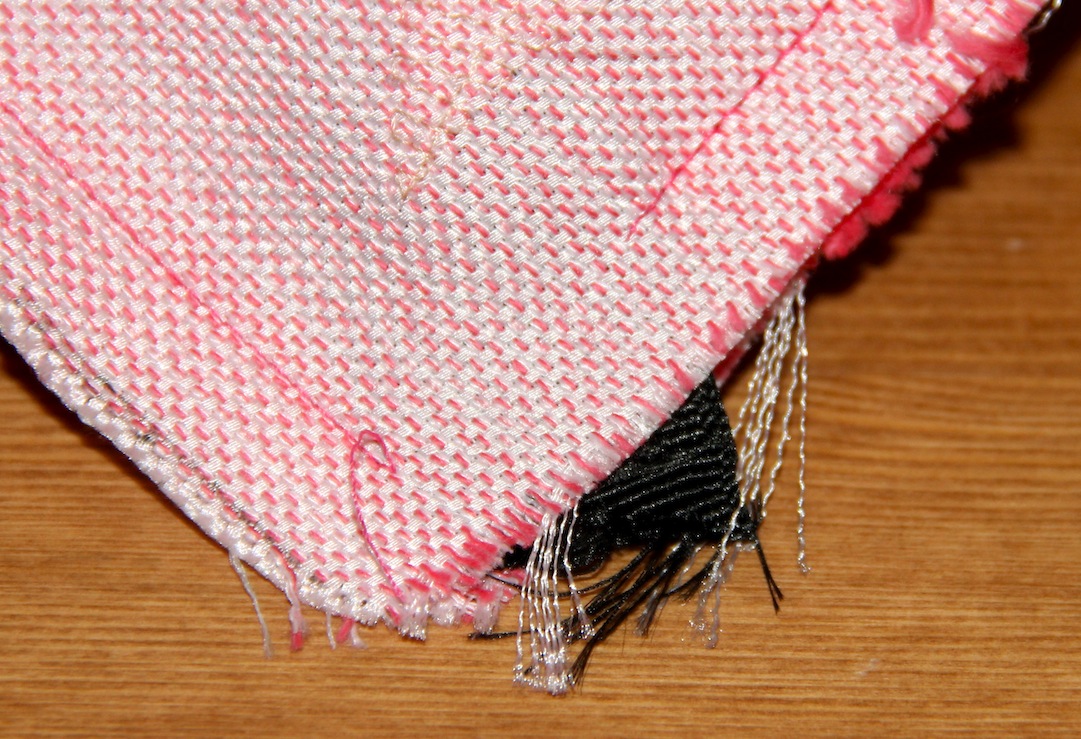
To cut, I used regular fabric scissors for the top and pinking shears at the bottom. If you don’t have pinking shears, cut with your fabric scissors and finish the raw edge with a zigzag stitch.
2. With right sides together, pin the bottom and sew with 5/8″ seam. Press. Now, if you kept the side seams intact, you should have a pillow case with three sides sewn.
3. To finish the opening of the bag, roll the hem about 1/4″ all the way around and press to keep it in place. Repeat, to incase the raw edge. Sew to finish the edge.
4. Cut 2 pieces of ribbon or webbing to your desired length, I cut mine to be 36″ long.
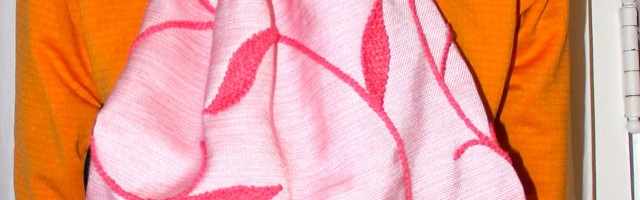
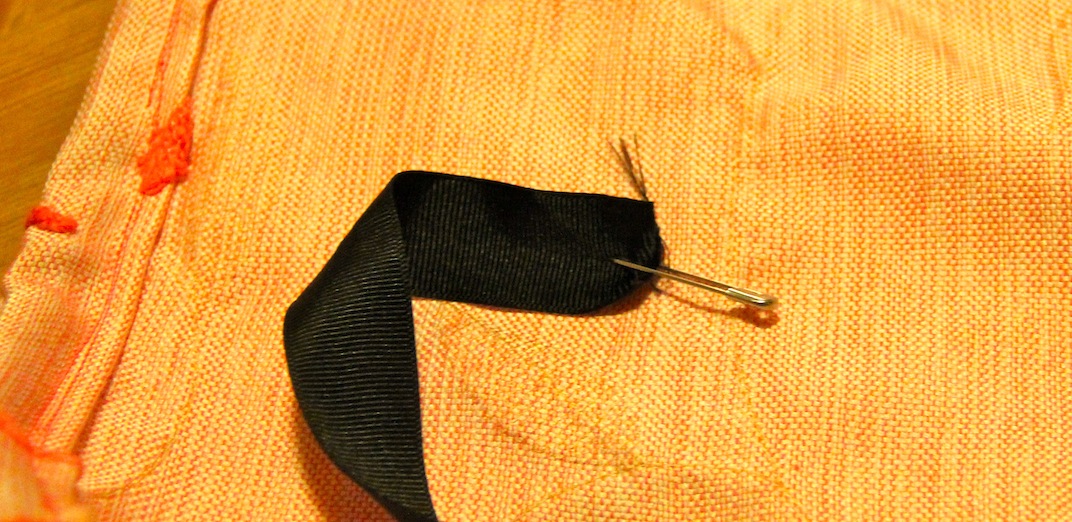
5. Place and pin where you’d like your straps being careful not to twist them as you’re placing them. I put mine on the inside of the bag a couple of inches down.
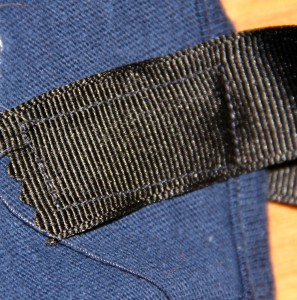
kind of difficult to see, but it’s a rectangle
6. Sew the straps on, if you’re using webbing make sure you have the correct needle, in a rectangle, this is a little bit of added strength to the straps and bag. Press.
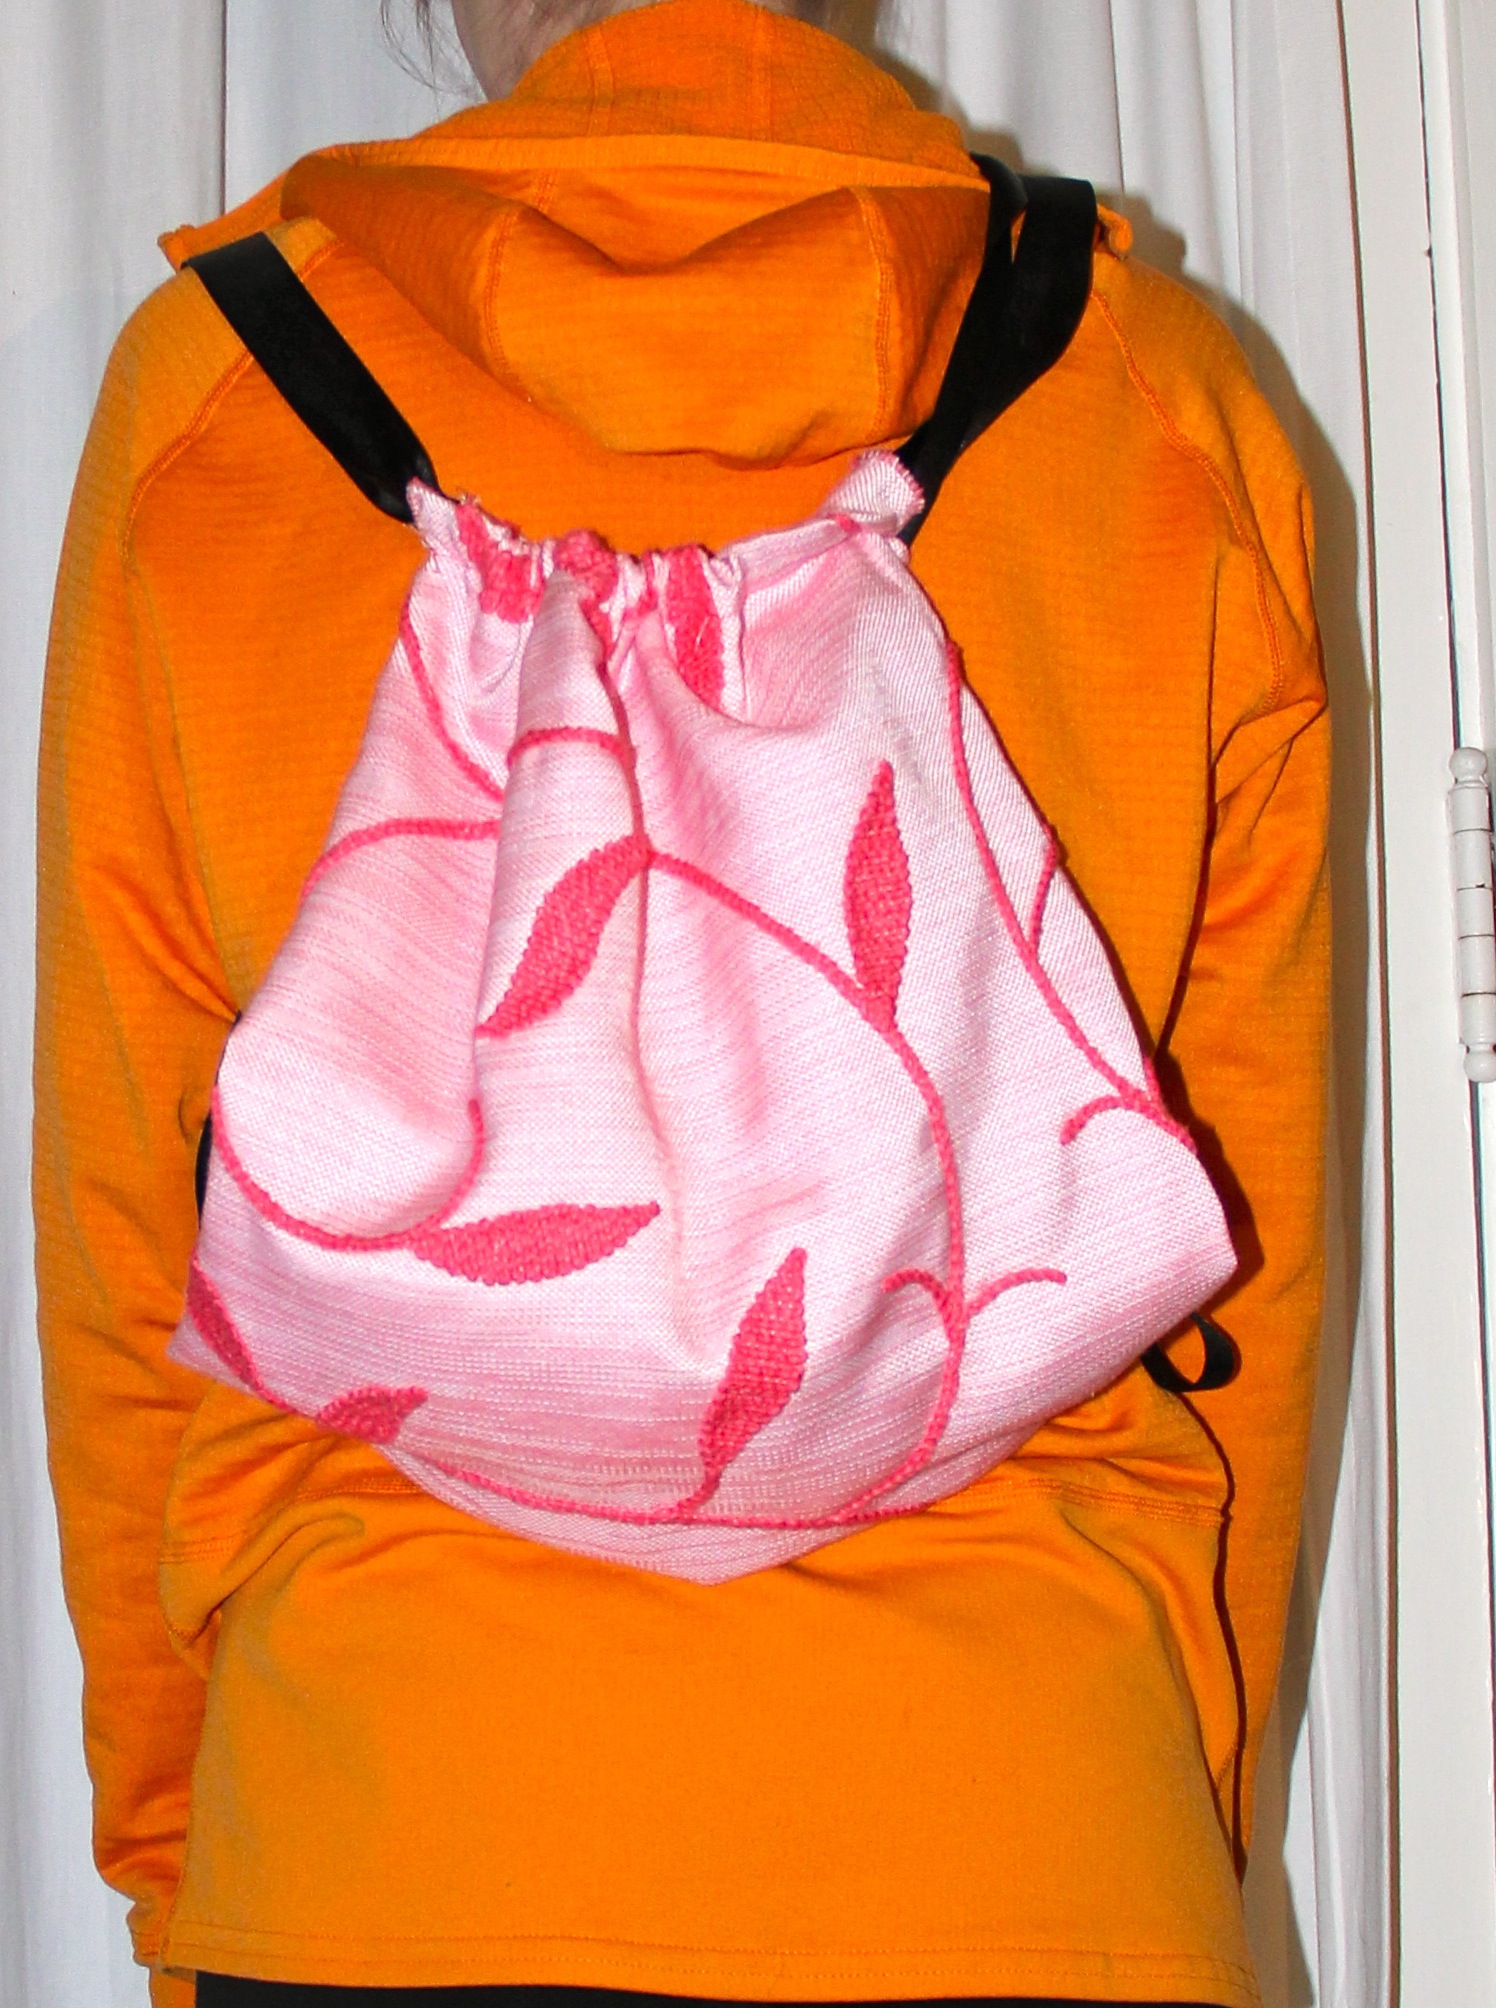
7. Enjoy! I think I’ll take mine to work and light grocery shopping , maybe one I’ll add a zipper to it. And it’s washable!


