rock climbing

Rock Climbing Cross Stitch

Posted on
Follow Me on PinterestPin It

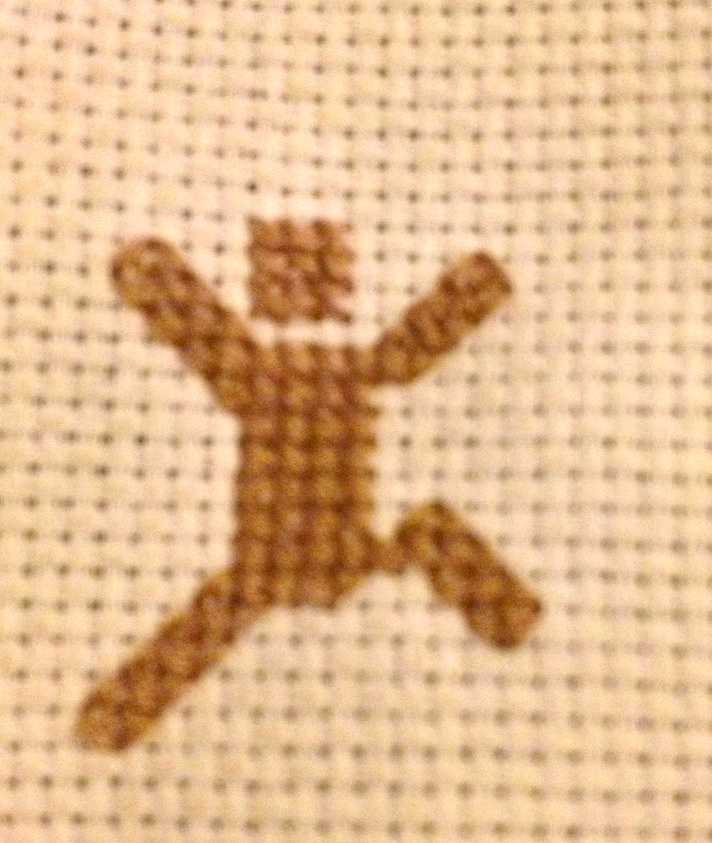
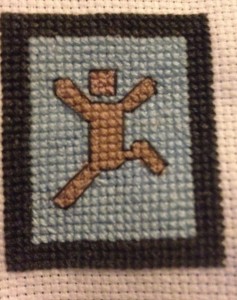
Over the weekend I cross stitched Joshua’s rock climbing ornament. I made a few adjustments to the rock climbing man/pattern. Here is my rock climbing cross stitch.

rock climbing cross stitch

naked rock climbing man?

I asked Joshua what color he wanted his rope and belt to be, and his response was “I want to rock climb naked” :/ So the little guy is naked and without equipment.  I guess that means he’s bouldering and not rock climbing.

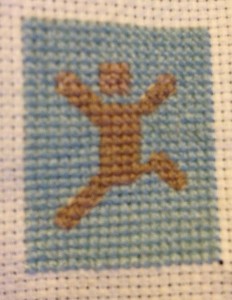
with background

background done

At this point it looks like a “It’s a Boy!” announcement to me.

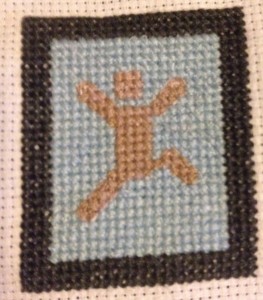
I put a border to help curb that look.

with border

One last step, I backstitched around the rock climbing man the same color as the border.

rock climbing cross stitch

finished

Joshua’s guy is complete! Well, the stitching part anyways.


background complete

Paw Print, How to Cross Stitch

Posted on
Follow Me on PinterestPin It

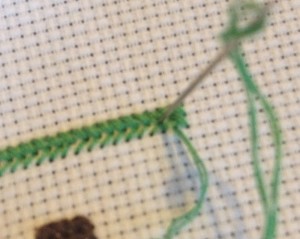
After I drew my paw print pattern I got to stitching! Here’s how to cross stitch. First I’ll go a little backwards with photos of doing the cross stitch with a border I’m putting around it. But a starting note, remember, is that there is no knot at the end of the thread, you simply leave about an inch on the back side of the fabric.

step 1

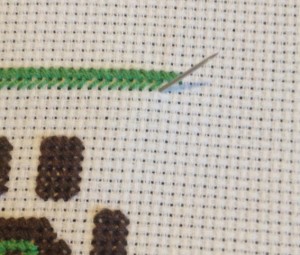
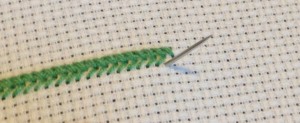
take the needle through to the front side of the canvas from the bottom hole

step 2

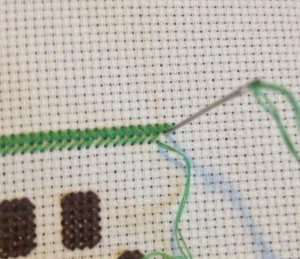
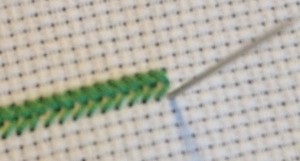
pull through and go to the next row over, up and to the right diagonally, pull needle all the way through to the back of the canvas

step 3

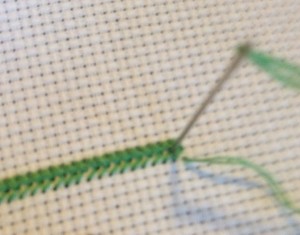
next go to the hole directly underneath the hole in the previous step and pull the needle through to the right side of the fabric

step 4

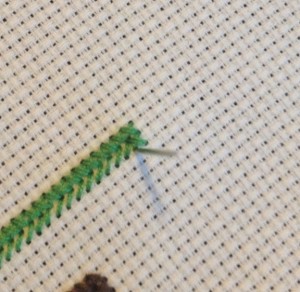
after you’ve done another diagonal stitch, go to the hole underneath the one previously used and pull needle through to the right side of the fabric

step 5

now go up and diagonal to the left

step 5

now go up and diagonal to the left

step 6

the first X is complete and now repeat

step 7

go diagonal again to complete the second X

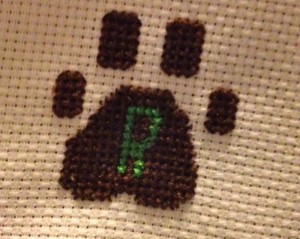
In my pattern I have a lot of half squares which could be confusing. But really it either means a half of stitch, literally a half of a stitch where the needle goes through the center of the square making the diagonal half of it’s usual length.

with green

Pattern Complete

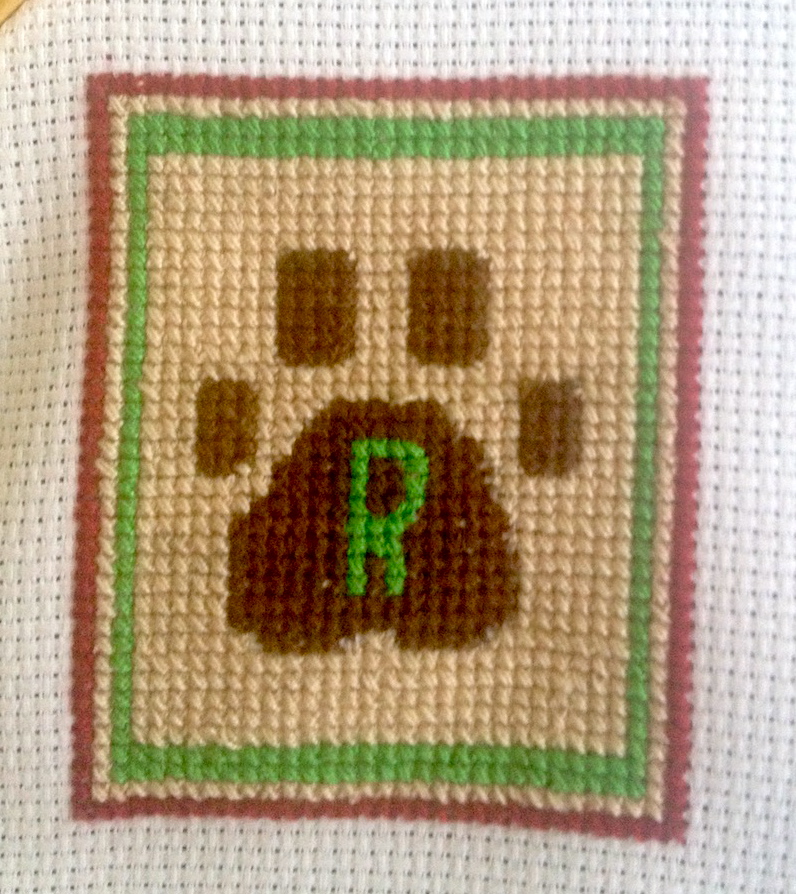
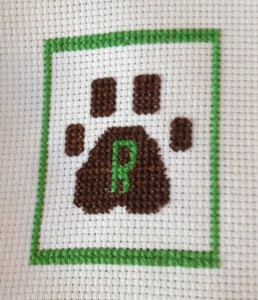
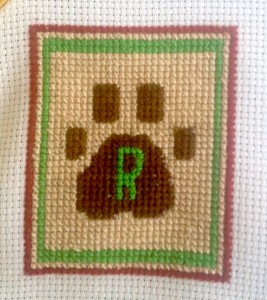
This is the pattern complete! But I needed a way to finish it, make it actually look complete. So I decided to make a border around it.

green

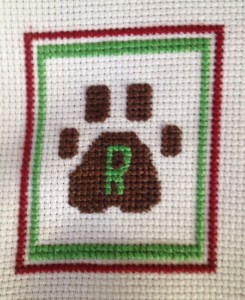
It still quite wasn’t what I hoped so I added another border.

red and green

almost complete

That looks much better to me, so now I’m going to fill it in with a cream colored thread to leave no square unstitched.

background complete

background is filled in

To finish the stitching part of this I decided to backstitch around the paw print to highlight it. This is easier, I think, than back stitching in sewing because it has the holes to put your needles in to make your stitches the same length and it is often used as a finishing stitch in cross stitch.

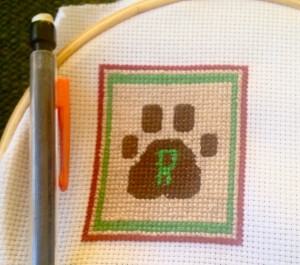
Stitching is Finished!

I put a pencil next to it to give a size reference. Now I need to figure out how to turn this into an ornament.


More Cross Stitch Patterns

Posted on
Follow Me on PinterestPin It

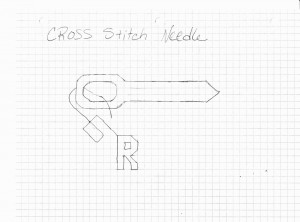
I’ve drawn more cross stitch patterns! I’ve gotten the pattern making bug! But thank goodness for pencils and erasers because I used them a lot! 🙂

I made more patterns because I made Rusty a cross stitch pattern, which will be turned into an ornament that I decided my husband and I needed one too. Granted they are very basic, beginner cross stitch patterns, but they are my first group of patterns I’ve ever drawn. I can’t really draw that well to begin with but I wanted to try.

I have decided not to do a color legend for these because I wanted to keep my options open, as in, I wanted to make sure I had enough thread in my thread mess ball.

needle cross stitch pattern

my pattern

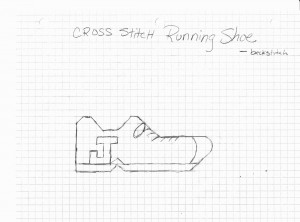
I couldn’t decide what to make for Joshua, my husband, so I sketched a couple of his hobbies and let him choose which one I made.

running shoe cross stitch pattern

running shoe

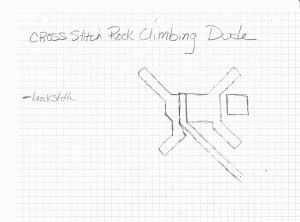
climber cross stitch pattern

mountain climber

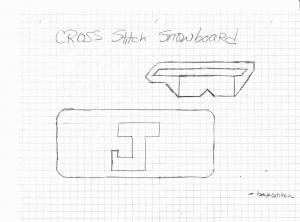
snowboard and goggles cross stitch pattern

snowboard and goggles

He picked the mountain climber so now I have two more ornaments to stitch and make into ornaments! Still deciding on whether or not to backstitch the year onto it.

Graph paper really is a girls best friend when trying to draw cross stitch patterns.


How to Cross Stitch

Posted on
Follow Me on PinterestPin It

I feel like the holiday season is a popular cross stitch theme. Mainly because I have cross stitched and finished three cross stitch stockings. So I thought I’d show how to cross stitch.

To start with new thread, there is no knot at the end of the thread, you simply leave about an inch on the back side of the fabric and your stitches will make it tight.

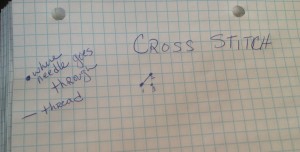
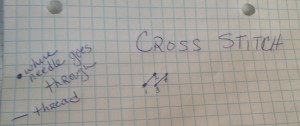
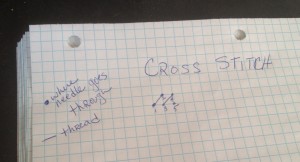
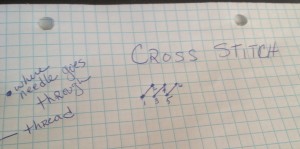
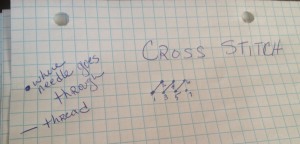
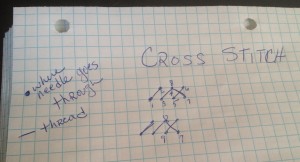
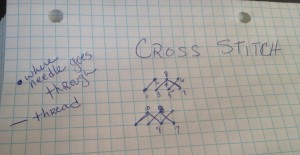
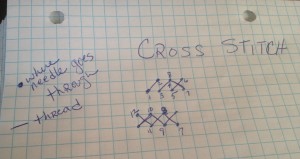
Here’s the basic cross pattern, thank goodness for graph paper:

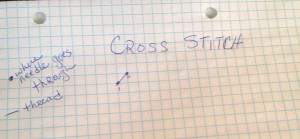
the . are where the needle goes through the needlework fabric

the solid lines represent thread.

step 1 how to cross stitchstep 2 how to cross stitchstep 3 how to cross stitchstep 4 how to cross stitchstep 5step 6step 7

Drew the same row of Xs underneath because it was getting crowded on the top row with all of the numbersstep 8step 9 and 10cross complete You are literally making an X with your thread. Going left to right, when all of the / are done in that row you go right to left with a stitch that looks like this \  completing the X in cross stitch.

To end make sure your needle is on the back, wrong side, or your canvas and pull needle under a couple stitches to secure the thread in place.


from the front

How to Make a Knit HeadBand

Posted on
Follow Me on PinterestPin It

I’m going to the Harvard vs. Yale football game this Saturday and realized I don’t have a lot of Crimson to support Harvard. I have plenty of orange and navy to support the Fighting Illini and Da Bears but not much else. I decided on a knit headband.

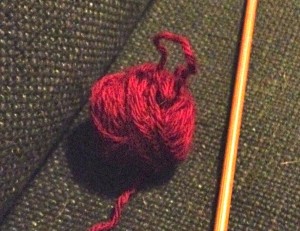
So I took the extra maroon yarn from my felted knit bag and counting the slip knot, cast on 7.

yarn

tiny yarn ball

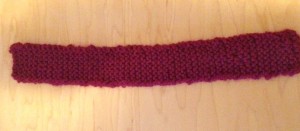
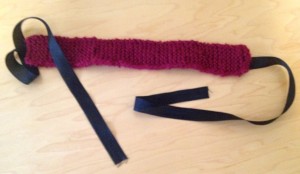
I went until I had little yarn left and finished it. It ended up being 11 3/4 inches long.

all knitted up

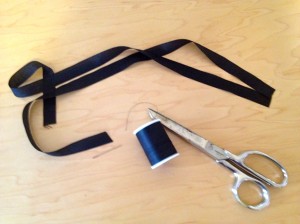
supplies

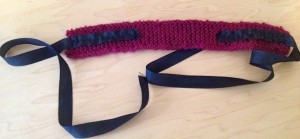
Then I got one yard of black ribbon a little bit smaller in width than the knitted piece, cut it in half and hand sewed it to the knitted piece. I used a running stitch  along the top, bottom and down the middle of the ribbon. I tried to make sure not to go over the knit stitches so the black stitches wouldn’t be seen. I also put the ribbon about four inches onto the knit piece to give the head band some strength.

The ends of the ribbon will fray so it’s best to fold over the end, to create a hem and sew to enclose the end of the ribbon.

front view

back view

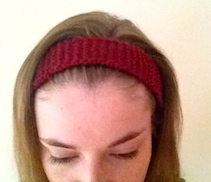
I tried my best to get a good shot of me wearing it but apparently I am no good at it, and every straight on view, I looked a little cooky so maybe I’ll get some good pictures at the game!

from the front

Now I have a nice unique headband to wear to the game and just a fun winter accessory!

  1. wool yarn, cast on 7 on size 6 needles
  2. knit stitch until about 12 inches long
  3. 2 pieces of 1/2 yard ribbon
  4. sew ribbon to knitted piece
  5. wear and look great!


How to Sew in a Zipper

Posted on
Follow Me on PinterestPin It

Yesterday I showed how to create a bed for a dog kennel. Today I’ll show you how to sew in a zipper. I cut some pieces of fabric and drew on them to better show how to sew the central zipper in.

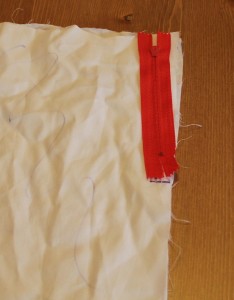
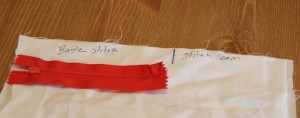
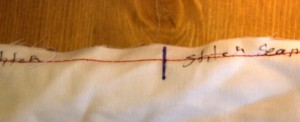
-To start, mark where the zipper will go because before and after the zipper a seam stitch will be sewn and where the zipper will go, I’ll do a basting stitch, or the longest stitch on my machine.

-Use pins or fabric chalk to mark the fabric. Don’t use a marker like I did, I just wanted to clearly show where to mark.

mark

mark fabric

baste

where to baste

– Pin the fabric together and baste where the zipper goes and continue with the seam stitch before and after the zipper, backstitching when I stitch the stitch length, I’m using a 5/8inch seam.

both stitches

differences in stitches

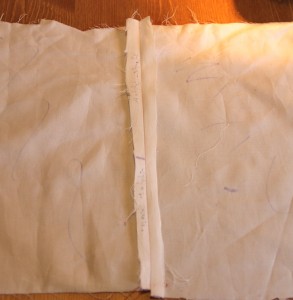
-Then iron the seam open.

iron seam

iron seam

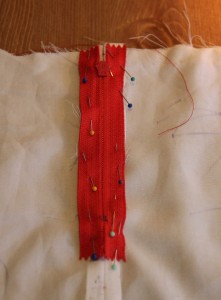
– Then pin the zipper, face down, teeth to the seam. I placed the pins in the wrong direction. So I had to switch them so I could easily remove them as I was stitching.

zipper

pin zipper over seam

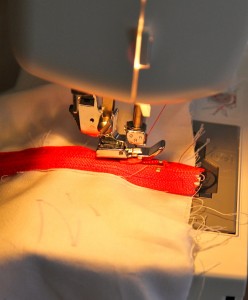
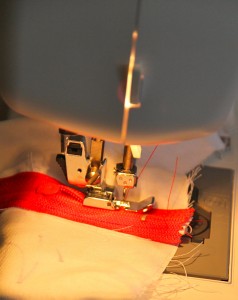
– Using a basting stitch, longest stitch on my machine, I place the edge of my zipper foot directly in the middle of the teeth and stitch, when I need to turn, I leave the needle in the fabric, lift the foot, and turn the fabric to the direction, put the foot down and begin to stitch again. I use a basting stitch to tack the zipper to the fabric and I don’t have to worry about removing pins as I sew.

– When I get to the zipper head, I make sure the needle is in the fabric, lift the zipper foot and push the zipper head past the foot.

zipper foot

zipper foot up, and push the zipper head past the foot

– Once the zipper head is out of the way, put the foot down, and continue stitching.

down

zipper foot down and continue stitching

-After the basting, stitch around the zipper with a smaller stitch size, just outside the basting stitch. Using the same technique at the corners and the zipper head.

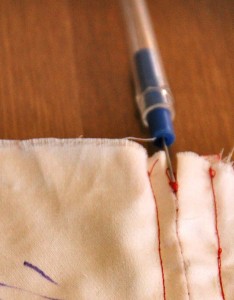
-Once the stitching is complete, remove the basting stitch around the zipper and in the middle of the zipper.

basting

remove basting stitch

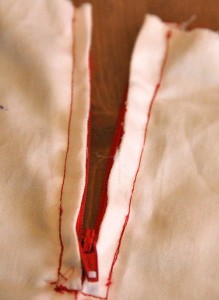
– The zipper is complete! The zipper has been successfully installed. It does take practice but it’s not as intimidating as it first appears.

zipper

zipper complete

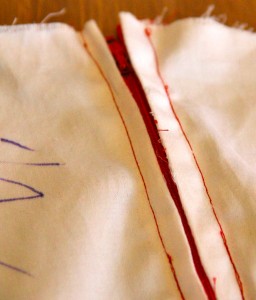
zipper

finished

Happy Sewing!


How to Sew the Whip Stitch

Posted on
Follow Me on PinterestPin It

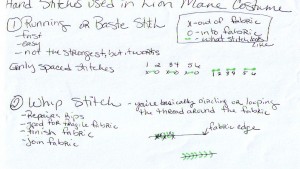
Here is my awesome drawing again! 🙂 Alright yesterday was the running stitch, and today I’ll be going over the whip stitch. It is a very versatile stitch and it is just a loop stitch. I have used it to repair holes in fabric that are not on the seam, to edge a button hole to give it strength, to combine different fabrics for sewing and knitting, and I’ve used to to combine my plastic canvas pieces for the doll workout equipment.

Reminders:

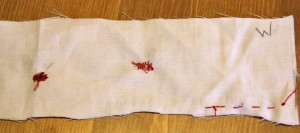
– On my fabric you’ll see a R and W written on it, this is for Right side of the fabric or the side everyone sees when the project is finished and Wrong side of fabric or the underneath part people don’t see.

– Another side note, I found out the hard way that this wasn’t the greatest fabric to do my tutorial with, it breaks and pills very easily. It’s an old pillowcase.

– For all hand stitches, use two of string only about forearm length so you aren’t tangling or doing extra unnecessary movements. Also, tie a knot at the end of the thread, sometimes more than one knot in the same place is needed so the knot doesn’t go through the fabric.

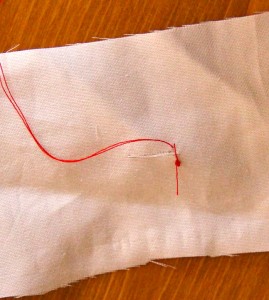
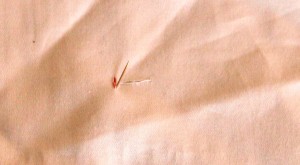
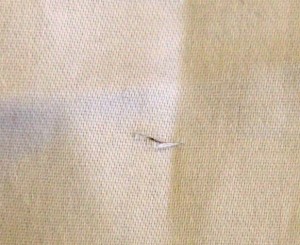
I’ll show two different types of whip stitches today, first one will be to close a rip in fabric that is not near a seam. It’s a little messy, so try to find thread that best matches the fabric.

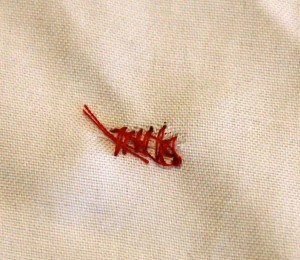
whip stitch

repairing a rip

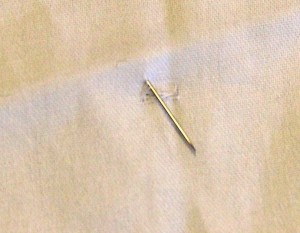
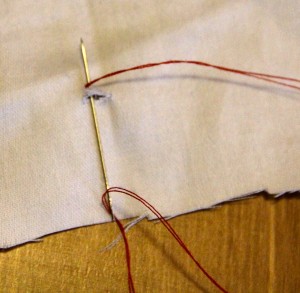
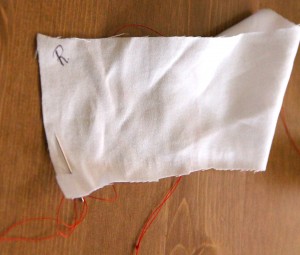
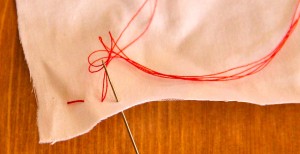
Start on the wrong side of the fabric just below the beginning of the rip.

whip stitch

start on wrong side of fabric

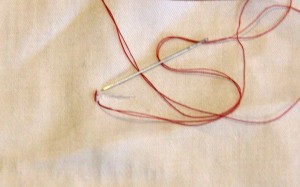
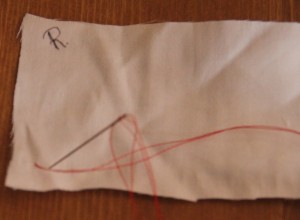
Go over the rip to the top of it.

whip stitch

go over rip

circle

looping it around, wrong side of the fabric

I’m creating a circle with the thread and come through the right side of the fabric below the rip again.

whip stitch

whip stitch

Go to the top over the rip

whip

Closing the rip

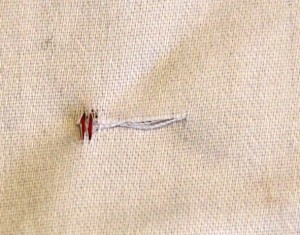
The whip stitch is used to close the rip and to prevent it from getting bigger.

whip

front view

whip

back view

This is a little bit of a messy stitch job, but my point is made. You want to get your stitches as close to each other as possible to create a lot of strength and try to keep the stitches even. When the stitching is complete tie a double knot in the thread like I did for the running stitch.

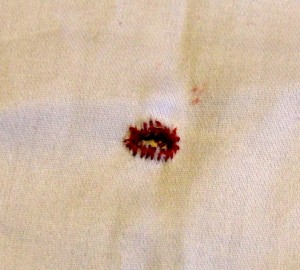
Whip Stitch number two: button hole

whip button

hole for whip stitch number two

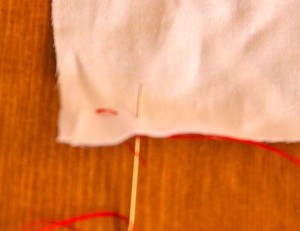
After I tie the knot I go through the wrong side so the needle comes out on the right side.

EDGE

Loop around the edge

whip

Creating a loop or circle around the hole

For this whip stitch, I only bring the needle from the wrong side to the right side because I am edging or finishing around the hole. So I am just making a circle with my thread enclosing the edges with thread.

whip

front view

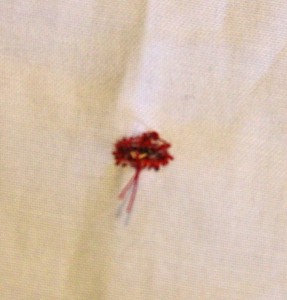
stitch

back

Once you have gone all around the hole, tie a knot.

button

same whip stitch from Rusty’s Lion Mane Costume


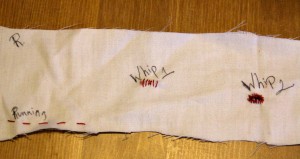
all stitches

All Stitches Front View

All Stiches Back View

It’s a great idea to practice these stitches before using them on a project. Also, it might be helpful to have a swatch of fabric like the one above with the labeled stitches. It is a good reminder of how to do the stitches. I like to have one anyways.


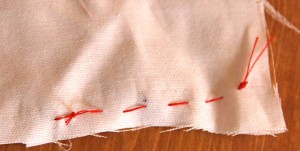
How to Sew the Running or Basting Stitch

Posted on
Follow Me on PinterestPin It

The past couple of projects I have used a couple of hand stitches. One is the running stitch and the other is the whip stitch. I tried my best to draw it but here are a couple of pictures as well.

– On my fabric you’ll see a R and W written on it, this is for Right side of the fabric or the side everyone sees when the project is finished and Wrong side of fabric or the underneath part people don’t see.

– Another side note, I found out the hard way that this wasn’t the greatest fabric to do my tutorial with, it breaks and pills very easily. It’s an old pillowcase.

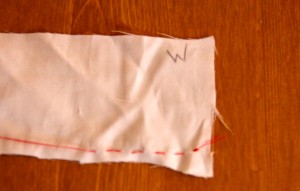
The first stitch is a running stitch. Also called a basting stitch because you can increase the length of this stitch and use it to mark/baste fabric and then easily remove the stitch.

tie

Tie a Knot

For all hand stitches, use two of string only about forearm length so you aren’t tangling or doing extra unnecessary movements. Also, tie a knot at the end of the thread, sometimes more than one knot in the same place is needed so the knot doesn’t go through the fabric.

Take needle from wrong side of the fabric through to the right side of the fabric

from right side to wrong side

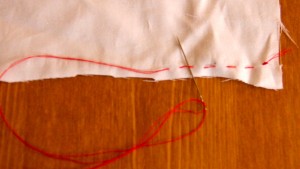
This is where I need to decide how long I want the stitch to be, because I need even straight stitches, which takes practice but even length stitches should always be the goal.

running

So you go just as far on the wrong side of the fabric as you do on the right side of the fabric.
baste

equal stitch lengths

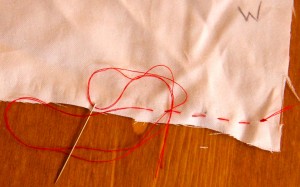
Continue with even stitches until you’ve reached the end.

running stitch

finished, front view

back view

back view

The wrong side of the fabric should look like the right view of the fabric.

tie

tie off the stitches

After the stitches are complete, I need to tie it off so the stitches don’t come out, unless I’m basting, I take the needle underneath the last stitch and into the loop it creates to create a knot. I then tie another knot to make sure it is secure.

tie

make a knot with the thread

fnished

finished

Tomorrow I’ll go over how to do two different variations of the whip stitch.


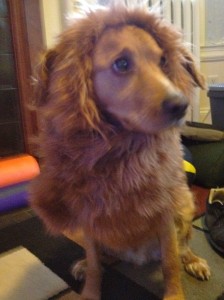
lion mane costume

Lion Mane Dog Costume

Posted on
Follow Me on PinterestPin It

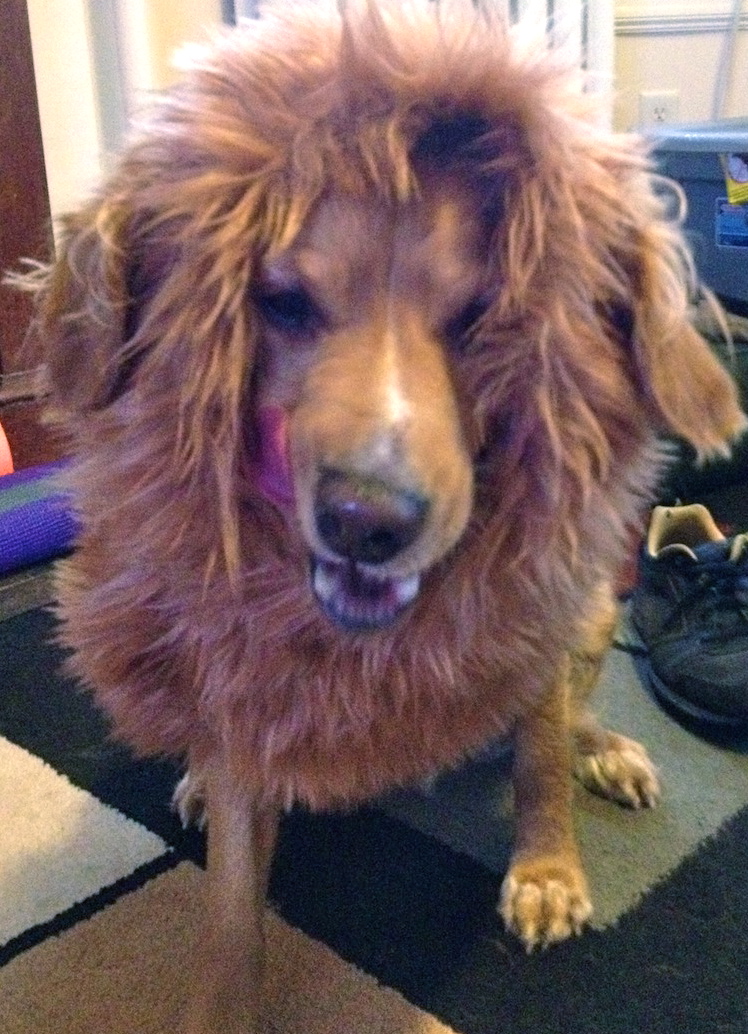
Happy Halloween! Yesterday I showed how I made Rusty’s lion mane dog costume. Here is the finished result!

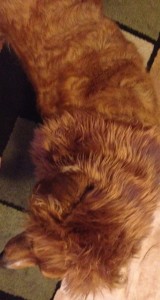
top view

Top View

lion mane costume

Give me treat!

He is a very scary lion! Or an adorable one!

Ready for the day!

I love how his ears turned out in this costume!

Hope you all have a safe and fun Halloween!

Check out a second version of a lion mane dog costume here!


lion mane costume

How to Make a Lion’s Mane Dog Costume

Posted on
Follow Me on PinterestPin It

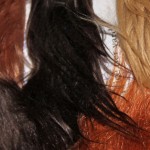
I decided Rusty needs to be a scary lion for Halloween. So I needed to figure out how to make a lion’s mane dog costume. His fur is already the right color so now all he needs is a mane. First thing I did was get online to search for some possible fake fur and order some samples.
Lion Fur

fur swatches

I went with the coppery color from Mendel’s. It was a very close match to the color of Rusty’s fur. I took a tape measure and measured around Rusty’s neck. I didn’t need a lot of fur, a less than 1/2 yard but I went ahead and ordered 3/4 yard because I’ve never worked with fake fur fabric before.
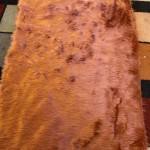
Fur!

I first placed the fur around Rusty’s neck and placed a couple pins where I will need to cut the fake fur.
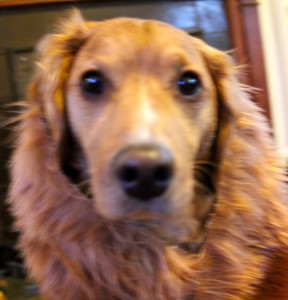
Place around to help measure
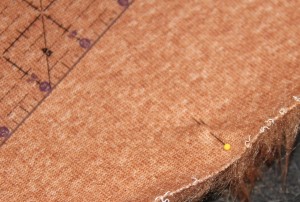
Pin/Mark desired length

Next I drew dots along the cut line constantly measuring the width to keep is the proper amount and then I connected the dots and cut along the line. Also, since the fabric is so thick and I knew it would not bleed through, I used a permanent marker so I could easily see the line.
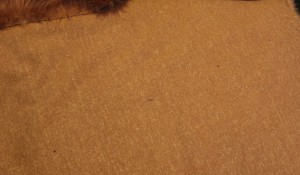
Mark cut line
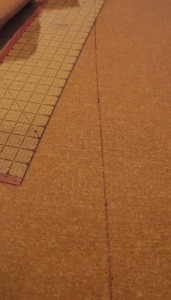
Connect the dots for cut line

I wanted the mane to really highlight Rusty’s face and have the fur going in multiple directions so I decided to hem/roll over the fur around his face. First I needed to roll over and pin the fur.
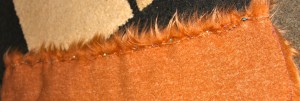
Roll over and pin

Rusty wasn’t too sure about this…

Rusty is not sure about this
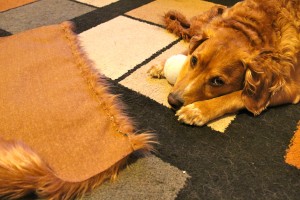
then this face happened because I wouldn’t  let him lay on it

I then hand stitched the hem because I wasn’t too sure how my machine would handle it and I didn’t want to risk it. Because of the fur you couldn’t see my uneven stitches, so I appreciated that 🙂 Next I needed to figure out how to keep the mane on Rusty so I went with velcro, a couple of inches long.
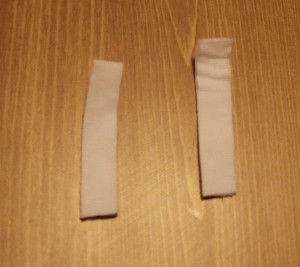
Cut velcro

I put the newly hemmed mane on Rusty and marked with pins where the velcro should go.

pin where velcro needs to be placed and trim away the fur

One part of the velcro needed to go on the right side of the fur so I needed to trim away the fur where it was going to be placed. I tried to hand stitch the velcro but I broke a couple of needles because of the thickness of the two pieces so I used Liquid Stitch and glued the pieces down and waited overnight for the glue to dry.
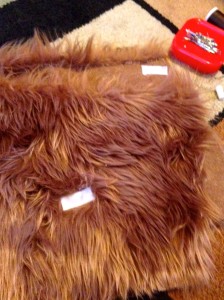
glue velcro down

After all of that work for the velcro, I put it on Rusty to test it out, and although I thought he looked adorable, Rusty wasn’t really having it and started to shake and actually shook hard enough for the velcro to come undone! So I had to come up with another plan. I went with a button, and it worked out quite well. I went into my button bag and found one that was similar in color, I think it’s an extra button from a coat I use to own, and hand sewed it underneath where the velcro is,
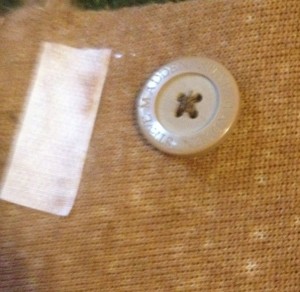
added a button

Next I needed to mark, cut and whip stitch the button-hole. I cut the hole to be a little smaller than the button itself so it would be secure and then I whip stitched around the opening to prevent the hole from stretching.
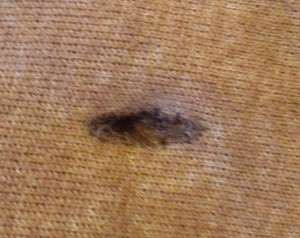
 

button

button-hole

Next I placed the mane back on Rusty and marked, with a pin, where his ears begin and end and then removed it from Rusty and drew a line for me to cut along.
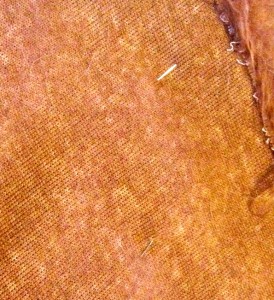
mark where ears are
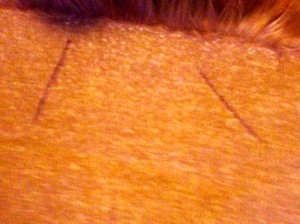
draw line and cut along it

I did the same thing for where his D-Ring on his leash will peak through, so I’m able to actually take him outside and celebrate.
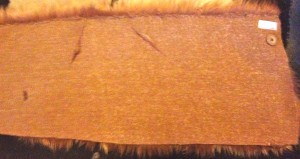
inside minus D-ring hole

See what he looks like tomorrow!

Finished Results. 

Check out another version of a lion mane dog costume here!