Found a cross stitch app for iPhone and iPad! It’s called StitchSketch! The website also has a download for PC computers. The lite version of the app is free and the full version is only $5! It takes some getting use to especially on my phone because the screen is so small. But it allows you to save and send/email the charts as images and pdf files. It can also upload your designs to your DropBox account. This is the only app I can find that allows you to create your own designs as well as turn a picture into a cross stitch pattern. I’m so pumped for this and to keep learning more things about it because I no longer have to draw the patterns out by hand! Bottom line, this app is fun but not for large or detailed projects because it doesn’t have backstitch or half stitches. Now, I just need to take the time to get familiar with the program.
Tag Archives: pattern
Cross Stitch Chevron iPhone Case
Posted onAs mentioned before, I was cross stitching a chevron patterned iPhone case. It’s finished and I LOVE it! Isn’t it beautiful?
I decided to do the chevron pattern in white, turquoise and 3 different shades of grey.
I was going to do all of the grey stripes in the metallic thread but I decided it would be too much shine for me and I find metallic thread to be a pain in the you know what to work with. But I like the way there’s just a little bit of shine. I wanted to find a grey that was just the matte version of the metallic and I knew I had some in my tangled ball of thread left over from other projects. There are two shades because the lighting in my apartment is bad and I didn’t realize they were two different shades until I was in natural light and had already stitched using both colors. But I am really thrilled with how it turned out. The variations add just enough personality without being too loud. I find it to be perfect for me.
How to sew a quick Tree Skirt
Posted onWe have a Christmas tree at work and it was looking bare to me because it didn’t have a tree skirt. So, I decided to make one. Here is my very professional pattern that I drew at work.
I have this fabric from curtains that I made and am no longer using. I thought it would make a beautiful tree skirt.
Since I had a long panel, I folded it in half and then in half again so it is folded into fours.
Next is time to measure. I divided the diameter in 4 because I folded it so it needs to be 3 inches from the point. I did the semi-circle by just measuring out 3 inches from the point in different spots on the fabric.
I did the same thing with the outer measurement but went with 22.5 inches instead of the 16 inches I originally wrote down on my professional pattern. The I cut along the lines I drew.
This is what is looks like unfolded and of course Rusty needed to help me out.
Next I cut a line down the fabric.
The last, and time-consuming thing to do is finish it to hide the raw edges. This can be done in three ways.
- folding edge over and folding it again and hem to encase the raw edge
- add binding to the edges to encase the raw edge
- zigzag stitch around the edge to prevent fraying and then folding over and sew a hem
Although the first two options are probably the better options, I went with the zig zag stitch and press seam and sew a hem because the first two requires more time at the ironing board and pinning. I hate ironing so I went with the zig zag stitch.
Chevron Cross Stitch Case Iphone 4 Pattern
Posted onI ordered a cross stitch cover from ThinkGeek! I am so excited to have a chevron cross stitched phone case. The case actually came with three colors of thread, needle and some patterns and the company has more case patterns at Leese Design. Just go to the bottom right of the page and click the red “chart” box. There are a lot of patterns to choose from but most were of certain themes/holidays and I wanted something to that didn’t look out of place throughout the year. I decided to create a chevron stripe pattern because I’m kind of obsessed with them at the moment. I didn’t know which way I wanted the stripes to go so I found some blank graph paper at Better Cross Stitch Patterns website, and started coloring. These are the two I made.
Black and white versions
I don’t have the little camera hole in the upper left corner on the patterns because I figured it’d be pretty simple to omit it. Now I need to decide which pattern to use!
Basket Weave Pattern Knit Scarf
Posted onMy next project was a basket weave pattern scarf for my husband. I’m using a crimson color wool yarn on size 8 needles. The pattern I decided on was:
- Cast on 30
- Knit 5 Purl 5 for 5 rows
- Purl 5 Knit 5 for 5 rows
- Repeat until it’s long enough
- Bind off
It is a skinny scarf for a man but the basket weave pattern is very nice because it gives the scarf texture without being girly. I think it will be good when it’s really cold so he can bundle up with it.
I don’t know when I’ll finish but hopefully it’ll be soon so I can post a picture.
This is Rusty hard at work making sure my yarn ball doesn’t roll off of the couch while I’m knitting.
Rock Climbing Cross Stitch
Posted onOver the weekend I cross stitched Joshua’s rock climbing ornament. I made a few adjustments to the rock climbing man/pattern. Here is my rock climbing cross stitch.
I asked Joshua what color he wanted his rope and belt to be, and his response was “I want to rock climb naked” :/ So the little guy is naked and without equipment. I guess that means he’s bouldering and not rock climbing.
At this point it looks like a “It’s a Boy!” announcement to me.
I put a border to help curb that look.
One last step, I backstitched around the rock climbing man the same color as the border.
Joshua’s guy is complete! Well, the stitching part anyways.
Paw Print, How to Cross Stitch
Posted onAfter I drew my paw print pattern I got to stitching! Here’s how to cross stitch. First I’ll go a little backwards with photos of doing the cross stitch with a border I’m putting around it. But a starting note, remember, is that there is no knot at the end of the thread, you simply leave about an inch on the back side of the fabric.
In my pattern I have a lot of half squares which could be confusing. But really it either means a half of stitch, literally a half of a stitch where the needle goes through the center of the square making the diagonal half of it’s usual length.
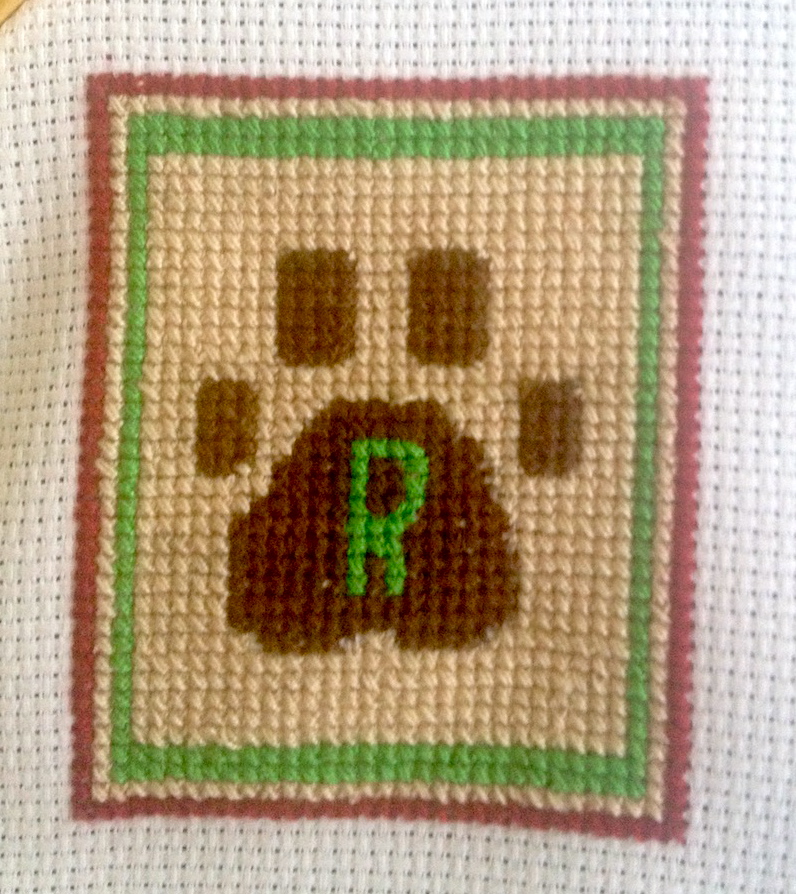
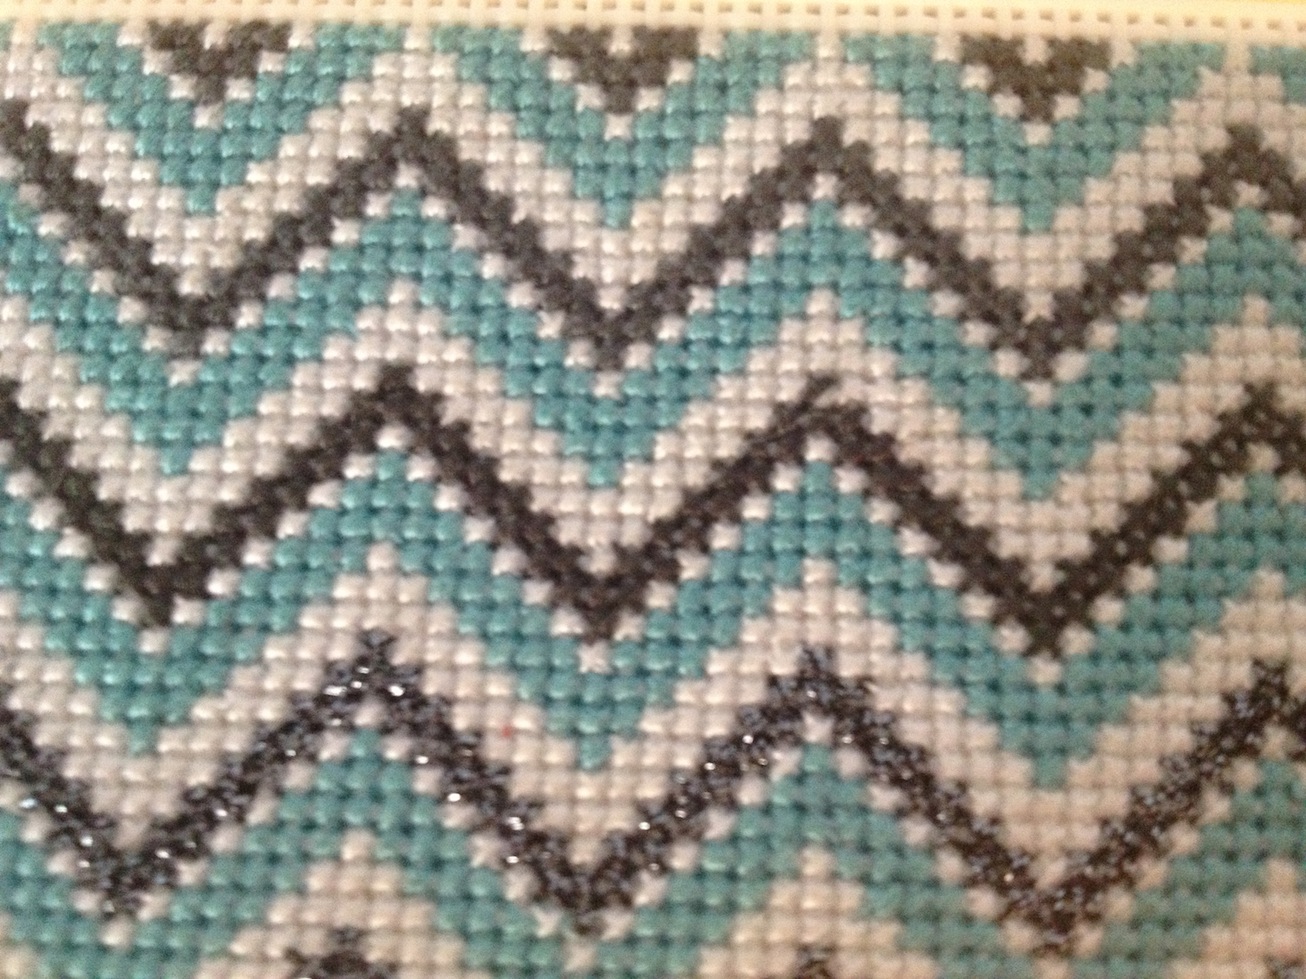
This is the pattern complete! But I needed a way to finish it, make it actually look complete. So I decided to make a border around it.
It still quite wasn’t what I hoped so I added another border.
That looks much better to me, so now I’m going to fill it in with a cream colored thread to leave no square unstitched.
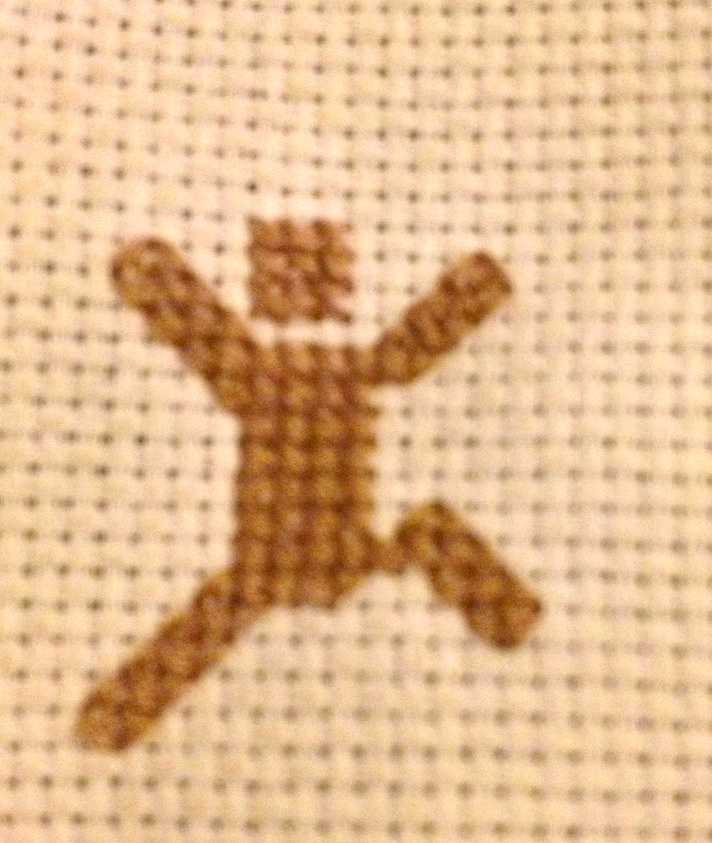
To finish the stitching part of this I decided to backstitch around the paw print to highlight it. This is easier, I think, than back stitching in sewing because it has the holes to put your needles in to make your stitches the same length and it is often used as a finishing stitch in cross stitch.
I put a pencil next to it to give a size reference. Now I need to figure out how to turn this into an ornament.
More Cross Stitch Patterns
Posted onI’ve drawn more cross stitch patterns! I’ve gotten the pattern making bug! But thank goodness for pencils and erasers because I used them a lot! 🙂
I made more patterns because I made Rusty a cross stitch pattern, which will be turned into an ornament that I decided my husband and I needed one too. Granted they are very basic, beginner cross stitch patterns, but they are my first group of patterns I’ve ever drawn. I can’t really draw that well to begin with but I wanted to try.
I have decided not to do a color legend for these because I wanted to keep my options open, as in, I wanted to make sure I had enough thread in my thread mess ball.
I couldn’t decide what to make for Joshua, my husband, so I sketched a couple of his hobbies and let him choose which one I made.
He picked the mountain climber so now I have two more ornaments to stitch and make into ornaments! Still deciding on whether or not to backstitch the year onto it.
Graph paper really is a girls best friend when trying to draw cross stitch patterns.
Drawing a Cross Stitch Pattern
Posted onI have never sketched out my own pattern before. I’ve only bought patterns or found them for free online. I figured I would try it. This is what a blank canvas used for cross stitch looks like:
Lots of tiny squares with holes at each corner. So graphing paper is the perfect tool to help me because it will make things easier to draw. I have decided to try to make a paw print with a R in the middle of it for Rusty!
It’s important to know that the size of the squares on my graphing paper are big so the finished cross stitch will actually be quite small.
Another reason why I decided to draw my own cross stitch pattern is because I have this mess of thread left over from previous projects that I wanted to put to use.
I started with drawing the R.
After staring at Rusty’s paws for what seemed like a long time, I decided the part surrounding the R will look like an upside down heart with the point chopped off.
Next I needed the four little guys to go around the pad. I went with ovals but with angles instead of rounded edges to make the stitching easier.
The next thing I did was unnecessary, but when you get a cross stitch pattern, there is usually a symbol that represents the color you need to stitch for that square. So I made my own key.
Now I have a pattern to make the paw print! Eventually I will turn it into an ornament. Maybe I should put the year on it?
How to Make a Knit HeadBand
Posted onI’m going to the Harvard vs. Yale football game this Saturday and realized I don’t have a lot of Crimson to support Harvard. I have plenty of orange and navy to support the Fighting Illini and Da Bears but not much else. I decided on a knit headband.
So I took the extra maroon yarn from my felted knit bag and counting the slip knot, cast on 7.
I went until I had little yarn left and finished it. It ended up being 11 3/4 inches long.
Then I got one yard of black ribbon a little bit smaller in width than the knitted piece, cut it in half and hand sewed it to the knitted piece. I used a running stitch along the top, bottom and down the middle of the ribbon. I tried to make sure not to go over the knit stitches so the black stitches wouldn’t be seen. I also put the ribbon about four inches onto the knit piece to give the head band some strength.
The ends of the ribbon will fray so it’s best to fold over the end, to create a hem and sew to enclose the end of the ribbon.
I tried my best to get a good shot of me wearing it but apparently I am no good at it, and every straight on view, I looked a little cooky so maybe I’ll get some good pictures at the game!
Now I have a nice unique headband to wear to the game and just a fun winter accessory!
- wool yarn, cast on 7 on size 6 needles
- knit stitch until about 12 inches long
- 2 pieces of 1/2 yard ribbon
- sew ribbon to knitted piece
- wear and look great!