 Pin It
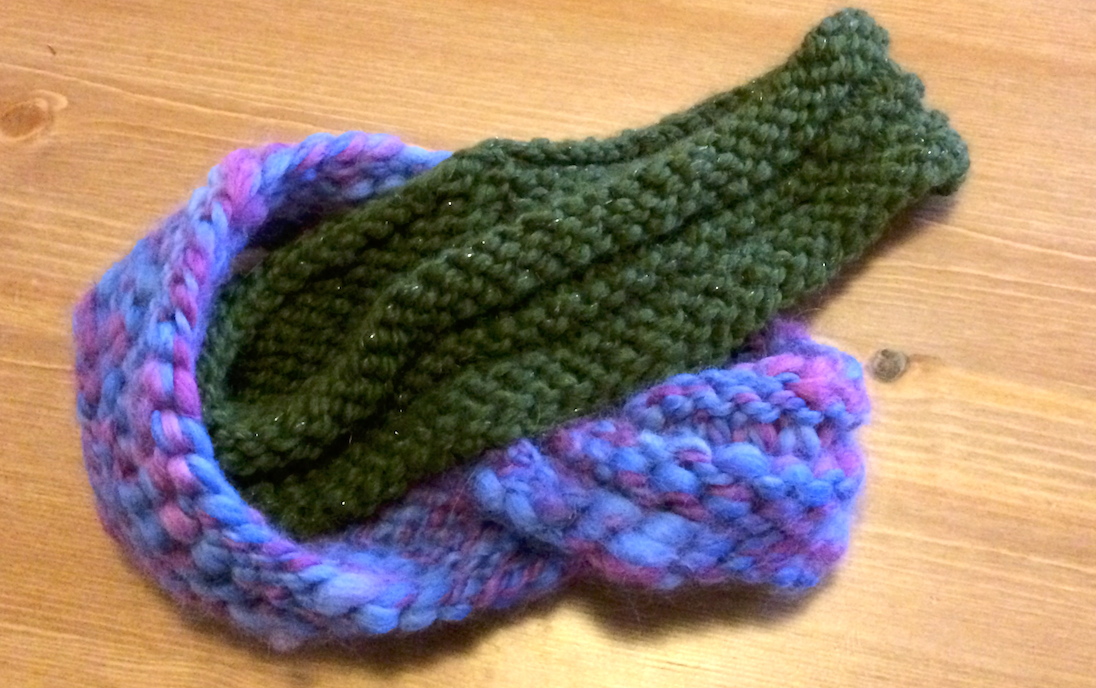 I’ve seen girls around Boston wearing these fantastic knit headbands instead of stocking caps and decided I needed one too. I got searching online for patterns. I’m not an advanced knitter by any means so I needed a quick easy pattern. I found a great one on the cute blog Crafting College.
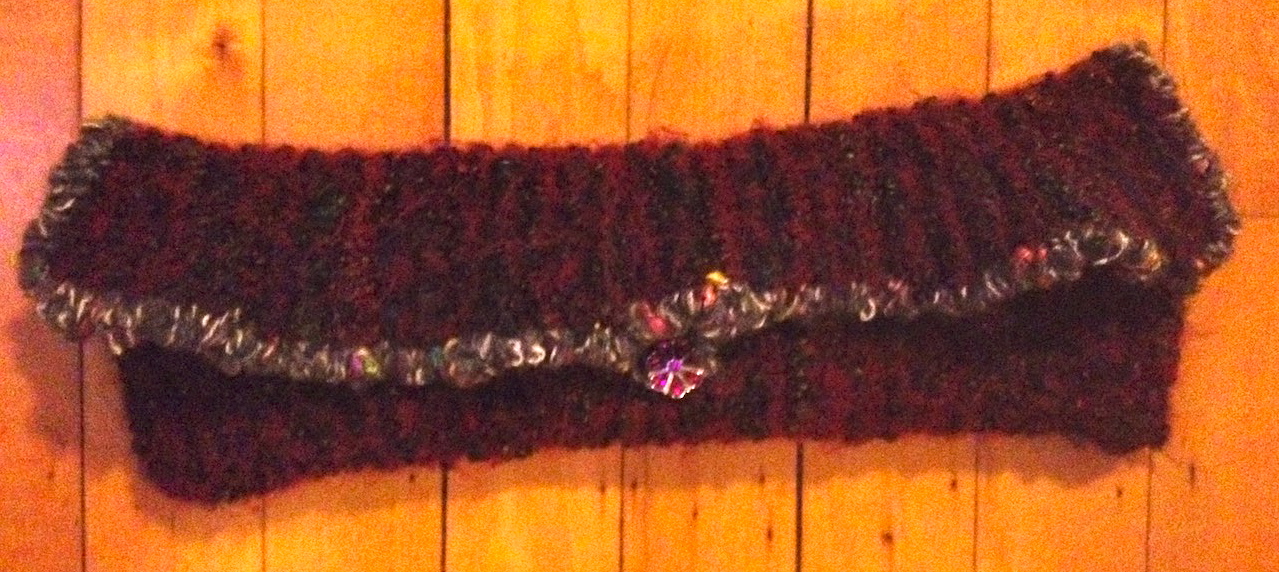
The first headband I knitted didn’t go exactly as planned. In fact the thing was kind of a hot mess. It was my first time using circular needles and I forgot to combine my first and last stitch to make it one continuous piece! Just plain silly on my part. I was knitting it straight and had to sew it together after it was completed. I was using a bulky weight yarn, Plymouth Grande Glow Yarn. I was in a hurry and saw 10 on the needles but they were actually US size 15, I bought a set of circular needles awhile ago. Anyways as per instruction I cast on 60 stitches. It ended up being too big, but I’m going to go ahead and say that’s because of a couple of things. 1. I didn’t combine my stitches at the beginning and 2. More importantly, I have at tiny head. So I guess this will probably turn into a Christmas present. Also, because of the bulky yarn I didn’t do step 4 of the instructions, Repeat steps 2 and 3 three more times. This headband was plenty wide.
For this headband, I used US size 15 needles, bulky weight yarn. I cast on 60 stitches. Knit 4 rows, purl 2 rows, knit 3 rows purl 3 rows, and bind off. I didn’t follow the directions so it wasn’t the cute twisty one that she did on her blog but I do like the way it turned out.
top view

side view, crappy phone quality picture
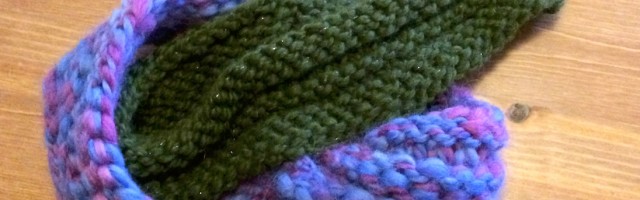
So I tried again. This time with US size 10 circular needles. I also used Rowan bulky Biggy Print yarn. It only has 33 yards in the ball. If you’re considering using this you’ll need another ball. I cast on 50 stitches, combined my first and last stitch! I then placed a stitch marker on that stitch so I would know when a row was completed. 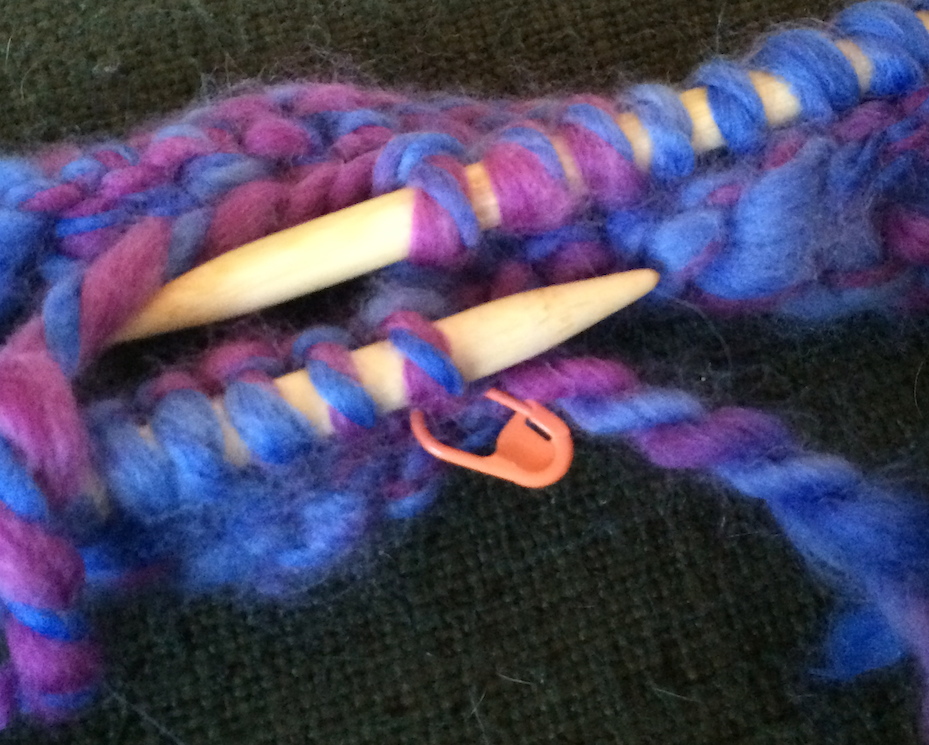
Next, I did what I did for the green one, knit 4 rows, purl 2 rows, knit 3 rows, purl 3 rows and bind off. I did it! I successfully used circular needles for the first time and it had the cute twisty effect that the original one had. I’m thinking about making another one out a lighter weight yarn too, but I wanted a nice warm wool knit headband so I used the bulky yarn I had. I am very pleased with how this turned out and now my ears can be warm without having such bad hat hair this winter!
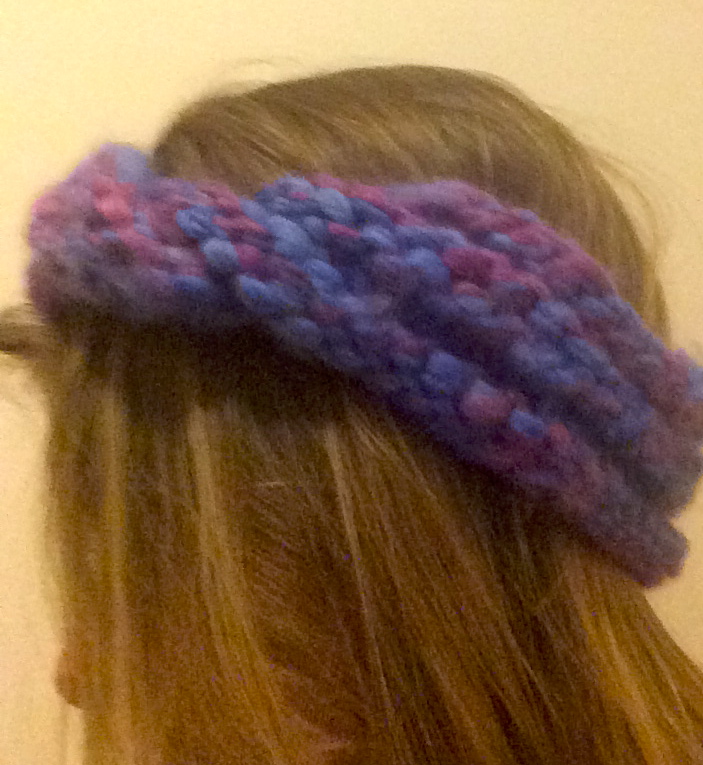
side view
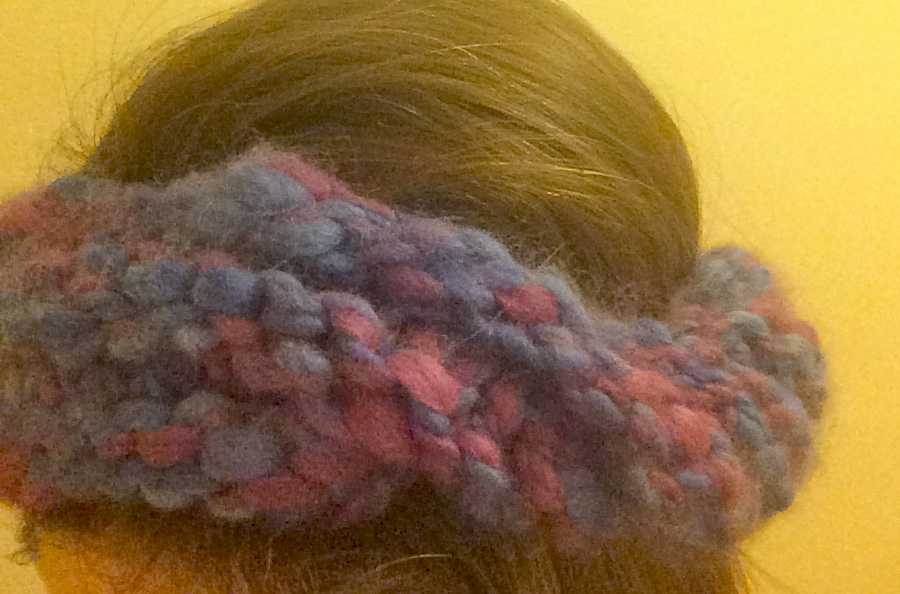
top view


