 Pin It
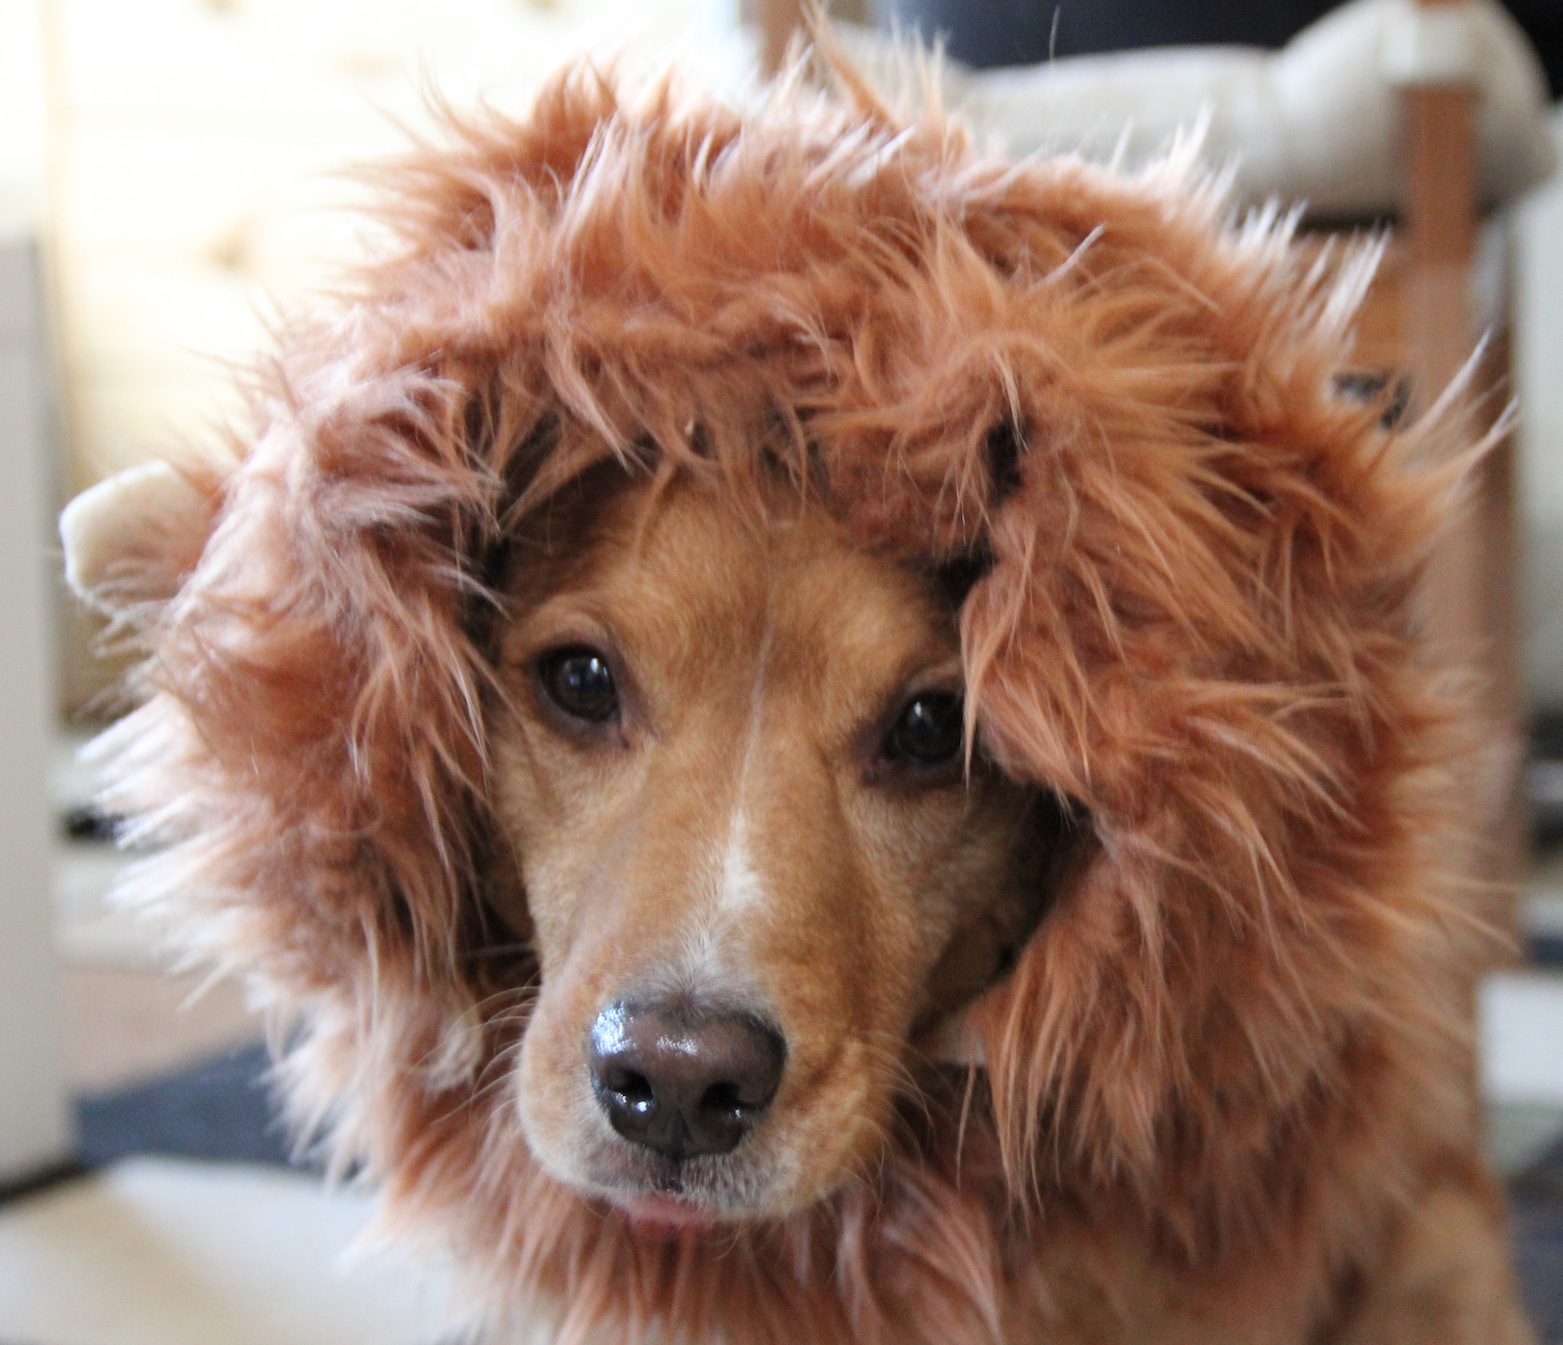
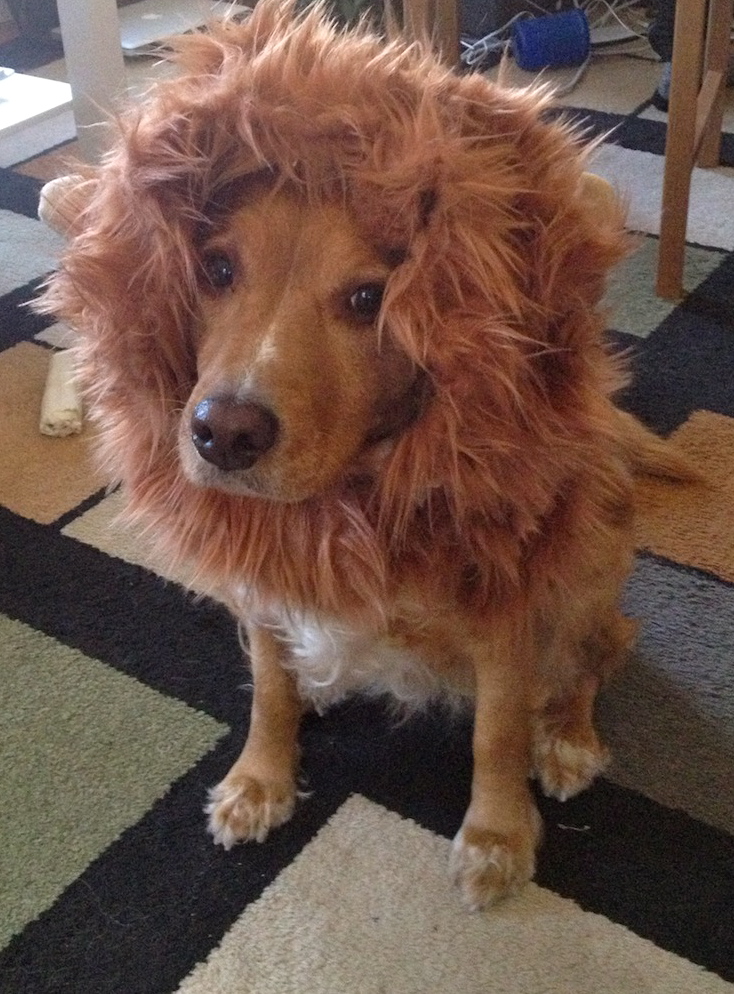
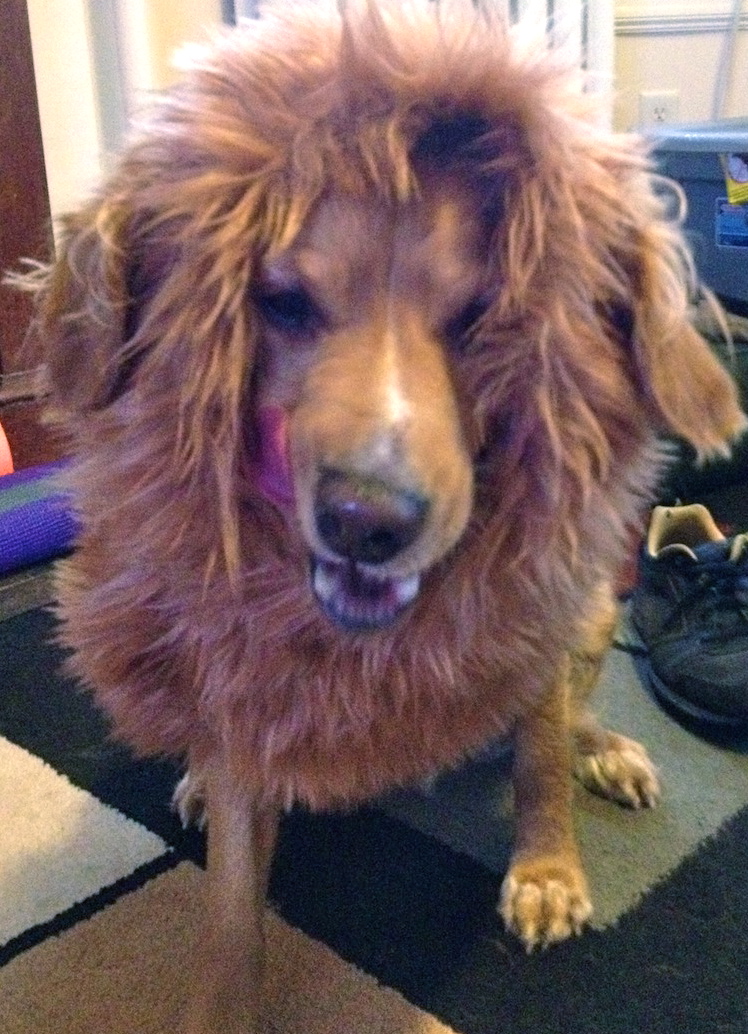
I made another version of my lion mane dog costume for Rusty because I had bought way too much fake fur and I didn’t know what to do with it. I decided to be a little more adventurous with it this time. I actually used my sewing machine on the fake fur and I sewed fleece. Two things I have never done before. I basically made a doggy ski mask and then sewed layers of pleated fake fur onto it.
I lost all of my pictures of each step :/ But I took some other pictures that will hopefully help out.
Things I used:
- ~ 1/2 yard fake fur, from Mendel’s website.
- thread to match
- a small amount of tan lycra
- tiny amount of tan anti-pill fleece
- fabric fusion velcro
How I did it:
1. Take a LOT of measurements the dog’s head and neck. If all else fails drape the fabric around the dog and mark the fabric.
2. Cut a ski mask out of a base material, I choose lycra. I did this in two pieces one to go around the head and one to go around the neck. I then sewed the neck piece to the head piece using a tight zig-zag stitch, since lycra is a bit stretchy. If your fabric snags, try adding tissue paper under the fabric and then tear it away after the seam is created. Also, I didn’t finish the edges of the lycra, mainly because I can be lazy.
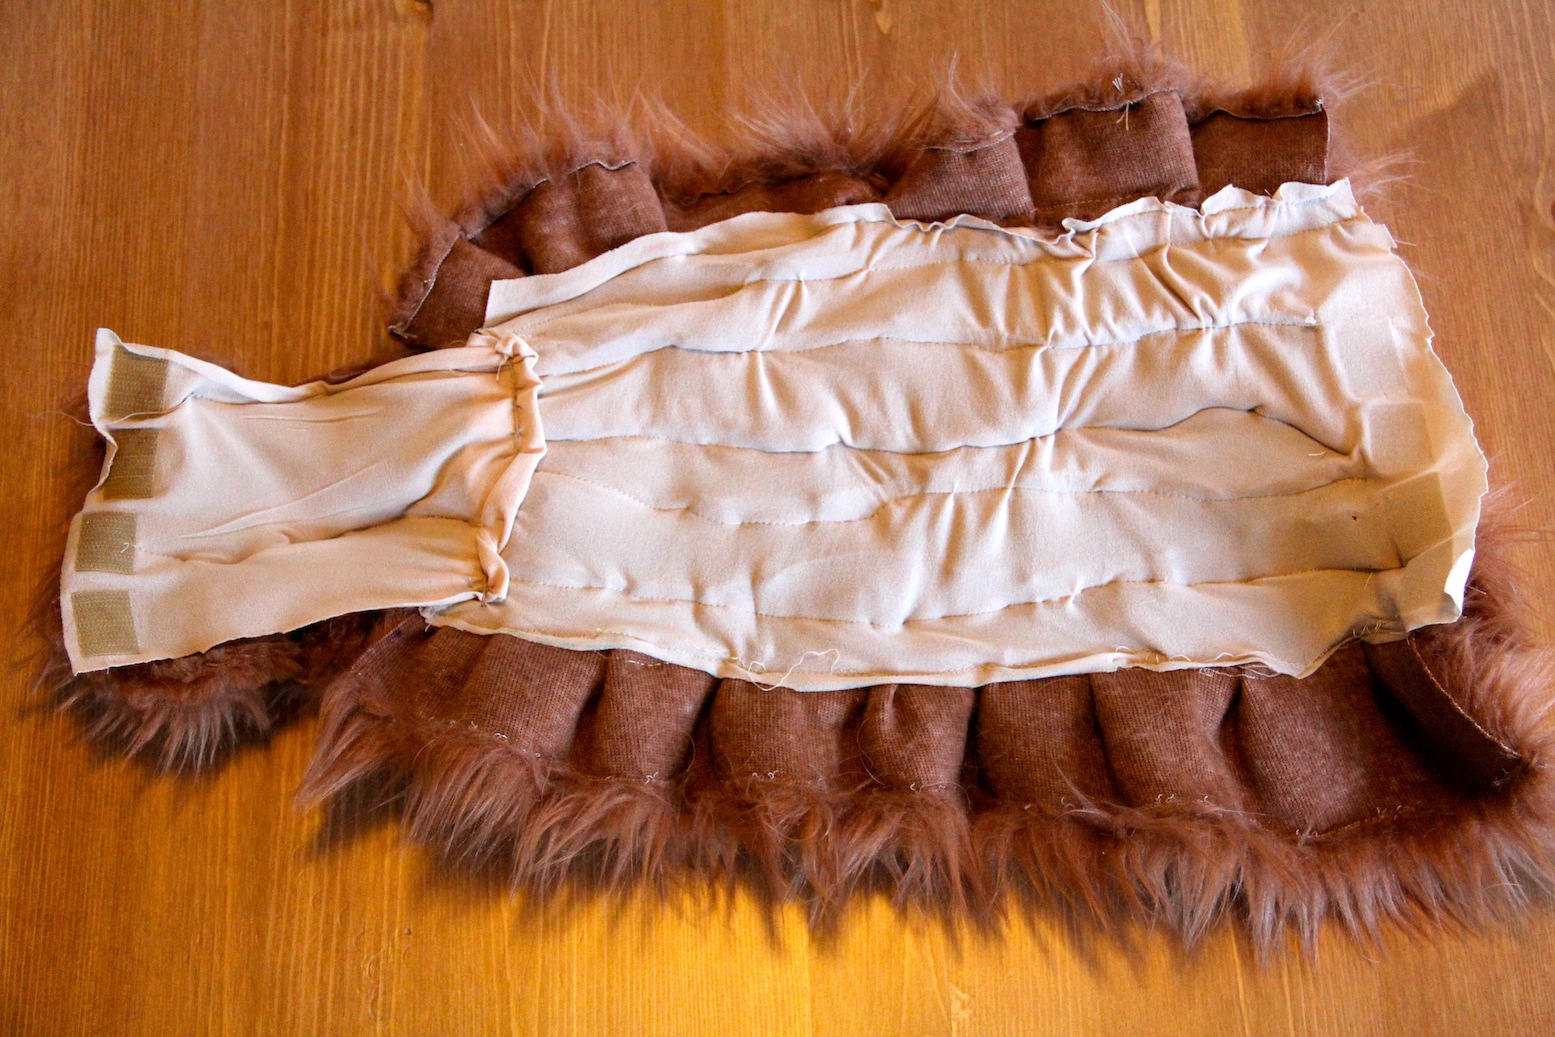
inside of the mane
3. Fuse the velcro into the correct positions. Hopefully you can see what I did in the picture.
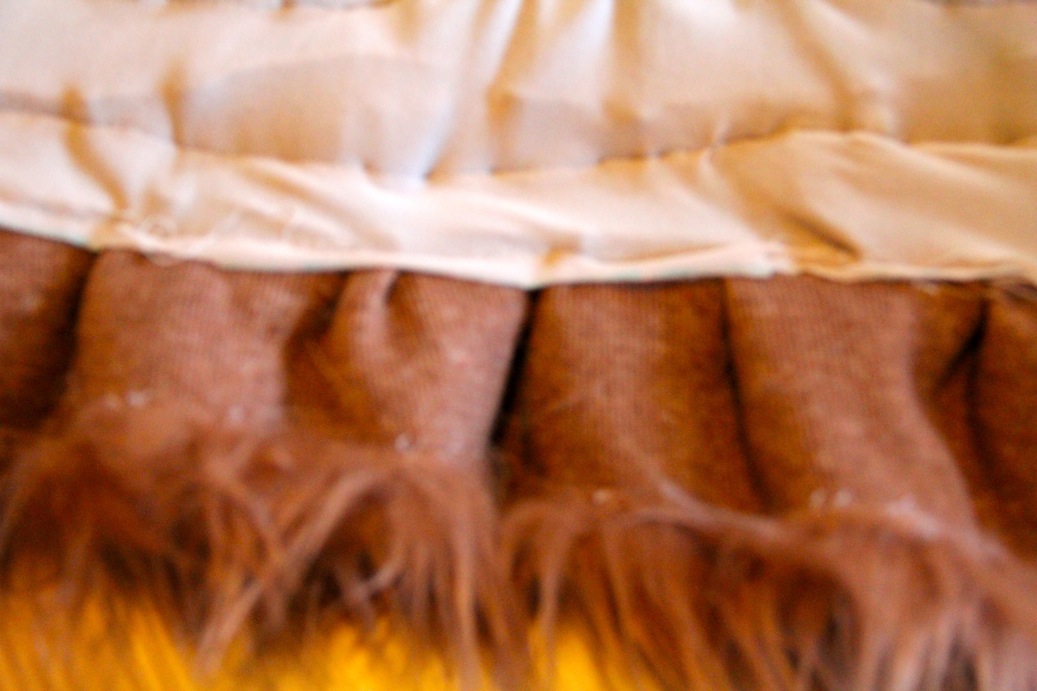
4. Next, cut 1 inch to 2 inch wide strips of fur (it depends on the amount of volume and work you want to do, my strips were 2 inches wide) that are about 4 inches longer than the mask.
To cut the fur mark on the back where you want to cut and then use a straight blade like a box cutter or a razor blade to prevent trimming the fur and creating a huge mess. I, unfortunately, didn’t have either one of those and used scissors. BIG MISTAKE fur everywhere! and because the scissors trimmed the fur and created a weird raw edge I needed to fold over the edge and sew it down. Something I wouldn’t have had to do if I had just went out and bought a box cutter.
5. Next step is to pleat and pin the fur to fit the mask. If you don’t know how to pleat, here is a drawing I did that might help. Pleat whichever way is most comfortable to you, I find the knife pleat to be the easiest.
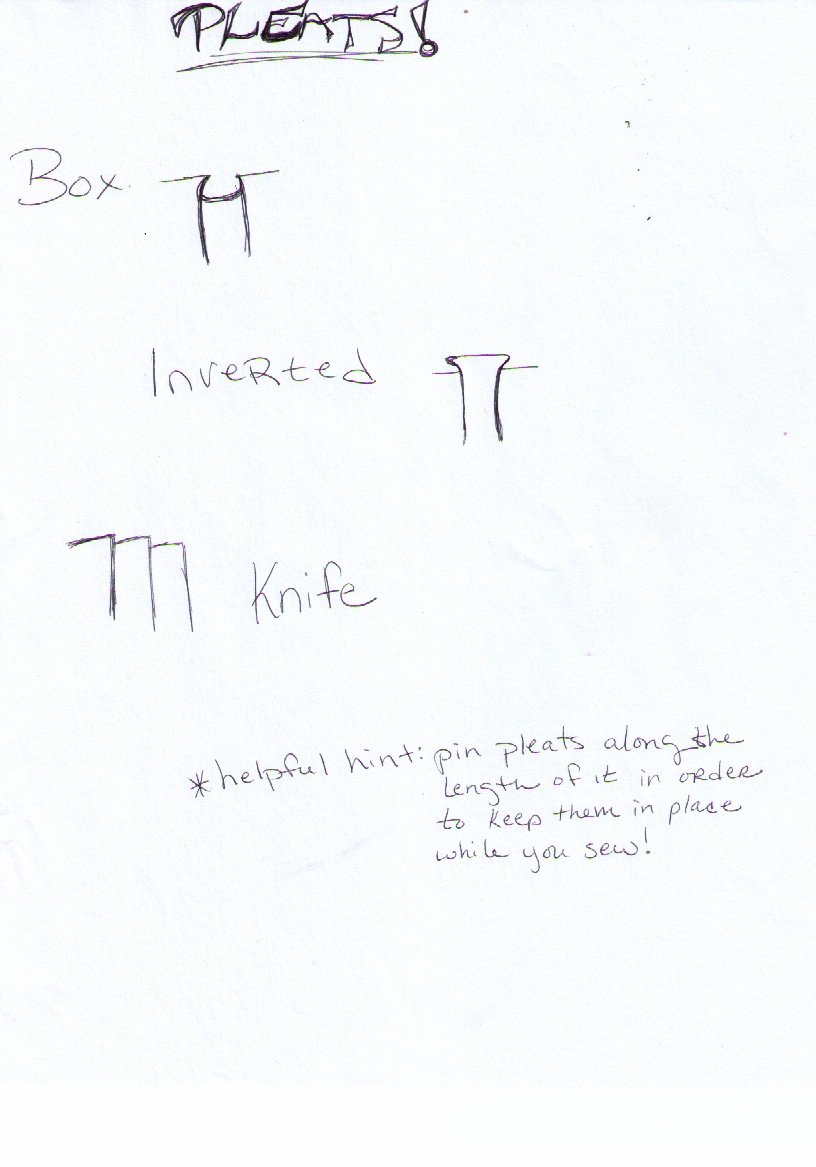
Drawing of different pleats for sewing
pleats
Sew the layers, fur side down on the machine, onto the lycra mask, starting with the bottom layer first working your way up so the layers don’t get in the way. I did the layer that goes around Rusty’s face going in the opposite direction to create more volume around his face.
6. Repeat for around the neck, I only did 2 layers for that part.
7. Fold fleece into fours, to where there are 4 layers of fleece and draw out an open bottom oval and then cut along your lines.
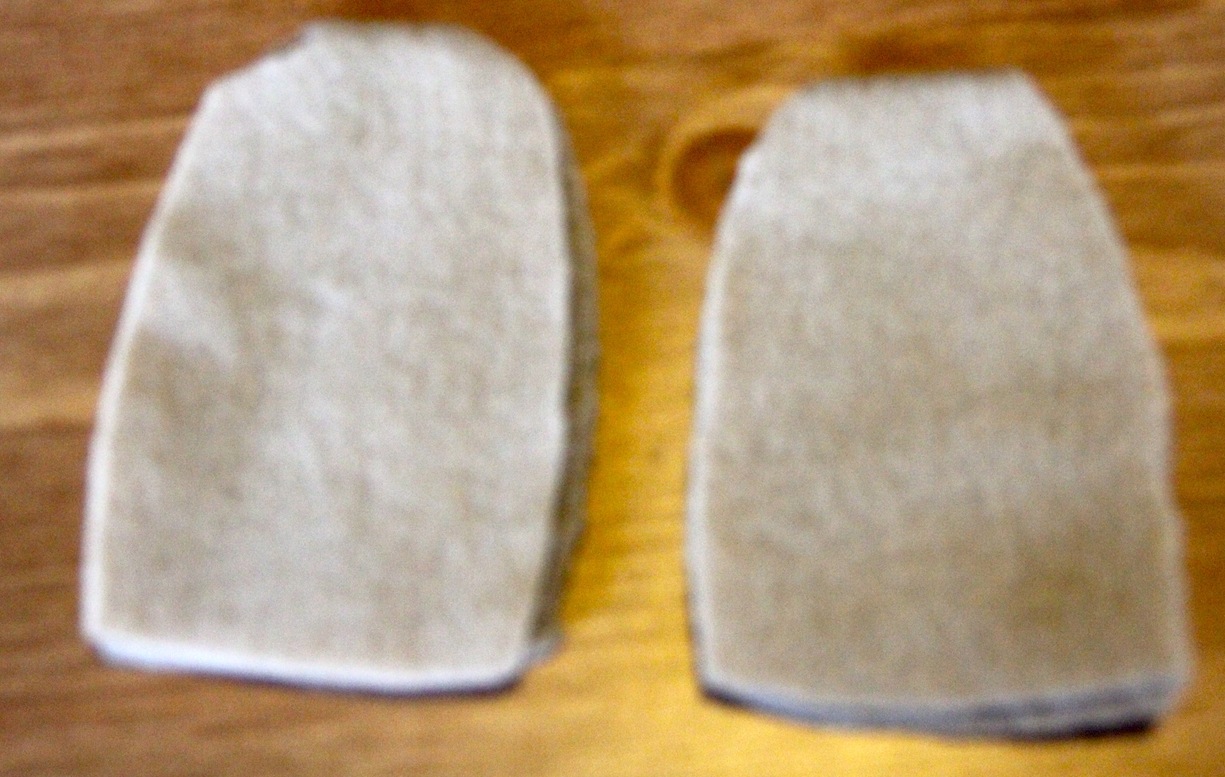
lion ears
8. Next, combine two of the pieces and sew as close to the edge as possible, turn inside out and repeat for other ear. Pin onto mask for placement and hand stitch the ears to the mask.
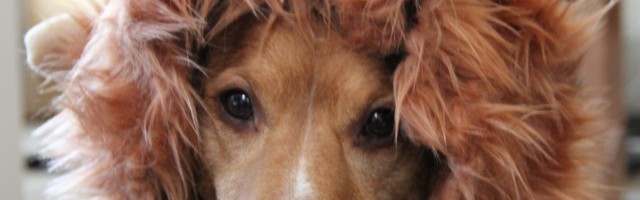
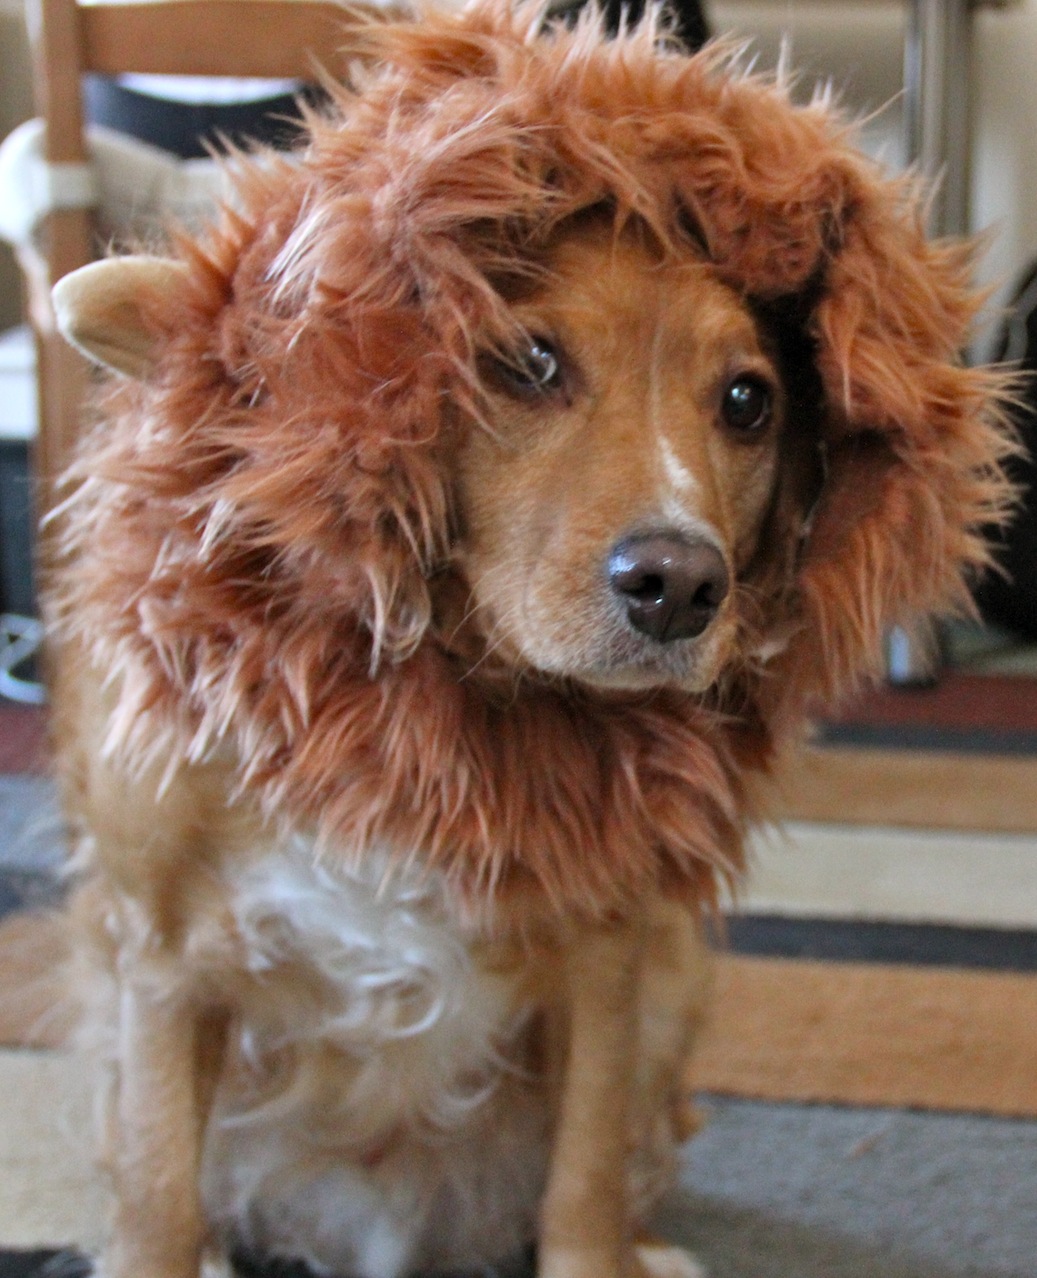
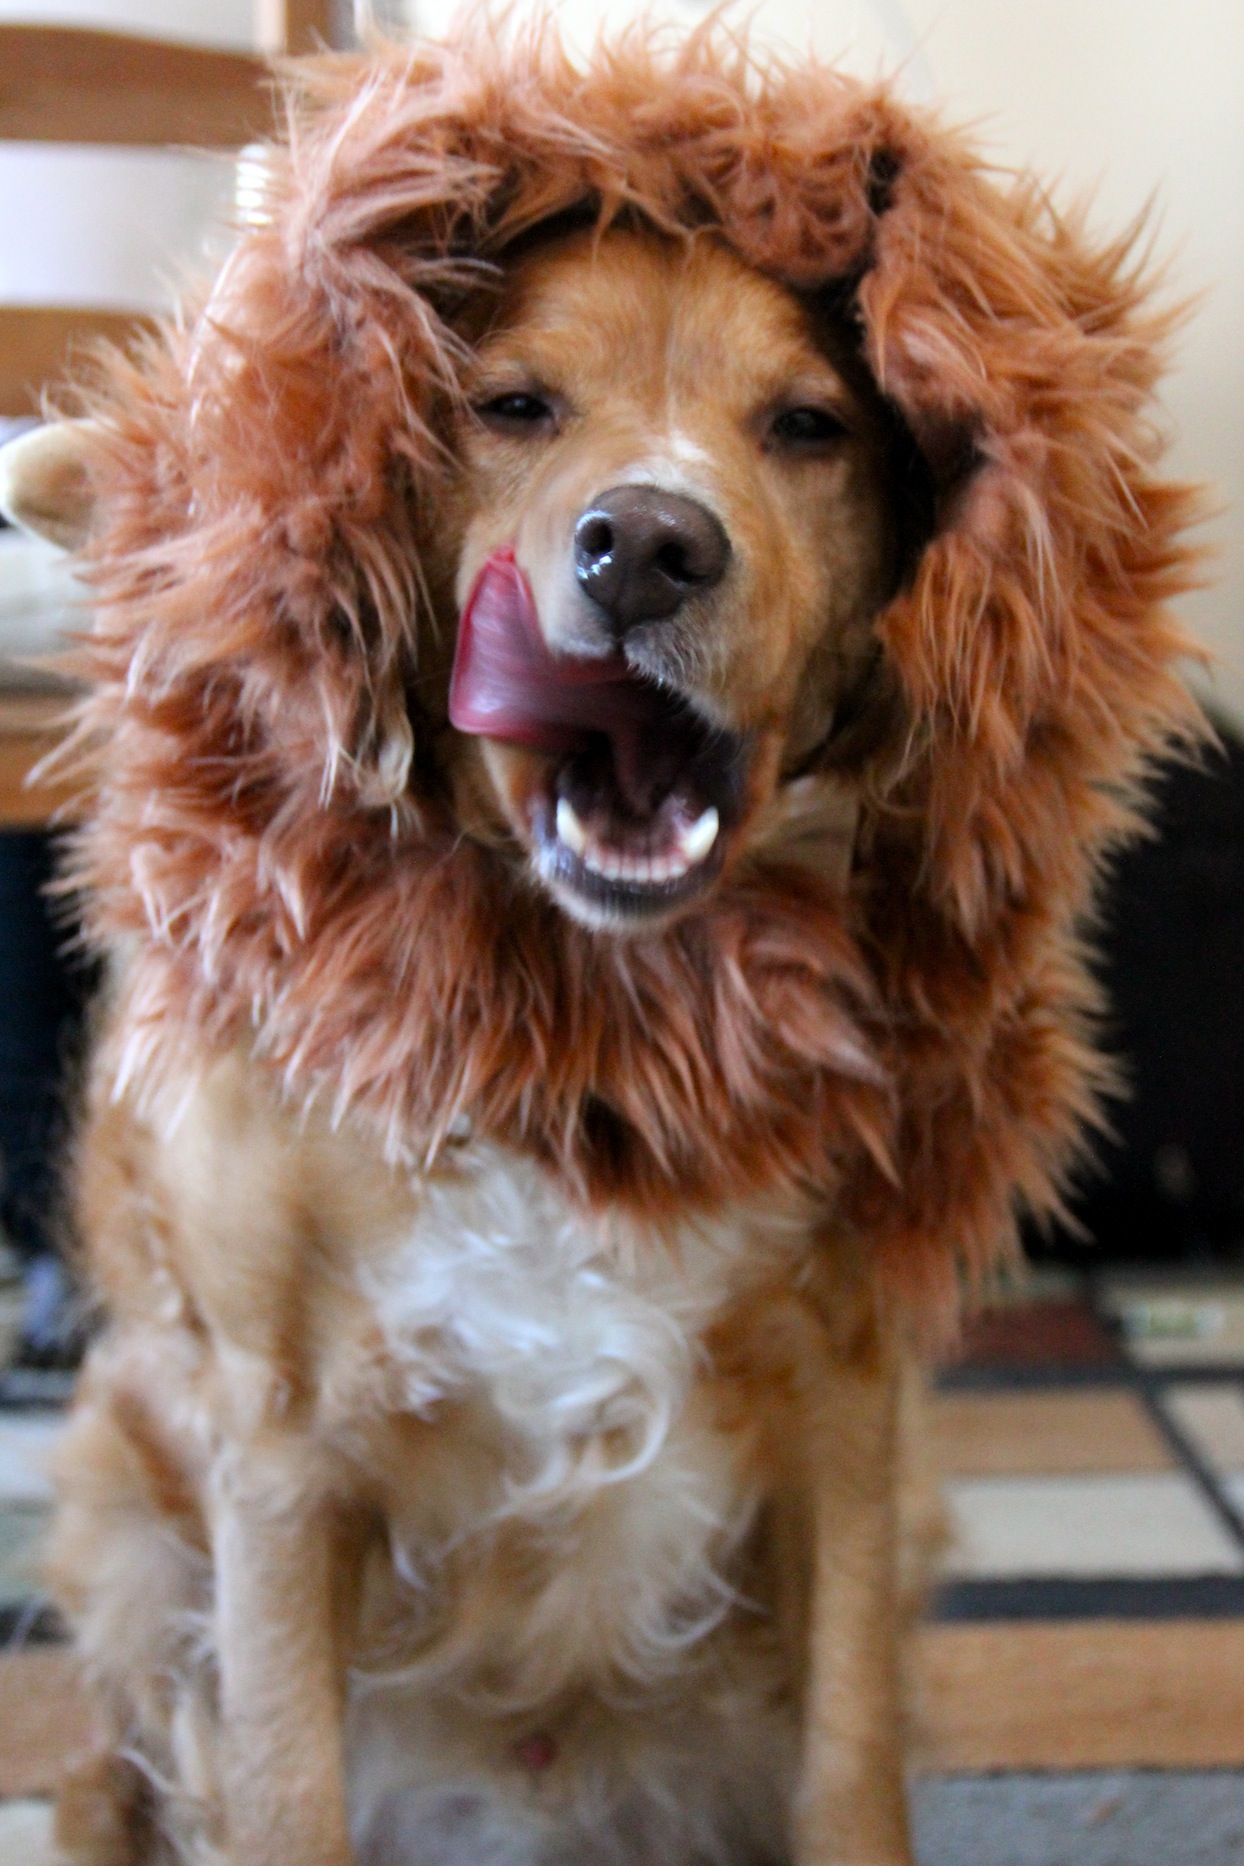
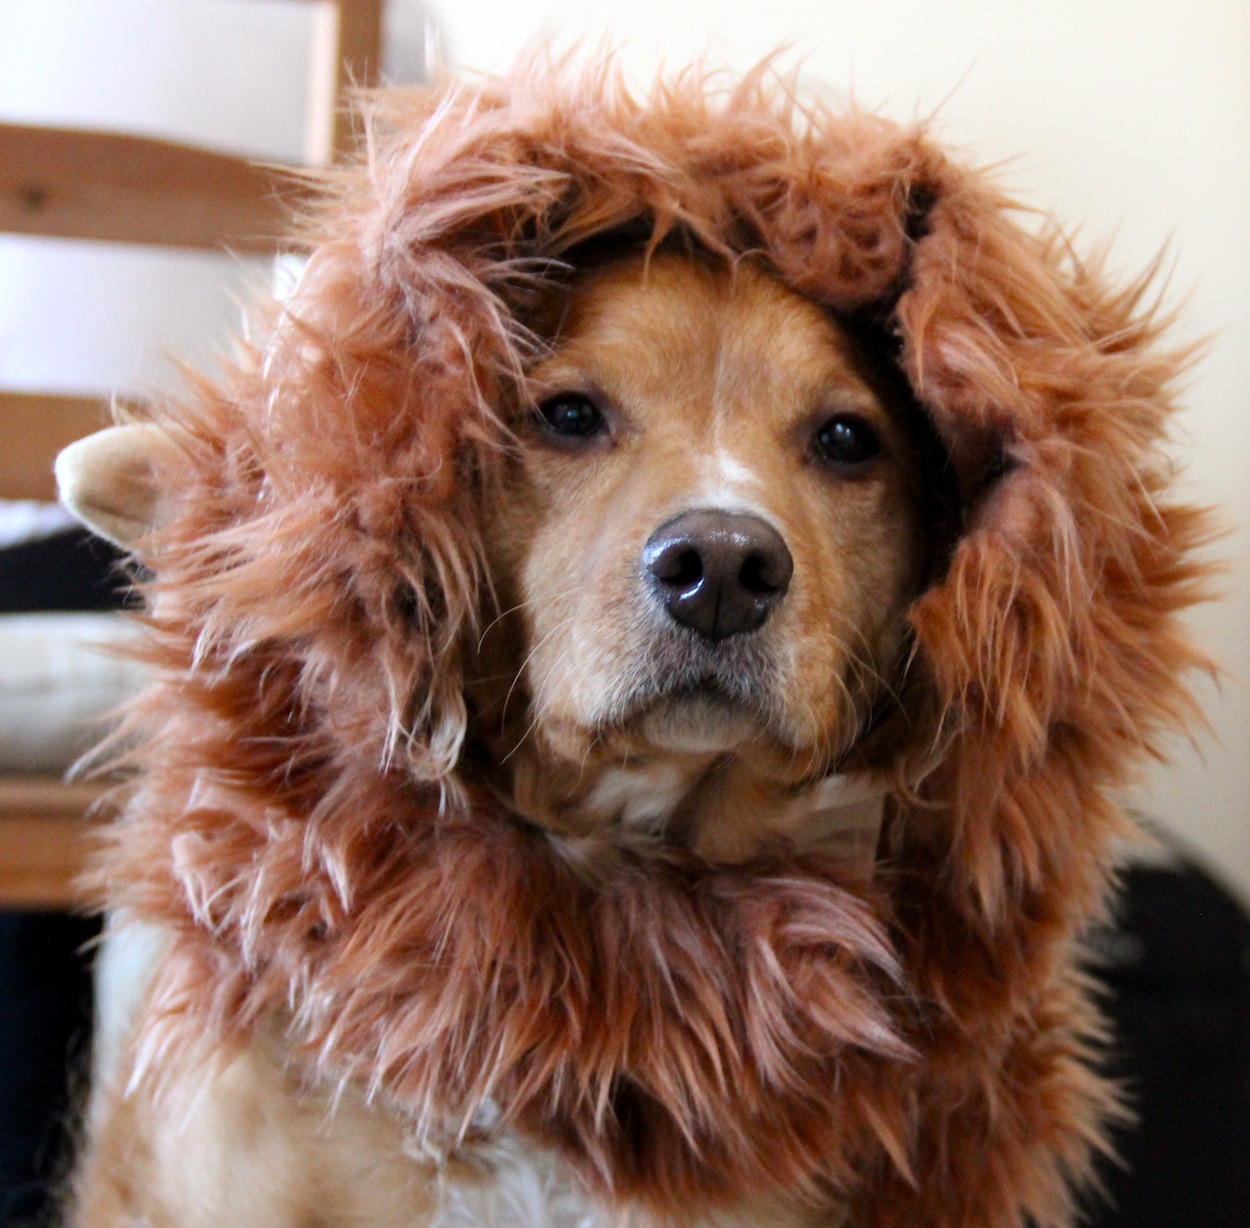
Finally you have a lion mane dog costume!
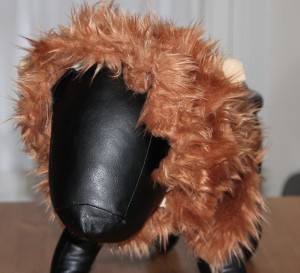
Manne modeling it
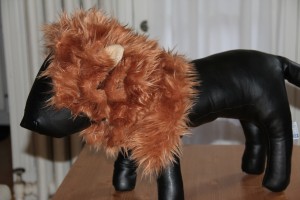
Manne model shot


