shorten a shirt dress

How to Shorten a Shirt Dress

Posted on
Follow Me on PinterestPin It

dress

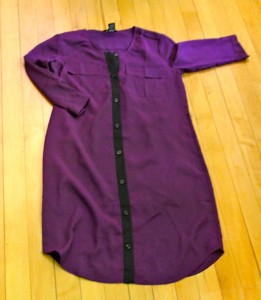
I recently bought a shirt dress to wear with boots as a fun fall work outfit but of course it is too long, about 2 inches too long. I knew I needed to shorten my shirt dress. This was going to be tricky for me because of the curves at the bottom. I usually only work with straight lines because my lack of patience usually gets the better of me when trying to work on a curve. But after a long afternoon with Rusty whining behind me from lack of attention I managed to get it to my desired length.

Here’s what I did:

Stood in front of a mirror and figured out how much fabric needed to be taken off the bottom. I pinned the length and then stood up straight to make sure that was my desired length.

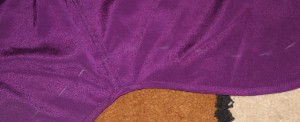
shorten a shirt dress

chalk marks

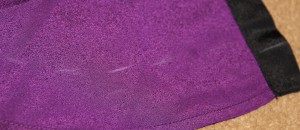
Next I unbuttoned the shirt and laid it out, right side down, and with my chalk pencil, I marked a lot of spots up to the desired length of the dress. Then,  I also marked about an inch below that to serve as a cutting line.

shorten a shirt dress

two rows of chalk

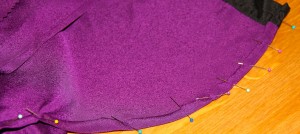
It’s now time for my most time-consuming part, the hem! I needed to clip a couple of spots on the curves in order for the fabric to lay flat. Little by little I rolled over a ¼inch of fabric and then another ¼inch of fabric and pinned. I made sure to put the pins in to where I could sew with them still in the fabric so I’d have one less thing to worry about. And after all of that work, carefully, put the dress back on to make sure it is at the desired length.

http://www.covergirl.com/collections/nfl-collection/chicago-bears

lots of pins

Sew time! Slow and steady with some patience, wins the race because it is a tiny hem and there are curves, it’s best to go slow.

Try on one last time. Good? Press. Now I have a dress that will be perfect with flat and boots this Fall!

shorten a shirt dress


How to Sew in a Zipper

Posted on
Follow Me on PinterestPin It

Yesterday I showed how to create a bed for a dog kennel. Today I’ll show you how to sew in a zipper. I cut some pieces of fabric and drew on them to better show how to sew the central zipper in.

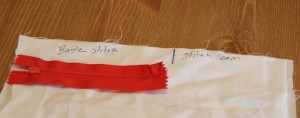
-To start, mark where the zipper will go because before and after the zipper a seam stitch will be sewn and where the zipper will go, I’ll do a basting stitch, or the longest stitch on my machine.

-Use pins or fabric chalk to mark the fabric. Don’t use a marker like I did, I just wanted to clearly show where to mark.

mark

mark fabric

baste

where to baste

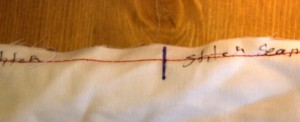
– Pin the fabric together and baste where the zipper goes and continue with the seam stitch before and after the zipper, backstitching when I stitch the stitch length, I’m using a 5/8inch seam.

both stitches

differences in stitches

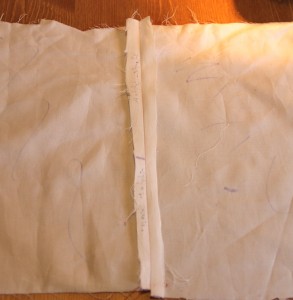
-Then iron the seam open.

iron seam

iron seam

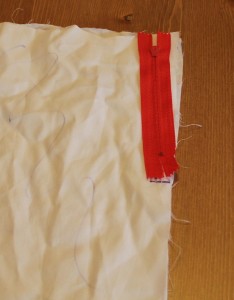
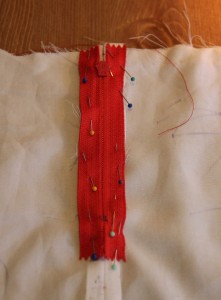
– Then pin the zipper, face down, teeth to the seam. I placed the pins in the wrong direction. So I had to switch them so I could easily remove them as I was stitching.

zipper

pin zipper over seam

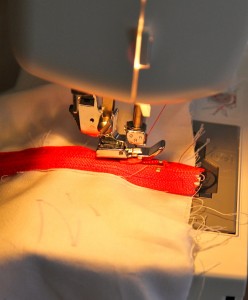
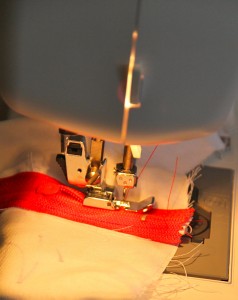
– Using a basting stitch, longest stitch on my machine, I place the edge of my zipper foot directly in the middle of the teeth and stitch, when I need to turn, I leave the needle in the fabric, lift the foot, and turn the fabric to the direction, put the foot down and begin to stitch again. I use a basting stitch to tack the zipper to the fabric and I don’t have to worry about removing pins as I sew.

– When I get to the zipper head, I make sure the needle is in the fabric, lift the zipper foot and push the zipper head past the foot.

zipper foot

zipper foot up, and push the zipper head past the foot

– Once the zipper head is out of the way, put the foot down, and continue stitching.

down

zipper foot down and continue stitching

-After the basting, stitch around the zipper with a smaller stitch size, just outside the basting stitch. Using the same technique at the corners and the zipper head.

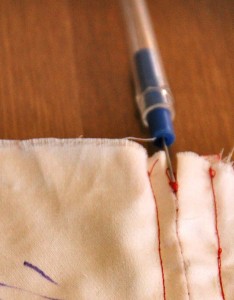
-Once the stitching is complete, remove the basting stitch around the zipper and in the middle of the zipper.

basting

remove basting stitch

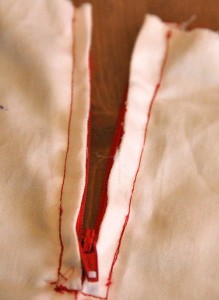
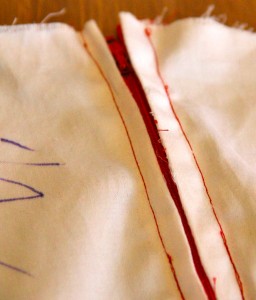
– The zipper is complete! The zipper has been successfully installed. It does take practice but it’s not as intimidating as it first appears.
zipper

zipper complete

zipper

finished

Happy Sewing!


How to Knit the Purl Stitch

Posted on
Follow Me on PinterestPin It

Purl stitch day!

We know how to do the standard knit stitch, so it’s time to switch it up a bit, well literally switch it up with the purl stitch. The purl is the opposite of the knit stitch.

With the knit stitch, the yarn starts in the back, but for the purl stitch the thread starts in the front.

purl stitch

start with the thread in front

Next take the right hand needle through the first stitch on the left hand needle, going from the back of the needle to the front of the needle.

step 1

back to front

step 1

another view

Then take the yarn over the right hand needle.

step 2

wrap yarn around needle

Like with the knit stitch, pull the right hand needle out catching the yarn.

step 3

catch yarn while pulling right hand needle out

step4

catch

Then push the stitch off of the left needle and pull the yarn a bit to keep the stitch tension consistent.

push off

push stitch off

There’s the purl stitch! Now I can create more patterns with knitting.


How to Do the Knit Stitch

Posted on
Follow Me on PinterestPin It

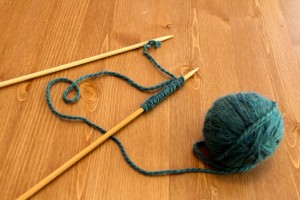
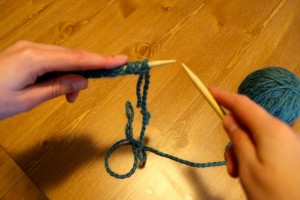
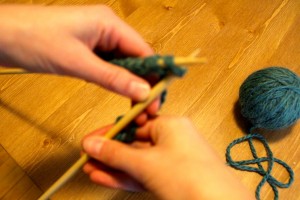
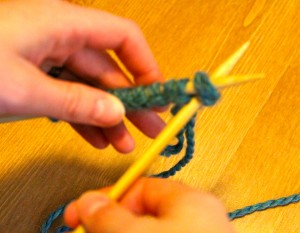
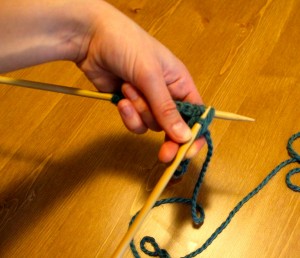
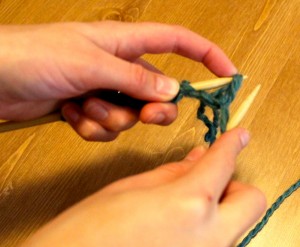
The yarn is wound and cast on the needle. Now I can knit. I’m going to do just a knit stitch for this scarf. This is how I do it.

starting your knit stitch

Starting the knit stitch

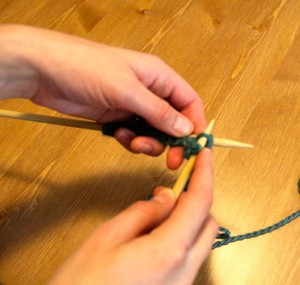
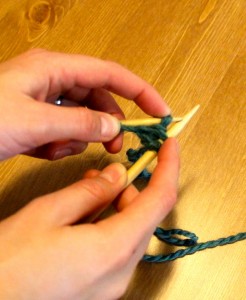
hold the needles like this

hold the needles like this

step in knit stitch

place right hand needle under first loop on the left hand needle and bring the right needle behind the left

second step
Another view of placing right needle through loop and underneath left needle


take yarn and wrap

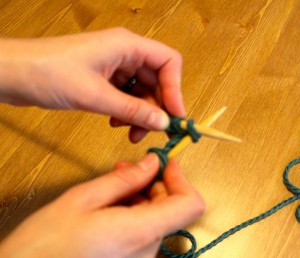
take yarn, that’s connected to the ball not the tail, and wrap around the right hand needle

another view of the wrap
another view of wrapping the yarn around right hand needle


pull the wrap down a little bit

pull the wrap down a little bit

pull the needle and catch the wrapped yarn

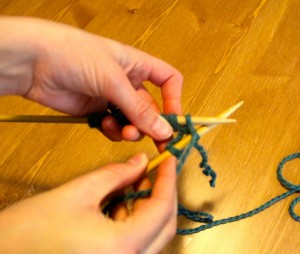
pull the right hand needle down and catch the wrapped yarn around the tip of the needle

catch the yarn

another view of catching the yarn

the loop

the loop from the wrap will be put on the right hand needle and push off the loop on the left

repeat knit stitch

repeat knit stitch

underneath and through

underneath and through

wrap and catch

wrap and catch

push off needle

push off needle

Now I can knit knit knit until it’s time to bind off and weave the tails into the scarf! I’m so excited to complete this scarf!


How to Cast On for Knitting

Posted on
Follow Me on PinterestPin It

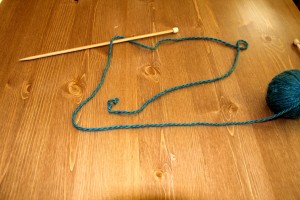
I have hand wound my yarn now time to cast on the yarn so I can knit! I’m using the baby alpaca yarn again along with cast on 14 and US 10 knitting needles. I’m right handed so these are instructions to cast on for right hand dominant people.

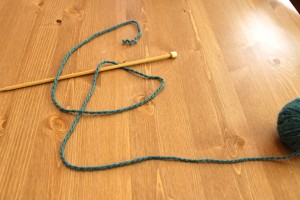
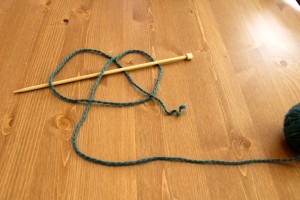
First thing I need to do is figure out how long the tail is going to be. I need enough to be able to cast on 14 stitches. I have found some advice on how to figure out this length but when I do it, I’m usually off by a couple inches, so I just rely on trial an error, if I find a fool proof way I’ll let you know, and if you have a way, please let me know 🙂

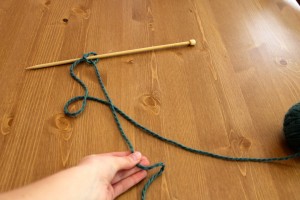
To start I need to make a slip knot.

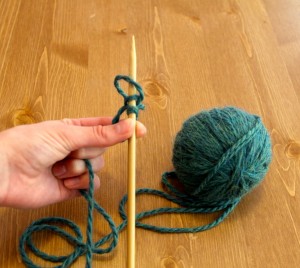
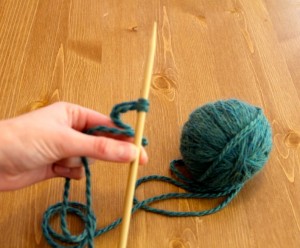
Start with a pretzel over the knitting needle:

first step to cast on

Lay Yarn over Needle

Make a Loop

Make a Loop

bow

Make a Pretzel or a Bow

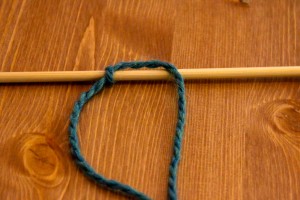
pull end

pull end tight to make yarn tight around needle

And I have made a slip knot which is also my first of fourteen to cast on.

slip knot cast on

Slip Knot

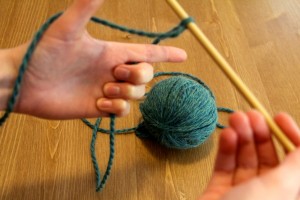
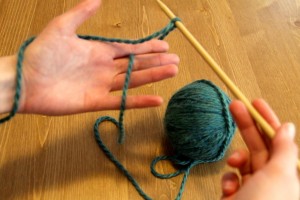
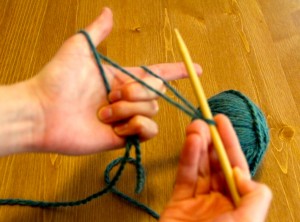
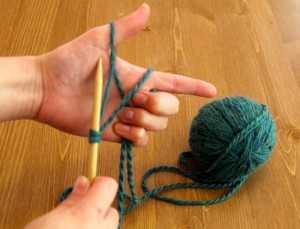
Next is to make a half of a rectangle or a gun with my hand.

get your gun

position your hand like this to cast on

Cast on

place the yarn on the ball draped over three fingers but behind the index finger

wrap yarn end around thumb

wrap yarn end around thumb and hold end with three fingers

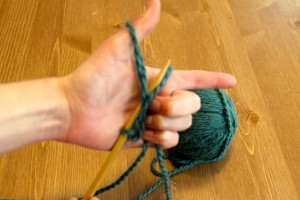
first step to cast on

go under loop around thumb with the needle in right hand

Go under yarn on finger

go over and then under yarn on finger so it wraps around the needle

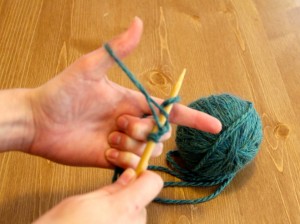
through loop on thumb

place needle through loop on thumb

remove loop from thumb

remove loop from thumb with needle still in the loop

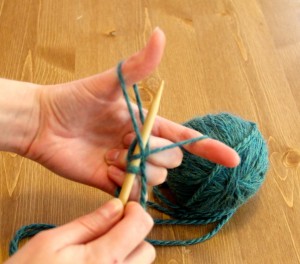
first cast on stitch

tighten it a bit and you have your first cast on stitch after the slip knot

repeat cast on stitch

repeat cast on stitch