How to Knit the Purl Stitch

Posted on
Follow Me on PinterestPin It

Purl stitch day!

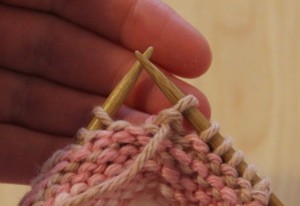
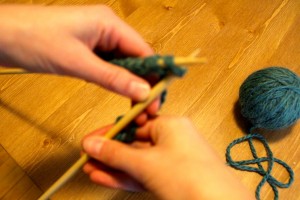
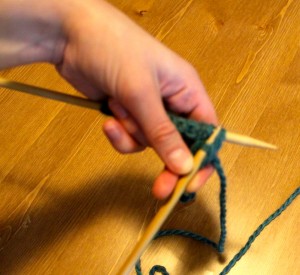
We know how to do the standard knit stitch, so it’s time to switch it up a bit, well literally switch it up with the purl stitch. The purl is the opposite of the knit stitch.

With the knit stitch, the yarn starts in the back, but for the purl stitch the thread starts in the front.

purl stitch

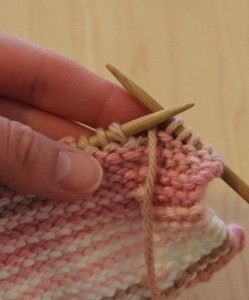
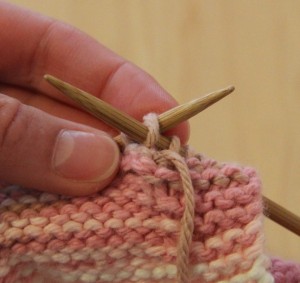
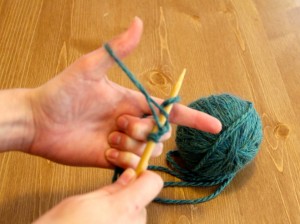
start with the thread in front

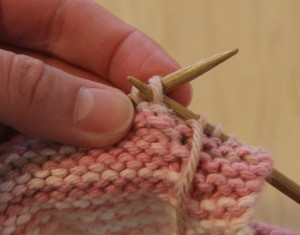
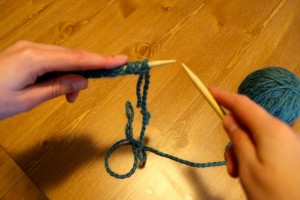
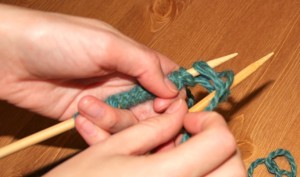
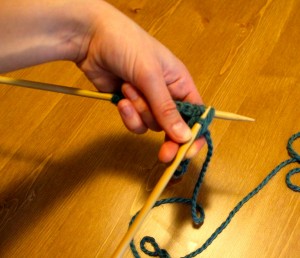
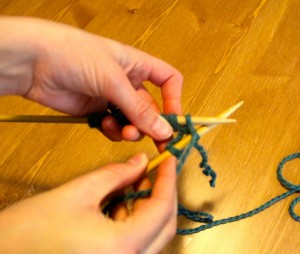
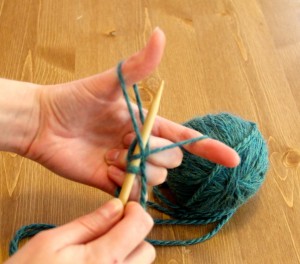
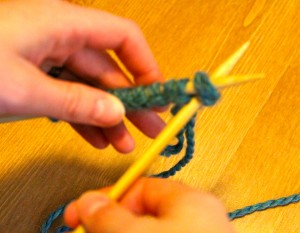
Next take the right hand needle through the first stitch on the left hand needle, going from the back of the needle to the front of the needle.

step 1

back to front

step 1

another view

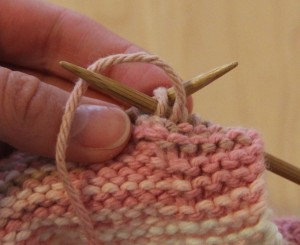
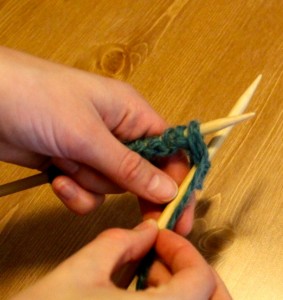
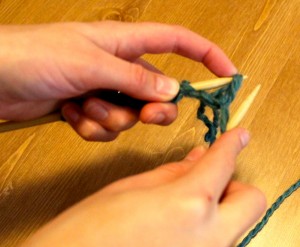
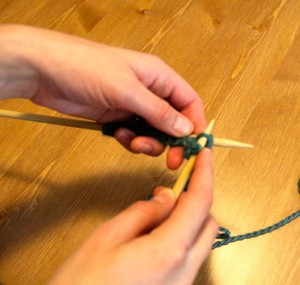
Then take the yarn over the right hand needle.

step 2

wrap yarn around needle

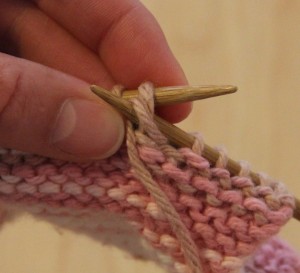
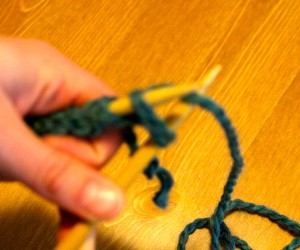
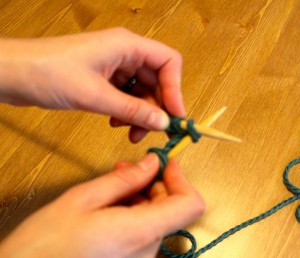
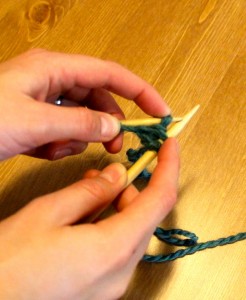
Like with the knit stitch, pull the right hand needle out catching the yarn.

step 3

catch yarn while pulling right hand needle out

step4

catch

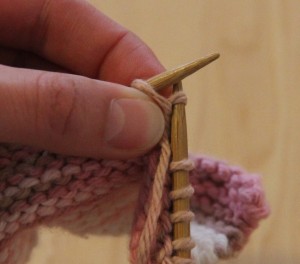
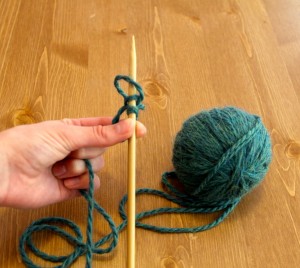
Then push the stitch off of the left needle and pull the yarn a bit to keep the stitch tension consistent.

push off

push stitch off

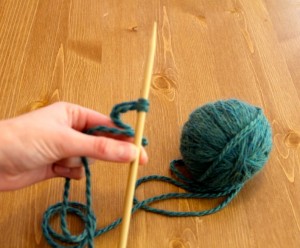
There’s the purl stitch! Now I can create more patterns with knitting.


How to Sew the Whip Stitch

Posted on
Follow Me on PinterestPin It

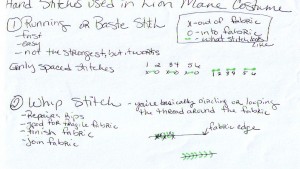
Here is my awesome drawing again! 🙂 Alright yesterday was the running stitch, and today I’ll be going over the whip stitch. It is a very versatile stitch and it is just a loop stitch. I have used it to repair holes in fabric that are not on the seam, to edge a button hole to give it strength, to combine different fabrics for sewing and knitting, and I’ve used to to combine my plastic canvas pieces for the doll workout equipment.

Reminders:

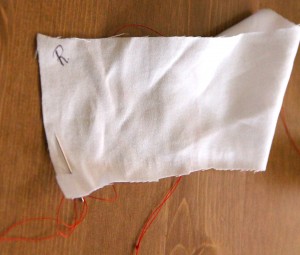
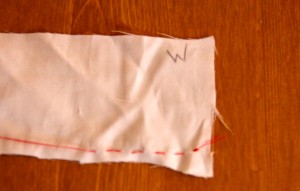
– On my fabric you’ll see a R and W written on it, this is for Right side of the fabric or the side everyone sees when the project is finished and Wrong side of fabric or the underneath part people don’t see.

– Another side note, I found out the hard way that this wasn’t the greatest fabric to do my tutorial with, it breaks and pills very easily. It’s an old pillowcase.

– For all hand stitches, use two of string only about forearm length so you aren’t tangling or doing extra unnecessary movements. Also, tie a knot at the end of the thread, sometimes more than one knot in the same place is needed so the knot doesn’t go through the fabric.

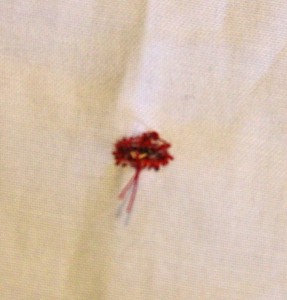
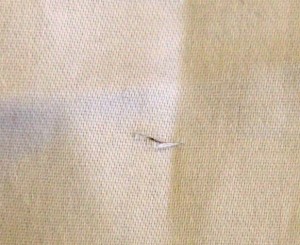
I’ll show two different types of whip stitches today, first one will be to close a rip in fabric that is not near a seam. It’s a little messy, so try to find thread that best matches the fabric.
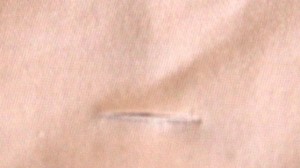
whip stitch

repairing a rip

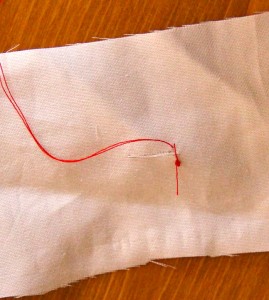
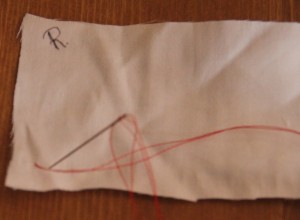
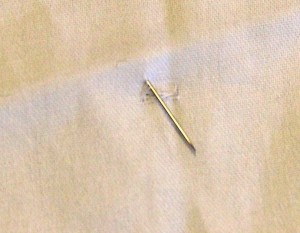
Start on the wrong side of the fabric just below the beginning of the rip.
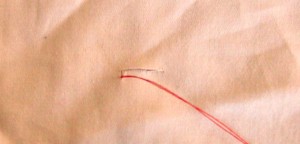
whip stitch

start on wrong side of fabric

Go over the rip to the top of it.
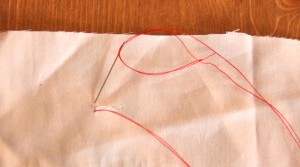
whip stitch

go over rip

circle

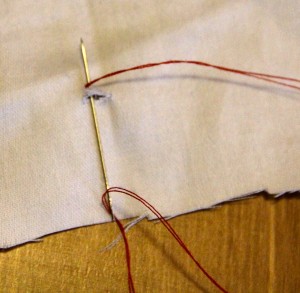
looping it around, wrong side of the fabric

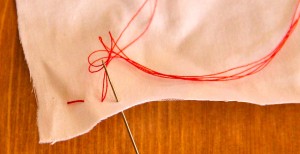
I’m creating a circle with the thread and come through the right side of the fabric below the rip again.
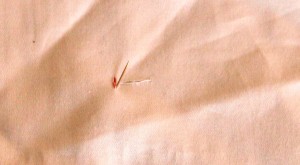
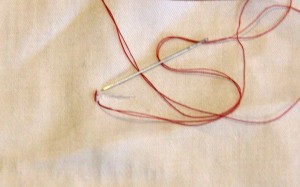
whip stitch

whip stitch

Go to the top over the rip

whip

Closing the rip

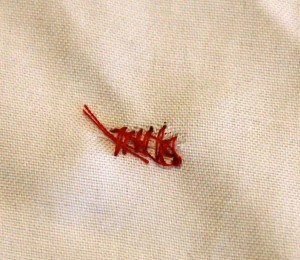
The whip stitch is used to close the rip and to prevent it from getting bigger.
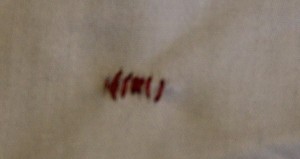
whip

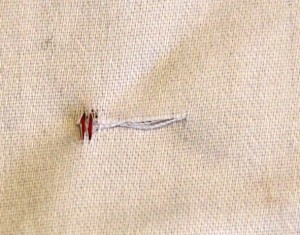
front view

whip

back view

This is a little bit of a messy stitch job, but my point is made. You want to get your stitches as close to each other as possible to create a lot of strength and try to keep the stitches even. When the stitching is complete tie a double knot in the thread like I did for the running stitch.

Whip Stitch number two: button hole
whip button

hole for whip stitch number two

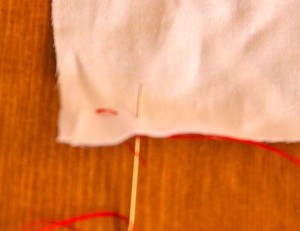
After I tie the knot I go through the wrong side so the needle comes out on the right side.
EDGE

Loop around the edge

whip

Creating a loop or circle around the hole

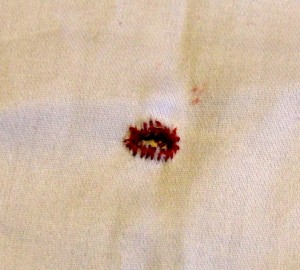
For this whip stitch, I only bring the needle from the wrong side to the right side because I am edging or finishing around the hole. So I am just making a circle with my thread enclosing the edges with thread.
whip

front view

stitch

back

Once you have gone all around the hole, tie a knot.
button

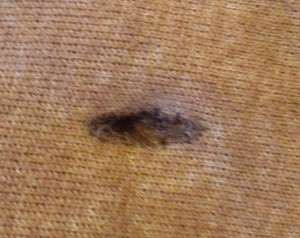
same whip stitch from Rusty’s Lion Mane Costume
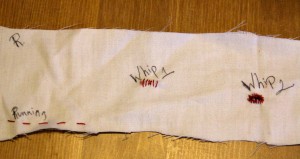
 

all stitches

All Stitches Front View

All Stiches Back View

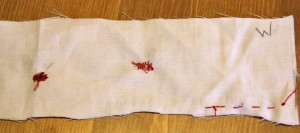
It’s a great idea to practice these stitches before using them on a project. Also, it might be helpful to have a swatch of fabric like the one above with the labeled stitches. It is a good reminder of how to do the stitches. I like to have one anyways.


How to Sew the Running or Basting Stitch

Posted on
Follow Me on PinterestPin It
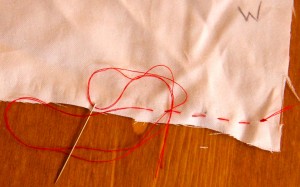
The past couple of projects I have used a couple of hand stitches. One is the running stitch and the other is the whip stitch. I tried my best to draw it but here are a couple of pictures as well.

– On my fabric you’ll see a R and W written on it, this is for Right side of the fabric or the side everyone sees when the project is finished and Wrong side of fabric or the underneath part people don’t see.

– Another side note, I found out the hard way that this wasn’t the greatest fabric to do my tutorial with, it breaks and pills very easily. It’s an old pillowcase.

The first stitch is a running stitch. Also called a basting stitch because you can increase the length of this stitch and use it to mark/baste fabric and then easily remove the stitch.

tie

Tie a Knot

For all hand stitches, use two of string only about forearm length so you aren’t tangling or doing extra unnecessary movements. Also, tie a knot at the end of the thread, sometimes more than one knot in the same place is needed so the knot doesn’t go through the fabric.

Take needle from wrong side of the fabric through to the right side of the fabric

from right side to wrong side

This is where I need to decide how long I want the stitch to be, because I need even straight stitches, which takes practice but even length stitches should always be the goal.

running

So you go just as far on the wrong side of the fabric as you do on the right side of the fabric.
baste

equal stitch lengths

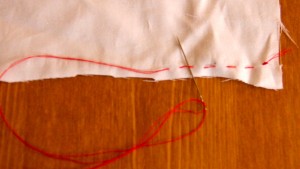
Continue with even stitches until you’ve reached the end.

running stitch

finished, front view

back view

back view

The wrong side of the fabric should look like the right view of the fabric.

tie

tie off the stitches

After the stitches are complete, I need to tie it off so the stitches don’t come out, unless I’m basting, I take the needle underneath the last stitch and into the loop it creates to create a knot. I then tie another knot to make sure it is secure.

tie

make a knot with the thread

fnished

finished

Tomorrow I’ll go over how to do two different variations of the whip stitch.


How to Do the Knit Stitch

Posted on
Follow Me on PinterestPin It
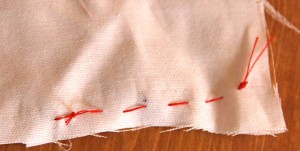
The yarn is wound and cast on the needle. Now I can knit. I’m going to do just a knit stitch for this scarf. This is how I do it.

starting your knit stitch

Starting the knit stitch

hold the needles like this

hold the needles like this

step in knit stitch

place right hand needle under first loop on the left hand needle and bring the right needle behind the left

second step
Another view of placing right needle through loop and underneath left needle


take yarn and wrap

take yarn, that’s connected to the ball not the tail, and wrap around the right hand needle

another view of the wrap
another view of wrapping the yarn around right hand needle


pull the wrap down a little bit

pull the wrap down a little bit

pull the needle and catch the wrapped yarn

pull the right hand needle down and catch the wrapped yarn around the tip of the needle

catch the yarn

another view of catching the yarn

the loop

the loop from the wrap will be put on the right hand needle and push off the loop on the left

repeat knit stitch

repeat knit stitch

underneath and through

underneath and through

wrap and catch

wrap and catch

push off needle

push off needle

Now I can knit knit knit until it’s time to bind off and weave the tails into the scarf! I’m so excited to complete this scarf!


How to Cast On for Knitting

Posted on
Follow Me on PinterestPin It
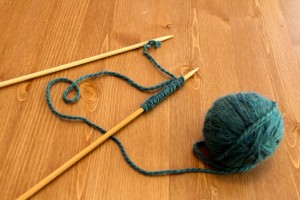
I have hand wound my yarn now time to cast on the yarn so I can knit! I’m using the baby alpaca yarn again along with cast on 14 and US 10 knitting needles. I’m right handed so these are instructions to cast on for right hand dominant people.
First thing I need to do is figure out how long the tail is going to be. I need enough to be able to cast on 14 stitches. I have found some advice on how to figure out this length but when I do it, I’m usually off by a couple inches, so I just rely on trial an error, if I find a fool proof way I’ll let you know, and if you have a way, please let me know 🙂

To start I need to make a slip knot.

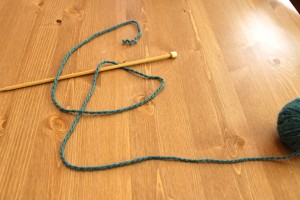
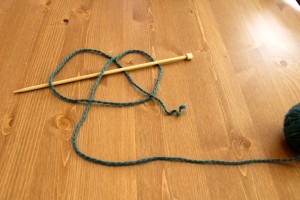
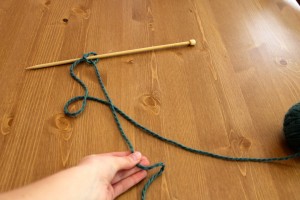
Start with a pretzel over the knitting needle:

first step to cast on

Lay Yarn over Needle

Make a Loop

Make a Loop

bow

Make a Pretzel or a Bow

pull end

pull end tight to make yarn tight around needle

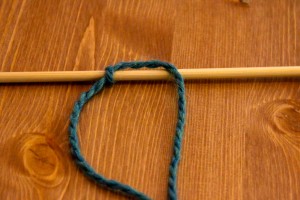
And I have made a slip knot which is also my first of fourteen to cast on.

slip knot cast on

Slip Knot

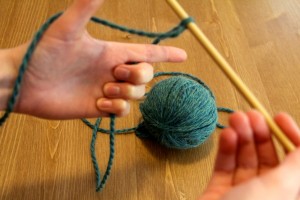
Next is to make a half of a rectangle or a gun with my hand.

get your gun

position your hand like this to cast on

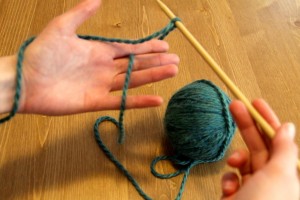
Cast on

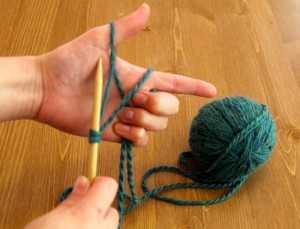
place the yarn on the ball draped over three fingers but behind the index finger

wrap yarn end around thumb

wrap yarn end around thumb and hold end with three fingers

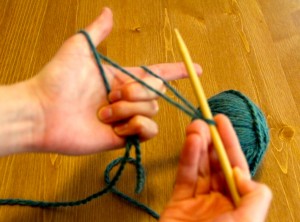
first step to cast on

go under loop around thumb with the needle in right hand

Go under yarn on finger

go over and then under yarn on finger so it wraps around the needle

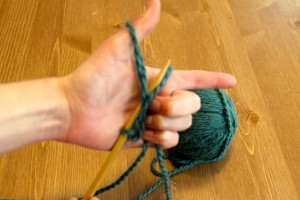
through loop on thumb

place needle through loop on thumb

remove loop from thumb

remove loop from thumb with needle still in the loop

first cast on stitch

tighten it a bit and you have your first cast on stitch after the slip knot

repeat cast on stitch

repeat cast on stitch