rock climbing

Rock Climbing Cross Stitch

Posted on
Follow Me on PinterestPin It

Over the weekend I cross stitched Joshua’s rock climbing ornament. I made a few adjustments to the rock climbing man/pattern. Here is my rock climbing cross stitch.

rock climbing cross stitch

naked rock climbing man?

I asked Joshua what color he wanted his rope and belt to be, and his response was “I want to rock climb naked” :/ So the little guy is naked and without equipment.  I guess that means he’s bouldering and not rock climbing.

with background

background done

At this point it looks like a “It’s a Boy!” announcement to me.

I put a border to help curb that look.

with border

One last step, I backstitched around the rock climbing man the same color as the border.

rock climbing cross stitch

finished

Joshua’s guy is complete! Well, the stitching part anyways.


How to Sew in a Zipper

Posted on
Follow Me on PinterestPin It

Yesterday I showed how to create a bed for a dog kennel. Today I’ll show you how to sew in a zipper. I cut some pieces of fabric and drew on them to better show how to sew the central zipper in.

-To start, mark where the zipper will go because before and after the zipper a seam stitch will be sewn and where the zipper will go, I’ll do a basting stitch, or the longest stitch on my machine.

-Use pins or fabric chalk to mark the fabric. Don’t use a marker like I did, I just wanted to clearly show where to mark.

mark

mark fabric

baste

where to baste

– Pin the fabric together and baste where the zipper goes and continue with the seam stitch before and after the zipper, backstitching when I stitch the stitch length, I’m using a 5/8inch seam.

both stitches

differences in stitches

-Then iron the seam open.

iron seam

iron seam

– Then pin the zipper, face down, teeth to the seam. I placed the pins in the wrong direction. So I had to switch them so I could easily remove them as I was stitching.

zipper

pin zipper over seam

– Using a basting stitch, longest stitch on my machine, I place the edge of my zipper foot directly in the middle of the teeth and stitch, when I need to turn, I leave the needle in the fabric, lift the foot, and turn the fabric to the direction, put the foot down and begin to stitch again. I use a basting stitch to tack the zipper to the fabric and I don’t have to worry about removing pins as I sew.

– When I get to the zipper head, I make sure the needle is in the fabric, lift the zipper foot and push the zipper head past the foot.

zipper foot

zipper foot up, and push the zipper head past the foot

– Once the zipper head is out of the way, put the foot down, and continue stitching.

down

zipper foot down and continue stitching

-After the basting, stitch around the zipper with a smaller stitch size, just outside the basting stitch. Using the same technique at the corners and the zipper head.

-Once the stitching is complete, remove the basting stitch around the zipper and in the middle of the zipper.

basting

remove basting stitch

– The zipper is complete! The zipper has been successfully installed. It does take practice but it’s not as intimidating as it first appears.

zipper

zipper complete

zipper

finished

Happy Sewing!


bed

How to Sew a Dog Bed for a Crate

Posted on
Follow Me on PinterestPin It

When Rusty has to go into his crate all he does is sleep. I decided to make him a bed for his kennel so he is a little more comfortable while I am away. First I gathered supplies. You’ll see that I actually bought a dog bed foam kit. I did this because I had a coupon and that made it cheaper to buy the kit than it was to get the 1.5inch foam cut to my specifications since a coupon wasn’t available for the foam you get by the yard. Then bed is an oval which is why in later pictures you’ll see that the bed has rounded corners and doesn’t extend to the corners of the kennel. Also, I put a zipper on the bed so I can wash the fabric.

Bed Supplies

  • fabric
  • sewing machine
  • ruler and measuring tape
  • scissors
  • thread to match
  • marking chalk/pencil
  • pins
  • foam
  • kennel
  • long center zipper for end of bed

First thing I did was measure the kennel floor. Then I went and bought the foam and fabric to fit the bed, so I added a few inches in length to cover all sides of the bed.Then I remeasured the kennel floor and cut the foam to fit it.

bed

measure kennel

Next I placed the fabric down, put the foam on the fabric and folded the fabric over the foam, connecting the right side edges of the fabric. I could measure, draw and cut, but this way seemed easier to me. I did make a faint line on the fabric around the edges where I wanted to cut giving myself and extra inch to sew the seam.

measure the fabric

Then I cut the fabric.

sew

Cut and Sew

Next I remove the foam, pin the fabric together, get out my machine, and sew a 5/8 inch seam along two sides of the bed. The long side is a fold in the fabric and the other shorter side is where I’ll sew a zipper.

Next I get my long center zipper out, I think it was 22 inches.  I pin it to the right side of the fabric.

zipper

Pin and Sew zipper

I change to a zipper foot on my machine and sew it in.

zipper

Zipper

Then I place the foam in the giant pillow/bed case, zip it closed, and it’s ready to go into the kennel giving Rusty a comfy bed to sleep on while I’m away.

bed

Trying out his bed

I think he likes it!


How to Sew the Whip Stitch

Posted on
Follow Me on PinterestPin It

Here is my awesome drawing again! 🙂 Alright yesterday was the running stitch, and today I’ll be going over the whip stitch. It is a very versatile stitch and it is just a loop stitch. I have used it to repair holes in fabric that are not on the seam, to edge a button hole to give it strength, to combine different fabrics for sewing and knitting, and I’ve used to to combine my plastic canvas pieces for the doll workout equipment.

Reminders:

– On my fabric you’ll see a R and W written on it, this is for Right side of the fabric or the side everyone sees when the project is finished and Wrong side of fabric or the underneath part people don’t see.

– Another side note, I found out the hard way that this wasn’t the greatest fabric to do my tutorial with, it breaks and pills very easily. It’s an old pillowcase.

– For all hand stitches, use two of string only about forearm length so you aren’t tangling or doing extra unnecessary movements. Also, tie a knot at the end of the thread, sometimes more than one knot in the same place is needed so the knot doesn’t go through the fabric.

I’ll show two different types of whip stitches today, first one will be to close a rip in fabric that is not near a seam. It’s a little messy, so try to find thread that best matches the fabric.

whip stitch

repairing a rip

Start on the wrong side of the fabric just below the beginning of the rip.

whip stitch

start on wrong side of fabric

Go over the rip to the top of it.

whip stitch

go over rip

circle

looping it around, wrong side of the fabric

I’m creating a circle with the thread and come through the right side of the fabric below the rip again.

whip stitch

whip stitch

Go to the top over the rip

whip

Closing the rip

The whip stitch is used to close the rip and to prevent it from getting bigger.

whip

front view

whip

back view

This is a little bit of a messy stitch job, but my point is made. You want to get your stitches as close to each other as possible to create a lot of strength and try to keep the stitches even. When the stitching is complete tie a double knot in the thread like I did for the running stitch.

Whip Stitch number two: button hole

whip button

hole for whip stitch number two

After I tie the knot I go through the wrong side so the needle comes out on the right side.

EDGE

Loop around the edge

whip

Creating a loop or circle around the hole

For this whip stitch, I only bring the needle from the wrong side to the right side because I am edging or finishing around the hole. So I am just making a circle with my thread enclosing the edges with thread.

whip

front view

stitch

back

Once you have gone all around the hole, tie a knot.

button

same whip stitch from Rusty’s Lion Mane Costume


all stitches

All Stitches Front View

All Stiches Back View

It’s a great idea to practice these stitches before using them on a project. Also, it might be helpful to have a swatch of fabric like the one above with the labeled stitches. It is a good reminder of how to do the stitches. I like to have one anyways.


How to Sew the Running or Basting Stitch

Posted on
Follow Me on PinterestPin It

The past couple of projects I have used a couple of hand stitches. One is the running stitch and the other is the whip stitch. I tried my best to draw it but here are a couple of pictures as well.

– On my fabric you’ll see a R and W written on it, this is for Right side of the fabric or the side everyone sees when the project is finished and Wrong side of fabric or the underneath part people don’t see.

– Another side note, I found out the hard way that this wasn’t the greatest fabric to do my tutorial with, it breaks and pills very easily. It’s an old pillowcase.

The first stitch is a running stitch. Also called a basting stitch because you can increase the length of this stitch and use it to mark/baste fabric and then easily remove the stitch.

tie

Tie a Knot

For all hand stitches, use two of string only about forearm length so you aren’t tangling or doing extra unnecessary movements. Also, tie a knot at the end of the thread, sometimes more than one knot in the same place is needed so the knot doesn’t go through the fabric.

Take needle from wrong side of the fabric through to the right side of the fabric

from right side to wrong side

This is where I need to decide how long I want the stitch to be, because I need even straight stitches, which takes practice but even length stitches should always be the goal.

running

So you go just as far on the wrong side of the fabric as you do on the right side of the fabric.
baste

equal stitch lengths

Continue with even stitches until you’ve reached the end.

running stitch

finished, front view

back view

back view

The wrong side of the fabric should look like the right view of the fabric.

tie

tie off the stitches

After the stitches are complete, I need to tie it off so the stitches don’t come out, unless I’m basting, I take the needle underneath the last stitch and into the loop it creates to create a knot. I then tie another knot to make sure it is secure.

tie

make a knot with the thread

fnished

finished

Tomorrow I’ll go over how to do two different variations of the whip stitch.


lion mane costume

Lion Mane Dog Costume

Posted on
Follow Me on PinterestPin It

Happy Halloween! Yesterday I showed how I made Rusty’s lion mane dog costume. Here is the finished result!

top view

Top View

lion mane costume

Give me treat!

He is a very scary lion! Or an adorable one!

Ready for the day!

I love how his ears turned out in this costume!

Hope you all have a safe and fun Halloween!

Check out a second version of a lion mane dog costume here!


lion mane costume

How to Make a Lion’s Mane Dog Costume

Posted on
Follow Me on PinterestPin It

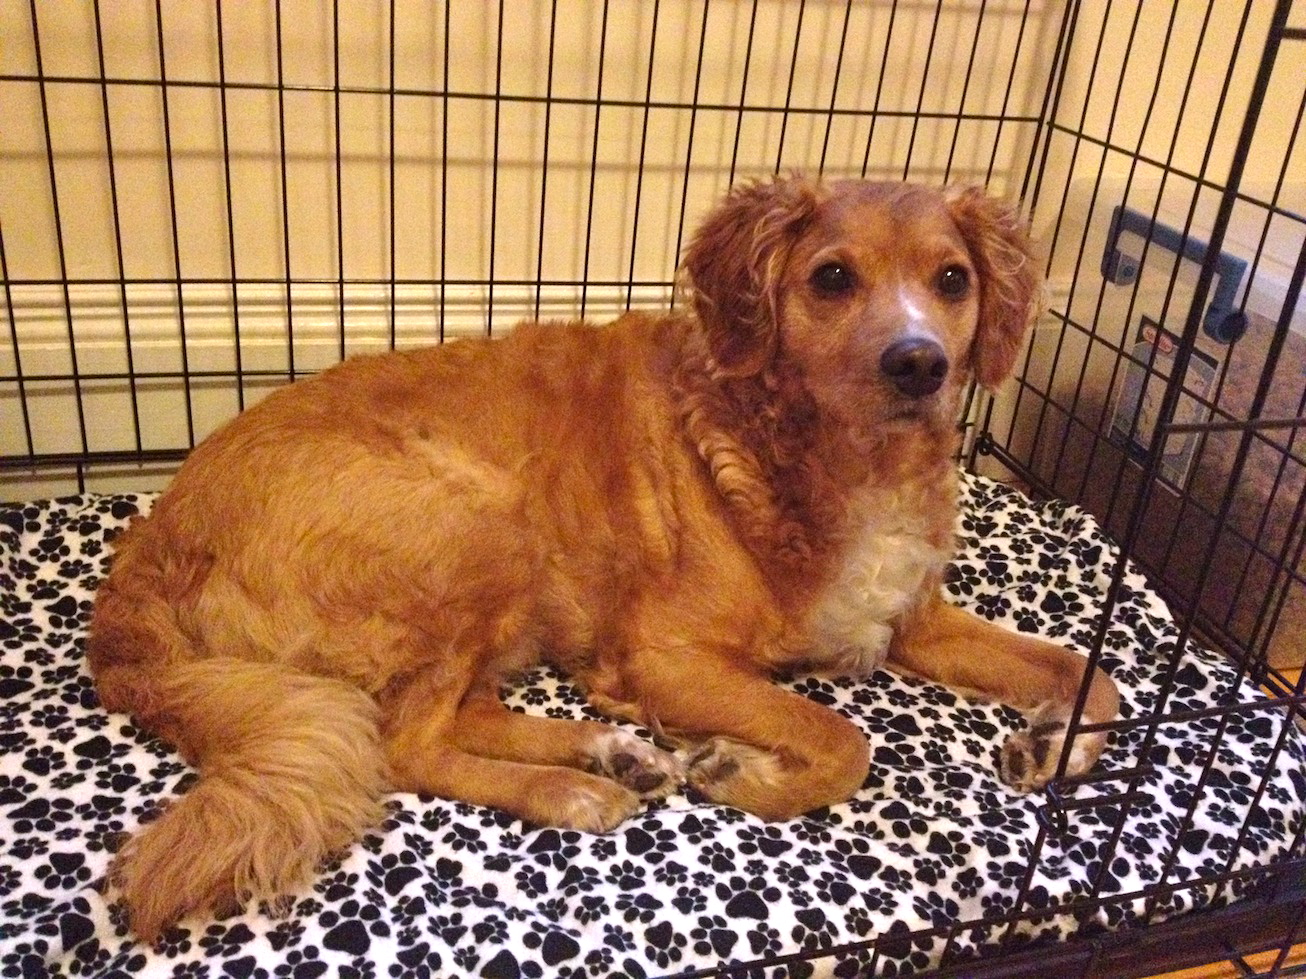
I decided Rusty needs to be a scary lion for Halloween. So I needed to figure out how to make a lion’s mane dog costume. His fur is already the right color so now all he needs is a mane. First thing I did was get online to search for some possible fake fur and order some samples.

Lion Fur

fur swatches

I went with the coppery color from Mendel’s. It was a very close match to the color of Rusty’s fur. I took a tape measure and measured around Rusty’s neck. I didn’t need a lot of fur, a less than 1/2 yard but I went ahead and ordered 3/4 yard because I’ve never worked with fake fur fabric before.

Fur!

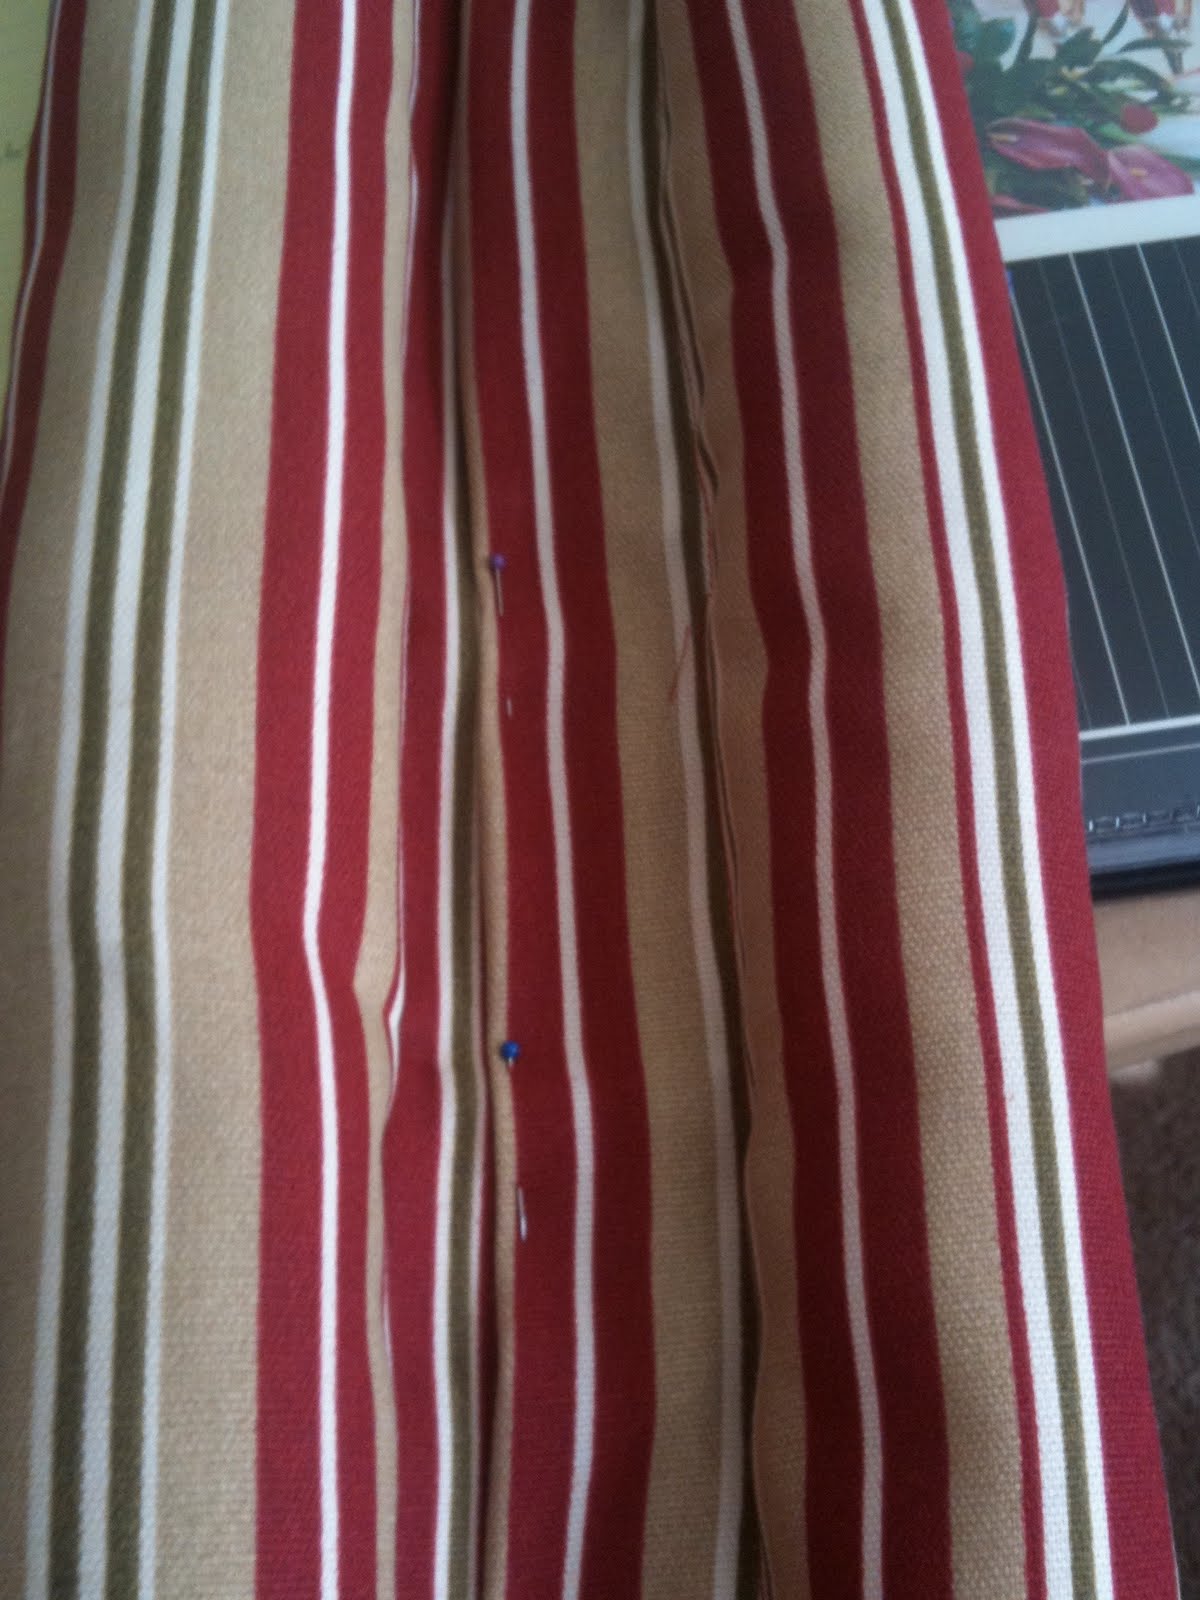
I first placed the fur around Rusty’s neck and placed a couple pins where I will need to cut the fake fur.

Place around to help measure

Pin/Mark desired length

Next I drew dots along the cut line constantly measuring the width to keep is the proper amount and then I connected the dots and cut along the line. Also, since the fabric is so thick and I knew it would not bleed through, I used a permanent marker so I could easily see the line.

Mark cut line

Connect the dots for cut line

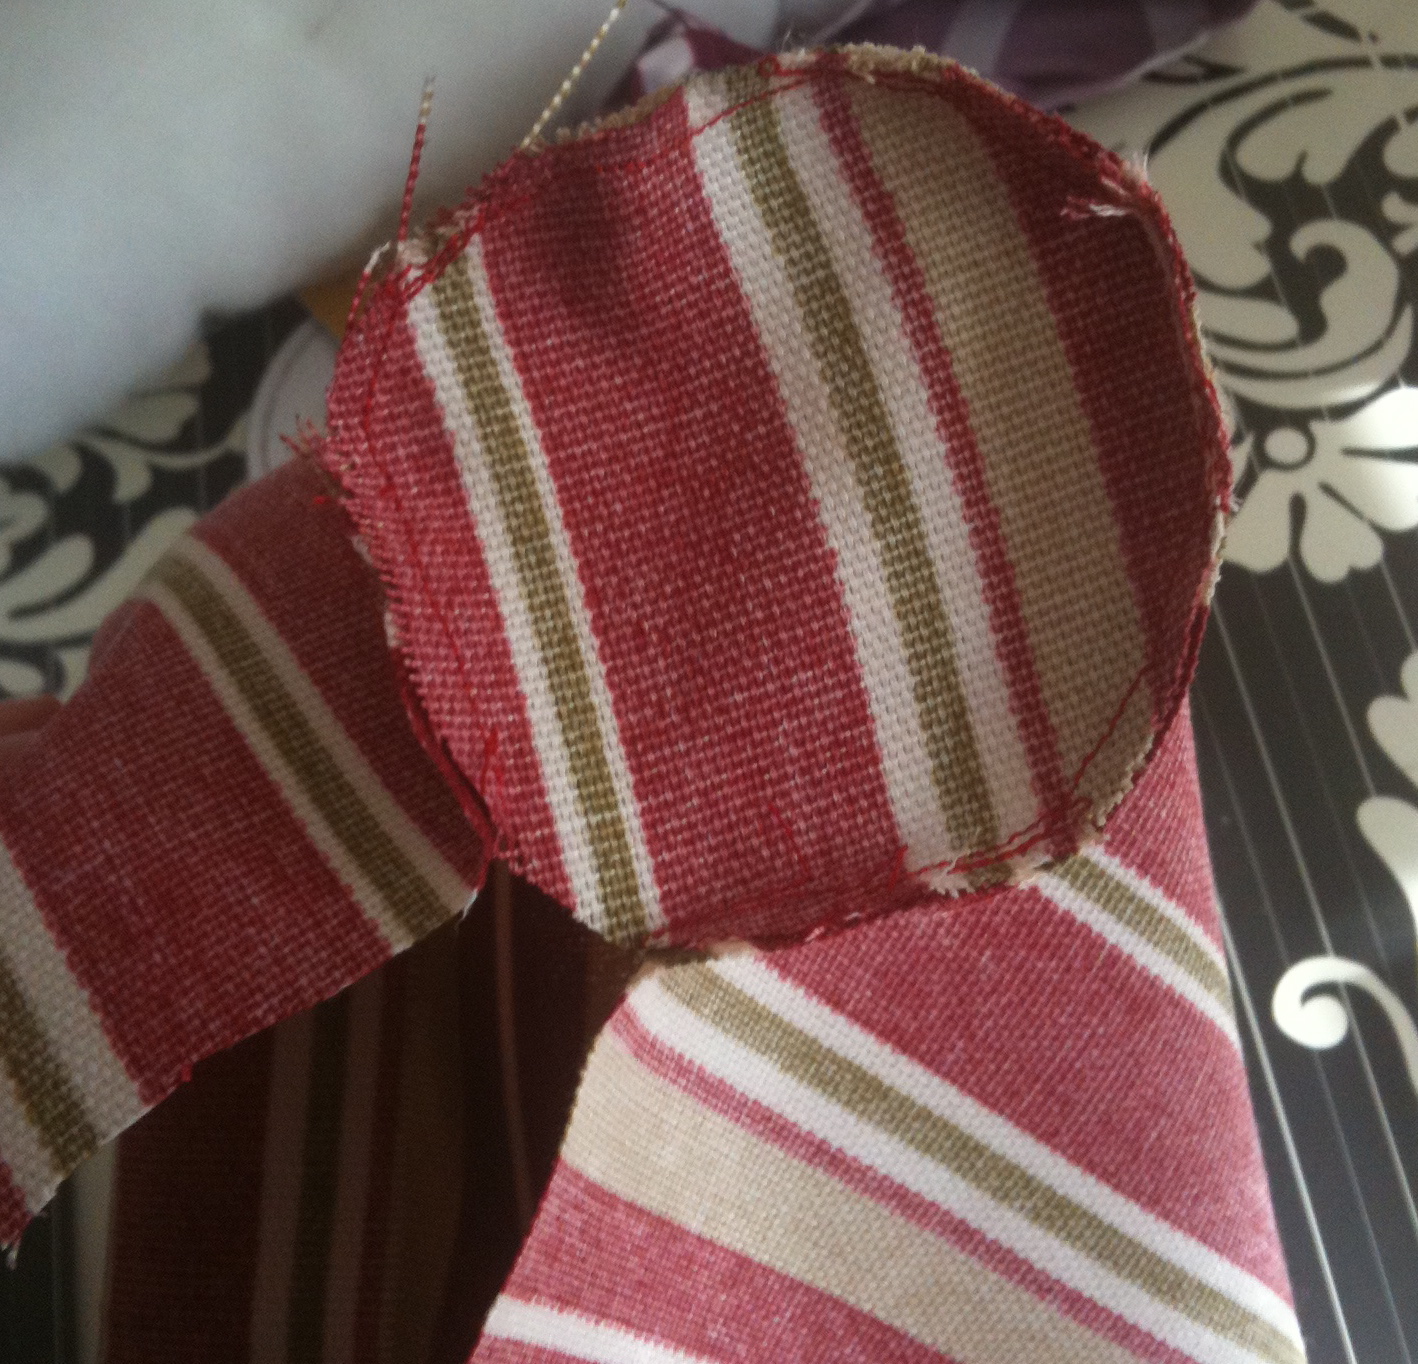
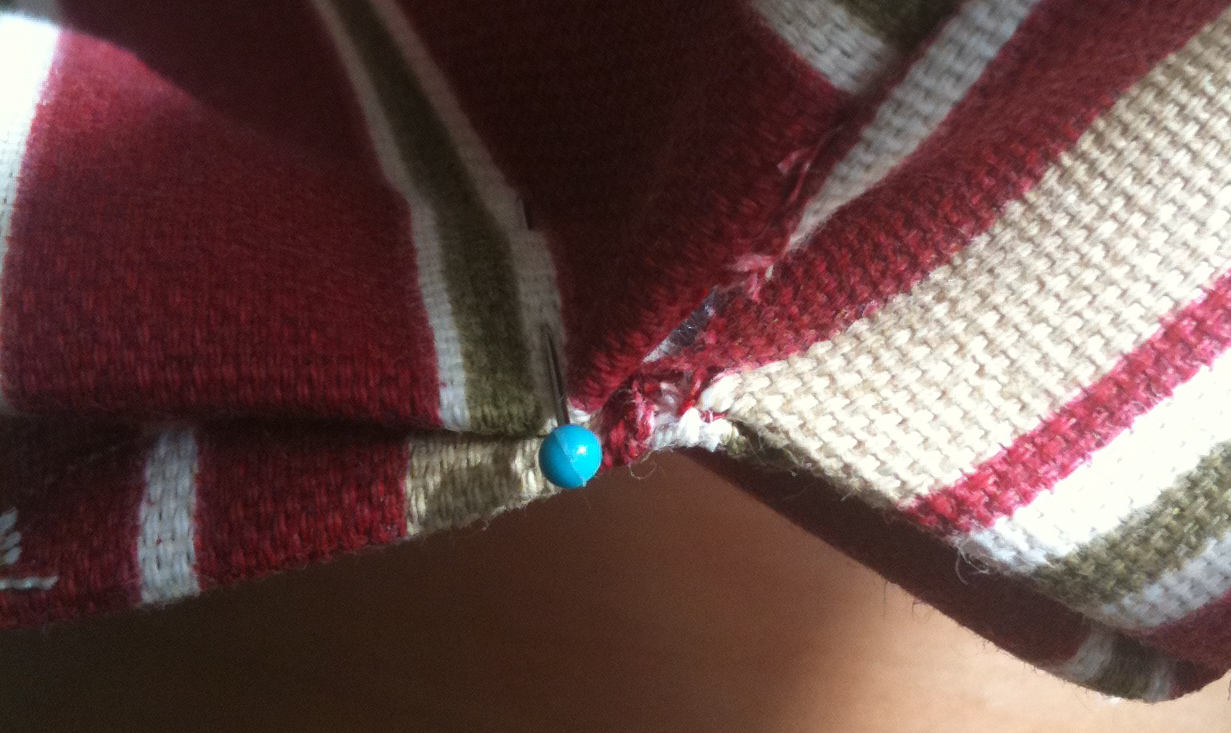
I wanted the mane to really highlight Rusty’s face and have the fur going in multiple directions so I decided to hem/roll over the fur around his face. First I needed to roll over and pin the fur.

Roll over and pin

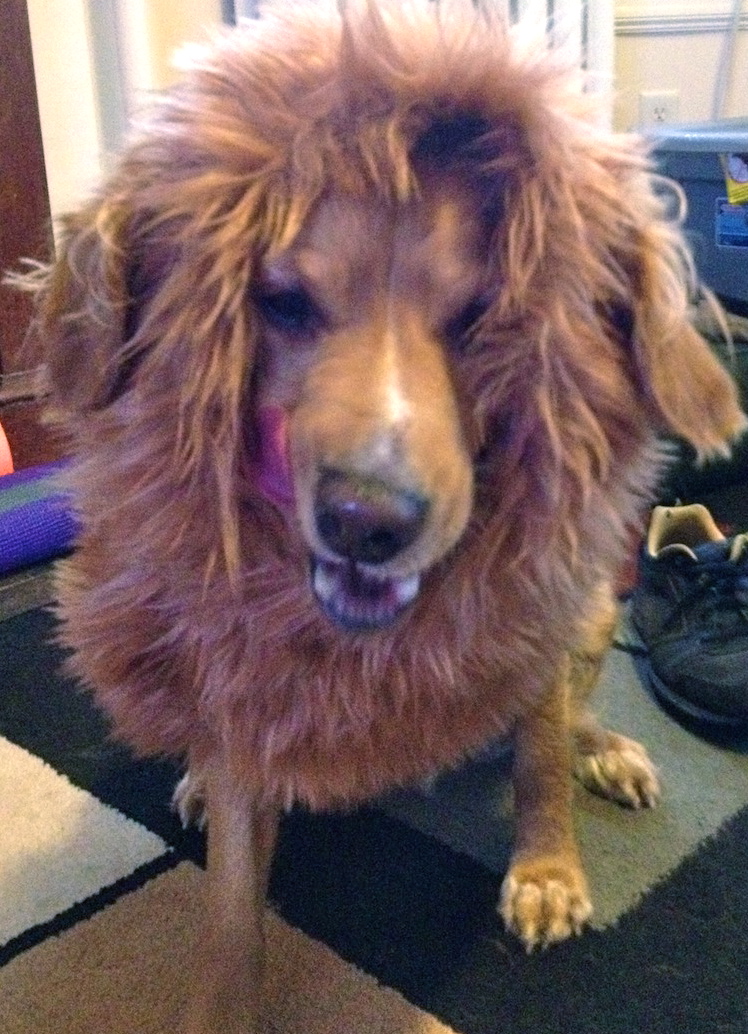
Rusty wasn’t too sure about this…

Rusty is not sure about this

then this face happened because I wouldn’t  let him lay on it

I then hand stitched the hem because I wasn’t too sure how my machine would handle it and I didn’t want to risk it. Because of the fur you couldn’t see my uneven stitches, so I appreciated that 🙂 Next I needed to figure out how to keep the mane on Rusty so I went with velcro, a couple of inches long.

Cut velcro

I put the newly hemmed mane on Rusty and marked with pins where the velcro should go.

pin where velcro needs to be placed and trim away the fur

One part of the velcro needed to go on the right side of the fur so I needed to trim away the fur where it was going to be placed. I tried to hand stitch the velcro but I broke a couple of needles because of the thickness of the two pieces so I used Liquid Stitch and glued the pieces down and waited overnight for the glue to dry.

glue velcro down

After all of that work for the velcro, I put it on Rusty to test it out, and although I thought he looked adorable, Rusty wasn’t really having it and started to shake and actually shook hard enough for the velcro to come undone! So I had to come up with another plan. I went with a button, and it worked out quite well. I went into my button bag and found one that was similar in color, I think it’s an extra button from a coat I use to own, and hand sewed it underneath where the velcro is,

added a button

Next I needed to mark, cut and whip stitch the button-hole. I cut the hole to be a little smaller than the button itself so it would be secure and then I whip stitched around the opening to prevent the hole from stretching.


button

button-hole

Next I placed the mane back on Rusty and marked, with a pin, where his ears begin and end and then removed it from Rusty and drew a line for me to cut along.

mark where ears are

draw line and cut along it

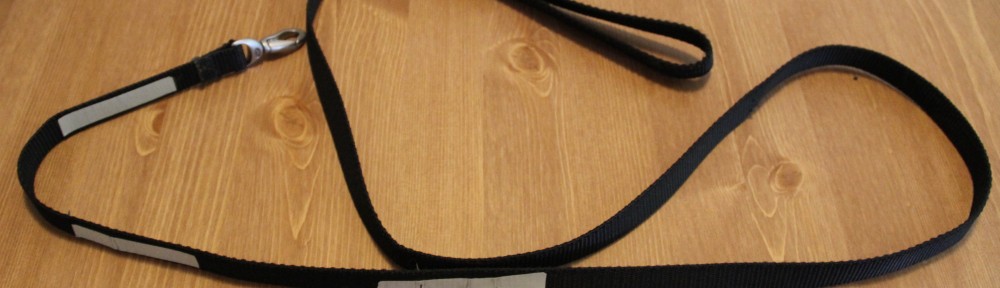
I did the same thing for where his D-Ring on his leash will peak through, so I’m able to actually take him outside and celebrate.

inside minus D-ring hole

See what he looks like tomorrow!

Finished Results. 

Check out another version of a lion mane dog costume here!


How to Sew a Double Sided Door Draft Stopper

Posted on
Follow Me on PinterestPin It

As promised here are my made up instructions for the double sided door draft I made.

How to Make my Make Shift Double Sided Door Draft Stopper
Need:

  • sewing machine
  • ~ ½  yard of fabric, I used an outdoor fabric remnant
  • thread to match
  • ruler
  • scissors
  • something circular for the ends of the draft stoppers
  • bolster or quilt batting for inside the stopper, I couldn’t find a bolster so I used batting rolled up and sewed together.
  • string and needle

Directions:
1. Measure door, I think it was around 30 inches and that’s the length of the fabric but add about ½ inch to the fabric. For the width of the fabric it is best to determine after you have made your bolsters. So in step 3.

2. Measure batting to match length of the door and cut two pieces to match the length

3. Roll batting as tightly as possible and sew the batting into a roll, this part is pretty tricky and really annoying but you can get it. For the width of the fabric, it needs to cover both bolsters, leave space to clear underneath the door and give a couple inches for sewing.

4. Find something that you can trace for a perfect circle, like a cup or something, that will fit/be good for the ends of the door draft stopper and cut them out

5. Carefully pin the circles to the ends of the fabric

6. Sew on those circles! Right sides facing each other. Careful because this is another annoying part. Sew till the circles are almost all the way sewn shut so there is still space to stuff.

7. Flip to right side is on the outside and stuff the batting into their respected spots. Then pin the fabric tightly holding it into place and then at the end, fold over the ends between the bolsters so the raw edges aren’t exposed.

8. SEW! This gets its own step because it is also annoying to sew to sew as close as possible to the bolster so the machine is constantly hitting it. Repeat on the other side.

9. There should be a side with an exposed edge, fold the raw over and pin it. Then sew to encase the raw edge

10. SUCCESS!!

Might not be the easiest way but I made it up as I went along. Be creative, have fun and be warm!


hand made reflective leash

How to Sew a Reflective Dog Leash

Posted on
Follow Me on PinterestPin It

So I have two how-to’s already written out that I had done for others so I thought I would share! The first one is a reflective dog leash and the second is a double sided door draft.

Today I’ll share how I made Rusty, my dog, a reflective leash. Meet Rusty. He just turned three and is a cockerpoo, cocker spaniel/poodle mix. This is what he does when I lay fabric out on the floor, when my table isn’t big enough, to measure and cut. He loves to “help.”

Materials:

  • nylon webbing
  • matching thread
  • reflective fabric tape
  • clip
  • sewing machine with heavy duty needle or hand needle
  • tape measure
I picked out black nylon webbing at 3/4 in wide and had the clip from the old leash my dog chewed through. My dog is only 35lbs but if your dog is bigger or smaller you should adjust the size of your nylon. You should be able to find the nylon and clip from craft stores or online.
Next is figuring out, measuring and cutting the right size leash for you. I tie this leash around my waist when Rusty, my dog, and I go on runs so I wanted it to be about 5ft long so it was long enough to give us some slack but short enough to keep him close by but I think the average length of most leashes. When figuring the length out, you also have to add to the length the amount it will take to attach it to the clip, about 2in and the hand hold, I added 14in for that. Measure it out and cut!
Next it’s time to sew! Either use a heavy duty sewing needle in your machine or hand stitch. Do not use a universal needle in your machine, it’s not meant to go through the nylon and could mess up your tension which could result in having to get your machine serviced and that can be costly.
I started by slipping the nylon through the clip and put enough through to where there was enough to sew and sewed until I felt like it was secure. If you’re hand sewing, I suggest cutting about a foot of string, tie a knot at the end and go from there. If your pup likes to pull when going on a walk, more thread might be needed to keep it in place.
Next came the hand hold.  I measured out 7.5in from the top and folded it down and sewed, making the handhold a total of 14in not counting the part I sewed. I also put from some Fray Check on the ends of the leash after I sewed them down just in case.
Now the easy part. The reflective fabric tape, which I assume you can just peel the backing off and stick on the places you want but I had reflective tape on hand but it wasn’t for fabric. :/ But no worries, I cut up the pieces I wanted, I choose to have three stripes of at the bottom and both sides of the leash along with a pieces a couple inches long at the top on both sides of the hand hold. I decided not to cover the whole thing in the tape because I want people to see us but I don’t want to blind people either. I then placed some fabric glue on each piece and adhered them to the leash and allowed them to dry.
After a couple of months the reflective tape is showing a little wear but if it does come off I am going to get the fabric reflective tape to replace it.
Enjoy! I know Rusty and I are 🙂