 Pin It
So I have two how-to’s already written out that I had done for others so I thought I would share! The first one is a reflective dog leash and the second is a double sided door draft.
Today I’ll share how I made Rusty, my dog, a reflective leash. Meet Rusty. He just turned three and is a cockerpoo, cocker spaniel/poodle mix. This is what he does when I lay fabric out on the floor, when my table isn’t big enough, to measure and cut. He loves to “help.”

Materials:
- nylon webbing
- matching thread
- reflective fabric tape
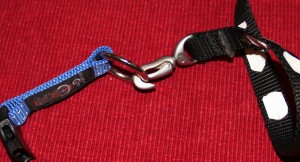
- clip
- sewing machine with heavy duty needle or hand needle
- tape measure
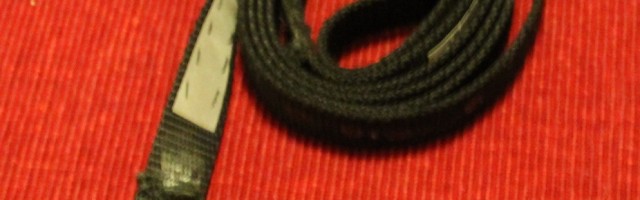
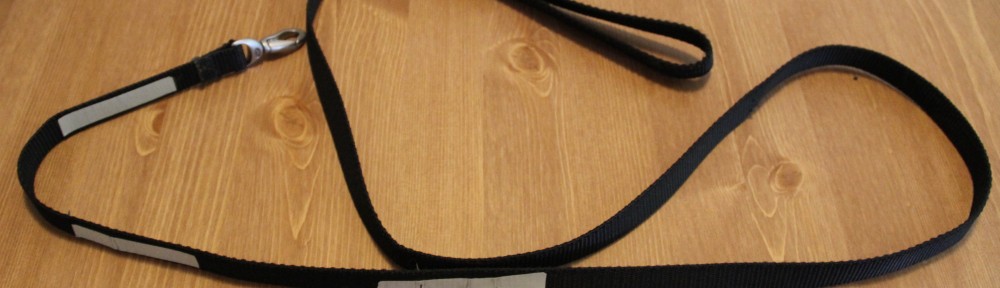
I picked out black nylon webbing at 3/4 in wide and had the clip from the old leash my dog chewed through. My dog is only 35lbs but if your dog is bigger or smaller you should adjust the size of your nylon. You should be able to find the nylon and clip from craft stores or online.
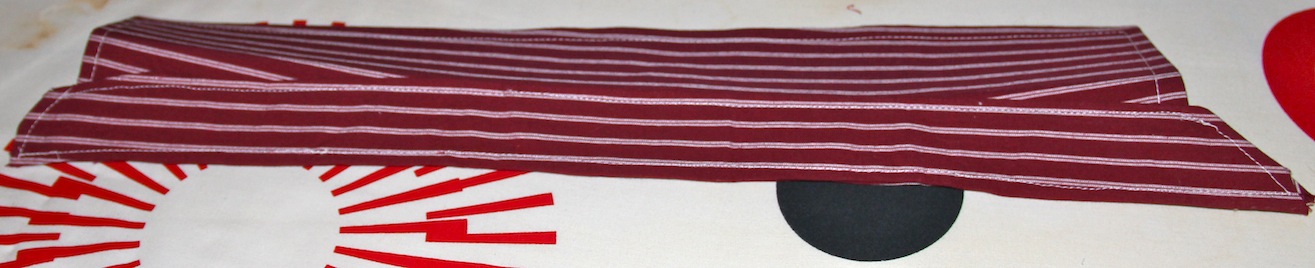
Next is figuring out, measuring and cutting the right size leash for you. I tie this leash around my waist when Rusty, my dog, and I go on runs so I wanted it to be about 5ft long so it was long enough to give us some slack but short enough to keep him close by but I think the average length of most leashes. When figuring the length out, you also have to add to the length the amount it will take to attach it to the clip, about 2in and the hand hold, I added 14in for that. Measure it out and cut!
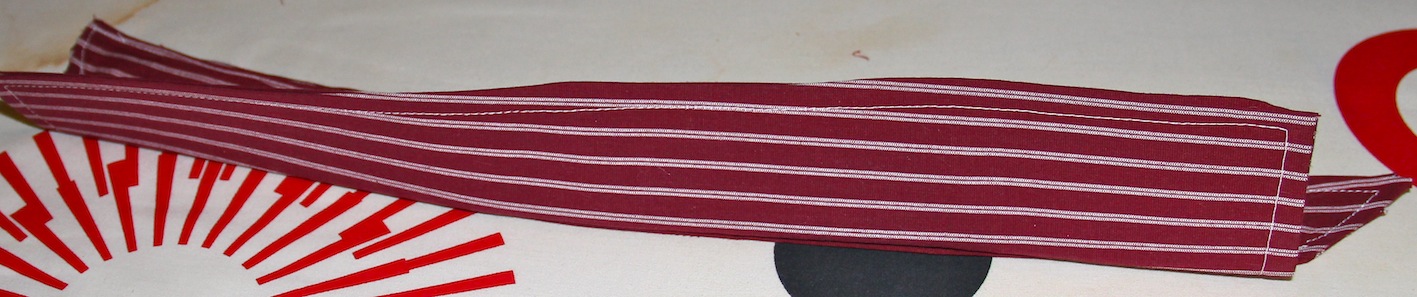
Next it’s time to sew! Either use a heavy duty sewing needle in your machine or hand stitch. Do not use a universal needle in your machine, it’s not meant to go through the nylon and could mess up your tension which could result in having to get your machine serviced and that can be costly.
I started by slipping the nylon through the clip and put enough through to where there was enough to sew and sewed until I felt like it was secure. If you’re hand sewing, I suggest cutting about a foot of string, tie a knot at the end and go from there. If your pup likes to pull when going on a walk, more thread might be needed to keep it in place.
Next came the hand hold. I measured out 7.5in from the top and folded it down and sewed, making the handhold a total of 14in not counting the part I sewed. I also put from some Fray Check on the ends of the leash after I sewed them down just in case.
Now the easy part. The reflective fabric tape, which I assume you can just peel the backing off and stick on the places you want but I had
reflective tape on hand but it wasn’t for fabric. :/ But no worries, I cut up the pieces I wanted, I choose to have three stripes of at the bottom and both sides of the leash along with a pieces a couple inches long at the top on both sides of the hand hold. I decided not to cover the whole thing in the tape because I want people to see us but I don’t want to blind people either. I then placed some fabric glue on each piece and adhered them to the leash and allowed them to dry.
After a couple of months the
reflective tape is showing a little wear but if it does come off I am going to get the fabric reflective tape to replace it.
Enjoy! I know Rusty and I are 🙂


