knit mug cozy

Slip Stitch Pattern for a Knit Mug Cozy

Posted on
Follow Me on PinterestPin It

knit mug cozy

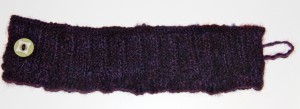
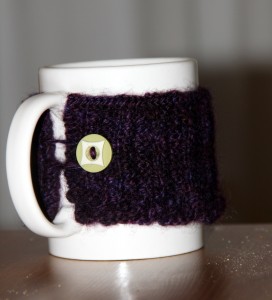
I decided to dress up my morning coffee a bit with a knit mug cozy. I was still excited about learning the slip stitch from the belt I made and wanted to create a pattern that used the slip stitch in it. I still had to do a bit of research to figure out exactly how to do it but after compiling everything and then some trial and error,  this is what I came up with:

US 2 needles (2.75mm)

2 ply lace weight yarn from Hettinger Corriedales. It’s a farm, in Illinois near my hometown that raises the sheep, and dyes the wool and spins them at their farm! You should check it out.

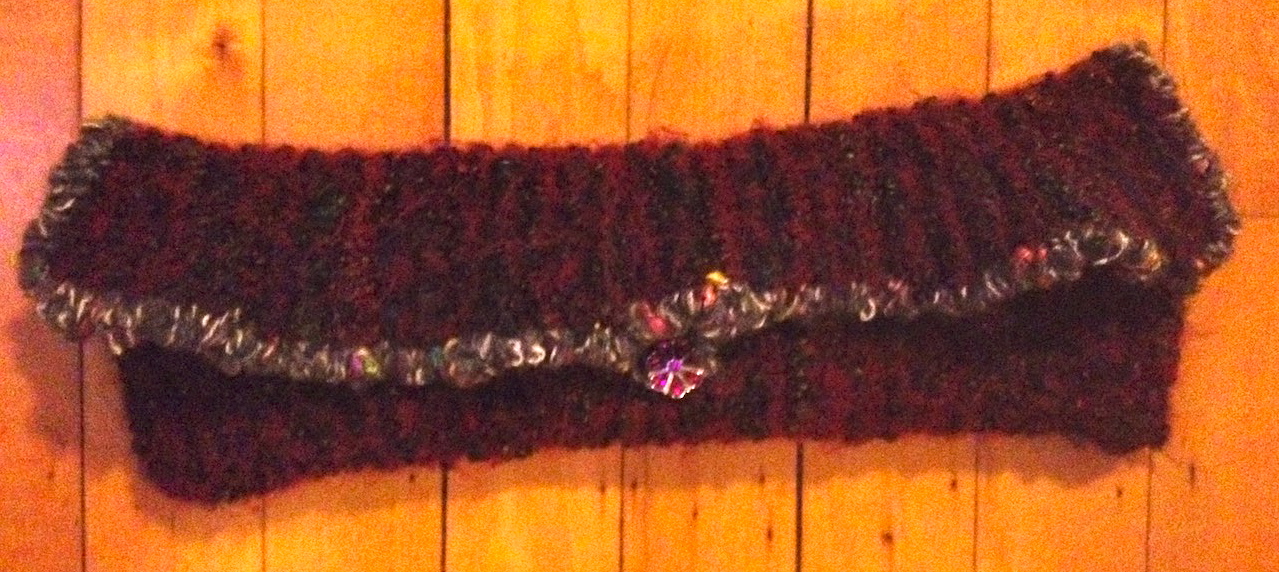
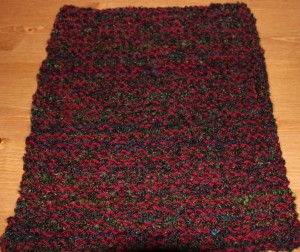
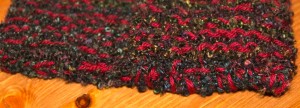
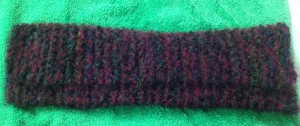
I’m not sure how much yarn I’m using. The skein I’m using had 214 yards but I’m using it for multiple projects. This fits a 10.5 inch circumference mug best. The yarn is a little too dark to get a great picture of the pattern but it looks great in person. Maybe I’ll make another in a different yarn to better display the pattern.

Pattern:

  • Cast on 70 stitches
  • Row 1: P3 K2 repeat until row is finished
  • Row 2: K1 S1 (P) K1 P2 repeat until row is finished
  • Repeat pattern until desired length. Mine ended up being 31 rows
  • Cast off on an odd-numbered row in the P3 K2 pattern
  • Sew loop like in the felted bag on one side and sew the button on the other
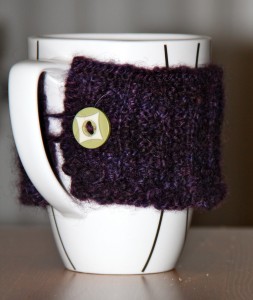
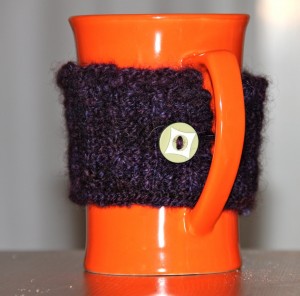
  • Attach to the mug by putting the button next to the handle and loop through the mug handle
  • Enjoy a nice cup of whatever with your cozy.

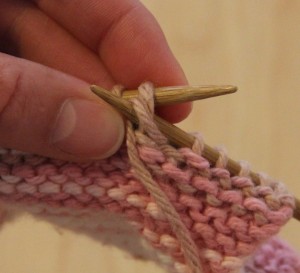
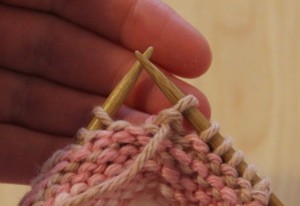
*Please note that for this pattern, unlike the belt, when you slip stitch purl style you do NOT bring the yarn forward, you simply just put the needle through the stitch like you would for a purl stitch and then push the stitch onto the needle.

knit mug cozy

What I actually did to figure that pattern out:

  • Cast on 75 stitches
  • Row 1: K2 P3 repeat
  • Row 2: P2 K1 S1 (P) K1 repeat

After 8 rows, it was looking like a hot jumbled mess, that’s the point of trial and error I guess. It’s a little difficult to see because the thread because it was hand spun isn’t the same thickness throughout. I decided to flip the pattern and test it out. To be honest, I don’t completely understand why it worked but it did so that’s awesome.

  • Row 9: P3 K2
  • Row 10: K1 S1(P) K1 P2
  • Rows 30 and 31 in a garter stitch to somewhat match the bottom of the cozy.
  • Add loop like I did with the felted bag to one end
  • Sew on button to the other end

*I marked on a piece of paper every time I did 5 stitches, and would only stop after doing five to keep my place. I also, marked them by row just incase I forgot which row I was on.

Didn’t turn out how I had envisioned in my head. But I was able to figure it out and I think it still looks cute and definitely serves its purpose. I can now create a mug cozy with the exact pattern I was hoping for. Like I said before, it’s best for a mug with a 10.5 inch circumference. I found it slipped a little on a 9.5inch and a 10 inch that decreases towards the bottom of the mug. Decrease the amount of stitches, by 5, to fit the mug you would like to use it on.

knit mug cozy

10inch and decreasing


knit mug cozy

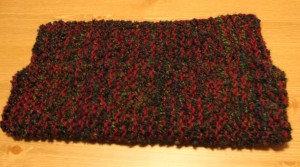
9.5in circumference

knit mug cozy

10.5inch circumference


knitted belt

Knit Belt, How to Slip Stitch

Posted on
Follow Me on PinterestPin It

knit belt

I decided to make the Artisan Belt in the Chick with Sticks knitting book. I’ve never had a knit belt before. It was my first time slipping stitches. I was a little nervous about it because although there was a picture of it I wasn’t sure how it would work. But it gave it a nice almost braided looking border, using Crystal Palace Yarn. I used attach 1” D rings as my belt closure.

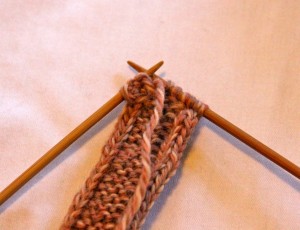
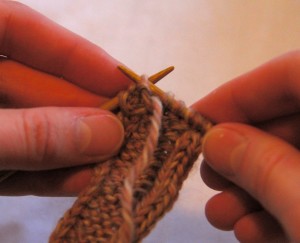
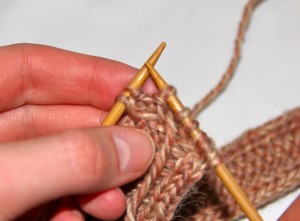
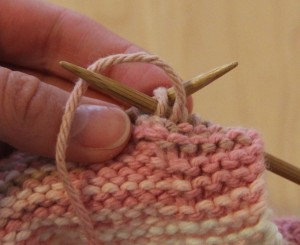
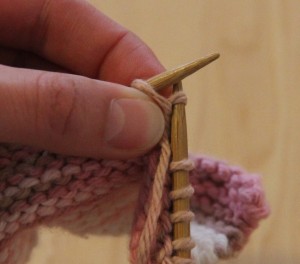
– To slip stitch all you do it put the needle through the loop, in either knit or purl stitch fashion whatever the directions say, without wrapping yarn around the needle first. So you’re literally slipping the stitch onto the needle.

knit belt

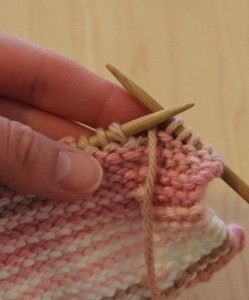
Start by pulling the thread to the front of the project

knit belt

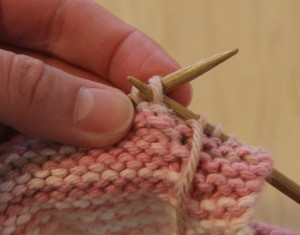
Then take the needle through the front of the stitch like you’re going to do a purl stitch.

knit belt

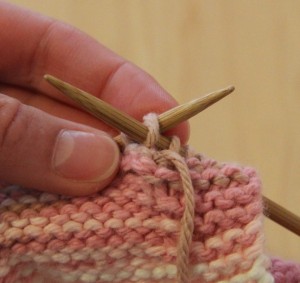
Push stitch on to needle WITHOUT actually doing the purl stitch

– To attach the D rings, simply fold fabric over the straight part of the D ring and stitch closed. The package the rings come in should also have instructions on it.

knitted beltOverall I’m really happy with my knit belt. It’s really just an accessory, not for actually holding up pants. But that is just fine with me. I think it’s a nice addition to my wardrobe and it was a fun, easy and quick project to complete.


fingerless gloves

Simple Knit Men’s Fingerless Gloves Pattern

Posted on
Follow Me on PinterestPin It

Homemade presents are the best presents in my opinion because you know the person really thought about the gift and put some time into it. Also, I enjoy making gifts for people too so it’s a win win.

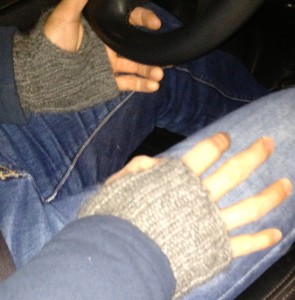
I needed to get a gift for a friend and decided on fingerless gloves. I have a pair and love them.  I have also decided to make a pair of fingerless gloves for my dad because he uses a cane and these will allow him to keep his hands warm and still have the ability to grip the cane. For my friend’s gloves, I decided on a 100% baby alpaca chunky yarn in gray because it’s so soft and warm. It’s also just my favorite yarn to knit and gray goes with everything.

easy pattern/ how I did it:

  1. cast on 32
  2. k2 p2
  3. continue pattern until it reaches desired length  I made mine about 8 inches because I wanted the glove to go all the way under the coat sleeve so no skin was exposed
  4. cast off in the k2 p2 pattern
  5. fold in half lengthwise and whip stitch up the side leaving an opening for your thumb about an inch down from the top

Then you have great fingerless gloves for the late fall and winter!

This pattern can easily be adjusted for men and women. Just reduce or increase the stitches by the pattern of 4 stitches (k2p2)

fingerless gloves

action shot


Basket Weave Pattern Knit Scarf

Posted on
Follow Me on PinterestPin It

My next project was a basket weave pattern scarf for my husband. I’m using a crimson color wool yarn on size 8 needles. The pattern I decided on was:

  • Cast on 30
  • Knit 5 Purl 5 for 5 rows
  • Purl 5 Knit 5 for 5 rows
  • Repeat until it’s long enough
  • Bind off

It is a skinny scarf for a man but the basket weave pattern is very nice because it gives the scarf texture without being girly.  I think it will be good when it’s really cold so he can bundle up with it.

I don’t know when I’ll finish but hopefully it’ll be soon so I can post a picture.

rusty, basket weave pattern

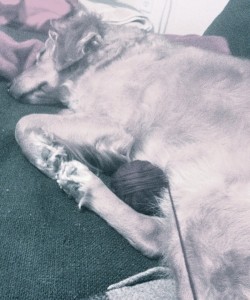
This is Rusty hard at work making sure my yarn ball doesn’t roll off of the couch while I’m knitting.

 Finally finished in June!


from the front

How to Make a Knit HeadBand

Posted on
Follow Me on PinterestPin It

I’m going to the Harvard vs. Yale football game this Saturday and realized I don’t have a lot of Crimson to support Harvard. I have plenty of orange and navy to support the Fighting Illini and Da Bears but not much else. I decided on a knit headband.

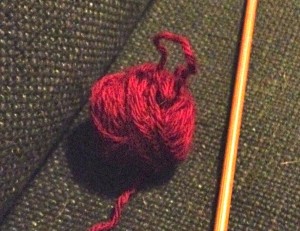
So I took the extra maroon yarn from my felted knit bag and counting the slip knot, cast on 7.

yarn

tiny yarn ball

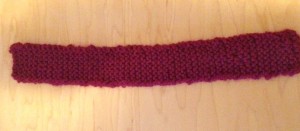
I went until I had little yarn left and finished it. It ended up being 11 3/4 inches long.

all knitted up

supplies

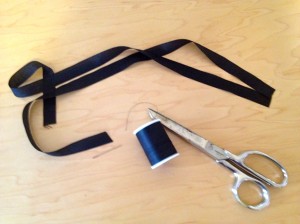
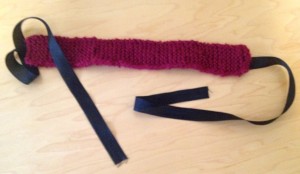
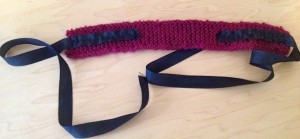
Then I got one yard of black ribbon a little bit smaller in width than the knitted piece, cut it in half and hand sewed it to the knitted piece. I used a running stitch  along the top, bottom and down the middle of the ribbon. I tried to make sure not to go over the knit stitches so the black stitches wouldn’t be seen. I also put the ribbon about four inches onto the knit piece to give the head band some strength.
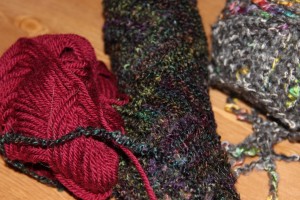
The ends of the ribbon will fray so it’s best to fold over the end, to create a hem and sew to enclose the end of the ribbon.

front view

back view

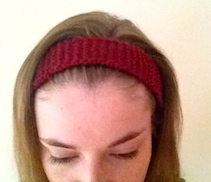
I tried my best to get a good shot of me wearing it but apparently I am no good at it, and every straight on view, I looked a little cooky so maybe I’ll get some good pictures at the game!

from the front

Now I have a nice unique headband to wear to the game and just a fun winter accessory!

  1. wool yarn, cast on 7 on size 6 needles
  2. knit stitch until about 12 inches long
  3. 2 pieces of 1/2 yard ribbon
  4. sew ribbon to knitted piece
  5. wear and look great!


all three

Knitting Washcloths

Posted on
Follow Me on PinterestPin It

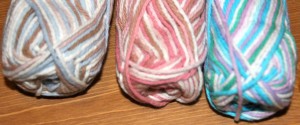
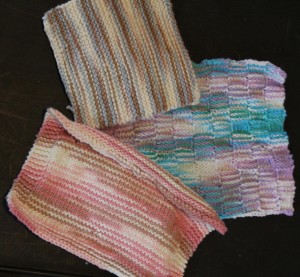
My next project was knitting washcloths using different stitches. It requires all cotton yarn, because you need to be able to use and wash them regularly.

wash clothes

yarn for wash clothes

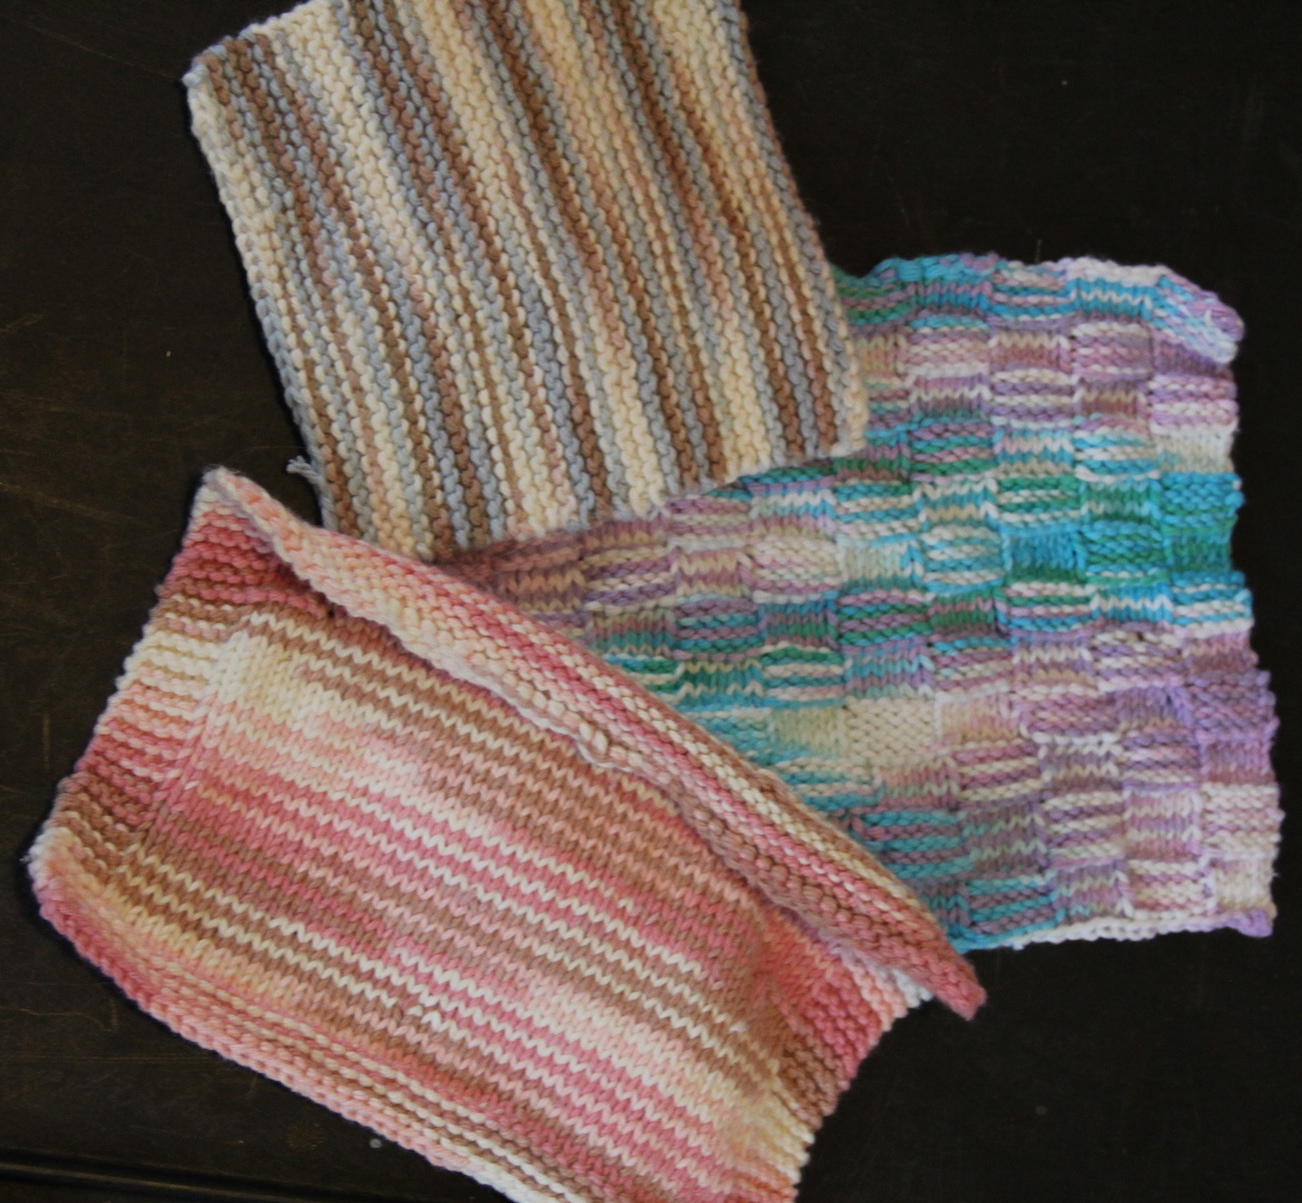
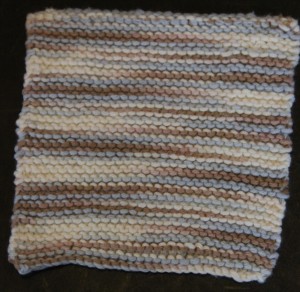
The first one, a plain knit stitch wash cloth, I have cast on multiple times. I find 100% cotton yarn to be much more difficult to work with than wool and alpaca. Maybe because it’s a stiffer material.  Also, I found the pattern in the book for the first washcloth, which is to cast on and do a knit stitch which creates a garter stitch, to be quite large for a wash cloth. So I cast on only 35 stitches. But, I found that 35 was a bit smaller than my other wash clothes but not so small that I couldn’t use it. But cotton is not my favorite. I can see why the book suggests to do just a knit stitch for the first cloth. I was having a lot of problems with it.

problem

issues

I probably cast on five different times until it looked close to normal and once I got to knitting, I found it different to keep the end of each row as tight as the other stitches. But this is the finished result. I think it looks nice.

knit stitch

knit stitch

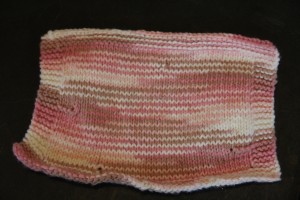
Next one is using a purl stitch. This was my first project with it. The cloth has a knit stitch border.

-knit stitch a few rows for the top border

-knit stitch a few stitches to continue border, I used 5 stitches,

-purl stitch the row until the last 5 stitches, knit stitch those

-knit

-repeat until last few rows

-knit last few rows for bottom border

-bind off

purl

purl stitch with a knit stitch border

I obviously had a couple of issues, but that’s what happens when you’re watching the newest episode of Revenge, thank God for Hulu Plus :), and not paying enough attention to your needles, so from now, after I complete a few rows I’ll always check to see if there is anything I should fix.

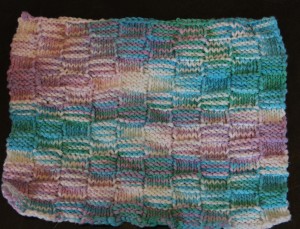
Next was the basket weave washcloth! Probably my favorite, pattern wise and the colors in the yarn. This is what I did:

-cast on 50

-knit 5, purl 5, continue pattern

do this for 5 rows

-purl 5, knit 5, continue pattern

do this for 5 rows

-continue to alternate until desired length is reached.

-bind off

I just did it until I ran out of yarn. I used my row counter for this just incase I forgot what stitch to start with and even wrote out, row 1-5 start with knit, 6-10 purl, 11-15 knit, 16-20 purl, and so on to keep me on track.

weave

basket weave

As much as I do not enjoy cotton yarn, I know I’ll use it again if I redecorate and I make wash clothes and other kitchen items.

all three

completed wash clothes

So now I have three wash clothes to use in my kitchen 🙂 Maybe I’ll enjoy cleaning more knowing I created/made the wash clothes I’m using? Hopefully?


felted bag

Felted Knit Bag Revisited

Posted on
Follow Me on PinterestPin It

My last attempt at felting a bag did not go very well. So, I threw the almost felted knit bag into a different washer that had more options and it worked a bit better. I actually think if I put it on another cycle it would have been completely felted, but I had no more quarters with me and I really didn’t want to spend anymore time in my building’s basement. But I do like the way it turned out, the knitting does get to be more like a fabric, it feels a lot stronger and I like that it looks fuzzy.  Here is what it looks like…

bag

2nd time felted

Then I finished the bag by whip stitching around the flap with the gray novelty yarn and attached a button.

felted knit bag

finished

I’m pretty happy with the results. I’ll have to use it next time I go out!


How to Knit the Purl Stitch

Posted on
Follow Me on PinterestPin It

Purl stitch day!

We know how to do the standard knit stitch, so it’s time to switch it up a bit, well literally switch it up with the purl stitch. The purl is the opposite of the knit stitch.

With the knit stitch, the yarn starts in the back, but for the purl stitch the thread starts in the front.

purl stitch

start with the thread in front

Next take the right hand needle through the first stitch on the left hand needle, going from the back of the needle to the front of the needle.

step 1

back to front

step 1

another view

Then take the yarn over the right hand needle.

step 2

wrap yarn around needle

Like with the knit stitch, pull the right hand needle out catching the yarn.

step 3

catch yarn while pulling right hand needle out

step4

catch

Then push the stitch off of the left needle and pull the yarn a bit to keep the stitch tension consistent.

push off

push stitch off

There’s the purl stitch! Now I can create more patterns with knitting.


Felted Knit Envelope Bag

Posted on
Follow Me on PinterestPin It

My first project in the book I’m going to tackle is the felted knit envelope bag which actually the second project in the book because the first project is a scarf with a knit stitch and since I have completed two already I decided it was ok for me to skip that one. 🙂 Here are my yarn choices. They are in skeins, so I don’t need to hand wind them.

skeins

time to knit a bag

I was a little worried at first about combining two different yarns but it hasn’t been too big of a deal. It is a little difficult to see where the stitches are so I have employed the use of some awesome knitting tools. First one is a stitch/row counter. It helped me keep track of the number of stitches in each row. I think I will braid some yarn in order to make a necklace out of it. It even has a lock on it so I can stop wherever. Second is the use the purple knit stoppers. It’s great to place them on the needle points when I am finished knitting and I do not have to worry about the stitches falling off the needle.

I have skipped stitches a couple of times and with the fuzzy novelty yarn it was hard to tell at first, but you just carefully pull the yarn to where the skipped stitch is and place the stitches back on the needle, carefully, and start knitting again.

The bag is basically a giant rectangle and could be made into any size. It just depends on your intended use.  You fold and then whip stitch the edges to create the pocket which turns it into a bag. I’m using both threads to do the whipstitching. I’ll do a separate tutorial on the whip stitch because it is used in knitting, needlepoint and a hand stitch for finishing in sewing and at the beginning I had a bit of trouble making sure I was going through both layers to connect them. That’s probably because I was too busy watching television as I was finishing. :/

rectangle

knitted rectangle

fold

whip stitch close up

This is also a felted bag which really concerns me. Something about doing all of this work just to place it in the wash to shrink rubbed me the wrong way. How much will it shrink anyways? It’s currently about 15inches by 10inches. But here is how it turned out. :/

How to Felt:

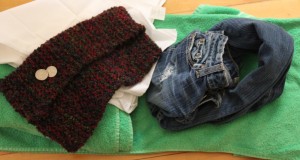
First I needed to get all of my materials, the bag, a zippered pillowcase, towels, jeans, and quarters for the washing machine.

felting supplies

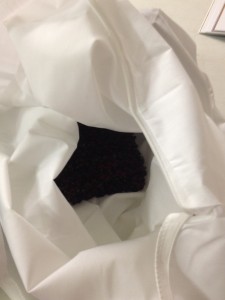
put knitted bag in zippered pillowcase

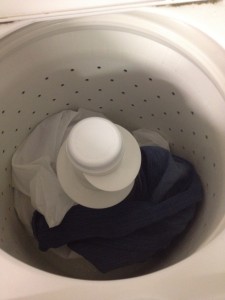
put pillowcase and jeans in the washer

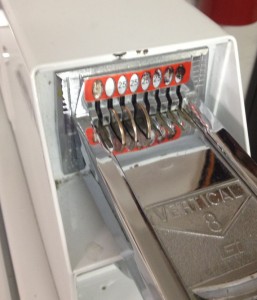
feed the machine

Place on small load, hot wash, and check after awhile, 10 minutes, to make sure it is felting and take it out when it has reached the size I want and also not let the cycle go into spin or rinse.  Now maybe the washer I chose in my building is old or maybe because it is a commercial machine or I picked the wrong wool yarn but I don’t think it looks like it’s suppose to..

finished?

So it was suppose to turn out to be a thick fabric where you can no longer see the stitches and shrink a little bit and it didn’t. So, maybe I’ll try the felting process again?

So felting fail, but no worries that’s why it’s good to practice.


Finishing Knitting, Weaving in the Tails

Posted on
Follow Me on PinterestPin It

Now that the scarf is finished we have one thing left to do, weaving in the tails into the scarf.

Weaving in the tails is pretty easy. I used a size 16 Plastic Canvas needle, that I use to do the needle point for the doll workout equipment, because I didn’t have an actual finishing needle but it got the job done.

weaving in

Need a needle

needle

Thread the Needle

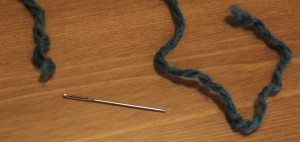
This can be a little tricky, use a threader, trim a little yarn, or use some spit to make the yarn thread the needle easily.

weave

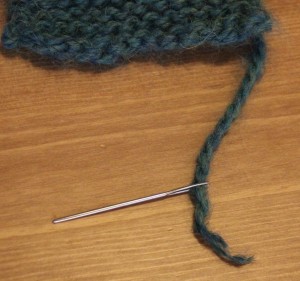
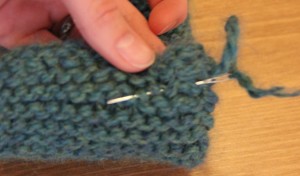
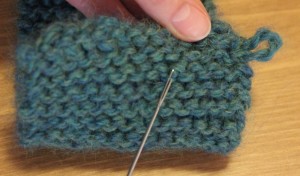
Next take the needle to a row and start to move the needle through the ripples

continue to weave

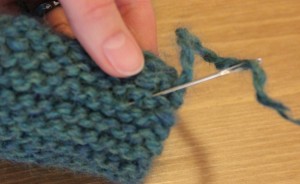
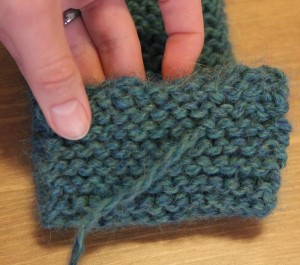
Continue to weave the needle through the ripples to where you have weaved a couple of inches

pull

Pull the needle all the way through the last ripple

off

Take the needle of off the yarn

cut

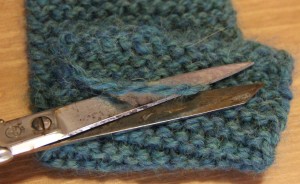
Cut the excess yarn from the scarf

yay!

And the scarf is finished!

scarf

Beautiful finished scarf!

I almost want to keep this but that wasn’t my original intention so it’ll remain a gift and eventually I will have to make one for myself. I just hope my nieces love the scarves too!