knit mug cozy

Slip Stitch Knit Mug Cozy Revisited

Posted on
Follow Me on PinterestPin It

I decided to attempt my slip stitch knit mug cozy pattern again because I had so many problems the first time. Well, this one didn’t go according to plan either. My impatience got the better of me, resulting in this:

mug cozy

The pattern is slightly off. Using the yarn left over from my slip stitch belt, 100 % wool Crystal Palace Yarn, with size US 3 (3.25mm) needles, I decided to cast on 70 stitches and do the pattern

Row 1: P3 K2

Row 2: K1 S1 K1 P2

Repeat till desired length, I did 33 rows.

Cast off like it was an odd row so P3 K2.

Sew on button and loop.

But somewhere on Row 17 I noticed I combined two stitches leaving me with only 69 stitches on my needle and instead of  doing the smart thing and undoing my stitches until I found the problem, fix it, and move on, I decided I was too impatient and it was an amazing idea to just cast on another stitch at the end of the row. Wow I was wrong but I  knew I was wrong and did it anyways which makes it even worse. But that’s why my pattern is off. I do like the pattern and I do like my dressed up coffee mug in the morning. I also believe that this could be a great pattern for a cuff/bracelet.

The 70 stitches compared to the 75 in the first one I did it working out a lot better. It fits more of my coffee mugs!

knit mug cozyknit mug cozy


knit mug cozyknit mug cozy


knitted belt

Knit Belt, How to Slip Stitch

Posted on
Follow Me on PinterestPin It

knit belt

I decided to make the Artisan Belt in the Chick with Sticks knitting book. I’ve never had a knit belt before. It was my first time slipping stitches. I was a little nervous about it because although there was a picture of it I wasn’t sure how it would work. But it gave it a nice almost braided looking border, using Crystal Palace Yarn. I used attach 1” D rings as my belt closure.

– To slip stitch all you do it put the needle through the loop, in either knit or purl stitch fashion whatever the directions say, without wrapping yarn around the needle first. So you’re literally slipping the stitch onto the needle.

knit belt

Start by pulling the thread to the front of the project

knit belt

Then take the needle through the front of the stitch like you’re going to do a purl stitch.

knit belt

Push stitch on to needle WITHOUT actually doing the purl stitch

– To attach the D rings, simply fold fabric over the straight part of the D ring and stitch closed. The package the rings come in should also have instructions on it.

knitted beltOverall I’m really happy with my knit belt. It’s really just an accessory, not for actually holding up pants. But that is just fine with me. I think it’s a nice addition to my wardrobe and it was a fun, easy and quick project to complete.


all three

Knitting Washcloths

Posted on
Follow Me on PinterestPin It

My next project was knitting washcloths using different stitches. It requires all cotton yarn, because you need to be able to use and wash them regularly.

wash clothes

yarn for wash clothes

The first one, a plain knit stitch wash cloth, I have cast on multiple times. I find 100% cotton yarn to be much more difficult to work with than wool and alpaca. Maybe because it’s a stiffer material.  Also, I found the pattern in the book for the first washcloth, which is to cast on and do a knit stitch which creates a garter stitch, to be quite large for a wash cloth. So I cast on only 35 stitches. But, I found that 35 was a bit smaller than my other wash clothes but not so small that I couldn’t use it. But cotton is not my favorite. I can see why the book suggests to do just a knit stitch for the first cloth. I was having a lot of problems with it.

problem

issues

I probably cast on five different times until it looked close to normal and once I got to knitting, I found it different to keep the end of each row as tight as the other stitches. But this is the finished result. I think it looks nice.

knit stitch

knit stitch

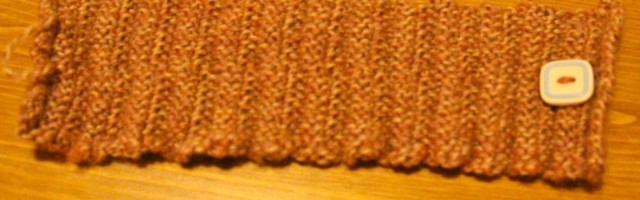
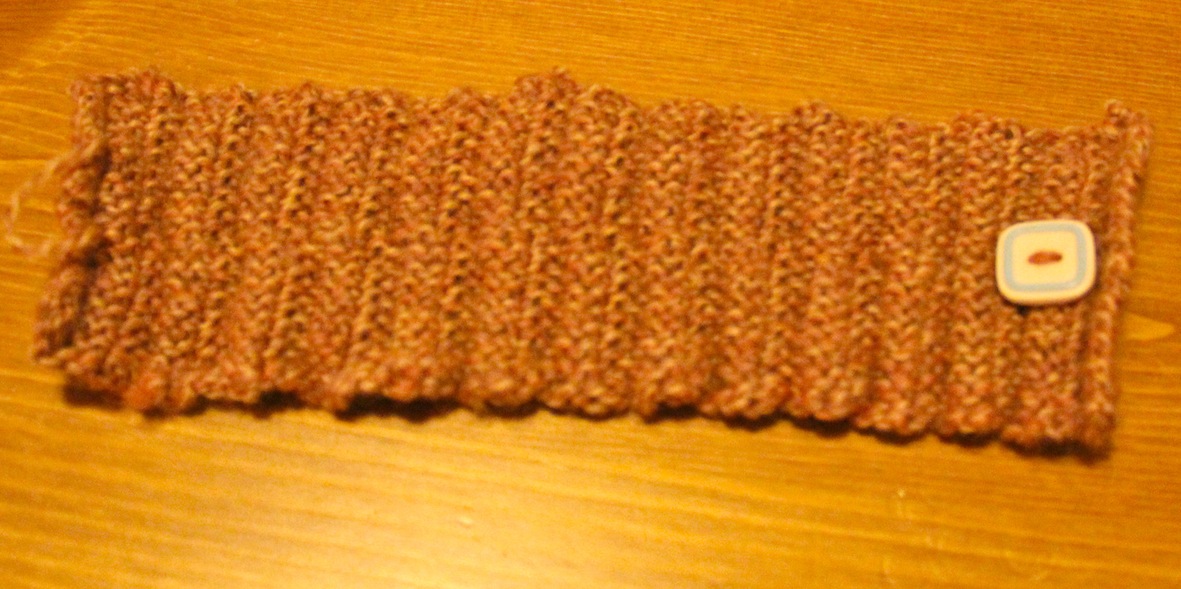
Next one is using a purl stitch. This was my first project with it. The cloth has a knit stitch border.

-knit stitch a few rows for the top border

-knit stitch a few stitches to continue border, I used 5 stitches,

-purl stitch the row until the last 5 stitches, knit stitch those

-knit

-repeat until last few rows

-knit last few rows for bottom border

-bind off

purl

purl stitch with a knit stitch border

I obviously had a couple of issues, but that’s what happens when you’re watching the newest episode of Revenge, thank God for Hulu Plus :), and not paying enough attention to your needles, so from now, after I complete a few rows I’ll always check to see if there is anything I should fix.

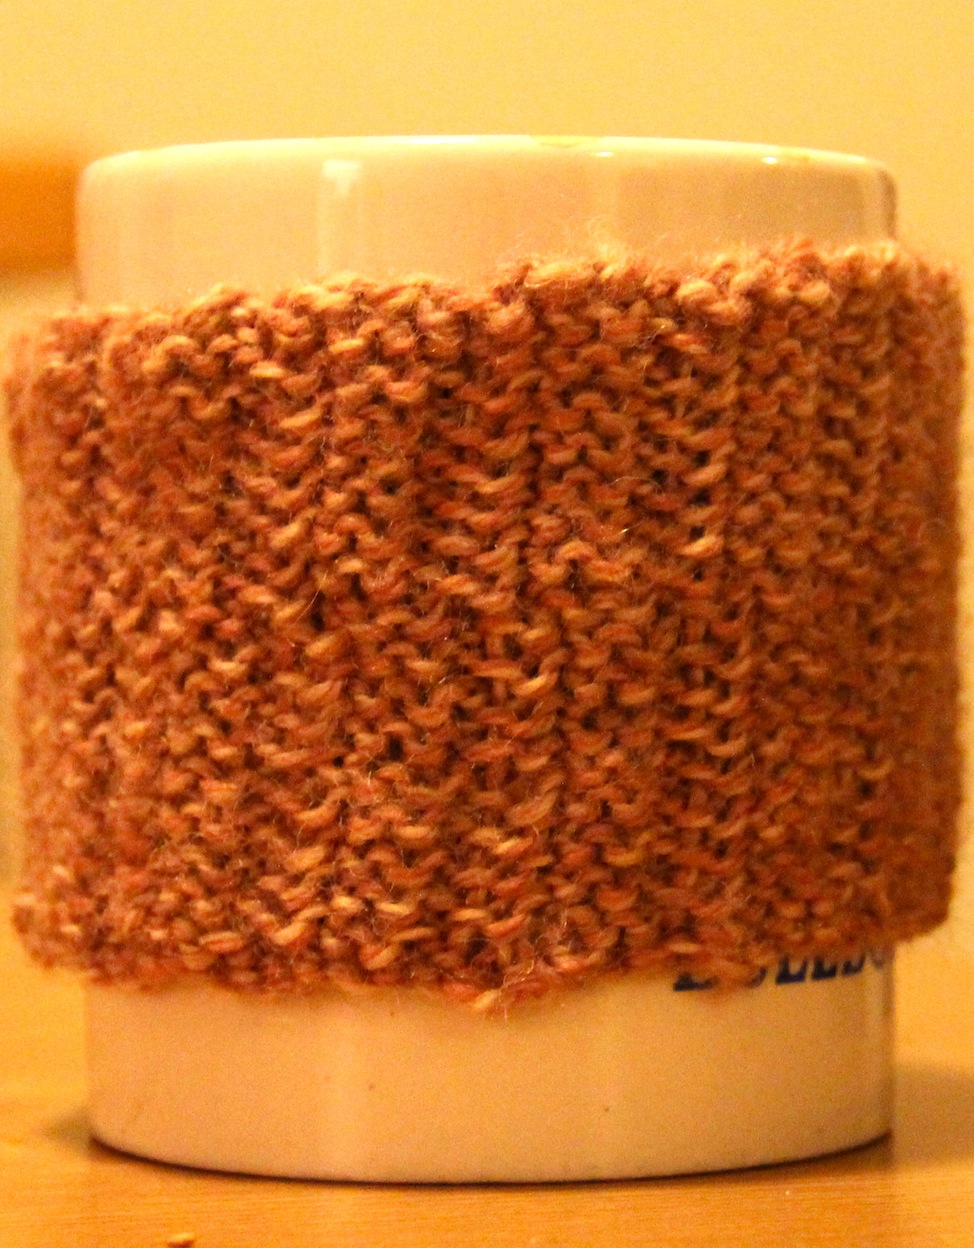
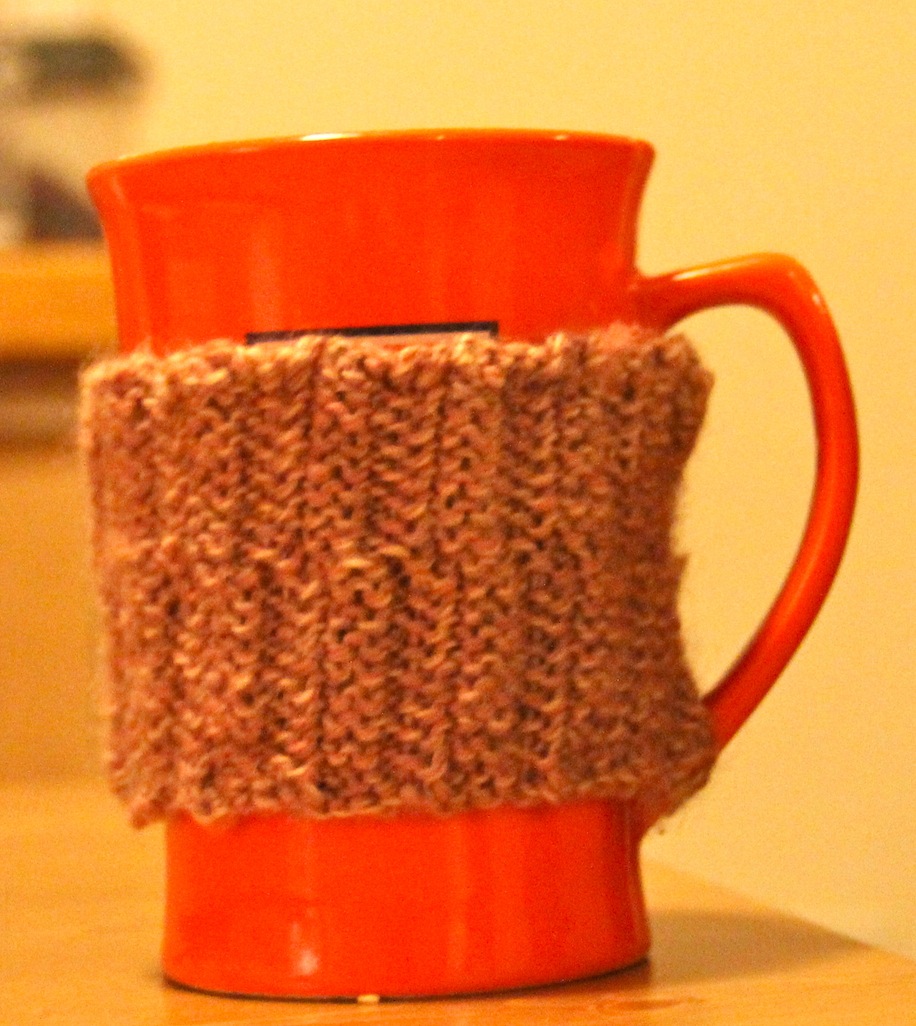
Next was the basket weave washcloth! Probably my favorite, pattern wise and the colors in the yarn. This is what I did:

-cast on 50

-knit 5, purl 5, continue pattern

do this for 5 rows

-purl 5, knit 5, continue pattern

do this for 5 rows

-continue to alternate until desired length is reached.

-bind off

I just did it until I ran out of yarn. I used my row counter for this just incase I forgot what stitch to start with and even wrote out, row 1-5 start with knit, 6-10 purl, 11-15 knit, 16-20 purl, and so on to keep me on track.

weave

basket weave

As much as I do not enjoy cotton yarn, I know I’ll use it again if I redecorate and I make wash clothes and other kitchen items.

all three

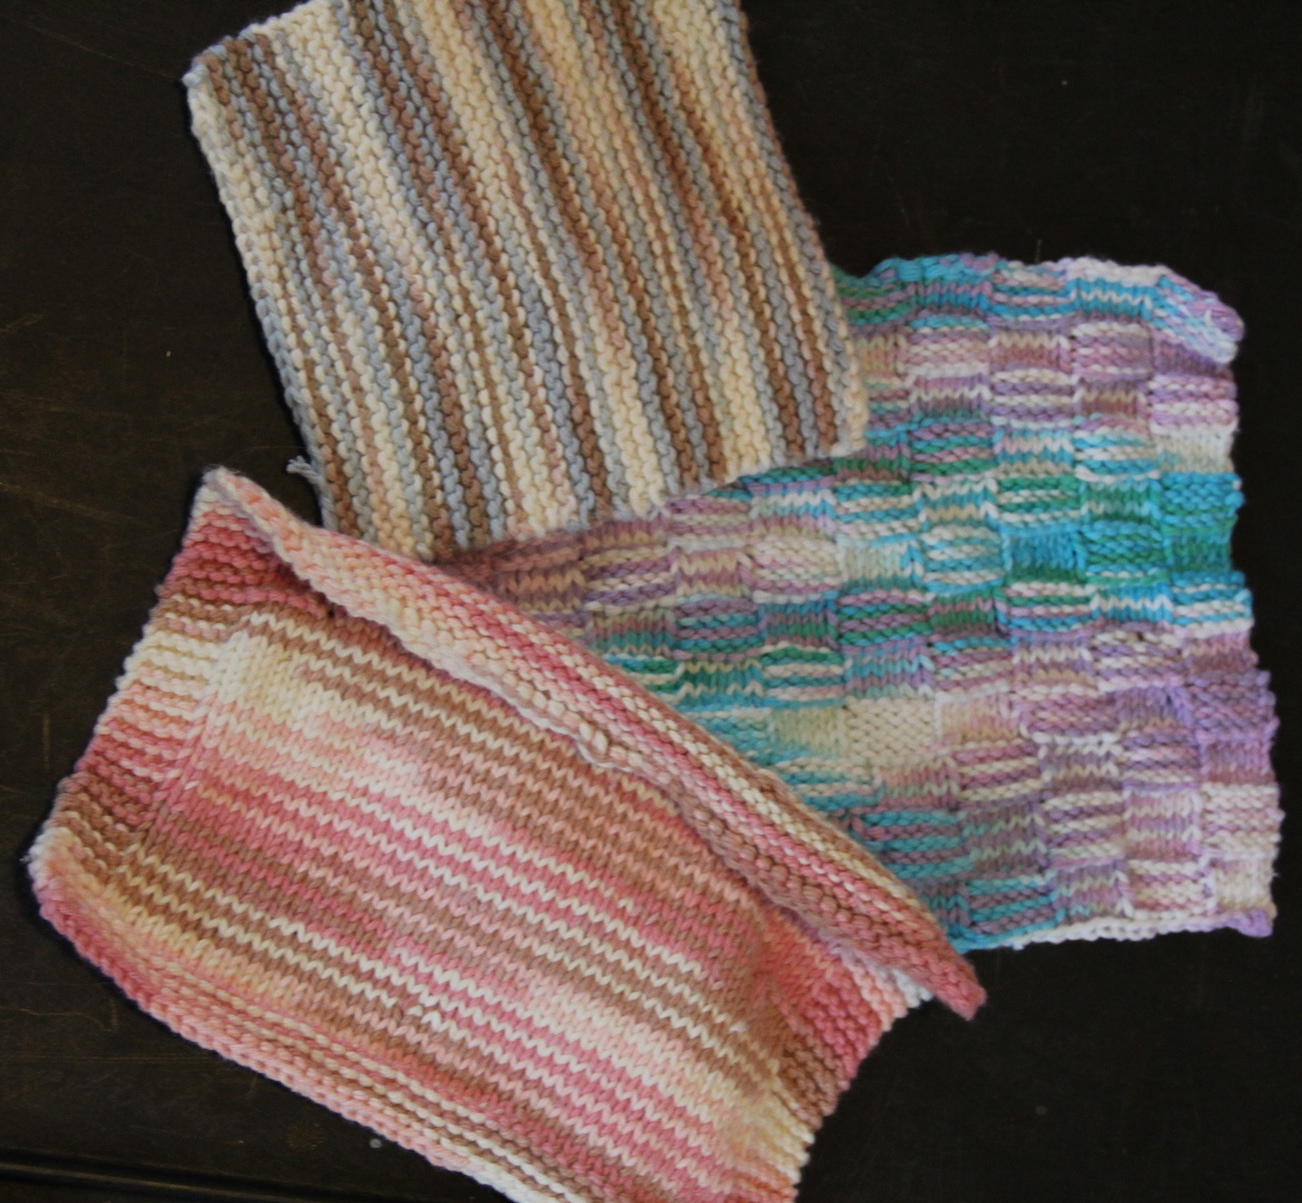
completed wash clothes

So now I have three wash clothes to use in my kitchen 🙂 Maybe I’ll enjoy cleaning more knowing I created/made the wash clothes I’m using? Hopefully?


How to Knit the Purl Stitch

Posted on
Follow Me on PinterestPin It

Purl stitch day!

We know how to do the standard knit stitch, so it’s time to switch it up a bit, well literally switch it up with the purl stitch. The purl is the opposite of the knit stitch.

With the knit stitch, the yarn starts in the back, but for the purl stitch the thread starts in the front.

purl stitch

start with the thread in front

Next take the right hand needle through the first stitch on the left hand needle, going from the back of the needle to the front of the needle.

step 1

back to front

step 1

another view

Then take the yarn over the right hand needle.

step 2

wrap yarn around needle

Like with the knit stitch, pull the right hand needle out catching the yarn.

step 3

catch yarn while pulling right hand needle out

step4

catch

Then push the stitch off of the left needle and pull the yarn a bit to keep the stitch tension consistent.

push off

push stitch off

There’s the purl stitch! Now I can create more patterns with knitting.