knit belt pattern

Slip Stitch Knit Belt Pattern for Kids

Posted on
Follow Me on PinterestPin It

knit belt pattern

I decided to make slip stitch knit belts for nieces because I loved mine so much! But the problem was the pattern is for an adult and too wide for 4 and 6-year-old girls. I needed to come up with a new knit belt pattern. You can find the adult version in Chick with Sticks. I decided to use the leftover yarn from when I knitted wash cloths. It’s 100% cotton and I think worsted weight? Actually, I’m making the weight of the yarn up because I no longer have the labels for them. I’ll have to remember to keep them from now on.

Using US size 4 needles (3.50mm), I cast on 6 stitches.

Knit stitch the first 4 stitches

Bring the yarn forward

Slip stitch the last 2 stitches

Repeat until desired length, I usually go about 4-6 inches longer than waist size

Cast off.

I hope my nieces love them!

knit belt pattern

knit belt pattern


knit mug cozy

Slip Stitch Knit Mug Cozy Revisited

Posted on
Follow Me on PinterestPin It

I decided to attempt my slip stitch knit mug cozy pattern again because I had so many problems the first time. Well, this one didn’t go according to plan either. My impatience got the better of me, resulting in this:

mug cozy

The pattern is slightly off. Using the yarn left over from my slip stitch belt, 100 % wool Crystal Palace Yarn, with size US 3 (3.25mm) needles, I decided to cast on 70 stitches and do the pattern

Row 1: P3 K2

Row 2: K1 S1 K1 P2

Repeat till desired length, I did 33 rows.

Cast off like it was an odd row so P3 K2.

Sew on button and loop.

But somewhere on Row 17 I noticed I combined two stitches leaving me with only 69 stitches on my needle and instead of  doing the smart thing and undoing my stitches until I found the problem, fix it, and move on, I decided I was too impatient and it was an amazing idea to just cast on another stitch at the end of the row. Wow I was wrong but I  knew I was wrong and did it anyways which makes it even worse. But that’s why my pattern is off. I do like the pattern and I do like my dressed up coffee mug in the morning. I also believe that this could be a great pattern for a cuff/bracelet.

The 70 stitches compared to the 75 in the first one I did it working out a lot better. It fits more of my coffee mugs!

knit mug cozyknit mug cozy


knit mug cozyknit mug cozy


knit mug cozy

Slip Stitch Pattern for a Knit Mug Cozy

Posted on
Follow Me on PinterestPin It

knit mug cozy

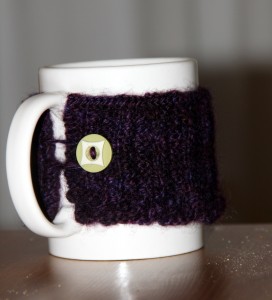
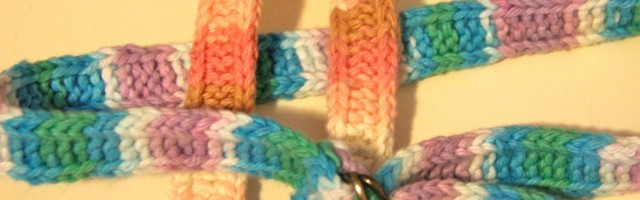
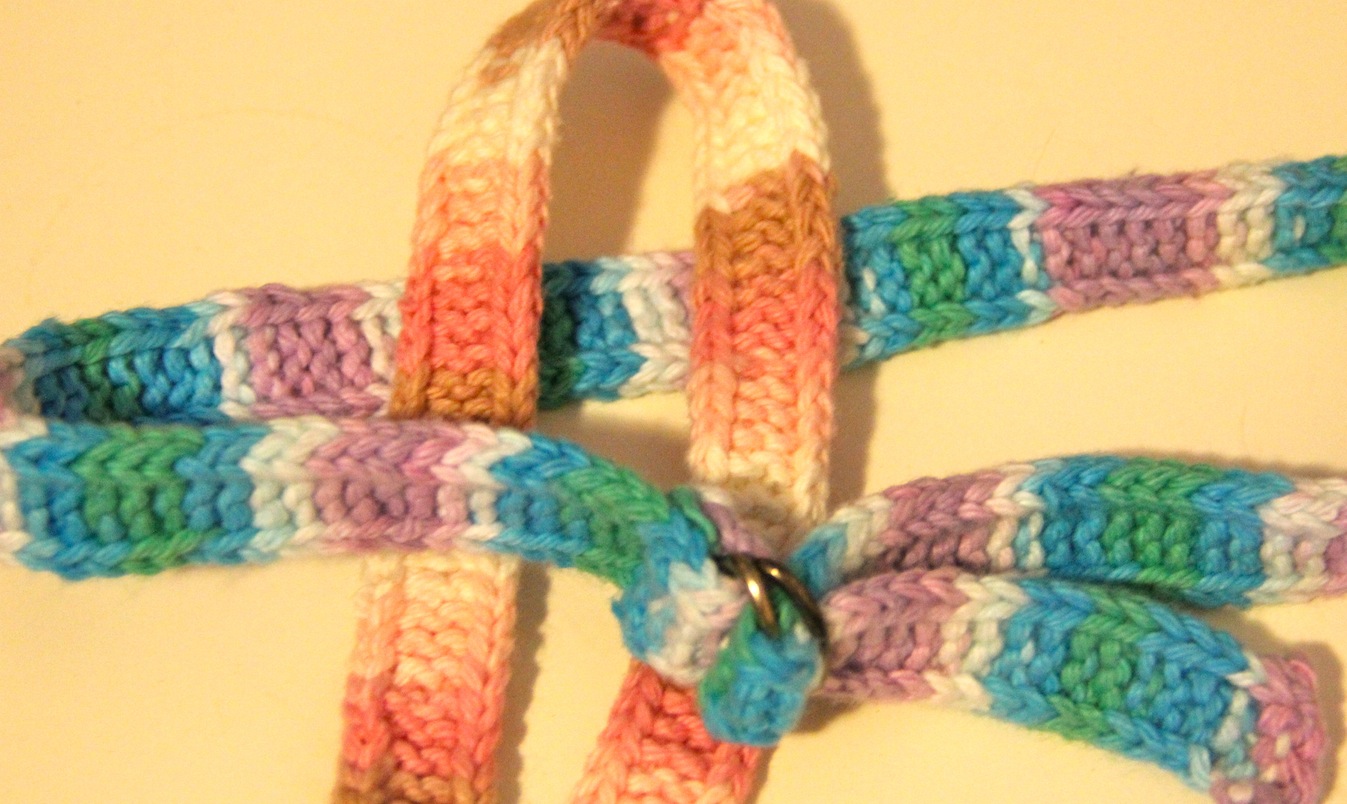
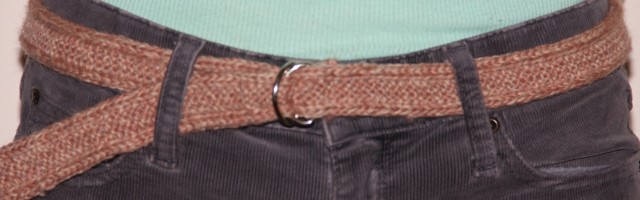
I decided to dress up my morning coffee a bit with a knit mug cozy. I was still excited about learning the slip stitch from the belt I made and wanted to create a pattern that used the slip stitch in it. I still had to do a bit of research to figure out exactly how to do it but after compiling everything and then some trial and error,  this is what I came up with:

US 2 needles (2.75mm)

2 ply lace weight yarn from Hettinger Corriedales. It’s a farm, in Illinois near my hometown that raises the sheep, and dyes the wool and spins them at their farm! You should check it out.

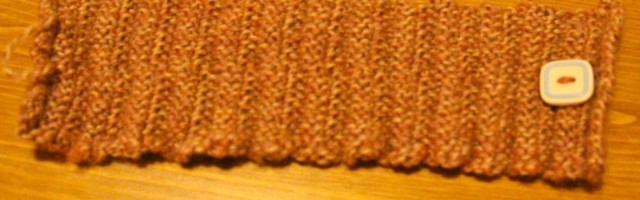
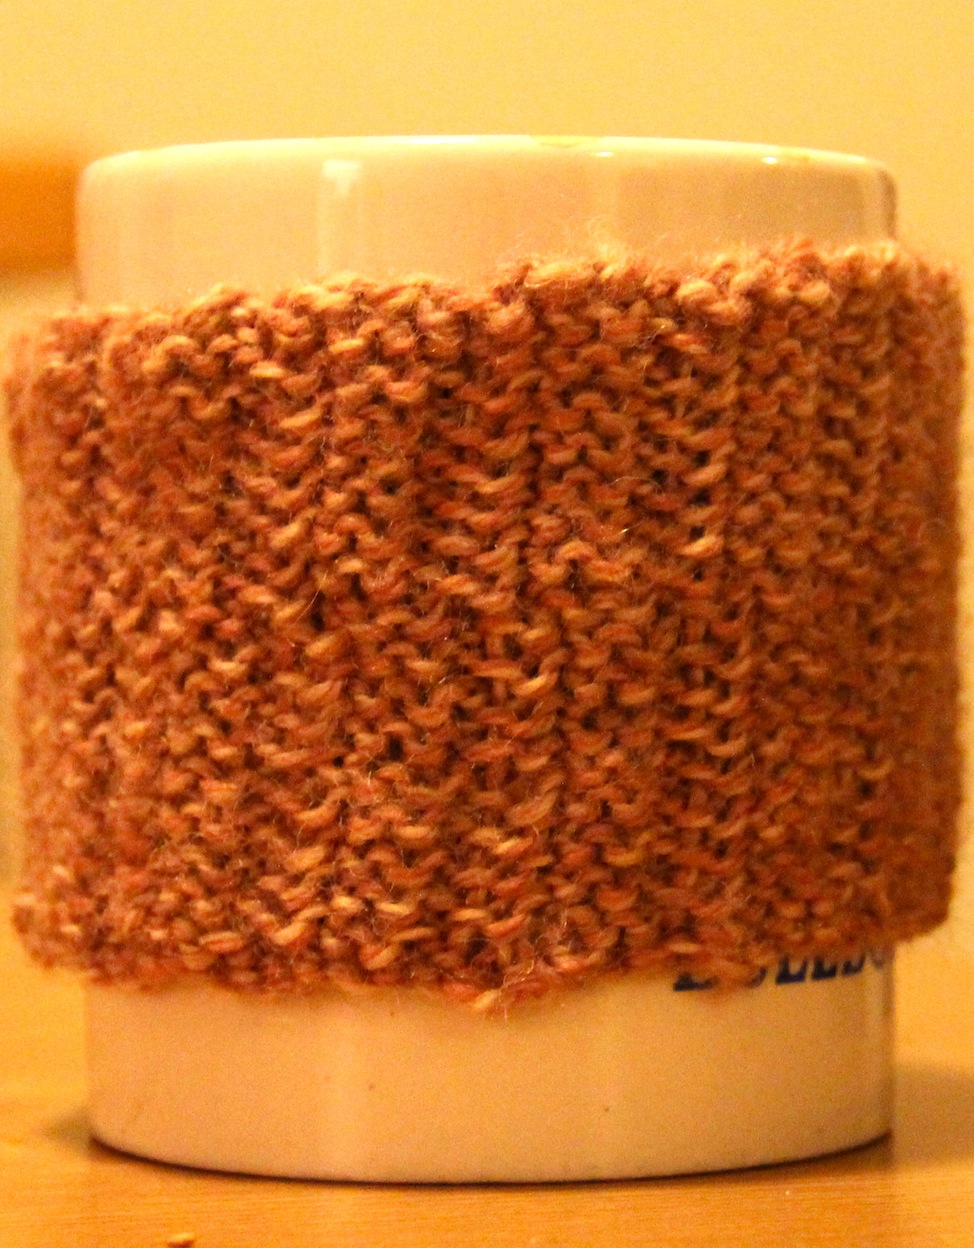
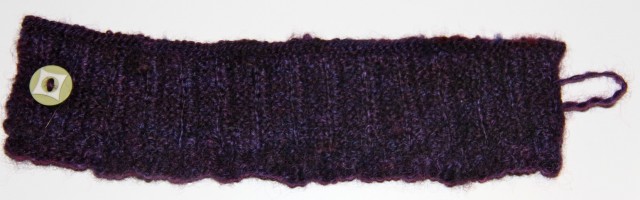
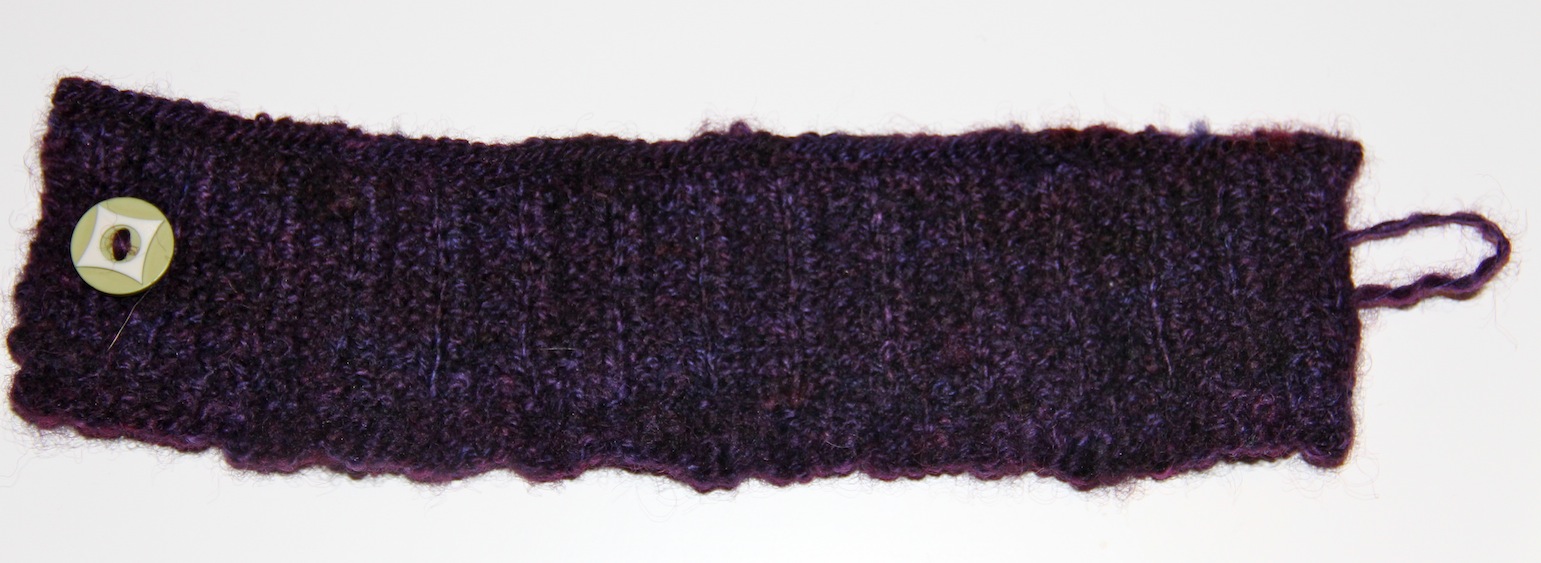
I’m not sure how much yarn I’m using. The skein I’m using had 214 yards but I’m using it for multiple projects. This fits a 10.5 inch circumference mug best. The yarn is a little too dark to get a great picture of the pattern but it looks great in person. Maybe I’ll make another in a different yarn to better display the pattern.

Pattern:

  • Cast on 70 stitches
  • Row 1: P3 K2 repeat until row is finished
  • Row 2: K1 S1 (P) K1 P2 repeat until row is finished
  • Repeat pattern until desired length. Mine ended up being 31 rows
  • Cast off on an odd-numbered row in the P3 K2 pattern
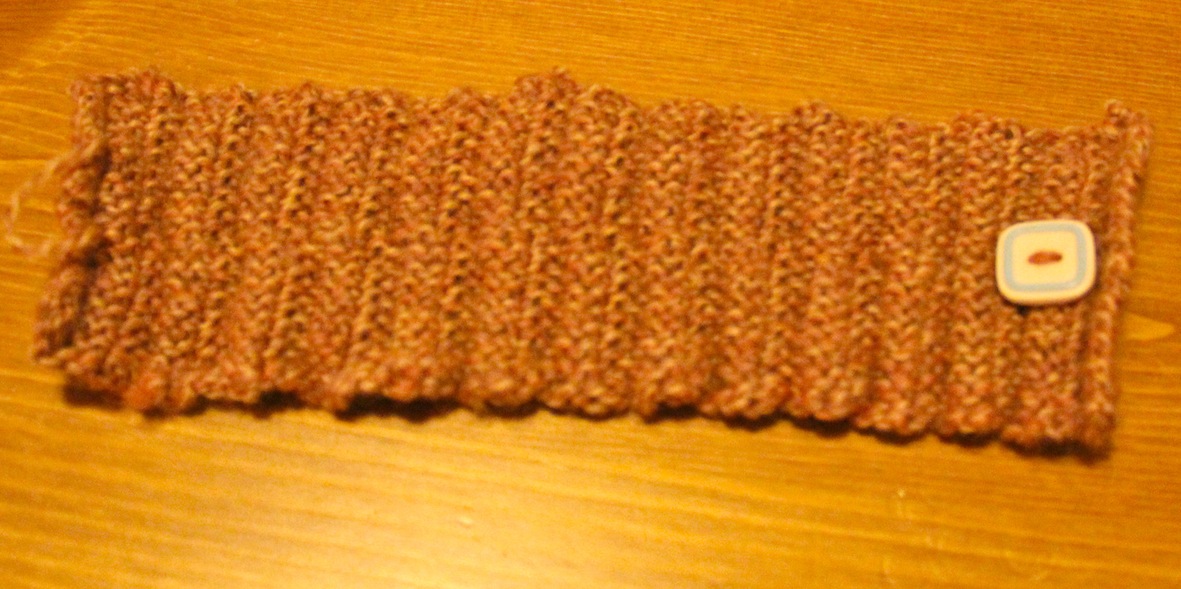
  • Sew loop like in the felted bag on one side and sew the button on the other
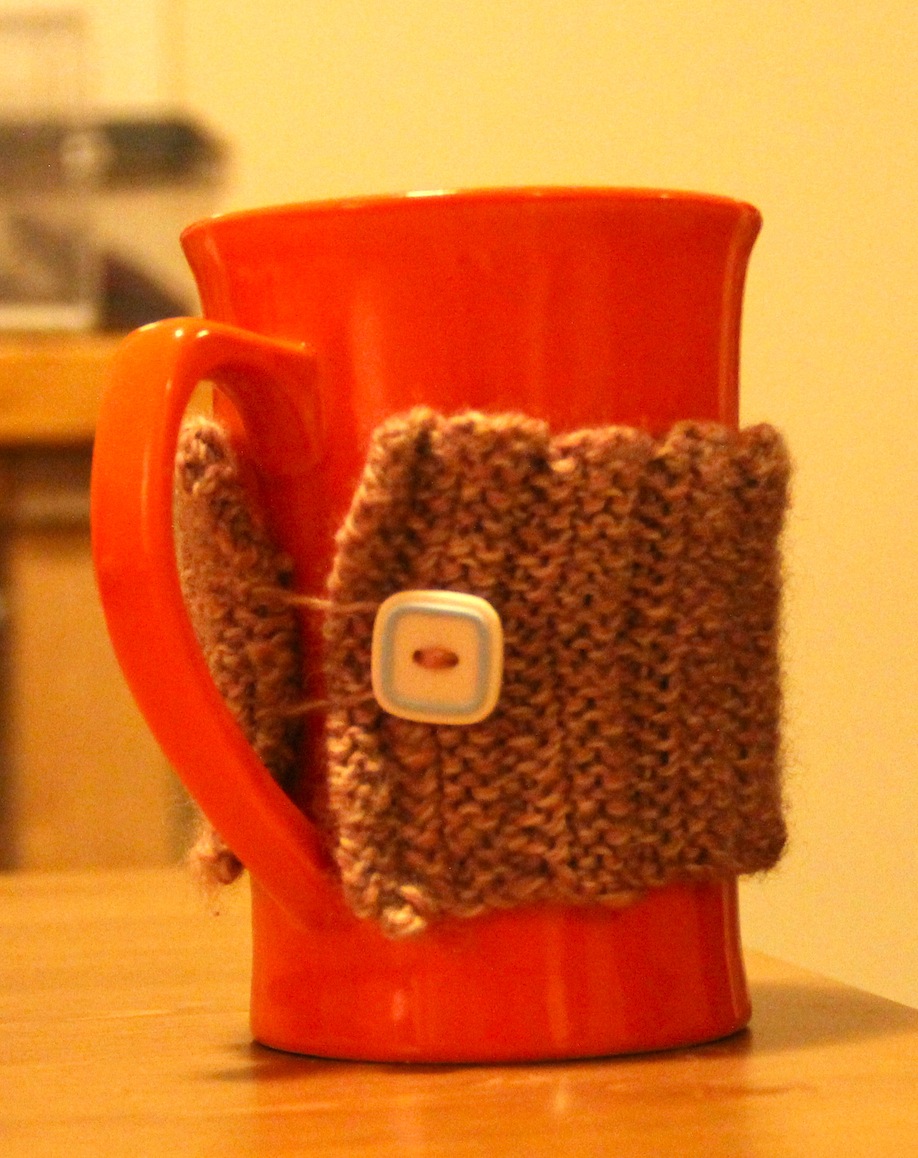
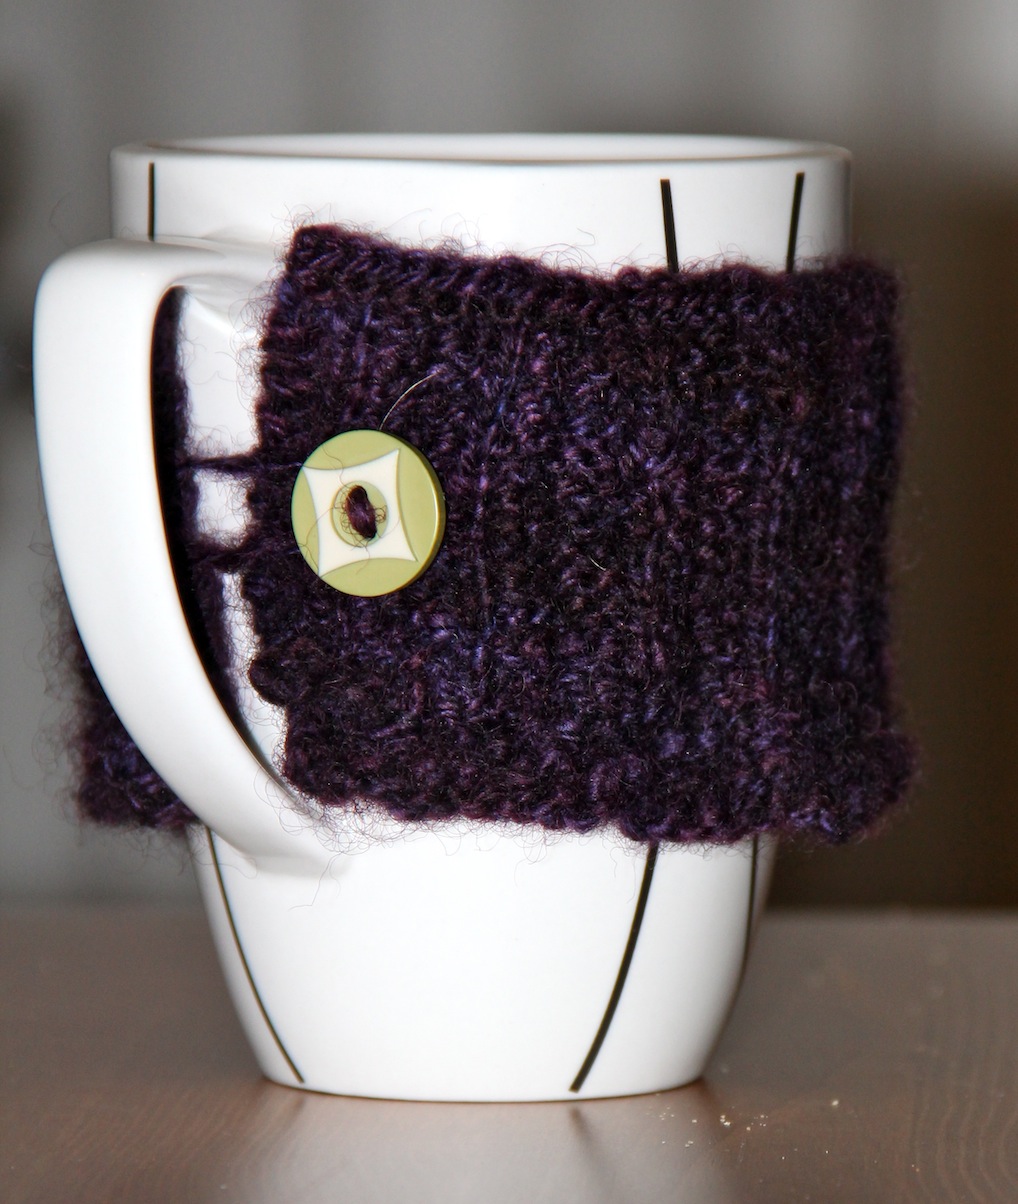
  • Attach to the mug by putting the button next to the handle and loop through the mug handle
  • Enjoy a nice cup of whatever with your cozy.

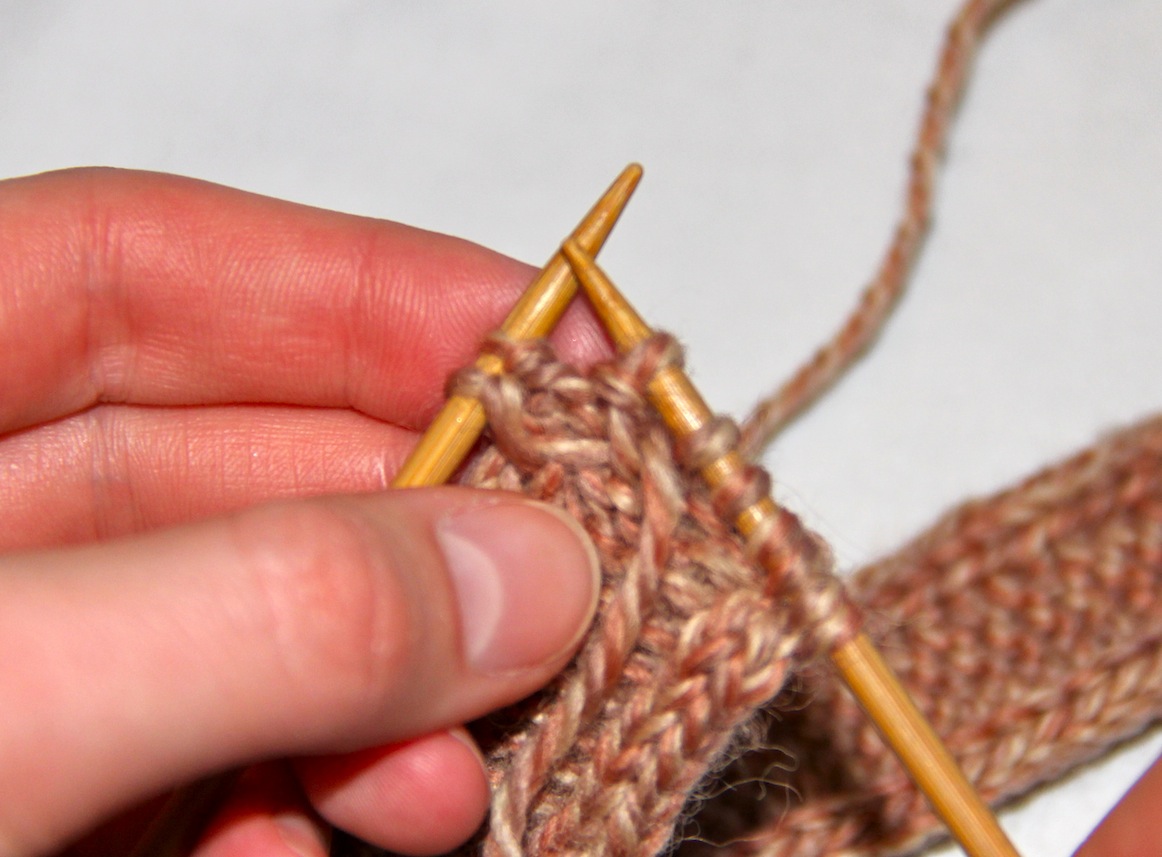
*Please note that for this pattern, unlike the belt, when you slip stitch purl style you do NOT bring the yarn forward, you simply just put the needle through the stitch like you would for a purl stitch and then push the stitch onto the needle.

knit mug cozy

What I actually did to figure that pattern out:

  • Cast on 75 stitches
  • Row 1: K2 P3 repeat
  • Row 2: P2 K1 S1 (P) K1 repeat

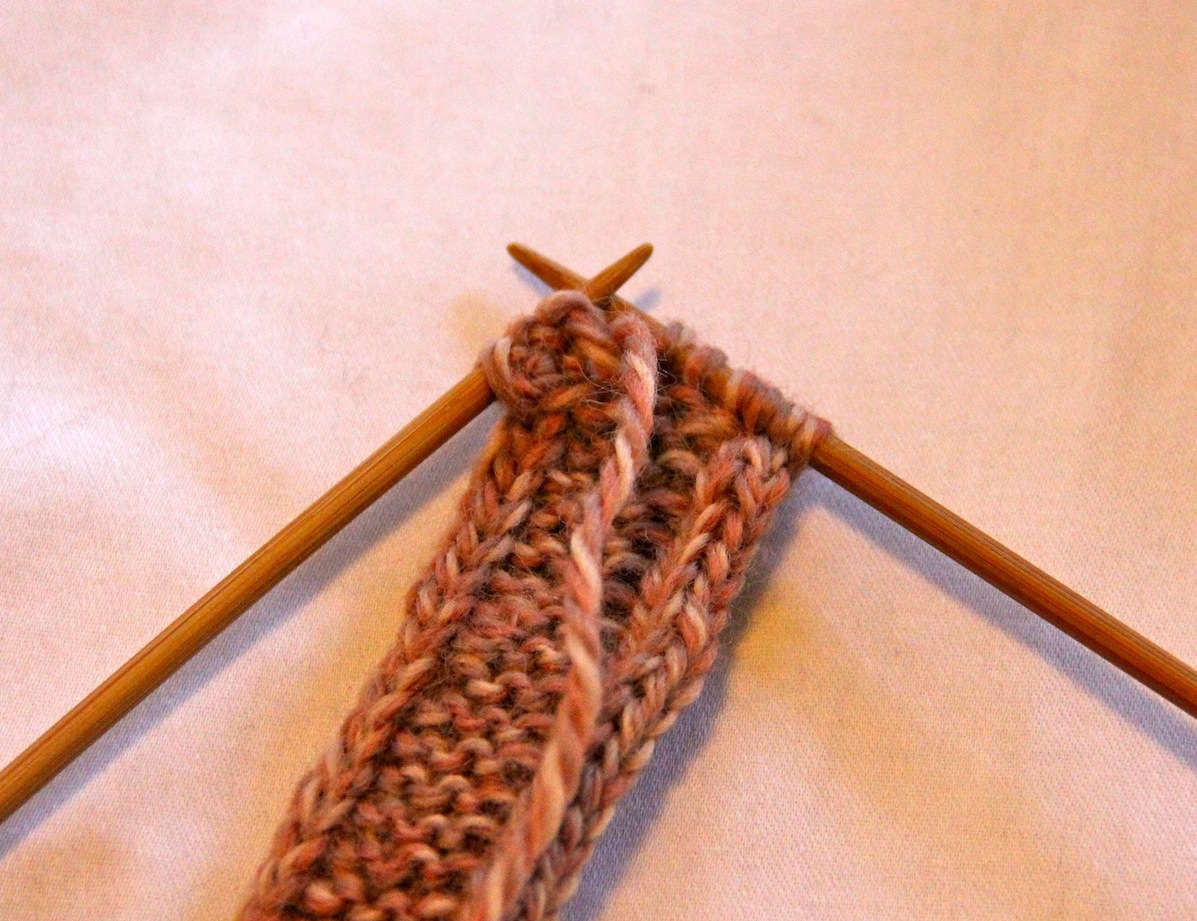
After 8 rows, it was looking like a hot jumbled mess, that’s the point of trial and error I guess. It’s a little difficult to see because the thread because it was hand spun isn’t the same thickness throughout. I decided to flip the pattern and test it out. To be honest, I don’t completely understand why it worked but it did so that’s awesome.

  • Row 9: P3 K2
  • Row 10: K1 S1(P) K1 P2
  • Rows 30 and 31 in a garter stitch to somewhat match the bottom of the cozy.
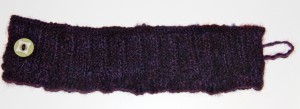
  • Add loop like I did with the felted bag to one end
  • Sew on button to the other end

*I marked on a piece of paper every time I did 5 stitches, and would only stop after doing five to keep my place. I also, marked them by row just incase I forgot which row I was on.

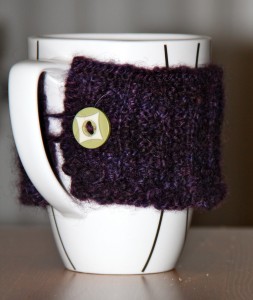
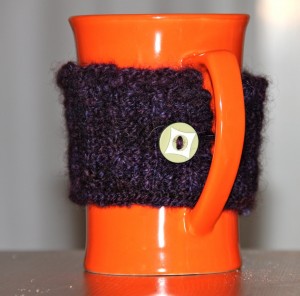
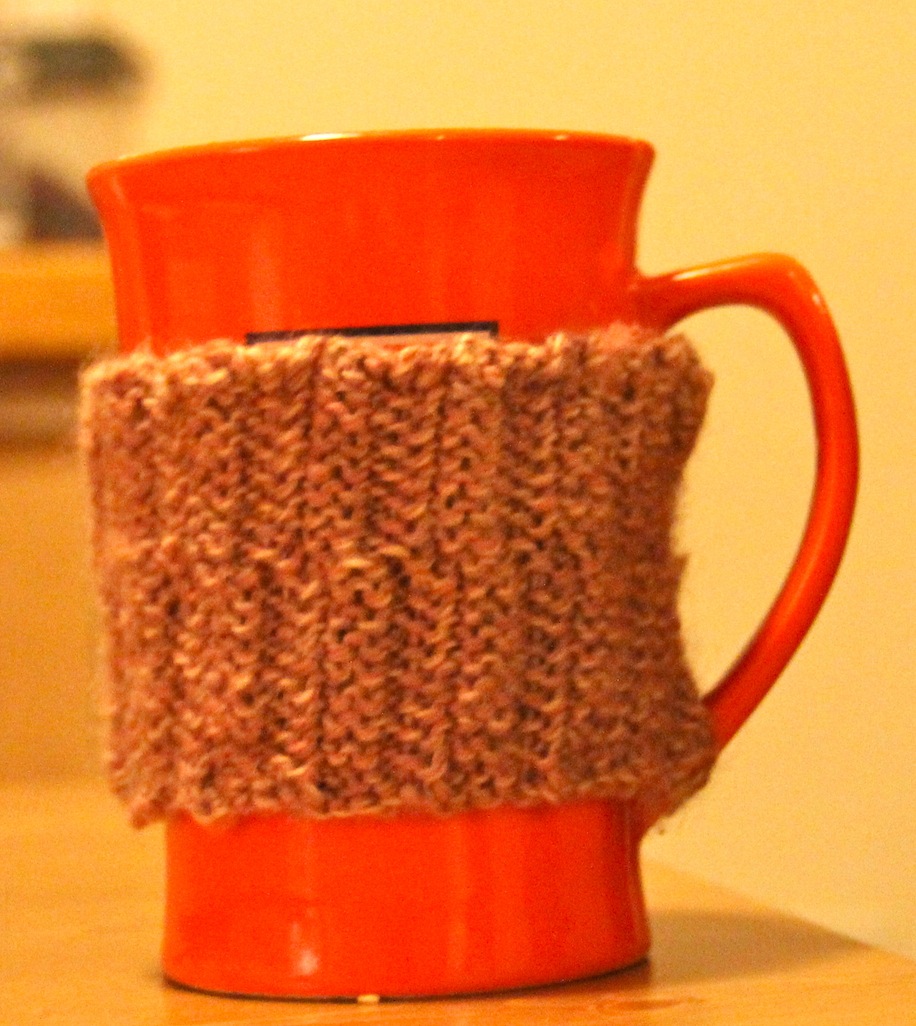
Didn’t turn out how I had envisioned in my head. But I was able to figure it out and I think it still looks cute and definitely serves its purpose. I can now create a mug cozy with the exact pattern I was hoping for. Like I said before, it’s best for a mug with a 10.5 inch circumference. I found it slipped a little on a 9.5inch and a 10 inch that decreases towards the bottom of the mug. Decrease the amount of stitches, by 5, to fit the mug you would like to use it on.

knit mug cozy

10inch and decreasing


knit mug cozy

9.5in circumference

knit mug cozy

10.5inch circumference


knitted belt

Knit Belt, How to Slip Stitch

Posted on
Follow Me on PinterestPin It

knit belt

I decided to make the Artisan Belt in the Chick with Sticks knitting book. I’ve never had a knit belt before. It was my first time slipping stitches. I was a little nervous about it because although there was a picture of it I wasn’t sure how it would work. But it gave it a nice almost braided looking border, using Crystal Palace Yarn. I used attach 1” D rings as my belt closure.

– To slip stitch all you do it put the needle through the loop, in either knit or purl stitch fashion whatever the directions say, without wrapping yarn around the needle first. So you’re literally slipping the stitch onto the needle.

knit belt

Start by pulling the thread to the front of the project

knit belt

Then take the needle through the front of the stitch like you’re going to do a purl stitch.

knit belt

Push stitch on to needle WITHOUT actually doing the purl stitch

– To attach the D rings, simply fold fabric over the straight part of the D ring and stitch closed. The package the rings come in should also have instructions on it.

knitted beltOverall I’m really happy with my knit belt. It’s really just an accessory, not for actually holding up pants. But that is just fine with me. I think it’s a nice addition to my wardrobe and it was a fun, easy and quick project to complete.