More Cross Stitch Patterns

Posted on
Follow Me on PinterestPin It

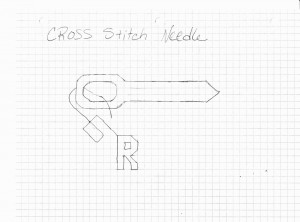
I’ve drawn more cross stitch patterns! I’ve gotten the pattern making bug! But thank goodness for pencils and erasers because I used them a lot! 🙂

I made more patterns because I made Rusty a cross stitch pattern, which will be turned into an ornament that I decided my husband and I needed one too. Granted they are very basic, beginner cross stitch patterns, but they are my first group of patterns I’ve ever drawn. I can’t really draw that well to begin with but I wanted to try.

I have decided not to do a color legend for these because I wanted to keep my options open, as in, I wanted to make sure I had enough thread in my thread mess ball.

needle cross stitch pattern

my pattern

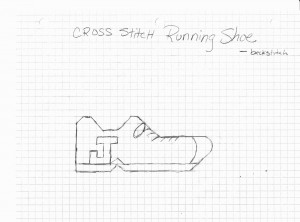
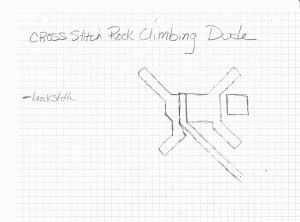
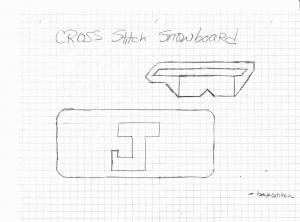
I couldn’t decide what to make for Joshua, my husband, so I sketched a couple of his hobbies and let him choose which one I made.

running shoe cross stitch pattern

running shoe

climber cross stitch pattern

mountain climber

snowboard and goggles cross stitch pattern

snowboard and goggles

He picked the mountain climber so now I have two more ornaments to stitch and make into ornaments! Still deciding on whether or not to backstitch the year onto it.

Graph paper really is a girls best friend when trying to draw cross stitch patterns.


How to Cross Stitch

Posted on
Follow Me on PinterestPin It

I feel like the holiday season is a popular cross stitch theme. Mainly because I have cross stitched and finished three cross stitch stockings. So I thought I’d show how to cross stitch.

To start with new thread, there is no knot at the end of the thread, you simply leave about an inch on the back side of the fabric and your stitches will make it tight.

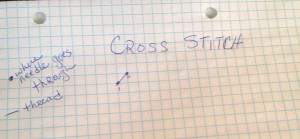
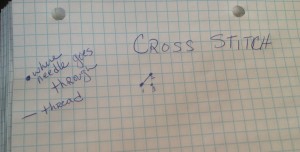
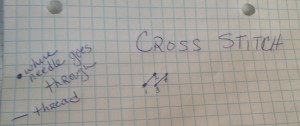
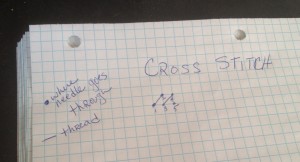
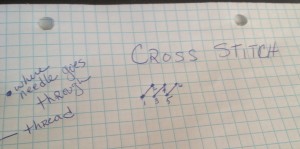
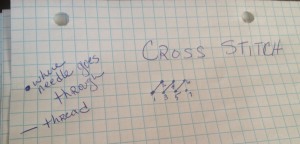
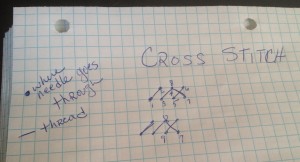
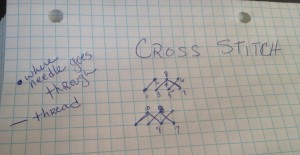
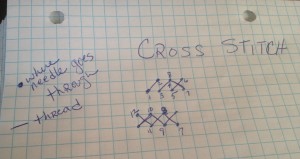
Here’s the basic cross pattern, thank goodness for graph paper:

the . are where the needle goes through the needlework fabric

the solid lines represent thread.

step 1 how to cross stitchstep 2 how to cross stitchstep 3 how to cross stitchstep 4 how to cross stitchstep 5step 6step 7

Drew the same row of Xs underneath because it was getting crowded on the top row with all of the numbersstep 8step 9 and 10cross complete You are literally making an X with your thread. Going left to right, when all of the / are done in that row you go right to left with a stitch that looks like this \  completing the X in cross stitch.

To end make sure your needle is on the back, wrong side, or your canvas and pull needle under a couple stitches to secure the thread in place.


all three

Knitting Washcloths

Posted on
Follow Me on PinterestPin It

My next project was knitting washcloths using different stitches. It requires all cotton yarn, because you need to be able to use and wash them regularly.
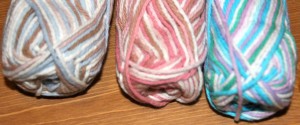
wash clothes

yarn for wash clothes

The first one, a plain knit stitch wash cloth, I have cast on multiple times. I find 100% cotton yarn to be much more difficult to work with than wool and alpaca. Maybe because it’s a stiffer material.  Also, I found the pattern in the book for the first washcloth, which is to cast on and do a knit stitch which creates a garter stitch, to be quite large for a wash cloth. So I cast on only 35 stitches. But, I found that 35 was a bit smaller than my other wash clothes but not so small that I couldn’t use it. But cotton is not my favorite. I can see why the book suggests to do just a knit stitch for the first cloth. I was having a lot of problems with it.

problem

issues

I probably cast on five different times until it looked close to normal and once I got to knitting, I found it different to keep the end of each row as tight as the other stitches. But this is the finished result. I think it looks nice.
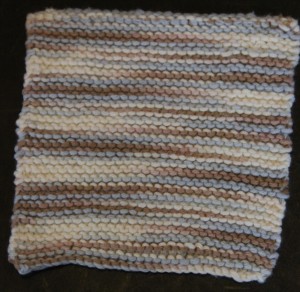
knit stitch

knit stitch

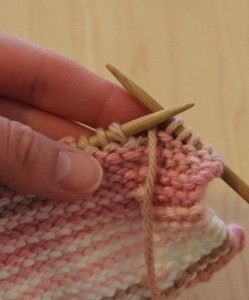
Next one is using a purl stitch. This was my first project with it. The cloth has a knit stitch border.

-knit stitch a few rows for the top border

-knit stitch a few stitches to continue border, I used 5 stitches,

-purl stitch the row until the last 5 stitches, knit stitch those

-knit

-repeat until last few rows

-knit last few rows for bottom border

-bind off
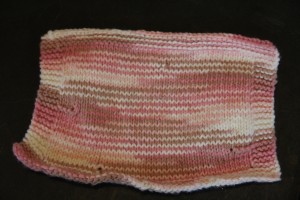
purl

purl stitch with a knit stitch border

I obviously had a couple of issues, but that’s what happens when you’re watching the newest episode of Revenge, thank God for Hulu Plus :), and not paying enough attention to your needles, so from now, after I complete a few rows I’ll always check to see if there is anything I should fix.

Next was the basket weave washcloth! Probably my favorite, pattern wise and the colors in the yarn. This is what I did:

-cast on 50

-knit 5, purl 5, continue pattern

do this for 5 rows

-purl 5, knit 5, continue pattern

do this for 5 rows

-continue to alternate until desired length is reached.

-bind off

I just did it until I ran out of yarn. I used my row counter for this just incase I forgot what stitch to start with and even wrote out, row 1-5 start with knit, 6-10 purl, 11-15 knit, 16-20 purl, and so on to keep me on track.
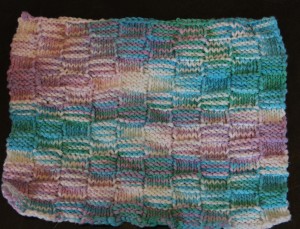
weave

basket weave

As much as I do not enjoy cotton yarn, I know I’ll use it again if I redecorate and I make wash clothes and other kitchen items.
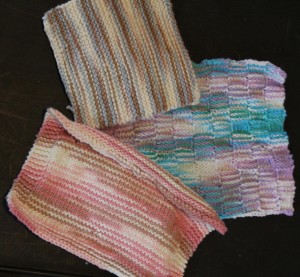
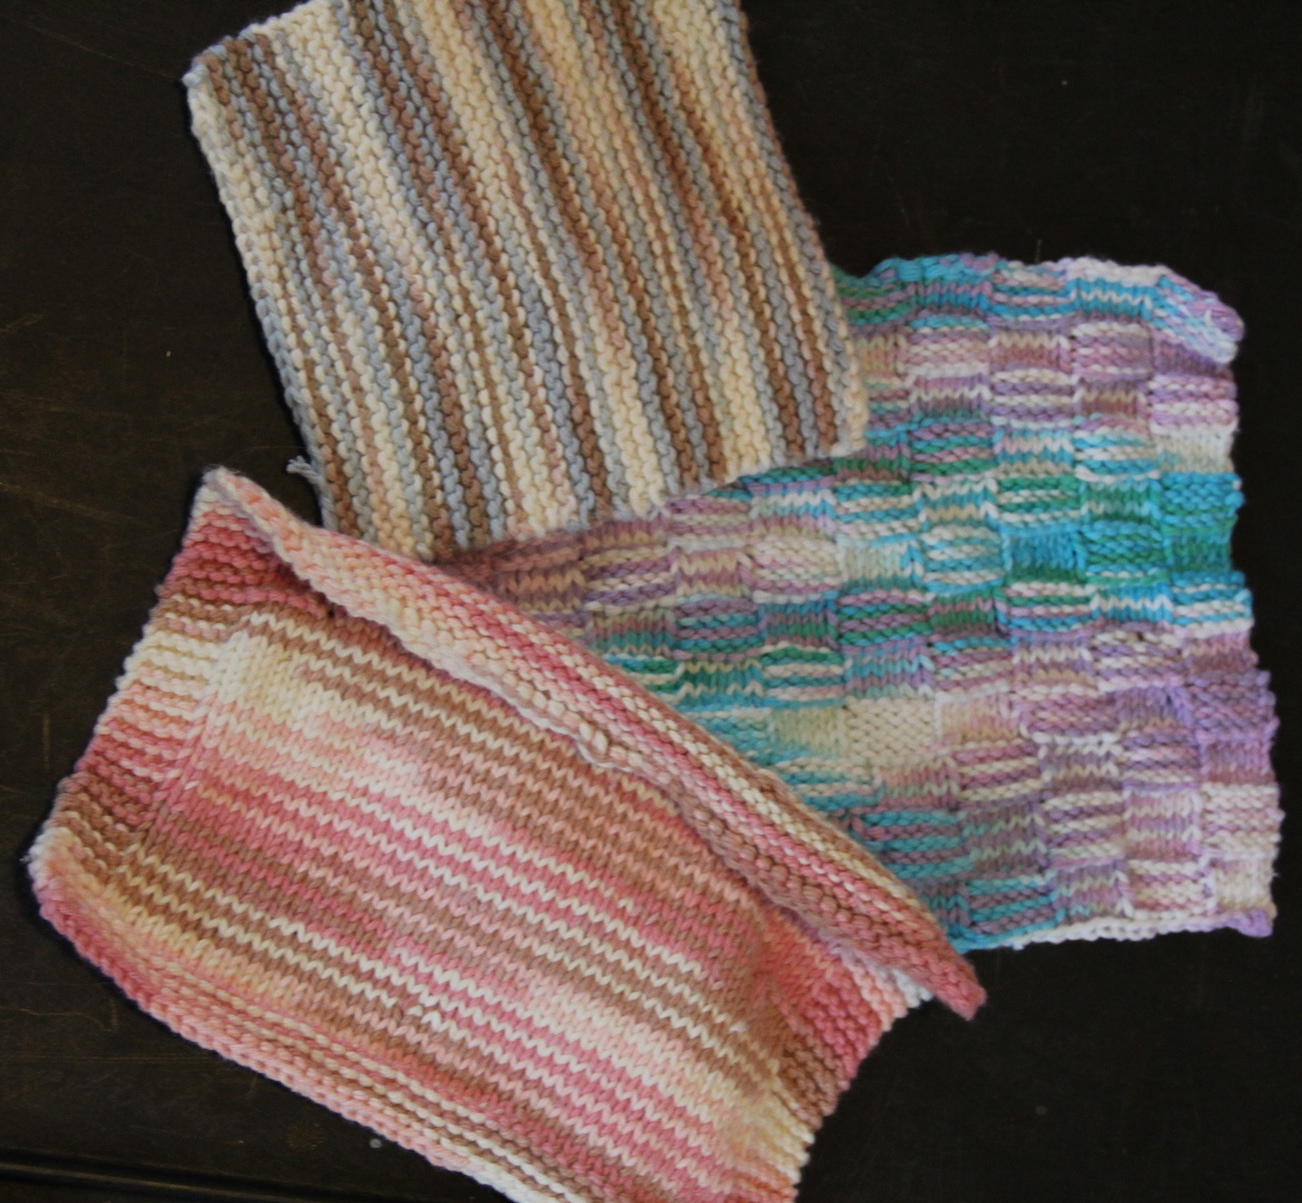
all three

completed wash clothes

So now I have three wash clothes to use in my kitchen 🙂 Maybe I’ll enjoy cleaning more knowing I created/made the wash clothes I’m using? Hopefully?


How to Knit the Purl Stitch

Posted on
Follow Me on PinterestPin It
Purl stitch day!

We know how to do the standard knit stitch, so it’s time to switch it up a bit, well literally switch it up with the purl stitch. The purl is the opposite of the knit stitch.

With the knit stitch, the yarn starts in the back, but for the purl stitch the thread starts in the front.

purl stitch

start with the thread in front

Next take the right hand needle through the first stitch on the left hand needle, going from the back of the needle to the front of the needle.

step 1

back to front

step 1

another view

Then take the yarn over the right hand needle.

step 2

wrap yarn around needle

Like with the knit stitch, pull the right hand needle out catching the yarn.

step 3

catch yarn while pulling right hand needle out

step4

catch

Then push the stitch off of the left needle and pull the yarn a bit to keep the stitch tension consistent.

push off

push stitch off

There’s the purl stitch! Now I can create more patterns with knitting.


How to Sew the Running or Basting Stitch

Posted on
Follow Me on PinterestPin It

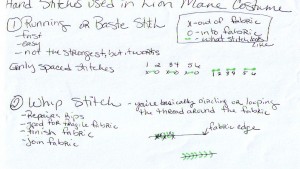
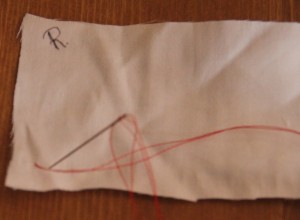
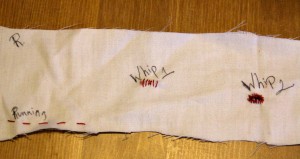
The past couple of projects I have used a couple of hand stitches. One is the running stitch and the other is the whip stitch. I tried my best to draw it but here are a couple of pictures as well.

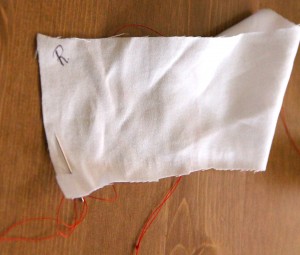
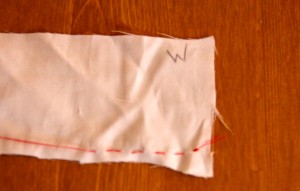
– On my fabric you’ll see a R and W written on it, this is for Right side of the fabric or the side everyone sees when the project is finished and Wrong side of fabric or the underneath part people don’t see.

– Another side note, I found out the hard way that this wasn’t the greatest fabric to do my tutorial with, it breaks and pills very easily. It’s an old pillowcase.

The first stitch is a running stitch. Also called a basting stitch because you can increase the length of this stitch and use it to mark/baste fabric and then easily remove the stitch.

tie

Tie a Knot

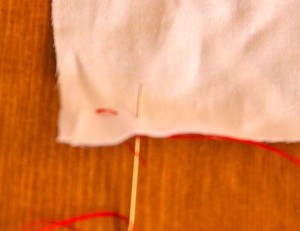
For all hand stitches, use two of string only about forearm length so you aren’t tangling or doing extra unnecessary movements. Also, tie a knot at the end of the thread, sometimes more than one knot in the same place is needed so the knot doesn’t go through the fabric.

Take needle from wrong side of the fabric through to the right side of the fabric

from right side to wrong side

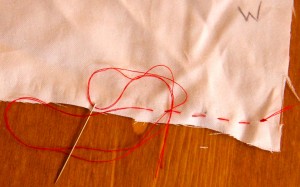
This is where I need to decide how long I want the stitch to be, because I need even straight stitches, which takes practice but even length stitches should always be the goal.

running

So you go just as far on the wrong side of the fabric as you do on the right side of the fabric.
baste

equal stitch lengths

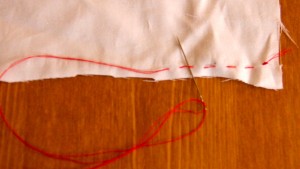
Continue with even stitches until you’ve reached the end.

running stitch

finished, front view

back view

back view

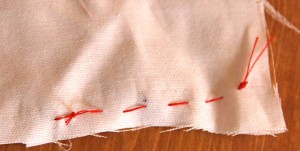
The wrong side of the fabric should look like the right view of the fabric.

tie

tie off the stitches

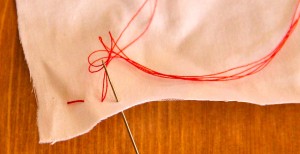
After the stitches are complete, I need to tie it off so the stitches don’t come out, unless I’m basting, I take the needle underneath the last stitch and into the loop it creates to create a knot. I then tie another knot to make sure it is secure.

tie

make a knot with the thread

fnished

finished

Tomorrow I’ll go over how to do two different variations of the whip stitch.


Finishing Knitting, Weaving in the Tails

Posted on
Follow Me on PinterestPin It
Now that the scarf is finished we have one thing left to do, weaving in the tails into the scarf.

Weaving in the tails is pretty easy. I used a size 16 Plastic Canvas needle, that I use to do the needle point for the doll workout equipment, because I didn’t have an actual finishing needle but it got the job done.

weaving in

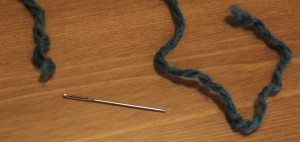
Need a needle

needle

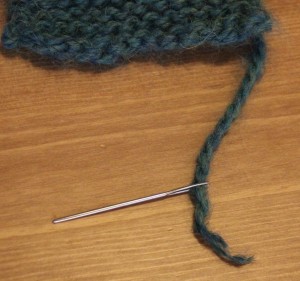
Thread the Needle

This can be a little tricky, use a threader, trim a little yarn, or use some spit to make the yarn thread the needle easily.

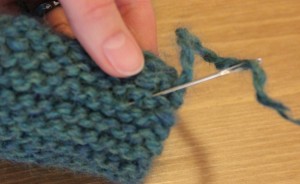
weave

Next take the needle to a row and start to move the needle through the ripples

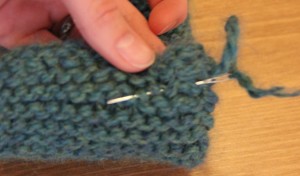
continue to weave

Continue to weave the needle through the ripples to where you have weaved a couple of inches

pull

Pull the needle all the way through the last ripple

off

Take the needle of off the yarn

cut

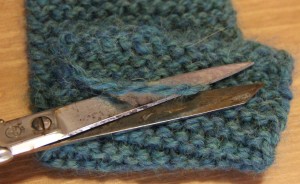
Cut the excess yarn from the scarf

yay!

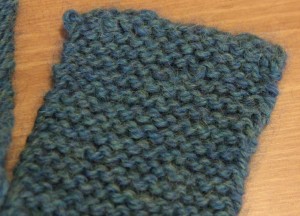
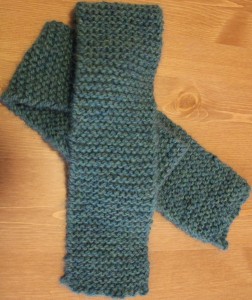
And the scarf is finished!

scarf

Beautiful finished scarf!

I almost want to keep this but that wasn’t my original intention so it’ll remain a gift and eventually I will have to make one for myself. I just hope my nieces love the scarves too!


How to Cast On for Knitting

Posted on
Follow Me on PinterestPin It
I have hand wound my yarn now time to cast on the yarn so I can knit! I’m using the baby alpaca yarn again along with cast on 14 and US 10 knitting needles. I’m right handed so these are instructions to cast on for right hand dominant people.
First thing I need to do is figure out how long the tail is going to be. I need enough to be able to cast on 14 stitches. I have found some advice on how to figure out this length but when I do it, I’m usually off by a couple inches, so I just rely on trial an error, if I find a fool proof way I’ll let you know, and if you have a way, please let me know 🙂

To start I need to make a slip knot.

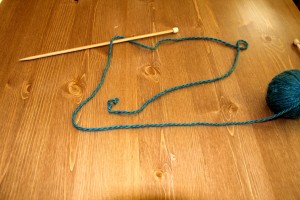
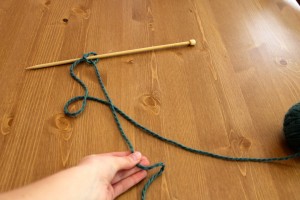
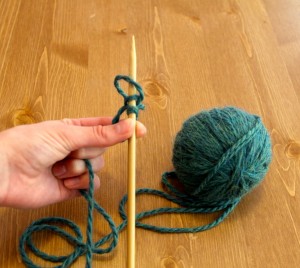
Start with a pretzel over the knitting needle:

first step to cast on

Lay Yarn over Needle

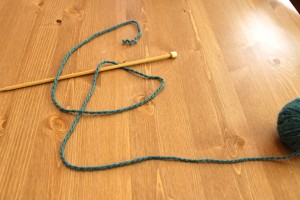
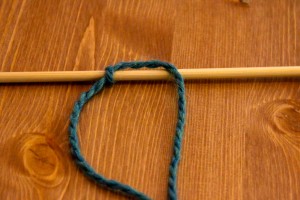
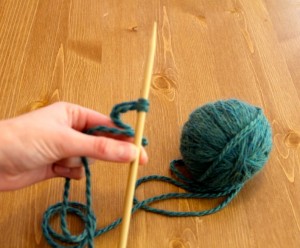
Make a Loop

Make a Loop

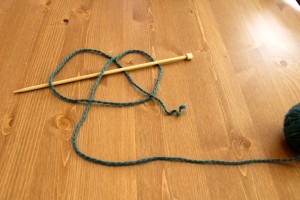
bow

Make a Pretzel or a Bow

pull end

pull end tight to make yarn tight around needle

And I have made a slip knot which is also my first of fourteen to cast on.

slip knot cast on

Slip Knot

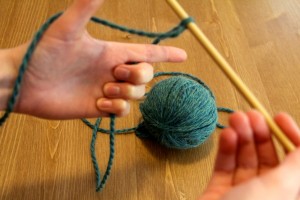
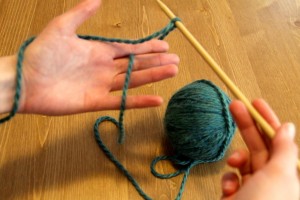
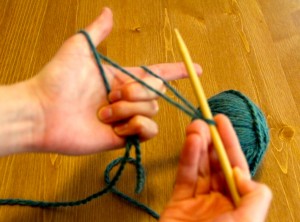
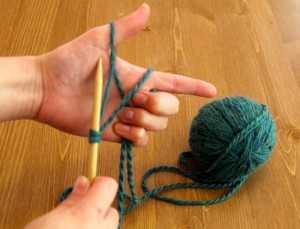
Next is to make a half of a rectangle or a gun with my hand.

get your gun

position your hand like this to cast on

Cast on

place the yarn on the ball draped over three fingers but behind the index finger

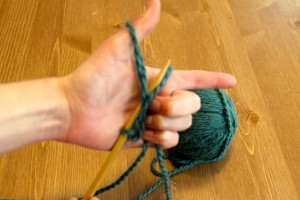
wrap yarn end around thumb

wrap yarn end around thumb and hold end with three fingers

first step to cast on

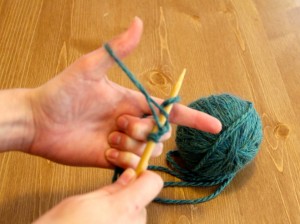
go under loop around thumb with the needle in right hand

Go under yarn on finger

go over and then under yarn on finger so it wraps around the needle

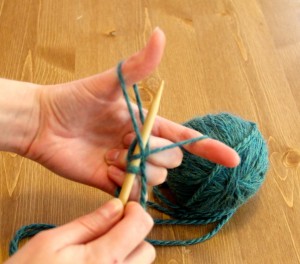
through loop on thumb

place needle through loop on thumb

remove loop from thumb

remove loop from thumb with needle still in the loop

first cast on stitch

tighten it a bit and you have your first cast on stitch after the slip knot

repeat cast on stitch

repeat cast on stitch