 Pin It
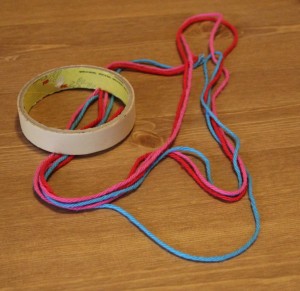
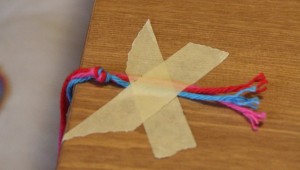
First I need supplies. Three pieces of thread or string at the desired length and then I usually add about four to sixes inches to my desired length because of the knot I need to tie at the ends of the braid.
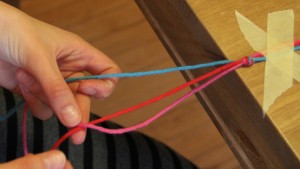
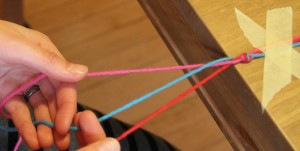
Now something I always think about when I’m braiding, is think of as the three strands are fighting to stay in the middle. The outside always wants to be in the middle.
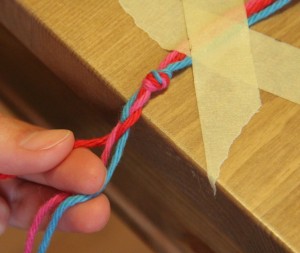
So in the picture above the pink thread, outside right, is crossing over the center, red, thread.
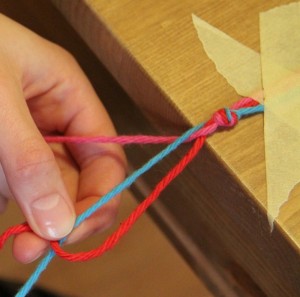
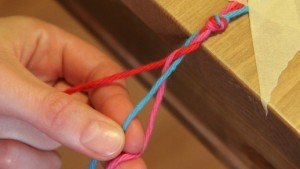
Now the pink is in the middle and I need to bring the blue, outside left, over the pink and into the middle.
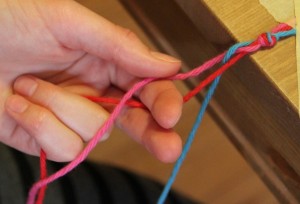
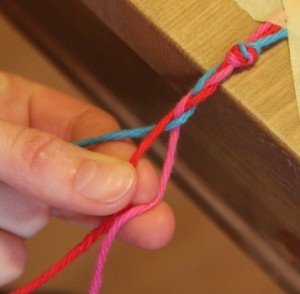
Again, bring the outside right, now the red, over the blue to the middle.
Now the blue is the outside right, the red is in the middle and the pink is outside left. Bring the pink over the red making the red now the outside left and the pink the middle thread.
If you’re yarn long thread, be careful and separate the threads after each passing because the ends can get tangled. Also try to keep the same tension as you braid so there’s an even pattern.
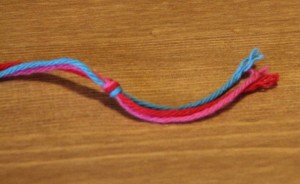
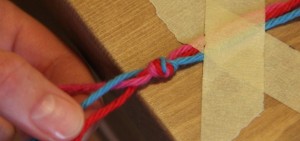
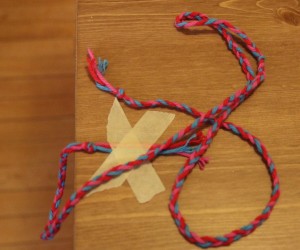
Continue all the way down until there is only about an inch or so left of thread, or until you can’t braid anymore. Then, I like to tie a knot to keep the braid from separating.
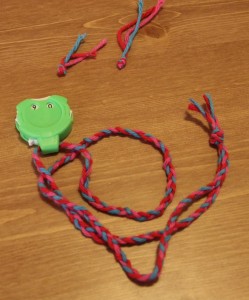
This is going to be the string for my stitch counter, so I carefully cut the knot off each end, as close to the knot as I possibly can, and carefully thread the stitch counter and then knot both ends together.
I’m now ready to use my new stitch counter necklace!
