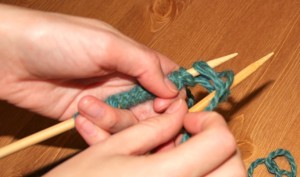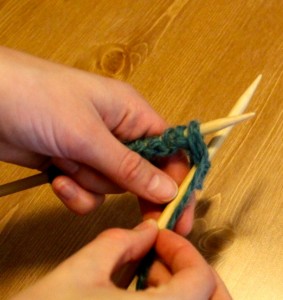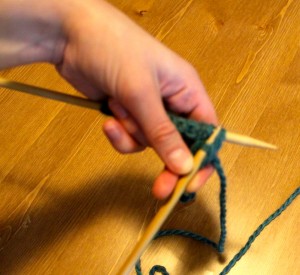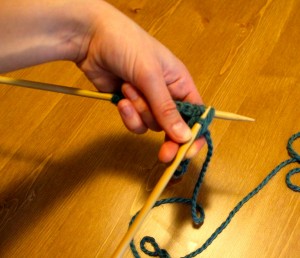
felted bag

Felted Knit Bag Revisited

Posted on
Follow Me on PinterestPin It

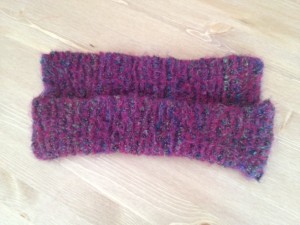
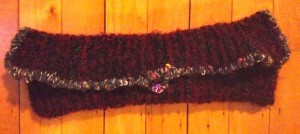
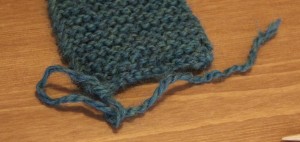
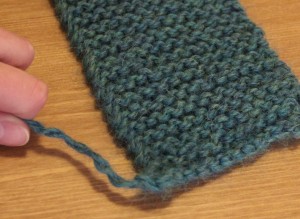
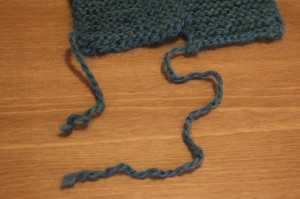
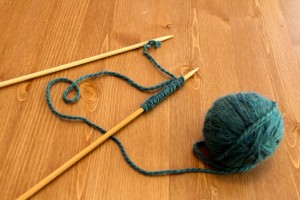
My last attempt at felting a bag did not go very well. So, I threw the almost felted knit bag into a different washer that had more options and it worked a bit better. I actually think if I put it on another cycle it would have been completely felted, but I had no more quarters with me and I really didn’t want to spend anymore time in my building’s basement. But I do like the way it turned out, the knitting does get to be more like a fabric, it feels a lot stronger and I like that it looks fuzzy.  Here is what it looks like…

bag

2nd time felted

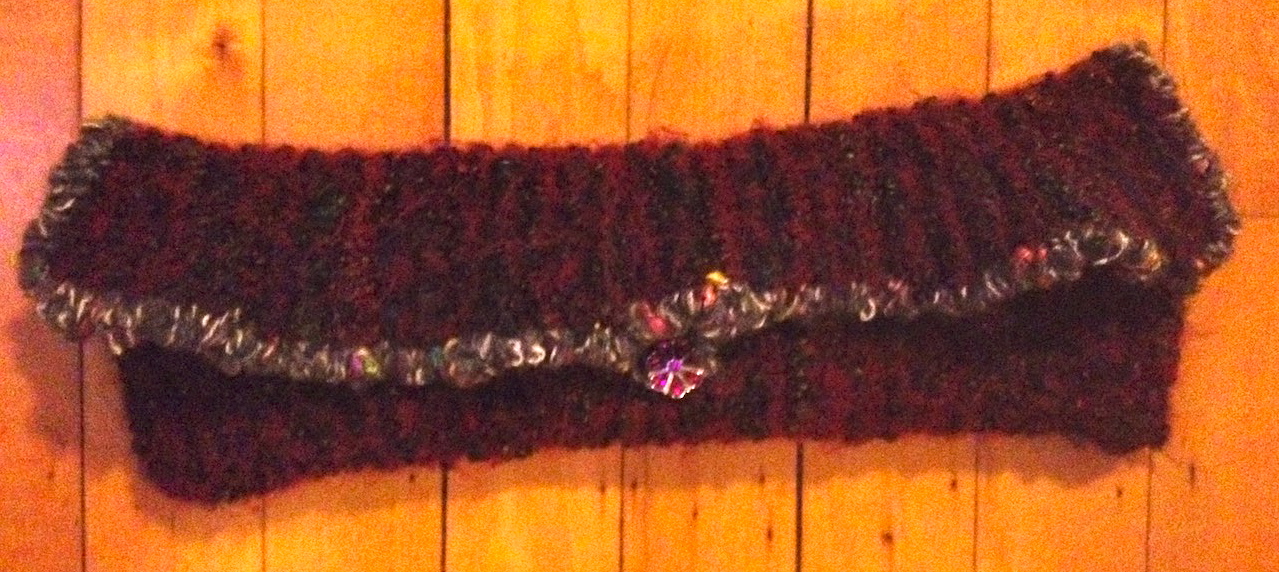
Then I finished the bag by whip stitching around the flap with the gray novelty yarn and attached a button.

felted knit bag

finished

I’m pretty happy with the results. I’ll have to use it next time I go out!


Wash Instructions on Yarn for Knitting

Posted on
Follow Me on PinterestPin It

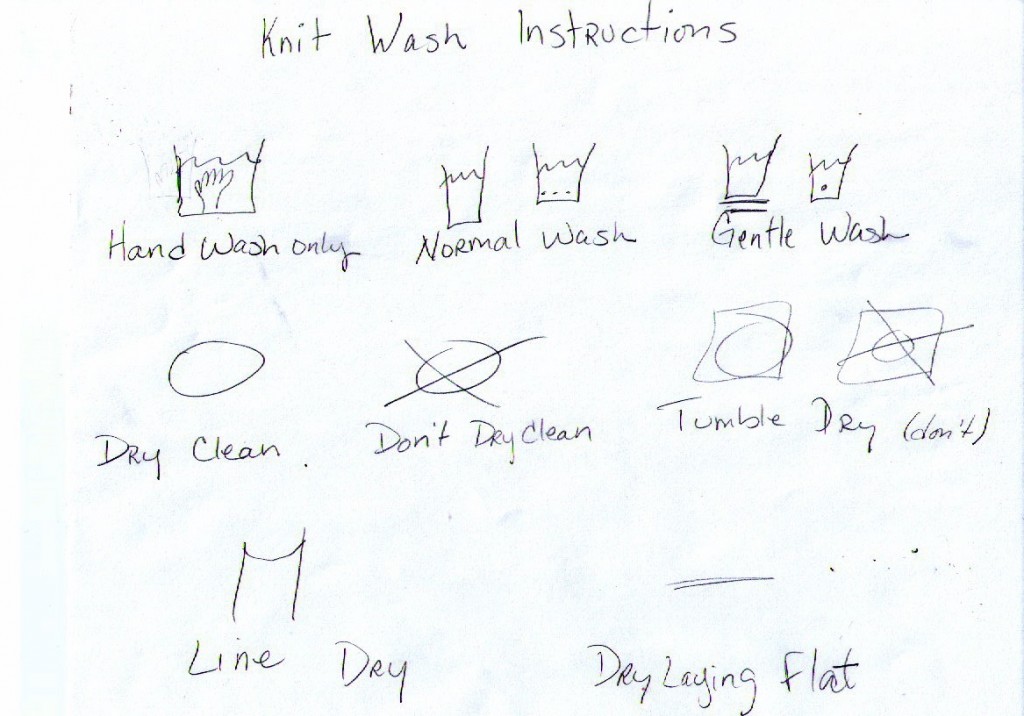
All of those wash instructions symbols on the yarn tag can be confusing, before I got a knitting book, I started a page where I drew the symbol and wrote what it meant underneath it. I think I have most of them now, so I’ll share it.

knitting wash wash instructions

Wash Symbols

If there’s an X through it, don’t do it! Now that I’ve knitting a few things and felt like I’ve looked at thousands of labels trying to pick out yarn, the pictures are a bit self-explanatory but when just a month ago, I was confused to what they meant and now I have a page to look back on and check just in case I forget.


How to Knit the Purl Stitch

Posted on
Follow Me on PinterestPin It

Purl stitch day!

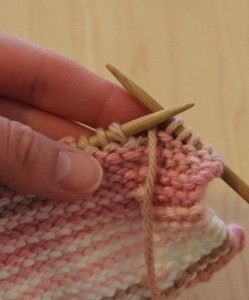
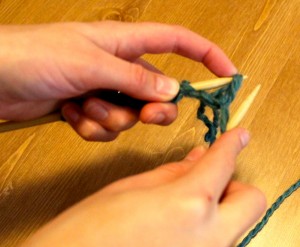
We know how to do the standard knit stitch, so it’s time to switch it up a bit, well literally switch it up with the purl stitch. The purl is the opposite of the knit stitch.

With the knit stitch, the yarn starts in the back, but for the purl stitch the thread starts in the front.

purl stitch

start with the thread in front

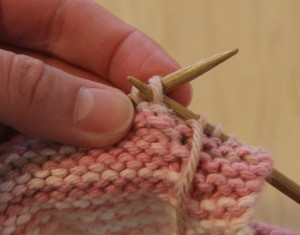
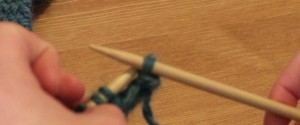
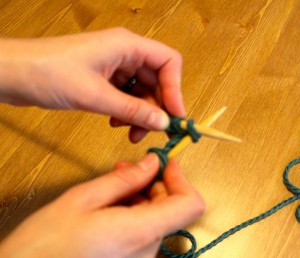
Next take the right hand needle through the first stitch on the left hand needle, going from the back of the needle to the front of the needle.

step 1

back to front

step 1

another view

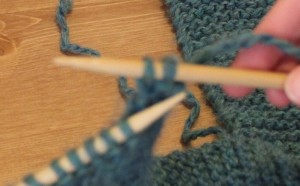
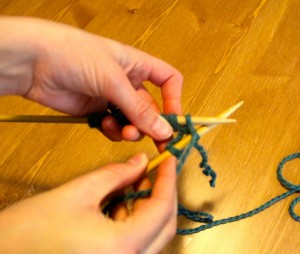
Then take the yarn over the right hand needle.

step 2

wrap yarn around needle

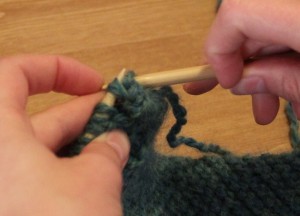
Like with the knit stitch, pull the right hand needle out catching the yarn.

step 3

catch yarn while pulling right hand needle out

step4

catch

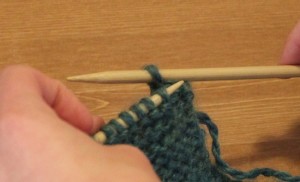
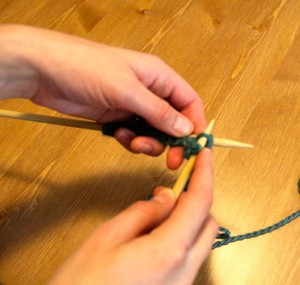
Then push the stitch off of the left needle and pull the yarn a bit to keep the stitch tension consistent.

push off

push stitch off

There’s the purl stitch! Now I can create more patterns with knitting.


How to Sew the Whip Stitch

Posted on
Follow Me on PinterestPin It

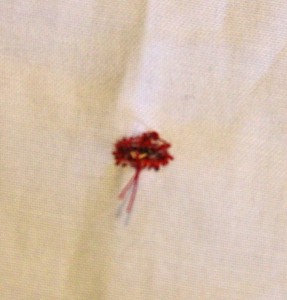
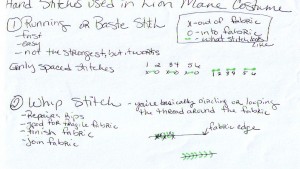
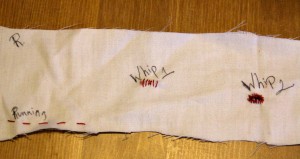
Here is my awesome drawing again! 🙂 Alright yesterday was the running stitch, and today I’ll be going over the whip stitch. It is a very versatile stitch and it is just a loop stitch. I have used it to repair holes in fabric that are not on the seam, to edge a button hole to give it strength, to combine different fabrics for sewing and knitting, and I’ve used to to combine my plastic canvas pieces for the doll workout equipment.

Reminders:

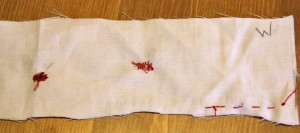
– On my fabric you’ll see a R and W written on it, this is for Right side of the fabric or the side everyone sees when the project is finished and Wrong side of fabric or the underneath part people don’t see.

– Another side note, I found out the hard way that this wasn’t the greatest fabric to do my tutorial with, it breaks and pills very easily. It’s an old pillowcase.

– For all hand stitches, use two of string only about forearm length so you aren’t tangling or doing extra unnecessary movements. Also, tie a knot at the end of the thread, sometimes more than one knot in the same place is needed so the knot doesn’t go through the fabric.

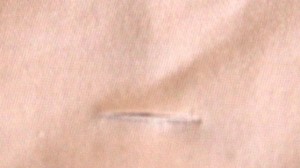
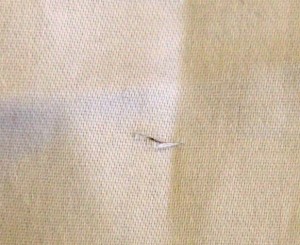
I’ll show two different types of whip stitches today, first one will be to close a rip in fabric that is not near a seam. It’s a little messy, so try to find thread that best matches the fabric.
whip stitch

repairing a rip

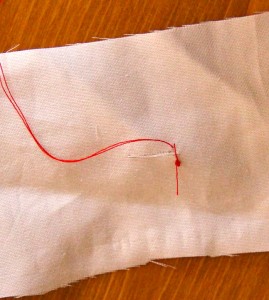
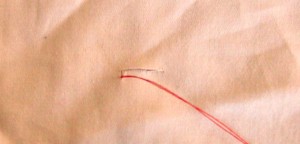
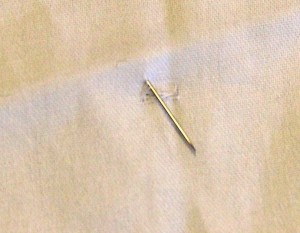
Start on the wrong side of the fabric just below the beginning of the rip.
whip stitch

start on wrong side of fabric

Go over the rip to the top of it.
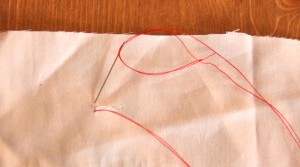
whip stitch

go over rip

circle

looping it around, wrong side of the fabric

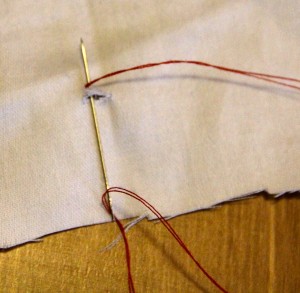
I’m creating a circle with the thread and come through the right side of the fabric below the rip again.
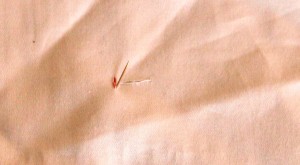
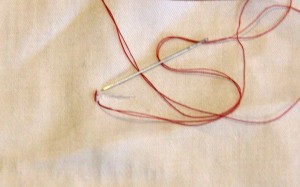
whip stitch

whip stitch

Go to the top over the rip

whip

Closing the rip

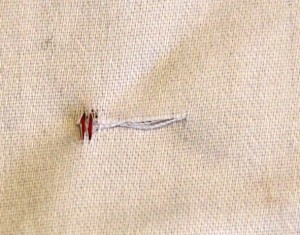
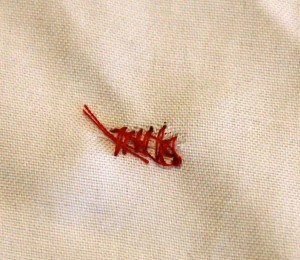
The whip stitch is used to close the rip and to prevent it from getting bigger.
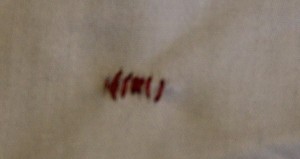
whip

front view

whip

back view

This is a little bit of a messy stitch job, but my point is made. You want to get your stitches as close to each other as possible to create a lot of strength and try to keep the stitches even. When the stitching is complete tie a double knot in the thread like I did for the running stitch.

Whip Stitch number two: button hole
whip button

hole for whip stitch number two

After I tie the knot I go through the wrong side so the needle comes out on the right side.
EDGE

Loop around the edge

whip

Creating a loop or circle around the hole

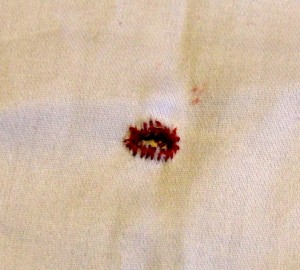
For this whip stitch, I only bring the needle from the wrong side to the right side because I am edging or finishing around the hole. So I am just making a circle with my thread enclosing the edges with thread.
whip

front view

stitch

back

Once you have gone all around the hole, tie a knot.
button

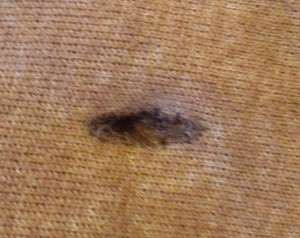
same whip stitch from Rusty’s Lion Mane Costume
 

all stitches

All Stitches Front View

All Stiches Back View

It’s a great idea to practice these stitches before using them on a project. Also, it might be helpful to have a swatch of fabric like the one above with the labeled stitches. It is a good reminder of how to do the stitches. I like to have one anyways.


Felted Knit Envelope Bag

Posted on
Follow Me on PinterestPin It
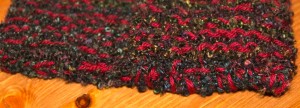
My first project in the book I’m going to tackle is the felted knit envelope bag which actually the second project in the book because the first project is a scarf with a knit stitch and since I have completed two already I decided it was ok for me to skip that one. 🙂 Here are my yarn choices. They are in skeins, so I don’t need to hand wind them.

skeins

time to knit a bag

I was a little worried at first about combining two different yarns but it hasn’t been too big of a deal. It is a little difficult to see where the stitches are so I have employed the use of some awesome knitting tools. First one is a stitch/row counter. It helped me keep track of the number of stitches in each row. I think I will braid some yarn in order to make a necklace out of it. It even has a lock on it so I can stop wherever. Second is the use the purple knit stoppers. It’s great to place them on the needle points when I am finished knitting and I do not have to worry about the stitches falling off the needle.

I have skipped stitches a couple of times and with the fuzzy novelty yarn it was hard to tell at first, but you just carefully pull the yarn to where the skipped stitch is and place the stitches back on the needle, carefully, and start knitting again.

The bag is basically a giant rectangle and could be made into any size. It just depends on your intended use.  You fold and then whip stitch the edges to create the pocket which turns it into a bag. I’m using both threads to do the whipstitching. I’ll do a separate tutorial on the whip stitch because it is used in knitting, needlepoint and a hand stitch for finishing in sewing and at the beginning I had a bit of trouble making sure I was going through both layers to connect them. That’s probably because I was too busy watching television as I was finishing. :/

rectangle

knitted rectangle

fold

whip stitch close up

This is also a felted bag which really concerns me. Something about doing all of this work just to place it in the wash to shrink rubbed me the wrong way. How much will it shrink anyways? It’s currently about 15inches by 10inches. But here is how it turned out. :/

How to Felt:

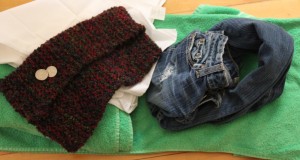
First I needed to get all of my materials, the bag, a zippered pillowcase, towels, jeans, and quarters for the washing machine.

felting supplies

put knitted bag in zippered pillowcase

put pillowcase and jeans in the washer

feed the machine

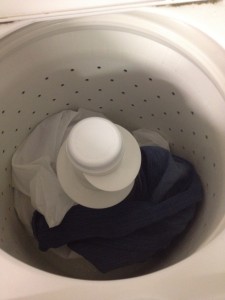
Place on small load, hot wash, and check after awhile, 10 minutes, to make sure it is felting and take it out when it has reached the size I want and also not let the cycle go into spin or rinse.  Now maybe the washer I chose in my building is old or maybe because it is a commercial machine or I picked the wrong wool yarn but I don’t think it looks like it’s suppose to..

finished?

So it was suppose to turn out to be a thick fabric where you can no longer see the stitches and shrink a little bit and it didn’t. So, maybe I’ll try the felting process again?

So felting fail, but no worries that’s why it’s good to practice.


Finishing Knitting, Weaving in the Tails

Posted on
Follow Me on PinterestPin It
Now that the scarf is finished we have one thing left to do, weaving in the tails into the scarf.

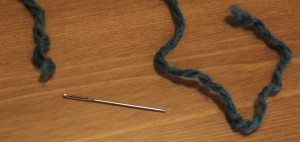
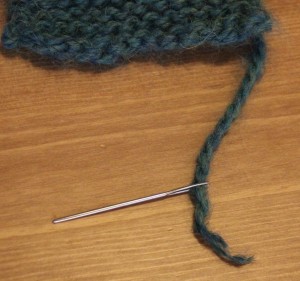
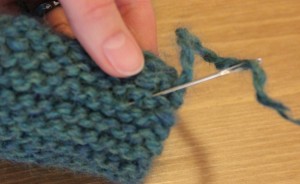
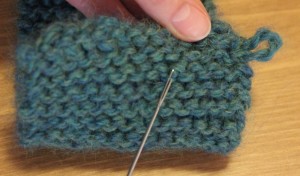
Weaving in the tails is pretty easy. I used a size 16 Plastic Canvas needle, that I use to do the needle point for the doll workout equipment, because I didn’t have an actual finishing needle but it got the job done.

weaving in

Need a needle

needle

Thread the Needle

This can be a little tricky, use a threader, trim a little yarn, or use some spit to make the yarn thread the needle easily.

weave

Next take the needle to a row and start to move the needle through the ripples

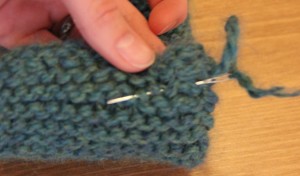
continue to weave

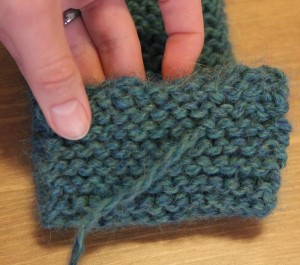
Continue to weave the needle through the ripples to where you have weaved a couple of inches

pull

Pull the needle all the way through the last ripple

off

Take the needle of off the yarn

cut

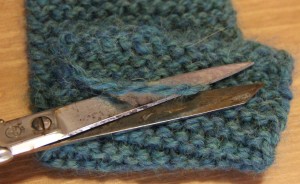
Cut the excess yarn from the scarf

yay!

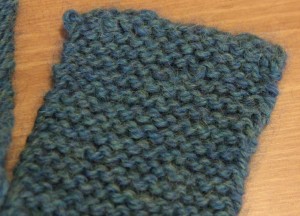
And the scarf is finished!

scarf

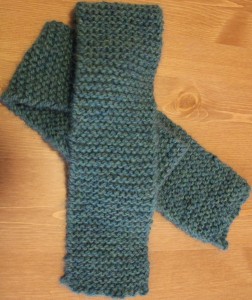
Beautiful finished scarf!

I almost want to keep this but that wasn’t my original intention so it’ll remain a gift and eventually I will have to make one for myself. I just hope my nieces love the scarves too!


Finishing Knitting, How to Bind Off

Posted on
Follow Me on PinterestPin It
I’m at the point in my scarf that it is time to finish it! So I need to bind off of my needles.

To start, I need to knit two stitches, but do not do it too tightly.

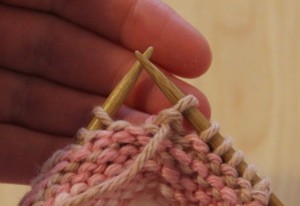
Take the left hand needle under the first stitch on the right hand (the stitch farthest away from the point of the needle) and hook it back on the left hand needle and pull the first stitch over the second stitch and then drop, the one that is being pulled over, the stitch leaving only one stitch on the right hand needle.

Next knit stitch another stitch to make two stitches on the right hand needle again, and again take the left needle under the first stitch and pull it over the second stitch, then drop the stitch that you pulled over. Continue this until there is only one stitch left on the needle. Carefully pull the needle out of the loop, and place the yarn tail through the loop and pull tight. All there is left to do before completing the scarf is weaving in the tails of the scarf.

Bind Off Knitting

First complete two knit stitches

put left needle under first stitch

Take left needle under first stitch on the right

Pull first stitch over second stitch

Pull First Stitch Over the Second Stitch

drop the stitch

Drop the pulled over stitch off of the needle

repeat

Knit another stitch so there are two stitches back on the needle and repeat

Under the first

Under the first stitch

over

Pull over the stitch still on the needle and drop it

you've completed the last knit stitch

Continue knit stitching and dropping until there is only one stitch/loop left on the needle

carefully

Carefully pull out the needle from the loop

Loop

The Loop

loop

Another view of the loop, be careful not to tighten the loop

If you aren’t at the end of your yarn ball simply cut the yarn so a tail a few inches long remains.

Tail in loop

Take the tail of the scarf and place it through the loop

pull

And pull it tight

yarn ends

Now all there is left to do is to weave in the ends of the scarf


Side note to this, if you created a pattern with your knitting project like knit 2 purl 2 then you bind off in that same pattern.

I’m almost done! I’m so excited to finish this scarf for my niece! Both nieces are going to look super cute all bundled up in their scarves this winter!


How to Do the Knit Stitch

Posted on
Follow Me on PinterestPin It
The yarn is wound and cast on the needle. Now I can knit. I’m going to do just a knit stitch for this scarf. This is how I do it.

starting your knit stitch

Starting the knit stitch

hold the needles like this

hold the needles like this

step in knit stitch

place right hand needle under first loop on the left hand needle and bring the right needle behind the left

second step
Another view of placing right needle through loop and underneath left needle


take yarn and wrap

take yarn, that’s connected to the ball not the tail, and wrap around the right hand needle

another view of the wrap
another view of wrapping the yarn around right hand needle


pull the wrap down a little bit

pull the wrap down a little bit

pull the needle and catch the wrapped yarn

pull the right hand needle down and catch the wrapped yarn around the tip of the needle

catch the yarn

another view of catching the yarn

the loop

the loop from the wrap will be put on the right hand needle and push off the loop on the left

repeat knit stitch

repeat knit stitch

underneath and through

underneath and through

wrap and catch

wrap and catch

push off needle

push off needle

Now I can knit knit knit until it’s time to bind off and weave the tails into the scarf! I’m so excited to complete this scarf!


How to Cast On for Knitting

Posted on
Follow Me on PinterestPin It
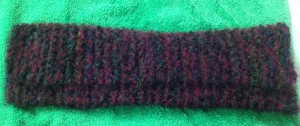
I have hand wound my yarn now time to cast on the yarn so I can knit! I’m using the baby alpaca yarn again along with cast on 14 and US 10 knitting needles. I’m right handed so these are instructions to cast on for right hand dominant people.
First thing I need to do is figure out how long the tail is going to be. I need enough to be able to cast on 14 stitches. I have found some advice on how to figure out this length but when I do it, I’m usually off by a couple inches, so I just rely on trial an error, if I find a fool proof way I’ll let you know, and if you have a way, please let me know 🙂

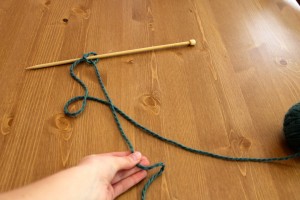
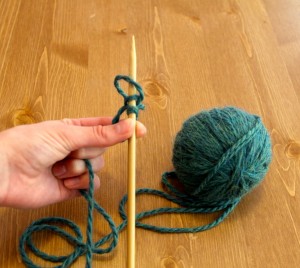
To start I need to make a slip knot.

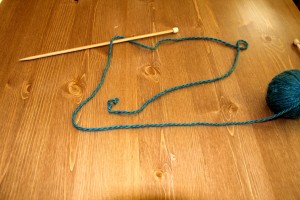
Start with a pretzel over the knitting needle:

first step to cast on

Lay Yarn over Needle

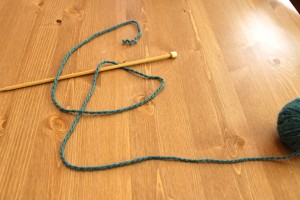
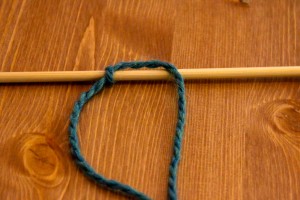
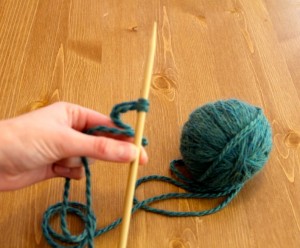
Make a Loop

Make a Loop

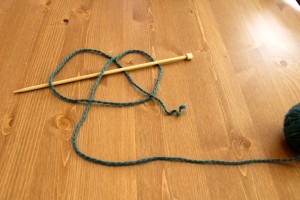
bow

Make a Pretzel or a Bow

pull end

pull end tight to make yarn tight around needle

And I have made a slip knot which is also my first of fourteen to cast on.

slip knot cast on

Slip Knot

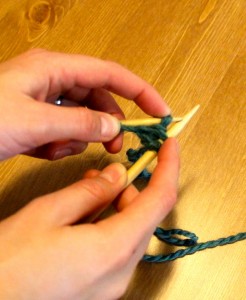
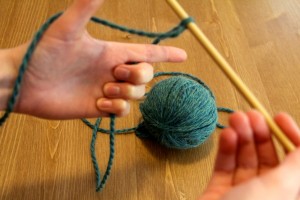
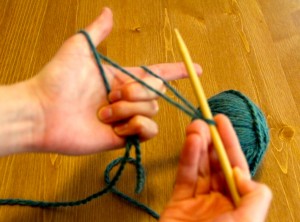
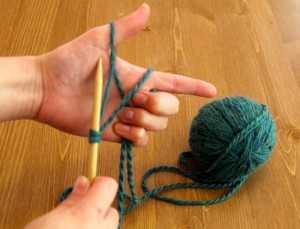
Next is to make a half of a rectangle or a gun with my hand.

get your gun

position your hand like this to cast on

Cast on

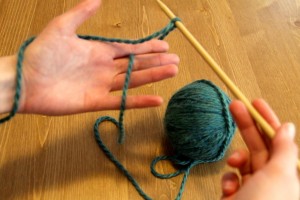
place the yarn on the ball draped over three fingers but behind the index finger

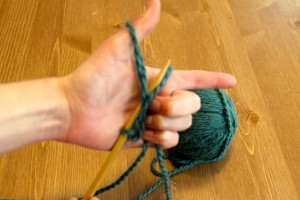
wrap yarn end around thumb

wrap yarn end around thumb and hold end with three fingers

first step to cast on

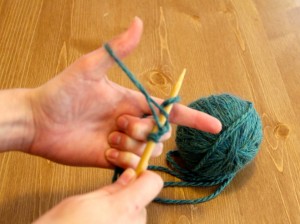
go under loop around thumb with the needle in right hand

Go under yarn on finger

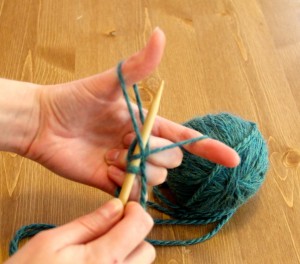
go over and then under yarn on finger so it wraps around the needle

through loop on thumb

place needle through loop on thumb

remove loop from thumb

remove loop from thumb with needle still in the loop

first cast on stitch

tighten it a bit and you have your first cast on stitch after the slip knot

repeat cast on stitch

repeat cast on stitch


How I Hand Wind Yarn for Knitting

Posted on
Follow Me on PinterestPin It
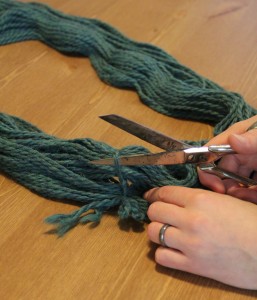
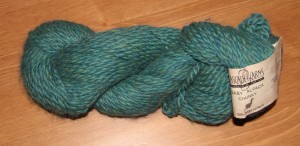
I’m making a second scarf! This one it for another niece! I hope they like them. But the yarn I bought came in the form of a hank so I need to hand wind it into a ball.

Here’s how I did it.

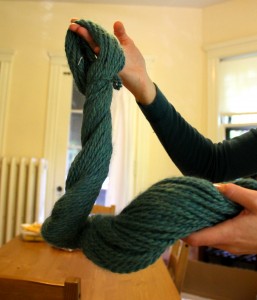
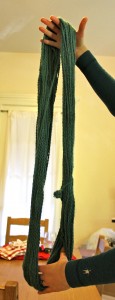
First I needed to take it out of the hank. It’s a circle so I put my hand in the twisted loop to hold it and then pushed out the end at the other end so it becomes untwisted into a big circle. My shirt almost matches the yarn! I love this color 🙂

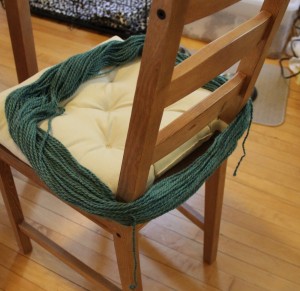
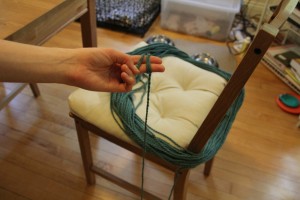
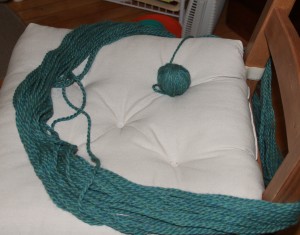
Next place the yarn on a chair or stool or anything that will keep it’s shape without becoming tangled. It makes it so much easier to wind. There will be a little knot wrapped around the yarn, you can try to unknot it but I just cut it and then I had two definitive ends.
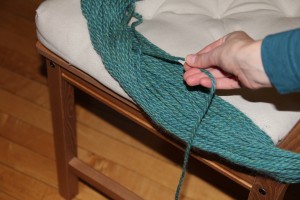
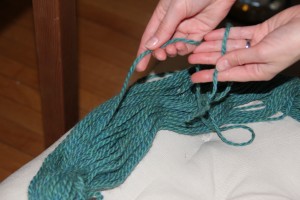
Next it’s time to determine which of the ends is actually the beginning of the yarn and which one is the end. The beginning one will be the thread that is sitting on top of the rest of the thread when you pull it.

And the end piece is the end that you pull and it appears that the thread is coming from the bottom.

It’s a little difficult to tell from the pictures where the thread is coming from but it is important to figure this out because life will be more difficult if you start to winding from the end but it could be done.

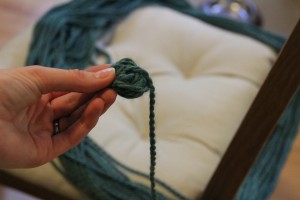
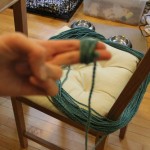
Take the top end and wrap it around your index and middle fingers of your non-dominant hand a number of times in order to get a little oval when you push it off of your fingers.

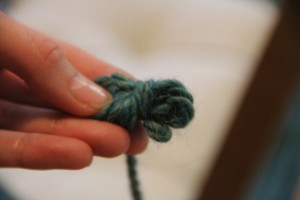
Now that you have your little mess of an oval/ball like the one above, take the yarn and wrap it width so it makes a little bow.

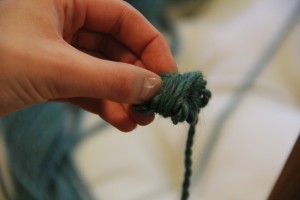
 Keep going  until it’s more of a ball.

Then you keep wrapping the thread. I like to wrap about three or four times in a the same spot and then move a little clockwise on the ball and repeat.

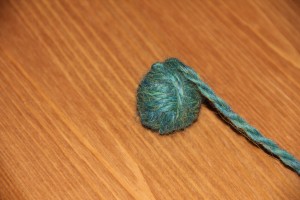
 Tiny yarn ball.

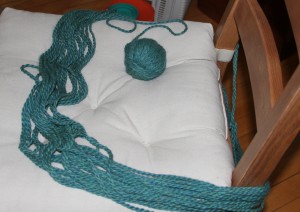
About half way there, and as you have noticed, I like to keep the chair cushion on because the ball fits so nicely in the dimples. So, if you get interrupted in the middle of your winding you can put it down without worrying too much about your yarn ball rolling away.

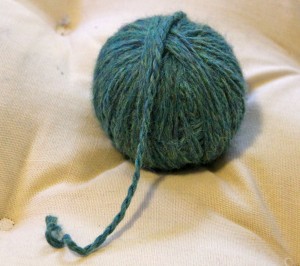
My completed yarn ball! I can now get my needles, cast on and knit the scarf! Maybe in the future I’ll get myself a swift and yarn winder so I don’t have to do it by hand but for now I’ll stick to hand winding my yarn.

Also I do this with the tag…

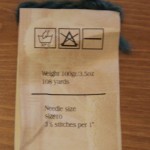
 Ok so it’s a horrible picture but it’s the tag from the hank and on top of it I tied a little piece of the yarn. This way I have the color and lot numbers, suggested needle size, wash directions and a piece of the actual yarn all in one place in case I need another hank or I might decide I want to get that yarn again for a different project.