knit scarf

How to Knit a Neck Warmer or Scarf for a dog

Posted on
Follow Me on PinterestPin It

knit scarf

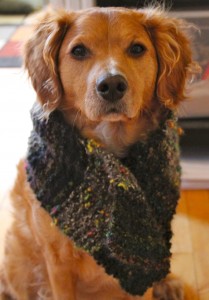
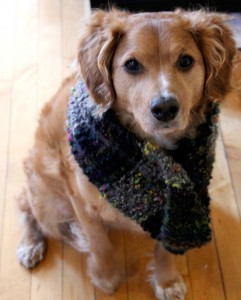
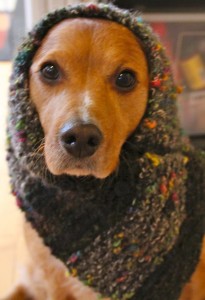
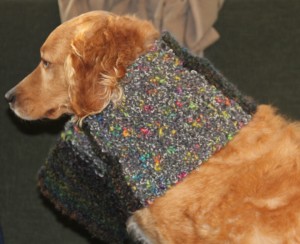
I have this extra yarn from the felted envelope I made last year and I just couldn’t decide what to do with it. So, I decided to make a knit scarf for Rusty. Or it can be called and neck warmer or ear warmer, it serves all of those purposes. This is a very wide scarf for a dog because Rusty has a giraffe neck. Adjust the amount of stitches in order to fit your dog. The yarns are Lion Brand Yarn Color Waves #353 Lava and Watercolors #352 Mist Grey.

  1. I used US size 11 needles and cast on 20 stitches.
  2. Knit stitch 15 rows with the first color
  3. Add new color,(LINK), knit 15 rows
  4. Repeat until desired length. I ended up doing it 3 times and then just completing each color. It’s a different look and I wanted it to begin and end with the same yarn.
  5. Bind off.
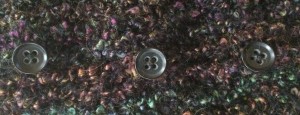
  6. Then I sewed on 3 buttons because I knew Rusty would try to shake it off. Since I used such large needles there is no need for button holes. They slip through the knitting. The key was finding the right size of buttons.

knit scarfknit scarf

The complete scarf is 28 inches long and 7 inches wide.


front knit scarfknit scarf


shirt collar

How to Make a Shirt Collar for a Dog

Posted on
Follow Me on PinterestPin It

dog shirt collar

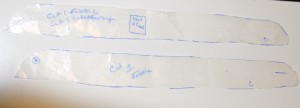
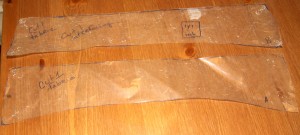
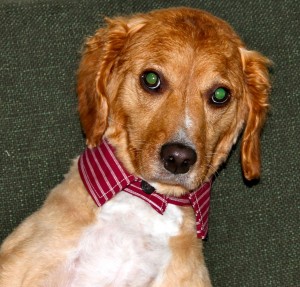
I decided Rusty needed another piece for his work wardrobe. So I decided to make his a shirt collar. I have a pattern for it. But the easiest way, I think, for someone to make it at home is to use an old collared shirt you don’t want anymore and take apart that collar for the pattern. Or if you use my pattern, please note the sizing of 14.5inch neck and adjust the printing size accordingly. Also there is a lot of ironing for this pattern. Yes, it is annoying but taking the time to properly press each piece will end in much cleaner results and make sewing much easier.

bottompatterntoppattern

Things you need:

  • fabric, preferably cotton
  • interfacing
  • matching thread
  • if you’re like me, a sewing machine that can make a button-hole because I don’t know how to do it by hand.
  • button

1. Place, pin and cut out fabric and interfacing pattern pieces.

applyinterfacing

2. Apply interfacing B to Fabric A leaving about ¼ inch of fabric at the top of A.

3. Apply interfacing D to fabric C leaving about ¼ inch of fabric at the bottom of C.

shirt collar

4. On pieces, A and B fold over and press raw edges on 3 sides, leaving the bottom as is.

5. Pin together A and B, right sides out, and sew with a ¼ inch top stitch and the 3 sides you’ve pressed the edges.

6. On pieces C and D fold over about ¼ inch and press all four sides.

7. Center AB in between C and D and pin all the layers together, right sides out.

8. Stitch around all four sides of C and D, encasing AB in between the layers making one piece.

9. Position and mark where the button-hole should be, and use your machines button-hole foot to create the button-hole. If you don’t have a machine that can do that click here to learn how to do it by hand.

10. Sew on the button.

shirt collarshirt collar

11. Put it on your pooch and enjoy!

shirt collarshirt collar


Hopefully your dog will enjoy it more than Rusty because he looks scared in these pictures 🙁


dog tank top

How to Make a Tank Top for a Dog

Posted on
Follow Me on PinterestPin It

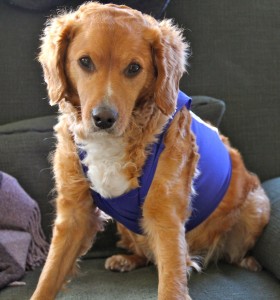
dog tank topMy husband was getting rid of an old pair of athletic shorts and I saw them and thought that would be a cute dog tank top. Let’s face it, I have a difficult time coming up with things that aren’t costumes for Rusty. But this tank top is the perfect summer athletic shirt for him. Even if he didn’t seem too impressed with it, I like it.

dog tank top

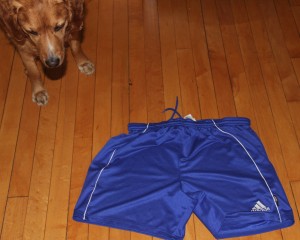
Rusty checking out the shorts.

First thing I did was cut off the top of the shorts right below where the tired elastic and draw string are. Next thing I did was seam rip the two legs apart.

dog tank top

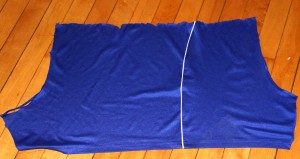
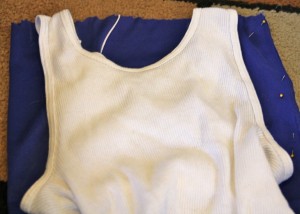
Next, I folded the fabric in half and pinned it closed. Then I took a tank top I had with large arm holes and measured Rusty and it to make sure it would work as a pattern for him and traced the lines for the arm holes and neck.

dog tank topThen I cut out the pattern and placed the fabric inside out. I pinned and sewed the shoulder seams together. I used a jersey needle in my sewing machine because I found the universal needle was too rough on the nylon fabric. I then tried it on Manne to check fit and how I wanted to velcro it shut.

dog tank top

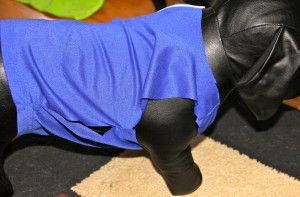
Manne the model

It might not be very noticeable in the picture, but I made this tank top to where one of Rusty’s leg has to go through a hole and then his head goes through the neck hole and it velcro to make the other leg hole and close the shirt. I did it this way so couldn’t shake it off.

Next I folded over and pressed all unfinished edges, and then folded them over again to encase the raw edges and sewed the seam.

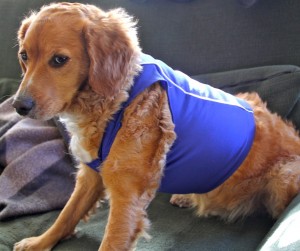
To finish I took some fusible velcro, cut to the right size, and ironed them on to correct spots. I used a pressing cloth for this because the iron needed to be set to a steam setting. All that there was left for me to do was to have Rusty model it.


dog tank top

Model shot

dog tank top

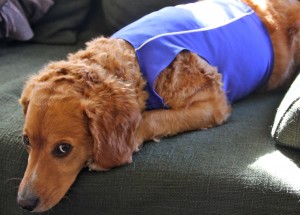
He’s about had it.

dog tank top

He’s over it.


10 Favorite St. Patrick’s Day Outfits for Dogs

Posted on
Follow Me on PinterestPin It

I have created a list of my ten favorite St. Patrick’s Day outfits for Dogs.


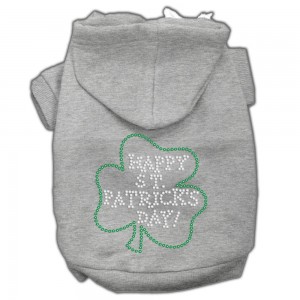
st patricks day dog outfitThis adorable hoodie, can be found on Amazon, will keep your pup nice and warm and still festive for the holiday. It also comes in a variety of colors making it the perfect option for a male or a female.


st patricks day dog outfitThis tutu dress from Posh Puppy Boutique will make your dog the center of all of the St Patrick’s Day festivities.


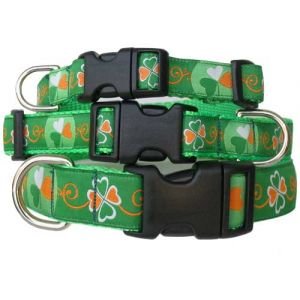
st patricks day dogIf clothes aren’t your dog’s style, try this collar from Artful Canine sold by Amazon.


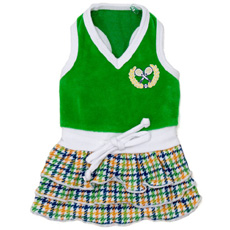
dressHere’s something for your pup if you want an outfit she can wear more than once a year but is still green. It’s by DoggyVogue.com and they also have a tank for your male pup.


st patricks day dog

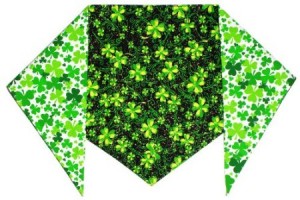
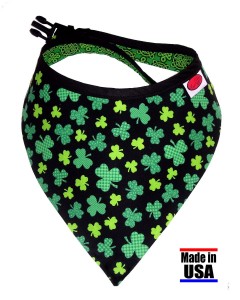
Perfect for a male or female, this bandana is the perfect accessory for St Patrick’s Day, it is made and sold by Designer Duds for Dogs as well as Amazon.


st patricks day dog

This adorable collar from Bloomingtails Dog Boutique is fun and sparkly.


st patricks day dog


This reversible bandana can get a little bit more bang for your buck and it clips on instead of tying!


st patricks day dog


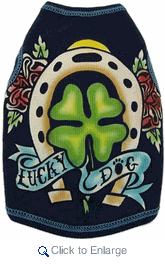
If your dog is a tough dog than this tee might be what he/she needs. Sold at michipet.com.


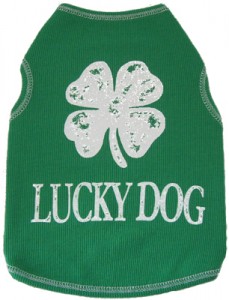
This tee, sold by i see spot, is the perfect statement for St Patrick’s Day.st patricks day dog


st patricks day dogAnd last but not least, even though the picture is tiny, is this adorable leprechaun hat, sold by rockstarpuppyboutique.com. Oh if only I could get Rusty to keep a hat on his head.


tie for dog

How to Make a Tie for a Dog

Posted on
Follow Me on PinterestPin It

tie for dog

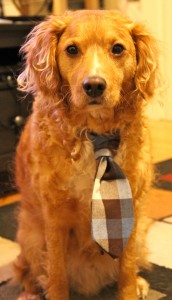
I made a tie for a dog, my dog! Rusty has been going to work with me and I decided he needed an update to his office attire. I went with a tie. Now this is a very simple design. I could have gone one step farther and made it wider and then folded the sides in and tacked them down like a typical tie but the way I did it worked for me. Besides, it’s a tie for a dog, perfection is not required because any dog wearing any type of tie is going to be adorable.

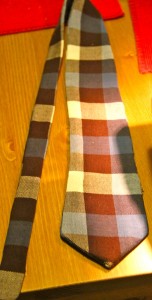
1. I used one of my husband’s old ties as a basic pattern and just shortened the length. The length of my tie is 40 inches mainly because that is the length of the leftover flannel fabric I had. Also, I used an old tie just in case I accidentally clipped it with my scissors. If you don’t have a tie to use, there are many free patterns online for ties from newborn sizes to men’s.

I pressed the fabric and then folded it in half before I laid the tie on it so I could cut two equal pieces.
tie for dogtie for a dog


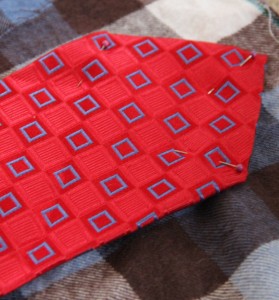
2. Next I pinned the tie onto the fabric, folding the tie to adjust the length.

3. I cut the fabric with my pinking shears because I just bought them and couldn’t wait to use them. I cut just outside the fabric. The area where the tie is folded, I just angled the scissors inward to reach the skinny part of the tie. Then I unpinned and removed the tie and adjusted the angle to make sure there was smooth line for the length of the tie.

4. I decided to apply fusible interfacing to both points of the tie because I wasn’t doing the traditional tie where, on the back of the tie, both sides fold in towards the middle, and wanted to create a little bit of heft to the fabric.

– For interfacing, cut it just on the inside of the seam line so you don’t have to sew through the extra bulk. Next, lay the fabric wrong side up on the ironing board. Then place the interfacing on the desired part of the fabric shiny side down. Place a pressing cloth over the fabric and interfacing. With a steam setting, use the spray button on the iron and wet down area of interfacing and iron over it, constantly moving for about 30 seconds. Allow the fabric to cool and then check to see if it is fused. If not, repeat the ironing.

5. Pin both layers together, right sides facing each other.

6. Press, just in case wrinkles have formed.

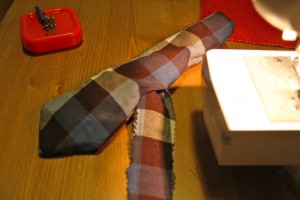
7. Sew around the edges with a 1/2 inch seam, start in the middle of the tie, in order to machine stitch each point, and leave an inch wide opening. Backstitch at the start and finish.

8. Press.

9. Pull fabric through so the right side of the fabric is now on the outside and press.
tie for dog


10. Slip stitch the hole closed, pressing it in the step before should have folded the fabric giving a nice area to stitch the hole closed.
tie for dog


I used this Youtube video to learn how to actually tie it.

Now Rusty is ready for work!

tie for dogtie for dog