 Pin It
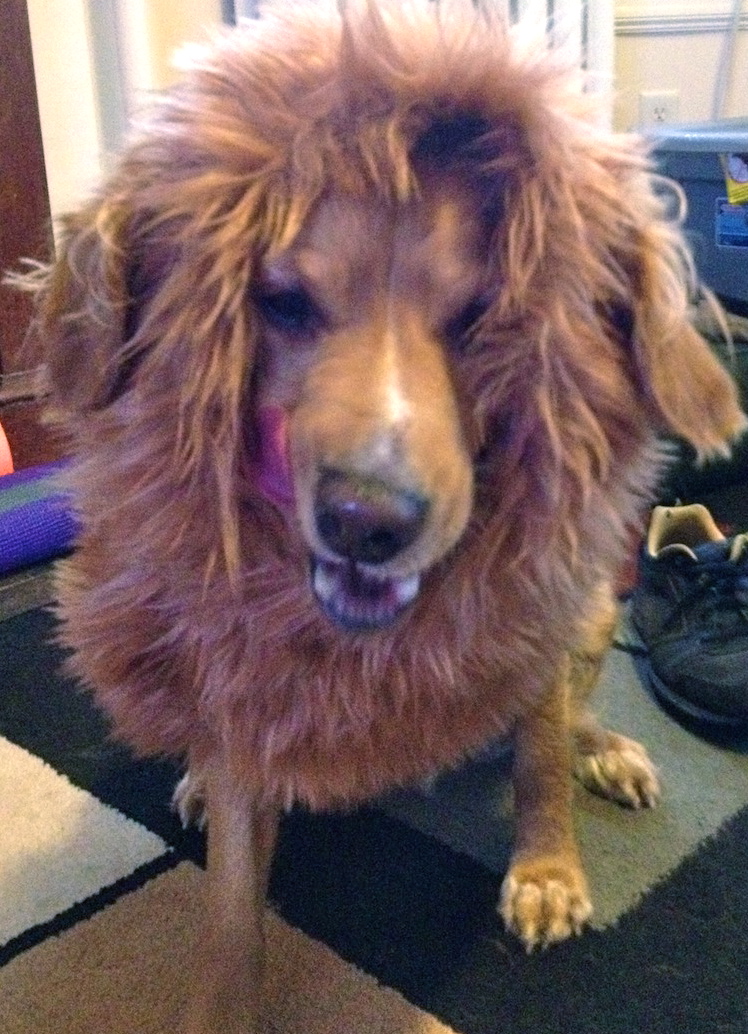
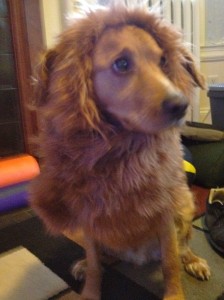
I decided Rusty needs to be a scary lion for Halloween. So I needed to figure out how to make a lion’s mane dog costume. His fur is already the right color so now all he needs is a mane. First thing I did was get online to search for some possible fake fur and order some samples.
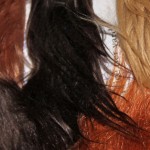
fur swatches
I went with the coppery color from Mendel’s. It was a very close match to the color of Rusty’s fur. I took a tape measure and measured around Rusty’s neck. I didn’t need a lot of fur, a less than 1/2 yard but I went ahead and ordered 3/4 yard because I’ve never worked with fake fur fabric before.
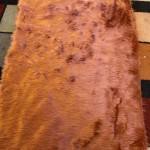
Fur!
I first placed the fur around Rusty’s neck and placed a couple pins where I will need to cut the fake fur.
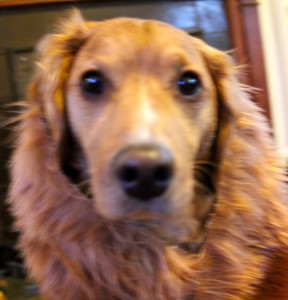
Place around to help measure
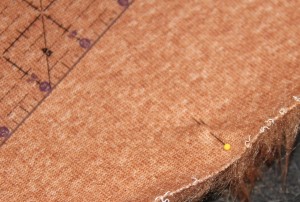
Pin/Mark desired length
Next I drew dots along the cut line constantly measuring the width to keep is the proper amount and then I connected the dots and cut along the line. Also, since the fabric is so thick and I knew it would not bleed through, I used a permanent marker so I could easily see the line.
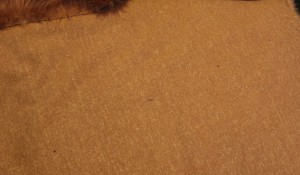
Mark cut line
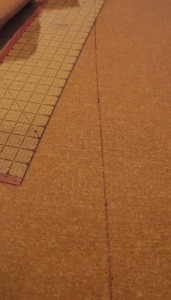
Connect the dots for cut line
I wanted the mane to really highlight Rusty’s face and have the fur going in multiple directions so I decided to hem/roll over the fur around his face. First I needed to roll over and pin the fur.
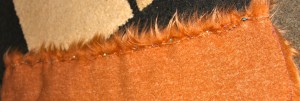
Roll over and pin
Rusty wasn’t too sure about this…
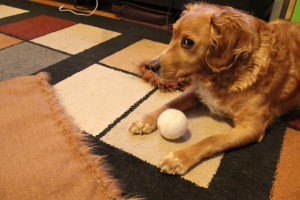
Rusty is not sure about this
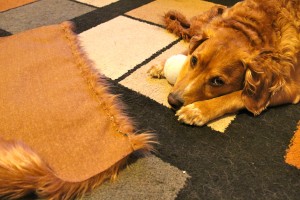
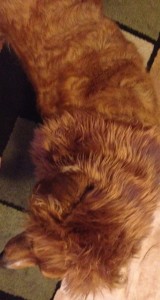
then this face happened because I wouldn’t let him lay on it
I then hand stitched the hem because I wasn’t too sure how my machine would handle it and I didn’t want to risk it. Because of the fur you couldn’t see my uneven stitches, so I appreciated that 🙂 Next I needed to figure out how to keep the mane on Rusty so I went with velcro, a couple of inches long.
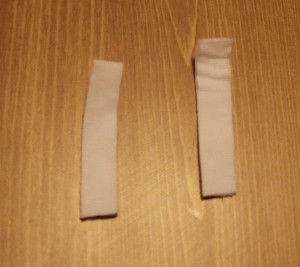
Cut velcro
I put the newly hemmed mane on Rusty and marked with pins where the velcro should go.

pin where velcro needs to be placed and trim away the fur
One part of the velcro needed to go on the right side of the fur so I needed to trim away the fur where it was going to be placed. I tried to hand stitch the velcro but I broke a couple of needles because of the thickness of the two pieces so I used Liquid Stitch and glued the pieces down and waited overnight for the glue to dry.
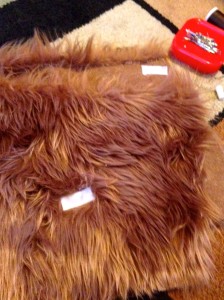
glue velcro down
After all of that work for the velcro, I put it on Rusty to test it out, and although I thought he looked adorable, Rusty wasn’t really having it and started to shake and actually shook hard enough for the velcro to come undone! So I had to come up with another plan. I went with a button, and it worked out quite well. I went into my button bag and found one that was similar in color, I think it’s an extra button from a coat I use to own, and hand sewed it underneath where the velcro is,
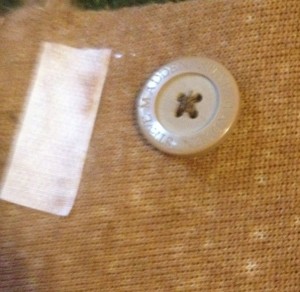
added a button
Next I needed to mark, cut and whip stitch the button-hole. I cut the hole to be a little smaller than the button itself so it would be secure and then I whip stitched around the opening to prevent the hole from stretching.
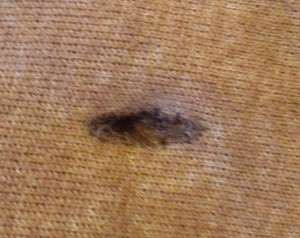
button-hole
Next I placed the mane back on Rusty and marked, with a pin, where his ears begin and end and then removed it from Rusty and drew a line for me to cut along.
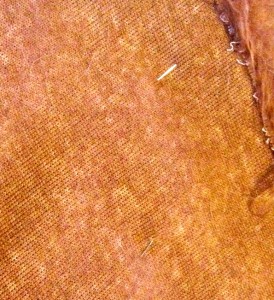
mark where ears are
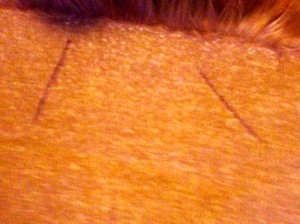
draw line and cut along it
I did the same thing for where his D-Ring on his leash will peak through, so I’m able to actually take him outside and celebrate.
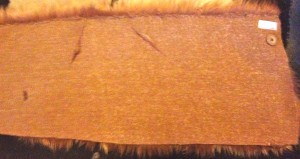
inside minus D-ring hole
See what he looks like tomorrow!
Finished Results.
Check out another version of a lion mane dog costume here!
 Pin It
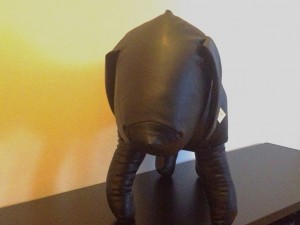 Rusty hasn’t been too corporative with me as I try to create clothes and costumes for him so I bought Manne, my dog mannequin. He’ll sit still while I drape and measure. Manne is actually a little smaller than Rusty but, I think he’ll work out just fine. I know it might be a little weird but it’s a dog dress form and it will help. Besides, Manne is a much better option than trying to create a dog dress form out of duck tape, I don’t think Rusty would appreciate that.
