How to Make a Simple Braid

Posted on
Follow Me on PinterestPin It

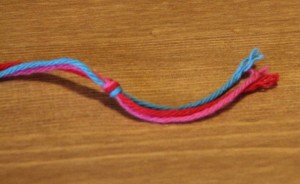
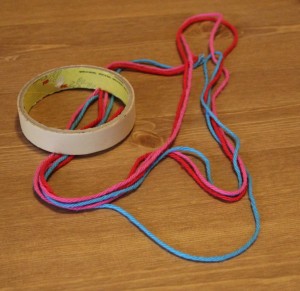
First I need supplies. Three pieces of thread or string at the desired length and then I usually add about four to sixes inches to my desired length because of the knot I need to tie at the ends of the braid.

Supplies for Braiding

knot

Tie a Knot

braid

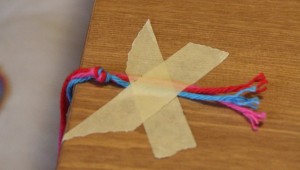
Tape

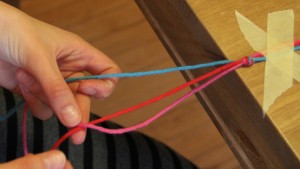
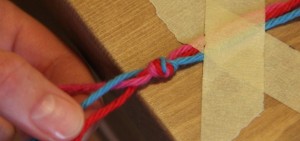
Now something I always think about when I’m braiding, is think of as the three strands are fighting to stay in the middle. The outside always wants to be in the middle.

colors

outside towards to the middle

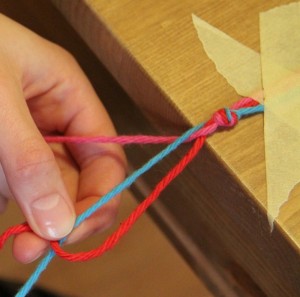
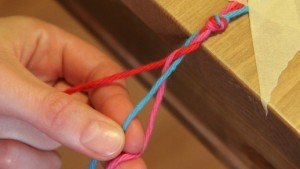
So in the picture above the pink thread, outside right, is crossing over the center, red, thread.

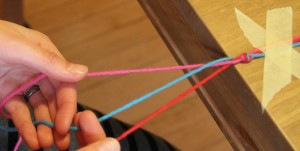
bring the other side to the middle

Now the pink is in the middle and I need to bring the blue, outside left, over the pink and into the middle.

close up

close up of first braid

middle

to the middle again

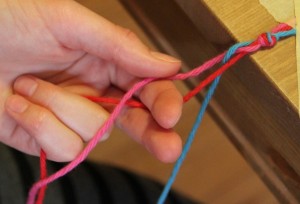
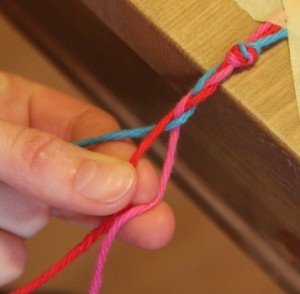
Again, bring the outside right, now the red, over the blue to the middle.

again

pink to the middle

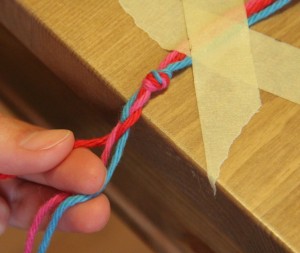
Now the blue is the outside right, the red is in the middle and the pink is outside left. Bring the pink over the red making the red now the outside left and the pink the middle thread.

close up of the braiding

If you’re yarn long thread, be careful and separate the threads after each passing because the ends can get tangled. Also try to keep the same tension as you braid so there’s an even pattern.

continue to braid

keep going

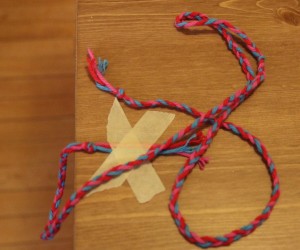
Continue all the way down until there is only about an inch or so left of thread, or until you can’t braid anymore. Then, I like to tie a knot to keep the braid from separating.

complete

braid complete!

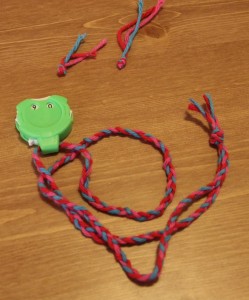
This is going to be the string for my stitch counter, so I carefully cut the knot off each end, as close to the knot as I possibly can, and carefully thread the stitch counter and then knot both ends together.

necklace

my stitch counter is ready

I’m now ready to use my new stitch counter necklace!


Finishing Knitting, How to Bind Off

Posted on
Follow Me on PinterestPin It

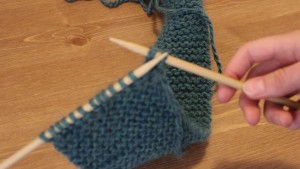
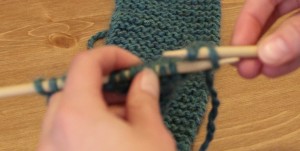
I’m at the point in my scarf that it is time to finish it! So I need to bind off of my needles.

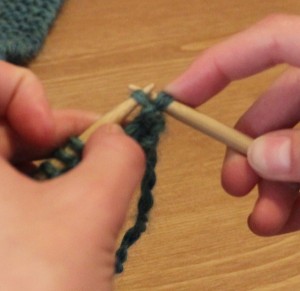
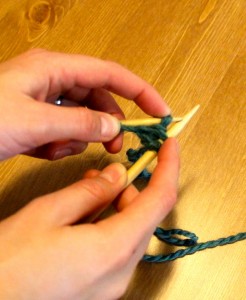
To start, I need to knit two stitches, but do not do it too tightly.

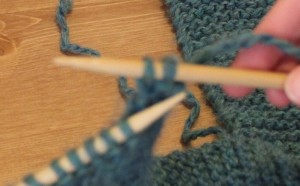
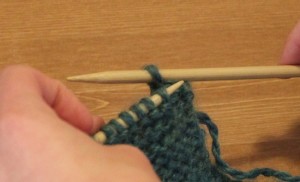
Take the left hand needle under the first stitch on the right hand (the stitch farthest away from the point of the needle) and hook it back on the left hand needle and pull the first stitch over the second stitch and then drop, the one that is being pulled over, the stitch leaving only one stitch on the right hand needle.

Next knit stitch another stitch to make two stitches on the right hand needle again, and again take the left needle under the first stitch and pull it over the second stitch, then drop the stitch that you pulled over. Continue this until there is only one stitch left on the needle. Carefully pull the needle out of the loop, and place the yarn tail through the loop and pull tight. All there is left to do before completing the scarf is weaving in the tails of the scarf.

Bind Off Knitting

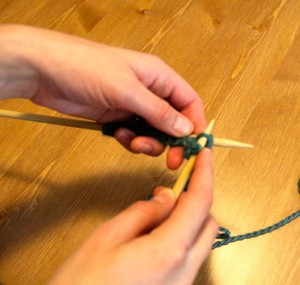
First complete two knit stitches

put left needle under first stitch

Take left needle under first stitch on the right

Pull first stitch over second stitch

Pull First Stitch Over the Second Stitch

drop the stitch

Drop the pulled over stitch off of the needle

repeat

Knit another stitch so there are two stitches back on the needle and repeat

Under the first

Under the first stitch

over

Pull over the stitch still on the needle and drop it

you've completed the last knit stitch

Continue knit stitching and dropping until there is only one stitch/loop left on the needle

carefully

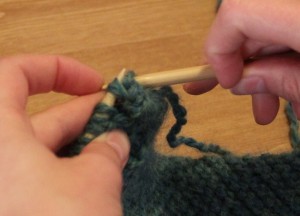
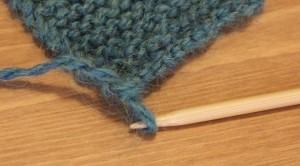
Carefully pull out the needle from the loop

Loop

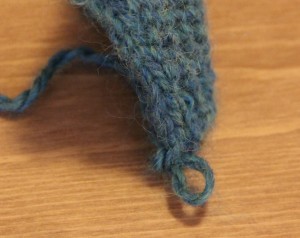
The Loop

loop

Another view of the loop, be careful not to tighten the loop

If you aren’t at the end of your yarn ball simply cut the yarn so a tail a few inches long remains.

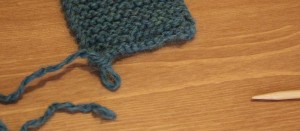
Tail in loop

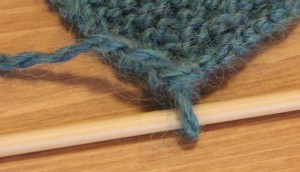
Take the tail of the scarf and place it through the loop

pull

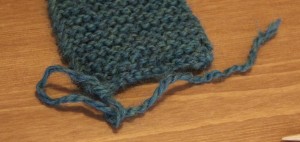
And pull it tight

yarn ends

Now all there is left to do is to weave in the ends of the scarf


Side note to this, if you created a pattern with your knitting project like knit 2 purl 2 then you bind off in that same pattern.

I’m almost done! I’m so excited to finish this scarf for my niece! Both nieces are going to look super cute all bundled up in their scarves this winter!


How to Do the Knit Stitch

Posted on
Follow Me on PinterestPin It

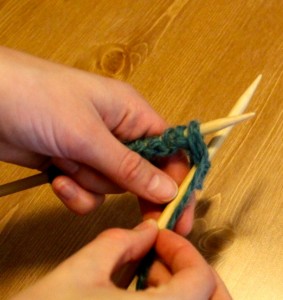
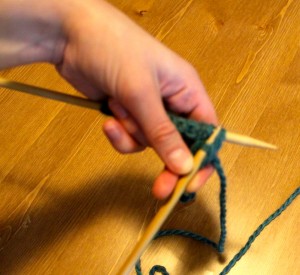
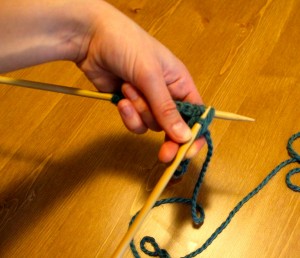
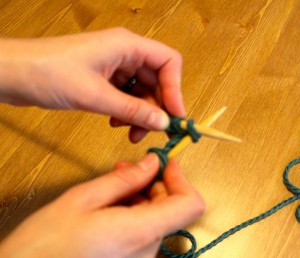
The yarn is wound and cast on the needle. Now I can knit. I’m going to do just a knit stitch for this scarf. This is how I do it.

starting your knit stitch

Starting the knit stitch

hold the needles like this

hold the needles like this

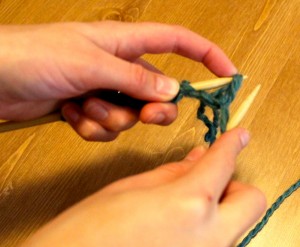
step in knit stitch

place right hand needle under first loop on the left hand needle and bring the right needle behind the left

second step
Another view of placing right needle through loop and underneath left needle


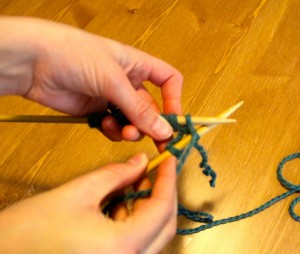
take yarn and wrap

take yarn, that’s connected to the ball not the tail, and wrap around the right hand needle

another view of the wrap
another view of wrapping the yarn around right hand needle


pull the wrap down a little bit

pull the wrap down a little bit

pull the needle and catch the wrapped yarn

pull the right hand needle down and catch the wrapped yarn around the tip of the needle

catch the yarn

another view of catching the yarn

the loop

the loop from the wrap will be put on the right hand needle and push off the loop on the left

repeat knit stitch

repeat knit stitch

underneath and through

underneath and through

wrap and catch

wrap and catch

push off needle

push off needle

Now I can knit knit knit until it’s time to bind off and weave the tails into the scarf! I’m so excited to complete this scarf!