 Pin It
I’m turning my adorable dog Rusty into a lion for Halloween! Guess which fur which can be found at Mendel’s I picked.

Find out on Halloween, along with how I made it!
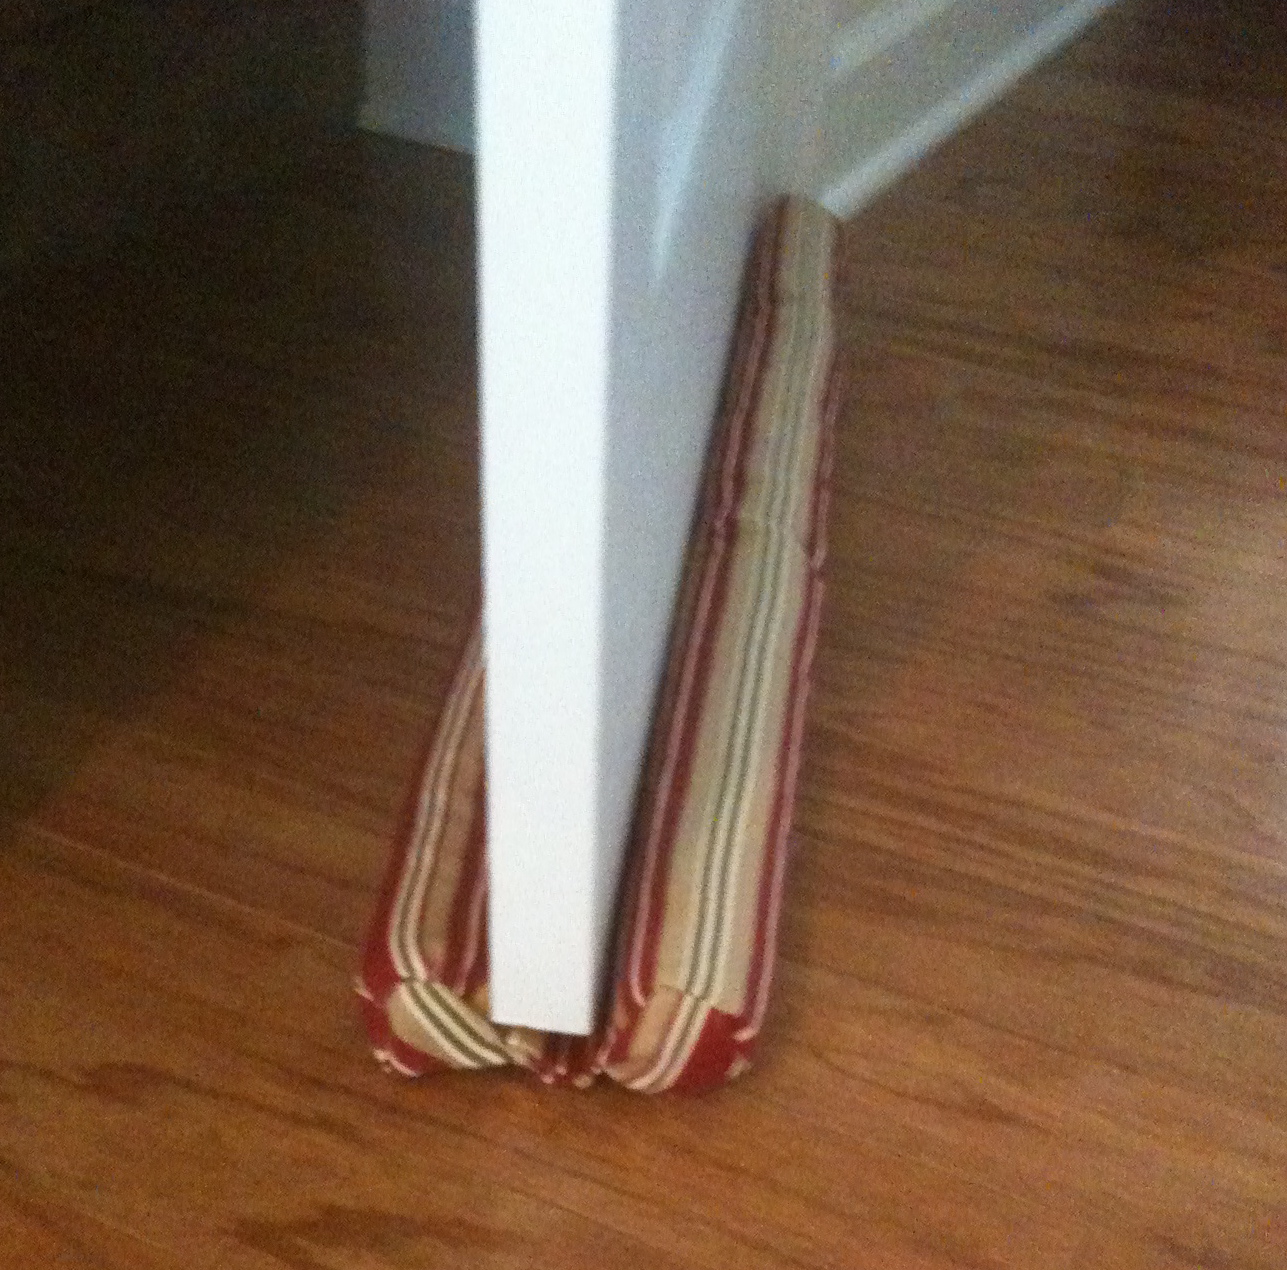
Pin ItAs promised here are my made up instructions for the double sided door draft I made.
How to Make my Make Shift Double Sided Door Draft Stopper
Need:
Directions:
1. Measure door, I think it was around 30 inches and that’s the length of the fabric but add about ½ inch to the fabric. For the width of the fabric it is best to determine after you have made your bolsters. So in step 3.
2. Measure batting to match length of the door and cut two pieces to match the length
3. Roll batting as tightly as possible and sew the batting into a roll, this part is pretty tricky and really annoying but you can get it. For the width of the fabric, it needs to cover both bolsters, leave space to clear underneath the door and give a couple inches for sewing.
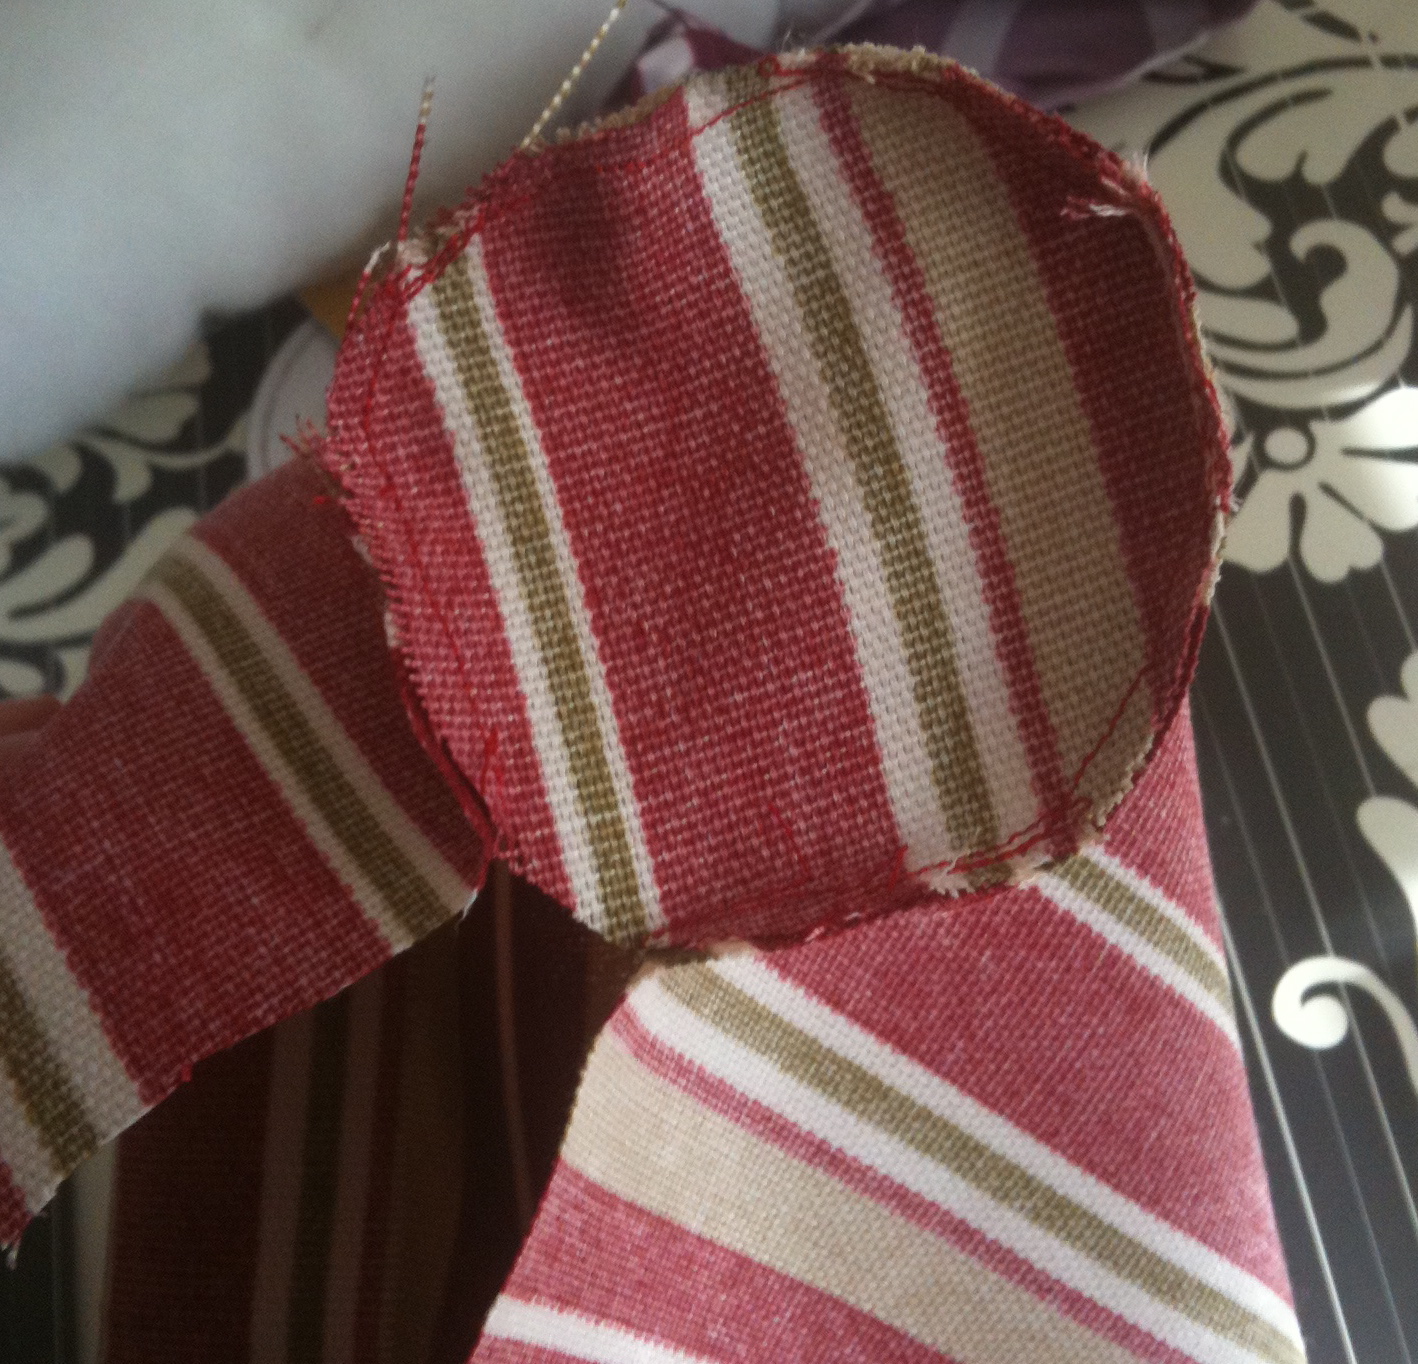
4. Find something that you can trace for a perfect circle, like a cup or something, that will fit/be good for the ends of the door draft stopper and cut them out
5. Carefully pin the circles to the ends of the fabric
6. Sew on those circles! Right sides facing each other. Careful because this is another annoying part. Sew till the circles are almost all the way sewn shut so there is still space to stuff.
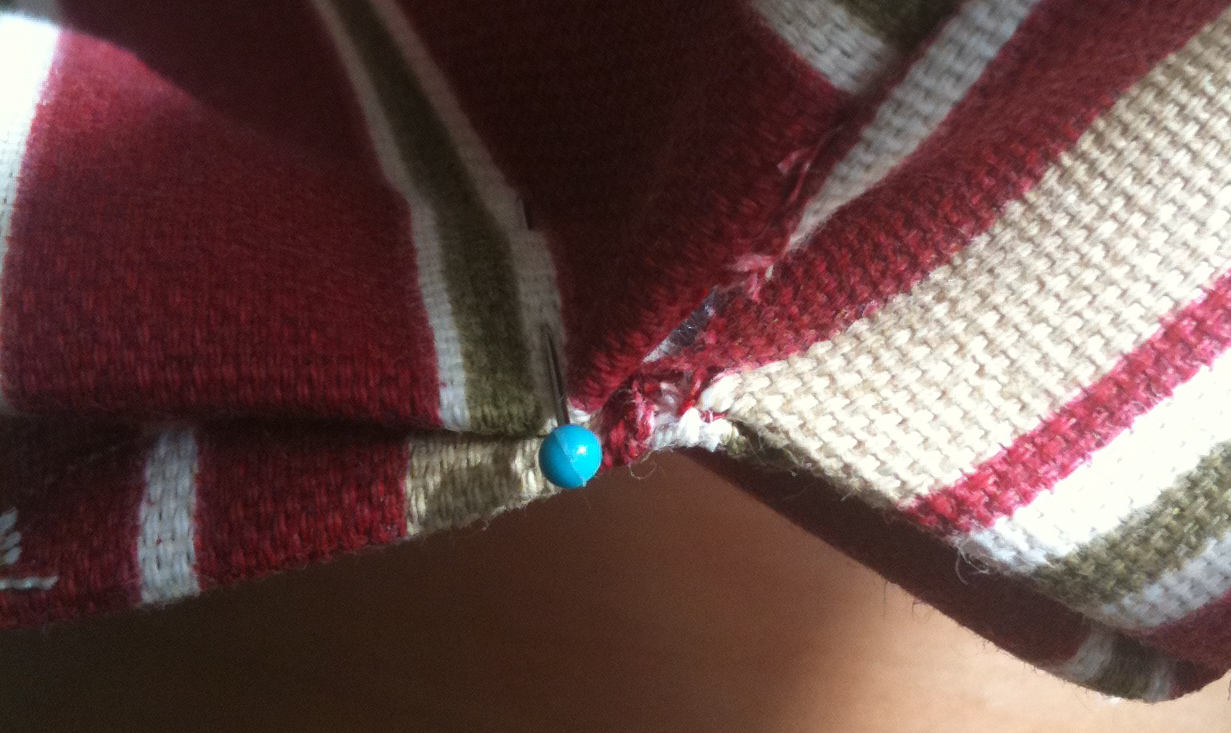
7. Flip to right side is on the outside and stuff the batting into their respected spots. Then pin the fabric tightly holding it into place and then at the end, fold over the ends between the bolsters so the raw edges aren’t exposed.
8. SEW! This gets its own step because it is also annoying to sew to sew as close as possible to the bolster so the machine is constantly hitting it. Repeat on the other side.
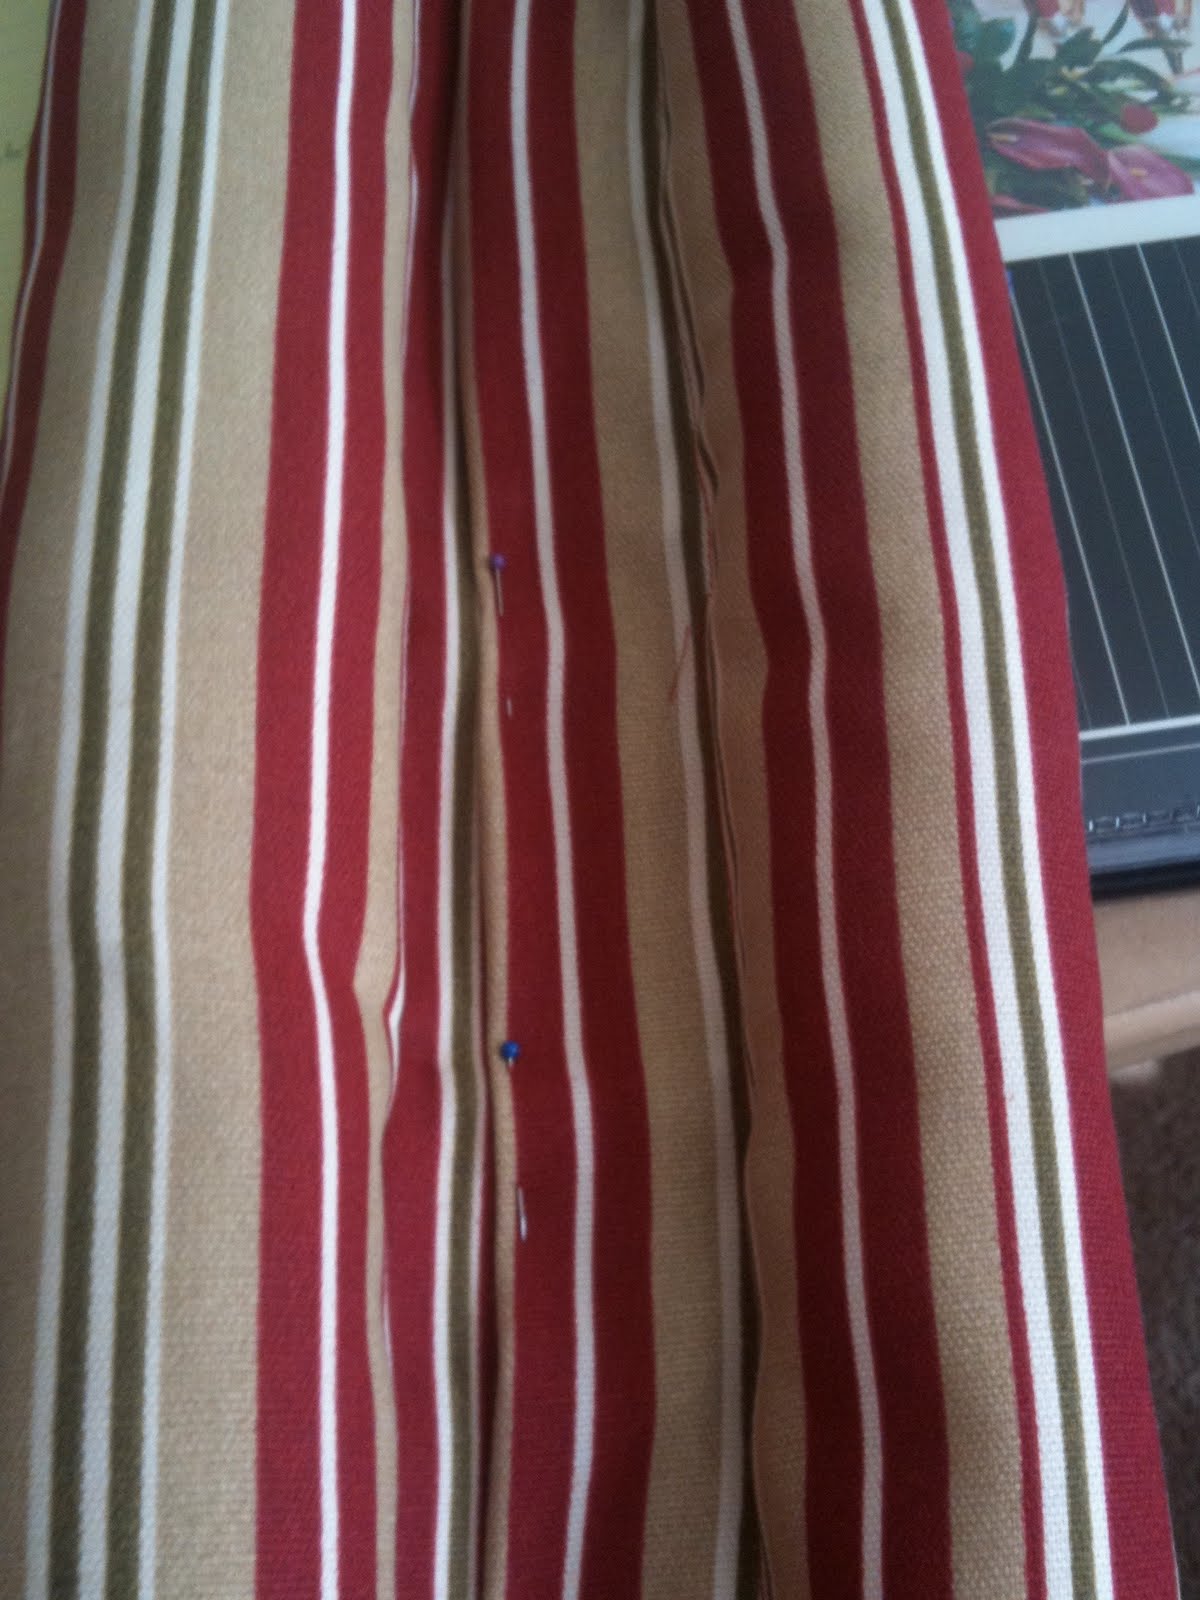
9. There should be a side with an exposed edge, fold the raw over and pin it. Then sew to encase the raw edge
10. SUCCESS!!
Might not be the easiest way but I made it up as I went along. Be creative, have fun and be warm!

 Pin It
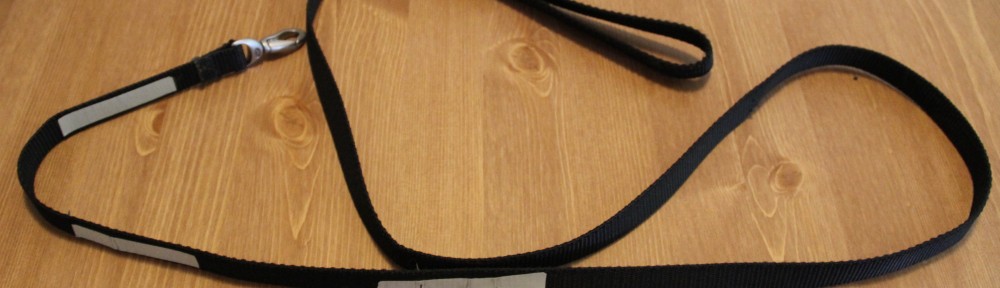
So I have two how-to’s already written out that I had done for others so I thought I would share! The first one is a reflective dog leash and the second is a double sided door draft.
Today I’ll share how I made Rusty, my dog, a reflective leash. Meet Rusty. He just turned three and is a cockerpoo, cocker spaniel/poodle mix. This is what he does when I lay fabric out on the floor, when my table isn’t big enough, to measure and cut. He loves to “help.”

Materials:


