How to Make a T-Shirt into a Tote Bag

Posted on
Follow Me on PinterestPin It

tote bag

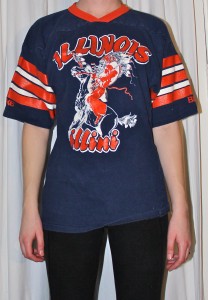
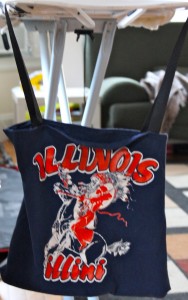
totebagI had this old University of Illinois shirt that I got on Ebay when I was a sophomore there. I wore it a few times and it was a fantastic and soft shirt. But it was old and didn’t fit me quite right. I first tried to make it a more fitted shirt and that was a fail. The weird seam line above the chest just made it look like a ruined sports jersey or something. So, I decided to turn it into a tote bag. Now I just need to decide what to do with the sleeves. I’m thinking Rusty might need some leg warmers or a hat.

Materials Needed:

  • Shirt with design you love but don’t really want to wear
  • Nylon Webbing or durable Ribbon for the straps, I used this ribbon.
  • Sewing Machine
  • Matching thread

Directions:

tote bag

Measure and Mark


1. Measure and mark where on your shirt you’d like to cut on the top and bottom of the shirt. I decided to make it a little easier on myself and re-use the side seams of the shirt. My finished bag was 15″x 14″

To cut, I used regular fabric scissors for the top and pinking shears at the bottom. If you don’t have pinking shears, cut with your fabric scissors and finish the raw edge with a zigzag stitch.

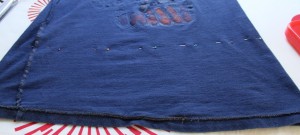
2. With right sides together, pin the bottom and sew with 5/8″ seam. Press. Now, if you kept the side seams intact, you should have a pillow case with three sides sewn.

3. To finish the opening of the bag, roll the hem about 1/4″ all the way around and press to keep it in place. Repeat, to incase the raw edge. Sew to finish the edge.

4. Cut 2 pieces of ribbon or webbing to your desired length, I cut mine to be 36″ long.

5. Place and pin where you’d like your straps being careful not to twist them as you’re placing them. I put mine on the inside of the bag a couple of inches down.

tote bag

kind of difficult to see, but it’s a rectangle

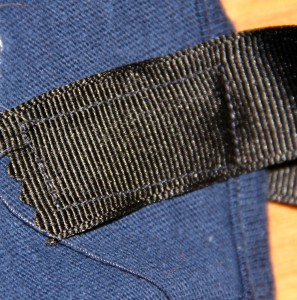
6. Sew the straps on, if you’re using webbing make sure you have the correct needle, in a rectangle, this is a little bit of added strength to the straps and bag. Press.

7. Enjoy! I think I’ll take mine to work and light grocery shopping , maybe one I’ll add a zipper to it. And it’s washable!


tote bag


drawstring backpack

How to Make a DrawString Backpack

Posted on
Follow Me on PinterestPin It

drawstring backpack

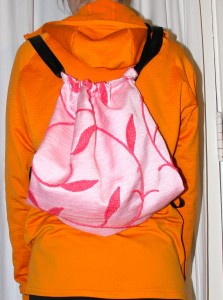
I needed something lightweight and easy to carry on my long walks with Rusty. I decided to go with a drawstring backpack. It’s big enough to hold everything I need and keeps my hands free. I am using leftover material from my tree skirt and had dyed awhile ago.

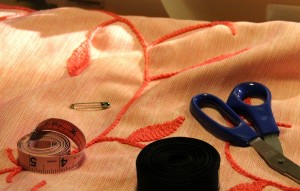
Materials:

  • (2) 17″ X 15″ rectangles of fabric
  • (2) 60″ pieces of ribbon, or cording would work great as well
  • safety-pin
  • sewing machine
  • matching thread
  • iron and board

drawstring backpack

Instructions:

1. After you have measured and cut your fabric, I think mine is a cotton/polyester blend, figure out which end of each piece you want to be the top or opening of your bag. Fold over and press a tiny bit of fabric, ~¼”, and sew. Repeat with the other piece. This is to take care of the raw edge at the opening of your bag.

drawstring backpack

2. Next, take what you have just sewn and fold over about an 1½” and press. Then sew on top of the stitch line in Step 1. This will create a tube for your ribbon to go through.

3. With right sides together, pin the rectangles and stitch with a 5/8″ seam all along the three unstitched sides, starting and stopping where the tube begins. Back stitch at the beginning and end.

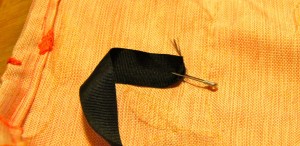
4. Attach a safety-pin to an end of your ribbon, and thread the ribbon through the tube on one side of the bag. Repeat for the other side. The safety-pin just makes this process easier.

drawstring backpack

5. Make sure that both pieces of ribbon are of equal length on each side of the bag. With right sides still together, seam rip up the bottom corners of the bag about an inch. Place the ribbon, inside the bag and through the hole you just ripped open. Stitch the hole closed, securing the ribbon to the bag.drawstring backpack

6. Next to take care of the raw edges, zigzag stitch all along the three stitched sides to the bag as close the stitch line as possible. This also double secures your ribbon at the bottom of the bag. Trim the excess fabric close to the zigzag stitch.


Now I have the perfect and unique bag for our walks to work! So excited to use it.


tie for dog

How to Make a Tie for a Dog

Posted on
Follow Me on PinterestPin It

tie for dog

I made a tie for a dog, my dog! Rusty has been going to work with me and I decided he needed an update to his office attire. I went with a tie. Now this is a very simple design. I could have gone one step farther and made it wider and then folded the sides in and tacked them down like a typical tie but the way I did it worked for me. Besides, it’s a tie for a dog, perfection is not required because any dog wearing any type of tie is going to be adorable.

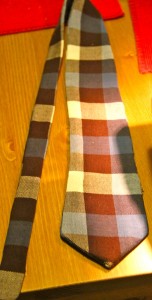
1. I used one of my husband’s old ties as a basic pattern and just shortened the length. The length of my tie is 40 inches mainly because that is the length of the leftover flannel fabric I had. Also, I used an old tie just in case I accidentally clipped it with my scissors. If you don’t have a tie to use, there are many free patterns online for ties from newborn sizes to men’s.

I pressed the fabric and then folded it in half before I laid the tie on it so I could cut two equal pieces.

tie for dogtie for a dog


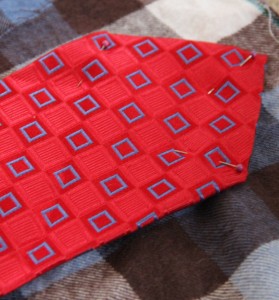
2. Next I pinned the tie onto the fabric, folding the tie to adjust the length.

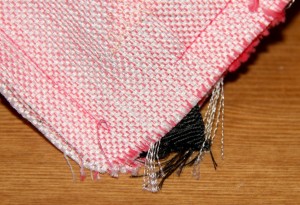
3. I cut the fabric with my pinking shears because I just bought them and couldn’t wait to use them. I cut just outside the fabric. The area where the tie is folded, I just angled the scissors inward to reach the skinny part of the tie. Then I unpinned and removed the tie and adjusted the angle to make sure there was smooth line for the length of the tie.

4. I decided to apply fusible interfacing to both points of the tie because I wasn’t doing the traditional tie where, on the back of the tie, both sides fold in towards the middle, and wanted to create a little bit of heft to the fabric.

– For interfacing, cut it just on the inside of the seam line so you don’t have to sew through the extra bulk. Next, lay the fabric wrong side up on the ironing board. Then place the interfacing on the desired part of the fabric shiny side down. Place a pressing cloth over the fabric and interfacing. With a steam setting, use the spray button on the iron and wet down area of interfacing and iron over it, constantly moving for about 30 seconds. Allow the fabric to cool and then check to see if it is fused. If not, repeat the ironing.

5. Pin both layers together, right sides facing each other.

6. Press, just in case wrinkles have formed.

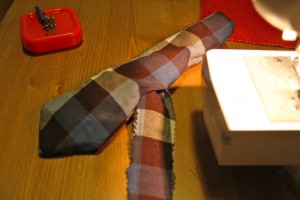
7. Sew around the edges with a 1/2 inch seam, start in the middle of the tie, in order to machine stitch each point, and leave an inch wide opening. Backstitch at the start and finish.

8. Press.

9. Pull fabric through so the right side of the fabric is now on the outside and press.

tie for dog


10. Slip stitch the hole closed, pressing it in the step before should have folded the fabric giving a nice area to stitch the hole closed.

tie for dog


I used this Youtube video to learn how to actually tie it.

Now Rusty is ready for work!

tie for dogtie for dog


Great Information on the Difference of Domestic and Industrial Sewing Machines

Posted on
Follow Me on PinterestPin It

I am definitely a novice when it comes to sewing. I haven’t done a lot of research on the differences between types of machines and their uses. All I know, is that on my little Brother machine I am not suppose to use heavy duty/thick thread or thick fabric in it because it can throw off the tension and will require it to be serviced. I also know how to clean the dust of the lower bobbin area.That’s it. That is the extent of my sewing machine knowledge. Then thanks to Reddit I found this blog where the author does an amazing job talking about the differences between vintage domestic and industrial sewing machines, like amp vs. horsepower, specific use machines,  and how not to get swindled by a seller.

I think the information is wonderful and I now feel a lot smarter 🙂


altered men's suit jacket

Altered Men’s Suit Jacket

Posted on
Follow Me on PinterestPin It

My husband bought a $30 suit jacket from Target that was too big for him, mainly in the waist. We decided it would be a good project for me to work on since I’ve never done any tailoring or altering of men’s clothing except for the hem of pants. So I attempted at creating a great altered men’s suit jacket.

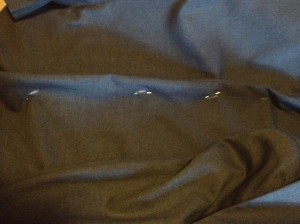
1. First thing I did was have him put it on and I pinched the fabric to fit and then pinned it. Then I unpinned it because I got his undershirt :/ and re-pinned it.

2. Then I marked the place where the pins went into and out of the fabric just in case a pin fell out with a chalk pencil. I did this on the lining of the jacket as well.

men's altered suit jacket

pinch and pin

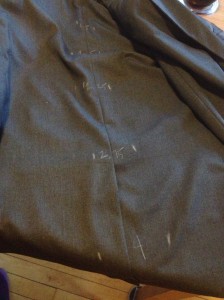
3. I measured in between the dots and marked the measurements on the jacket, with a fabric chalk pencil, and on a piece of paper. These measurements are what I needed to take the jacket in by. I did this on the lining of the jacket as well.

men's altered suit jacket

my measurements

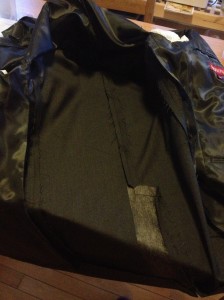
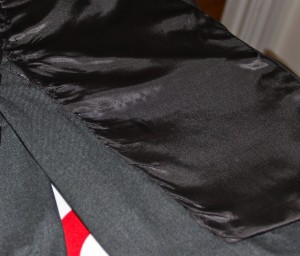
4. I then got out my handy seam ripper and separated the lining from the back of the jacket. I just did the bottom of the jacket and up the closest seam line on the side of the jacket.

altered men's suit jacket

lining pulled back

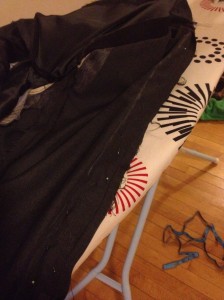
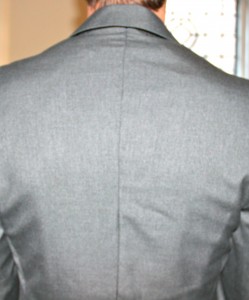
5. With the lining up and out of the way, I ironed the seam so it was no longer open. Then from the seam I measured and marked half the distance that I wrote down and because the measurements were slightly different in some locations I did this at each site of where a pin was and connected the dots. This starts with no measurements at the top because the shoulders fit so the line in a diagonal down the back of the jacket increasing as it goes to the bottom because the waist of the jacket is what was too big. I pinned the layers together and sewed down the chalk line, cut off the extra fabric and ironed the seam open. The first time I did this, I had a notch of extra fabric at the collar and had to redo it. 

men's altered suit jacket

mark and sew

6. Repeat step 5 for the lining.

The last couple of steps is figuring out the tail and reattaching the lining to the jacket.

7. For the matching the lining to the tail I just kept folding and pinning until I had what I thought looked acceptable.

altered men's suit jacket

all sewn up

8. To reattach the lining to the jacket, I am sure there is a machine stitch way, like a blind hem stitch possibly, but I decided to hand stitch it with a slip stitch, I own a book called Teach Yourself Visually Sewing and does a great job illustrating how to do it. The stitch mimicked the rest of the lining to the jacket pretty well which is another reason why I picked it. I then ironed the lining and now the jacket is a great fit!

altered men's suit jacket

finished!


lion mane dog costume

How to Make a Lion Mane Dog Costume Version 2

Posted on
Follow Me on PinterestPin It

lion mane dog costume

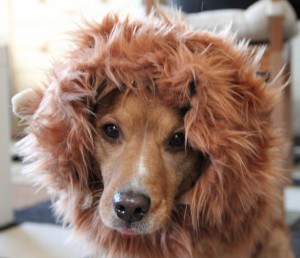
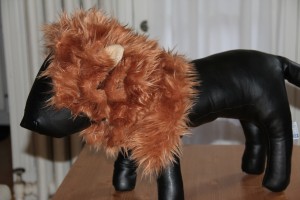
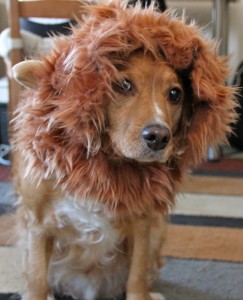
I made another version of my lion mane dog costume for Rusty because I had bought way too much fake fur and I didn’t know what to do with it. I decided to be a little more adventurous with it this time. I actually used my sewing machine on the fake fur and I sewed fleece. Two things I have never done before. I basically made a doggy ski mask and then sewed layers of pleated fake fur onto it.

I lost all of my pictures of each step :/   But I took some other pictures that will hopefully help out.

Things I used:

How I did it:

1. Take a LOT of measurements the dog’s head and neck. If all else fails drape the fabric around the dog and mark the fabric.

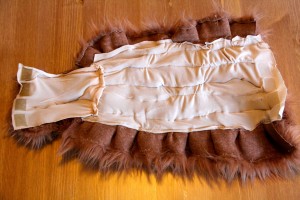
2. Cut a ski mask out of a base material, I choose lycra. I did this in two pieces one to go around the head and one to go around the neck. I then sewed the neck piece to the head piece using a tight zig-zag stitch, since lycra is a bit stretchy. If your fabric snags, try adding tissue paper under the fabric and then tear it away after the seam is created. Also, I didn’t finish the edges of the lycra, mainly because I can be lazy.

lion dog costume

inside of the mane

3. Fuse the velcro into the correct positions. Hopefully you can see what I did in the picture.

4. Next, cut 1 inch to 2 inch wide strips of fur (it depends on the amount of volume and work you want to do, my strips were 2 inches wide) that are about 4 inches longer than the mask.

To cut the fur mark on the back where you want to cut and then use a straight blade like a box cutter or a razor blade to prevent trimming the fur and creating a huge mess. I, unfortunately, didn’t have either one of those and used scissors. BIG MISTAKE fur everywhere! and because the scissors trimmed the fur and created a weird raw edge I needed to fold over the edge and sew it down. Something I wouldn’t have had to do if I had just went out and bought a box cutter.

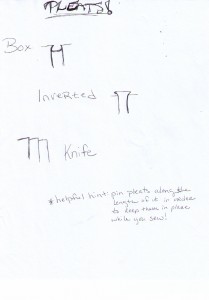
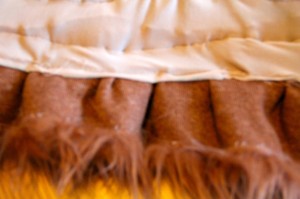
5. Next step is to pleat and pin the fur to fit the mask. If you don’t know how to pleat, here is a drawing I did that might help. Pleat whichever way is most comfortable to you, I find the knife pleat to be the easiest.

box, inverted, knife pleat

Drawing of different pleats for sewing

lion mane dog costume

pleats

Sew the layers, fur side down on the machine,  onto the lycra mask, starting with the bottom layer first working your way up so the layers don’t get in the way. I did the layer that goes around Rusty’s face going in the opposite direction to create more volume around his face.

6. Repeat for around the neck, I only did 2 layers for that part.

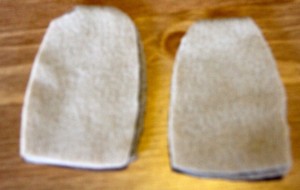
7. Fold fleece into fours, to where there are 4 layers of fleece and draw out an open bottom oval and then cut along your lines.

Lion Mane Dog Costume

lion ears

8. Next, combine two of the pieces and sew as close to the edge as possible, turn inside out and repeat for other ear. Pin onto mask for placement and hand stitch the ears to the mask.

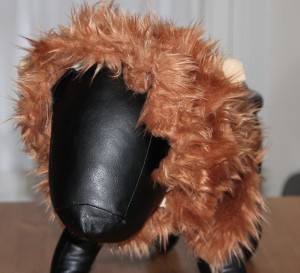
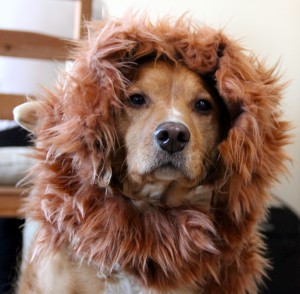
Finally you have a lion mane dog costume!

lion mane dog costume

Manne modeling it

lion dog costume

Manne model shot

lion mane dog costume
lion mane dog costumelion mane dog costume

lion mane dog costume

lion mane dog costume


Fabric Information for Sewing

Posted on
Follow Me on PinterestPin It

If you haven’t noticed, I’m not a professional sewer. I’m a self taught through books and google and make things up as I go. But  I have learned some things about the fabric I’ve worked with and I decided to share the fabric information.

Fabric                  Absorbency                  Dye-Ability                      Wrinkle Resistance
Cotton                      good                                good                                         no
Linen               very very good                     not good                                       no
Silk                      very good                         very good                                    good
Wool                       good                                 good                                        great
Polyester                 low                                   good                                        great
Rayon                     good                                 good                                        great
Nylon                       low                                   good                                     very good


tree skirt fabric

How to sew a quick Tree Skirt

Posted on
Follow Me on PinterestPin It

all finished!

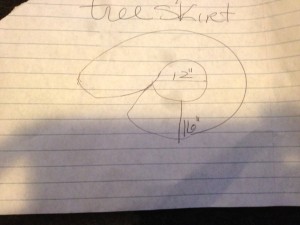
We have a Christmas tree at work and it was looking bare to me because it didn’t have a tree skirt. So, I decided to make one. Here is my very professional pattern that I drew at work.

tree skirt

my make shift pattern

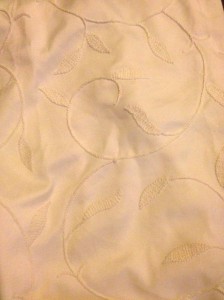
I have this fabric from curtains that I made and am no longer using. I thought it would make a beautiful tree skirt.

tree skirt fabric

fabric

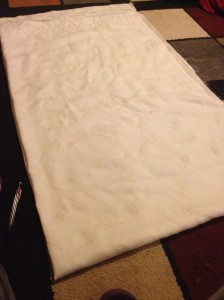
Since I had a long panel, I folded it in half and then in half again so it is folded into fours.

folded in half and half again

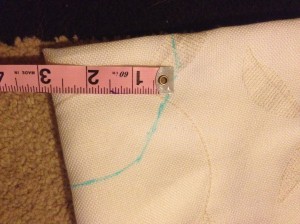
Next is time to measure. I divided the diameter in 4 because I folded it so it needs to be 3 inches from the point. I did the semi-circle by just measuring out 3 inches from the point in different spots on the fabric.

measure with a fabric marker

I did the same thing with the outer measurement but went with 22.5 inches instead of the 16 inches I originally wrote down on my professional pattern. The I cut along the lines I drew.

cut the along the lines

a few steps left

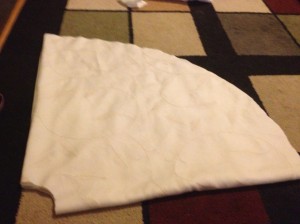
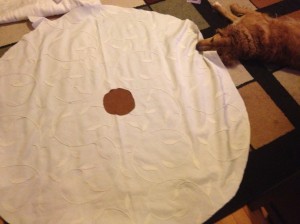
This is what is looks like unfolded and of course Rusty needed to help me out.

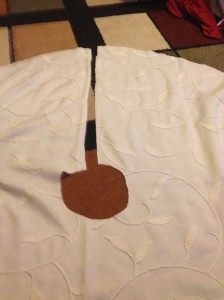
Next I cut a line down the fabric.

cut down to be able to wrap around the tree

The last, and time-consuming thing to do is finish it to hide the raw edges. This can be done in three ways.

  1. folding edge over and folding it again and hem to encase the raw edge
  2. add binding to the edges to encase the raw edge
  3. zigzag stitch around the edge to prevent fraying and then folding over and sew a hem

Although the first two options are probably the better options, I went with the zig zag stitch and press seam and sew a hem because the first two requires more time at the ironing board and pinning. I hate ironing so I went with the zig zag stitch.

all finished!

all finished!


How to Sew in a Zipper

Posted on
Follow Me on PinterestPin It

Yesterday I showed how to create a bed for a dog kennel. Today I’ll show you how to sew in a zipper. I cut some pieces of fabric and drew on them to better show how to sew the central zipper in.

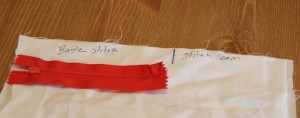
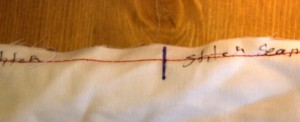
-To start, mark where the zipper will go because before and after the zipper a seam stitch will be sewn and where the zipper will go, I’ll do a basting stitch, or the longest stitch on my machine.

-Use pins or fabric chalk to mark the fabric. Don’t use a marker like I did, I just wanted to clearly show where to mark.

mark

mark fabric

baste

where to baste

– Pin the fabric together and baste where the zipper goes and continue with the seam stitch before and after the zipper, backstitching when I stitch the stitch length, I’m using a 5/8inch seam.

both stitches

differences in stitches

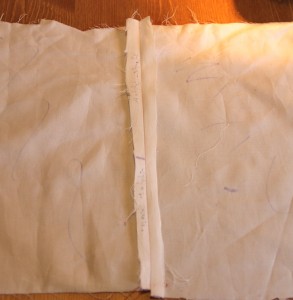
-Then iron the seam open.

iron seam

iron seam

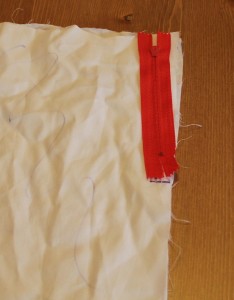
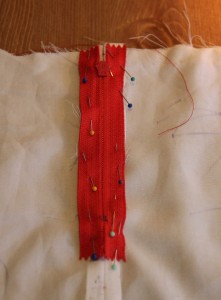
– Then pin the zipper, face down, teeth to the seam. I placed the pins in the wrong direction. So I had to switch them so I could easily remove them as I was stitching.

zipper

pin zipper over seam

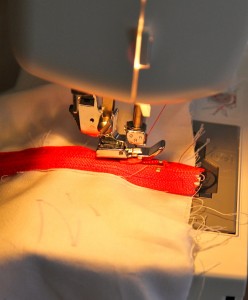
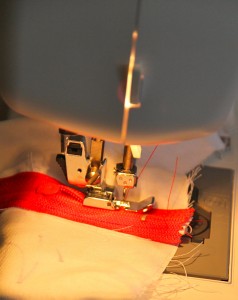
– Using a basting stitch, longest stitch on my machine, I place the edge of my zipper foot directly in the middle of the teeth and stitch, when I need to turn, I leave the needle in the fabric, lift the foot, and turn the fabric to the direction, put the foot down and begin to stitch again. I use a basting stitch to tack the zipper to the fabric and I don’t have to worry about removing pins as I sew.

– When I get to the zipper head, I make sure the needle is in the fabric, lift the zipper foot and push the zipper head past the foot.

zipper foot

zipper foot up, and push the zipper head past the foot

– Once the zipper head is out of the way, put the foot down, and continue stitching.

down

zipper foot down and continue stitching

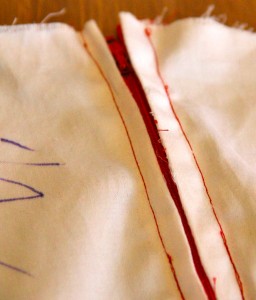
-After the basting, stitch around the zipper with a smaller stitch size, just outside the basting stitch. Using the same technique at the corners and the zipper head.

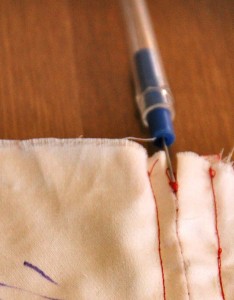
-Once the stitching is complete, remove the basting stitch around the zipper and in the middle of the zipper.

basting

remove basting stitch

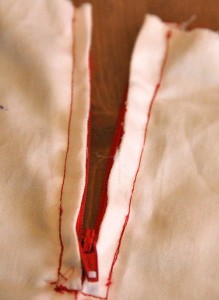
– The zipper is complete! The zipper has been successfully installed. It does take practice but it’s not as intimidating as it first appears.

zipper

zipper complete

zipper

finished

Happy Sewing!


bed

How to Sew a Dog Bed for a Crate

Posted on
Follow Me on PinterestPin It

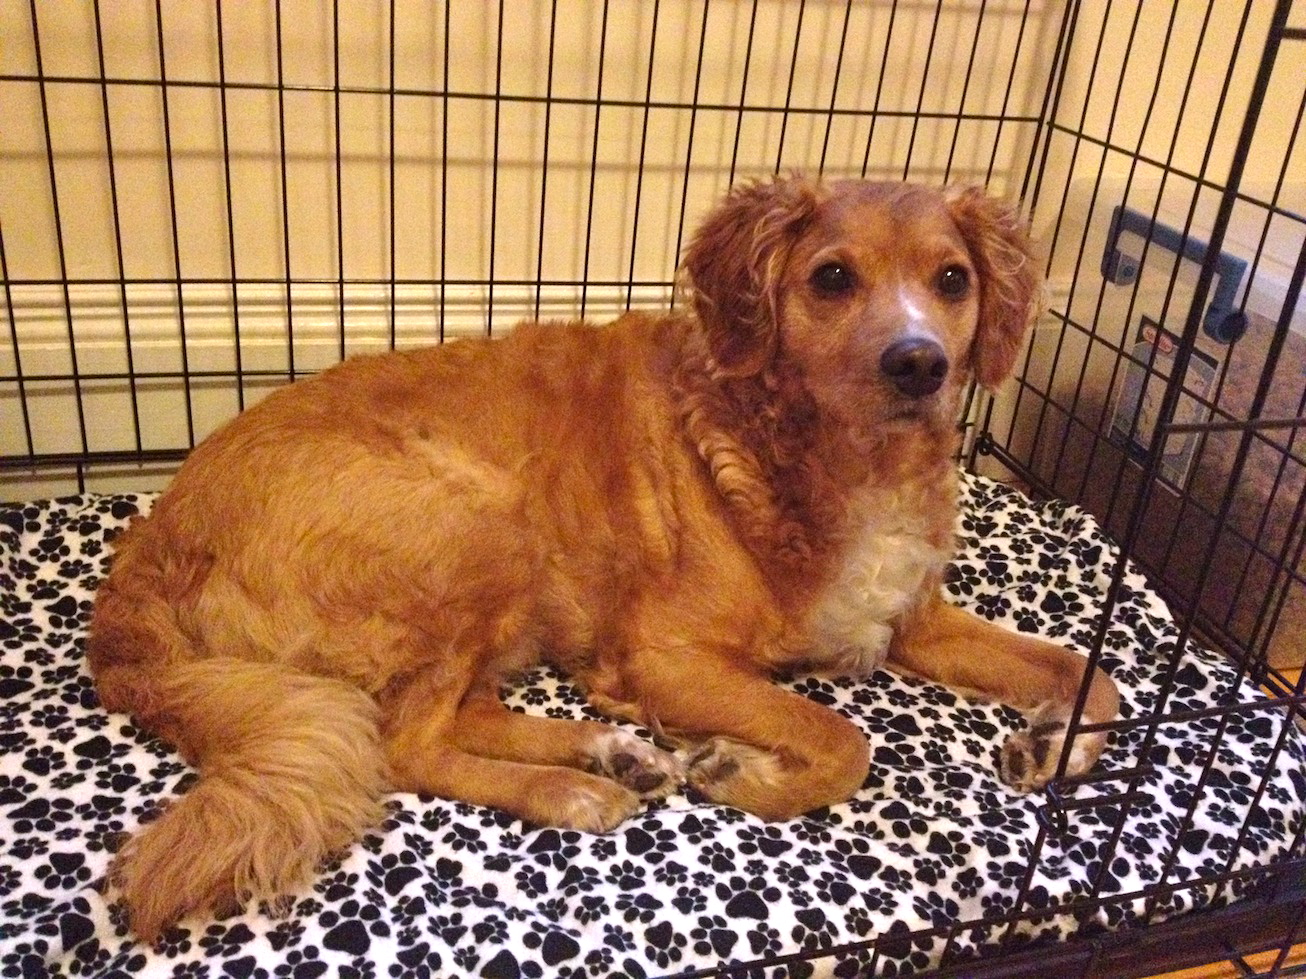
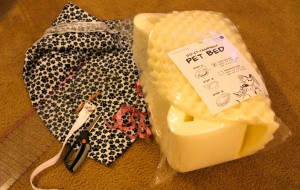
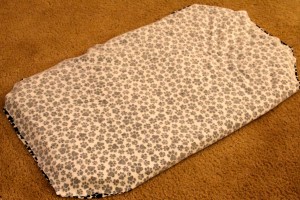
When Rusty has to go into his crate all he does is sleep. I decided to make him a bed for his kennel so he is a little more comfortable while I am away. First I gathered supplies. You’ll see that I actually bought a dog bed foam kit. I did this because I had a coupon and that made it cheaper to buy the kit than it was to get the 1.5inch foam cut to my specifications since a coupon wasn’t available for the foam you get by the yard. Then bed is an oval which is why in later pictures you’ll see that the bed has rounded corners and doesn’t extend to the corners of the kennel. Also, I put a zipper on the bed so I can wash the fabric.

Bed Supplies

  • fabric
  • sewing machine
  • ruler and measuring tape
  • scissors
  • thread to match
  • marking chalk/pencil
  • pins
  • foam
  • kennel
  • long center zipper for end of bed

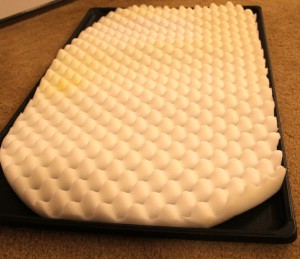
First thing I did was measure the kennel floor. Then I went and bought the foam and fabric to fit the bed, so I added a few inches in length to cover all sides of the bed.Then I remeasured the kennel floor and cut the foam to fit it.

bed

measure kennel

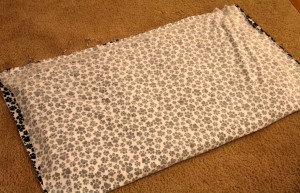
Next I placed the fabric down, put the foam on the fabric and folded the fabric over the foam, connecting the right side edges of the fabric. I could measure, draw and cut, but this way seemed easier to me. I did make a faint line on the fabric around the edges where I wanted to cut giving myself and extra inch to sew the seam.

measure the fabric

Then I cut the fabric.

sew

Cut and Sew

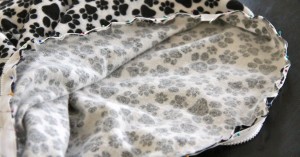
Next I remove the foam, pin the fabric together, get out my machine, and sew a 5/8 inch seam along two sides of the bed. The long side is a fold in the fabric and the other shorter side is where I’ll sew a zipper.

Next I get my long center zipper out, I think it was 22 inches.  I pin it to the right side of the fabric.

zipper

Pin and Sew zipper

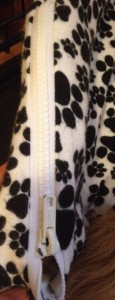
I change to a zipper foot on my machine and sew it in.

zipper

Zipper

Then I place the foam in the giant pillow/bed case, zip it closed, and it’s ready to go into the kennel giving Rusty a comfy bed to sleep on while I’m away.

bed

Trying out his bed

I think he likes it!