 Pin It
I’m turning my adorable dog Rusty into a lion for Halloween! Guess which fur which can be found at Mendel’s I picked.

Find out on Halloween, along with how I made it!
Pin ItIt’s here! The knitting book I ordered, Chick with Sticks Guide to Knitting, came in and just briefly glancing over the first few projects, I have a lot of knitting supplies to shop for. 🙂

Also, I read a section about catching to many stitches on my needles and one way of correcting the problem is to catch a second loop on the same stitch until you get back to the proper number of stitches! Glad to see my instincts were right about that one.

I also finished my first project, a beautiful purple scarf made from baby alpaca, with the aid of the book. It’s only 39inches long. But it’s for a first grader so hopefully it’ll be long enough for her.
Now, I need to tackle a second scarf and shop for supplies to complete some of the projects in this book. I’m so excited!
 Pin It
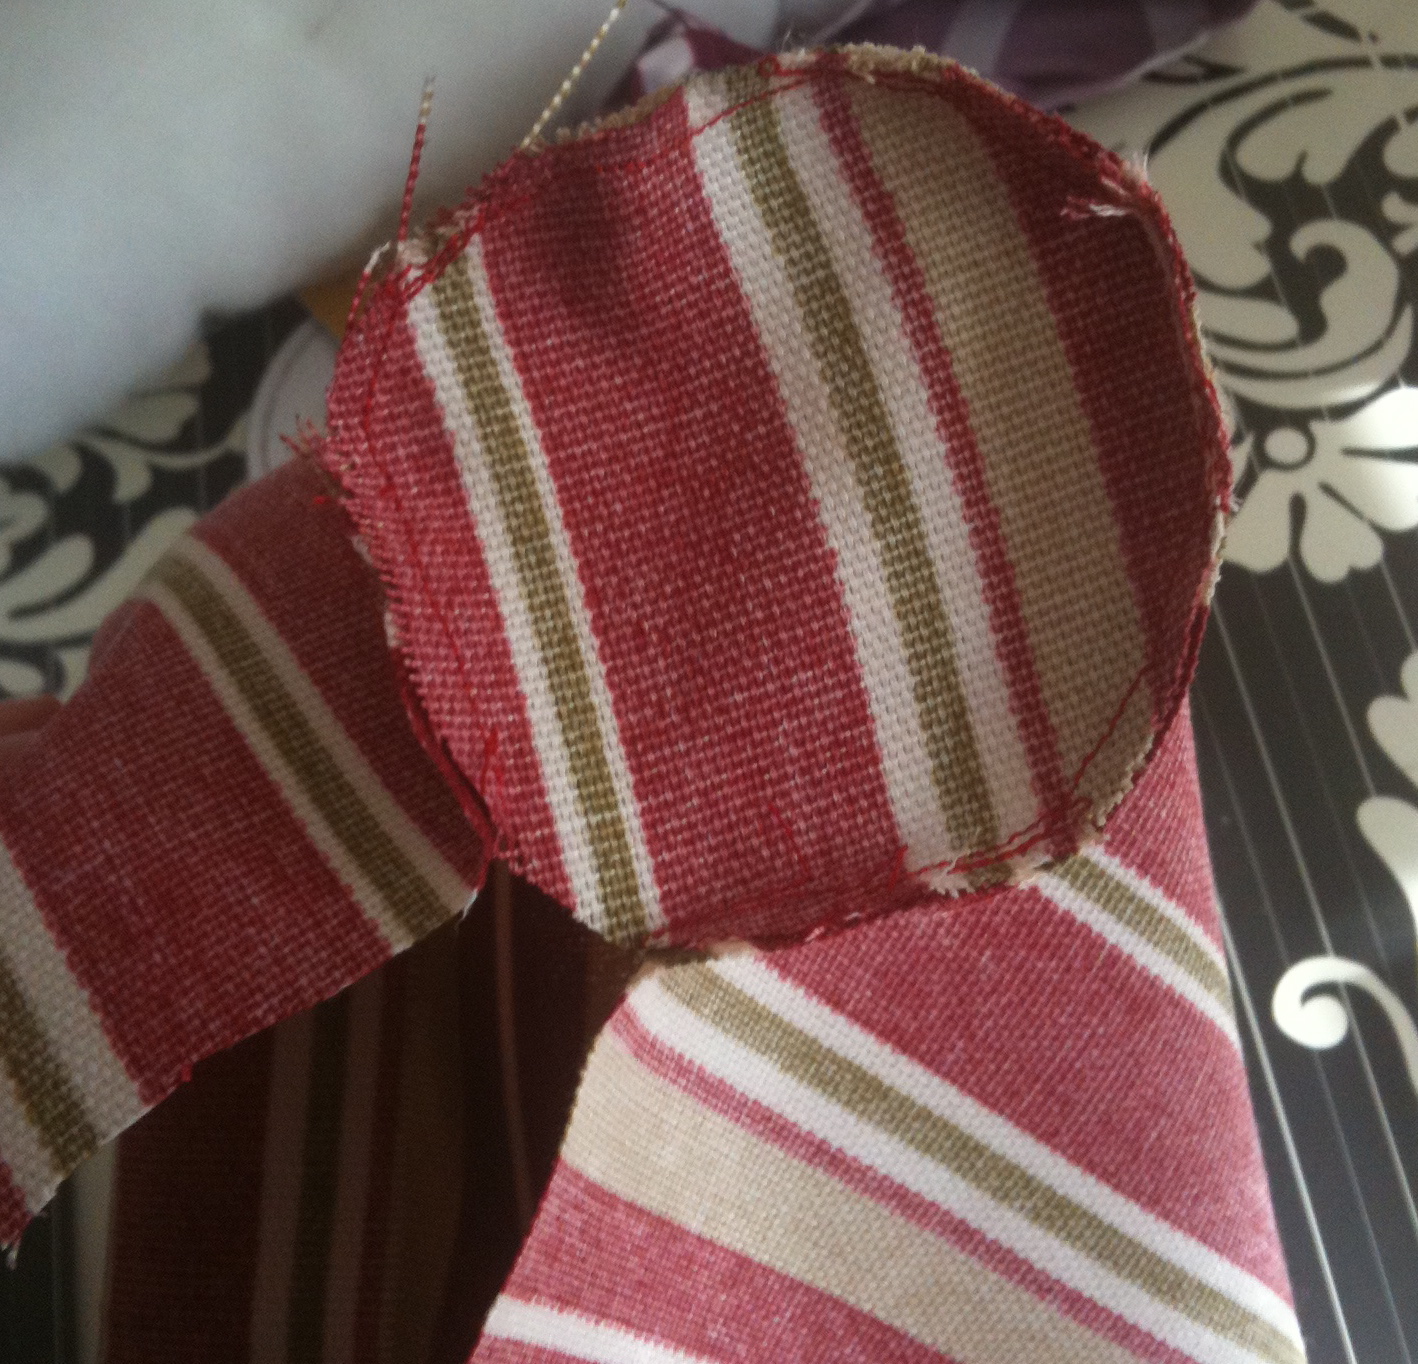
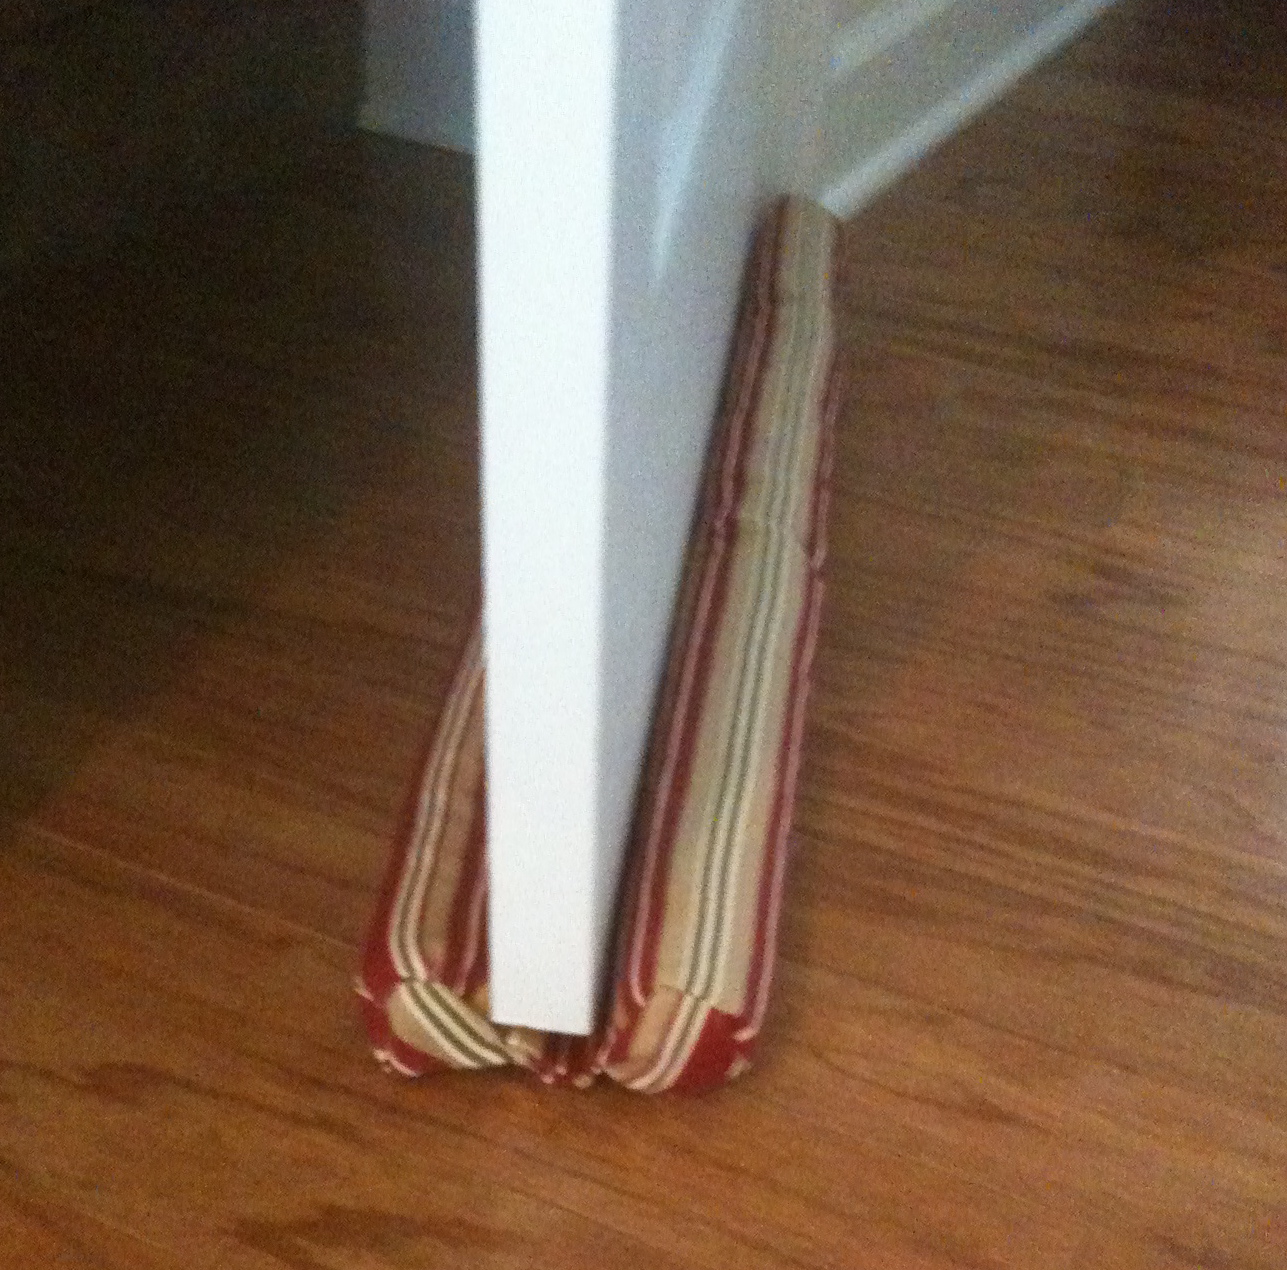
As promised here are my made up instructions for the double sided door draft I made.
How to Make my Make Shift Double Sided Door Draft Stopper
Need:
Directions:
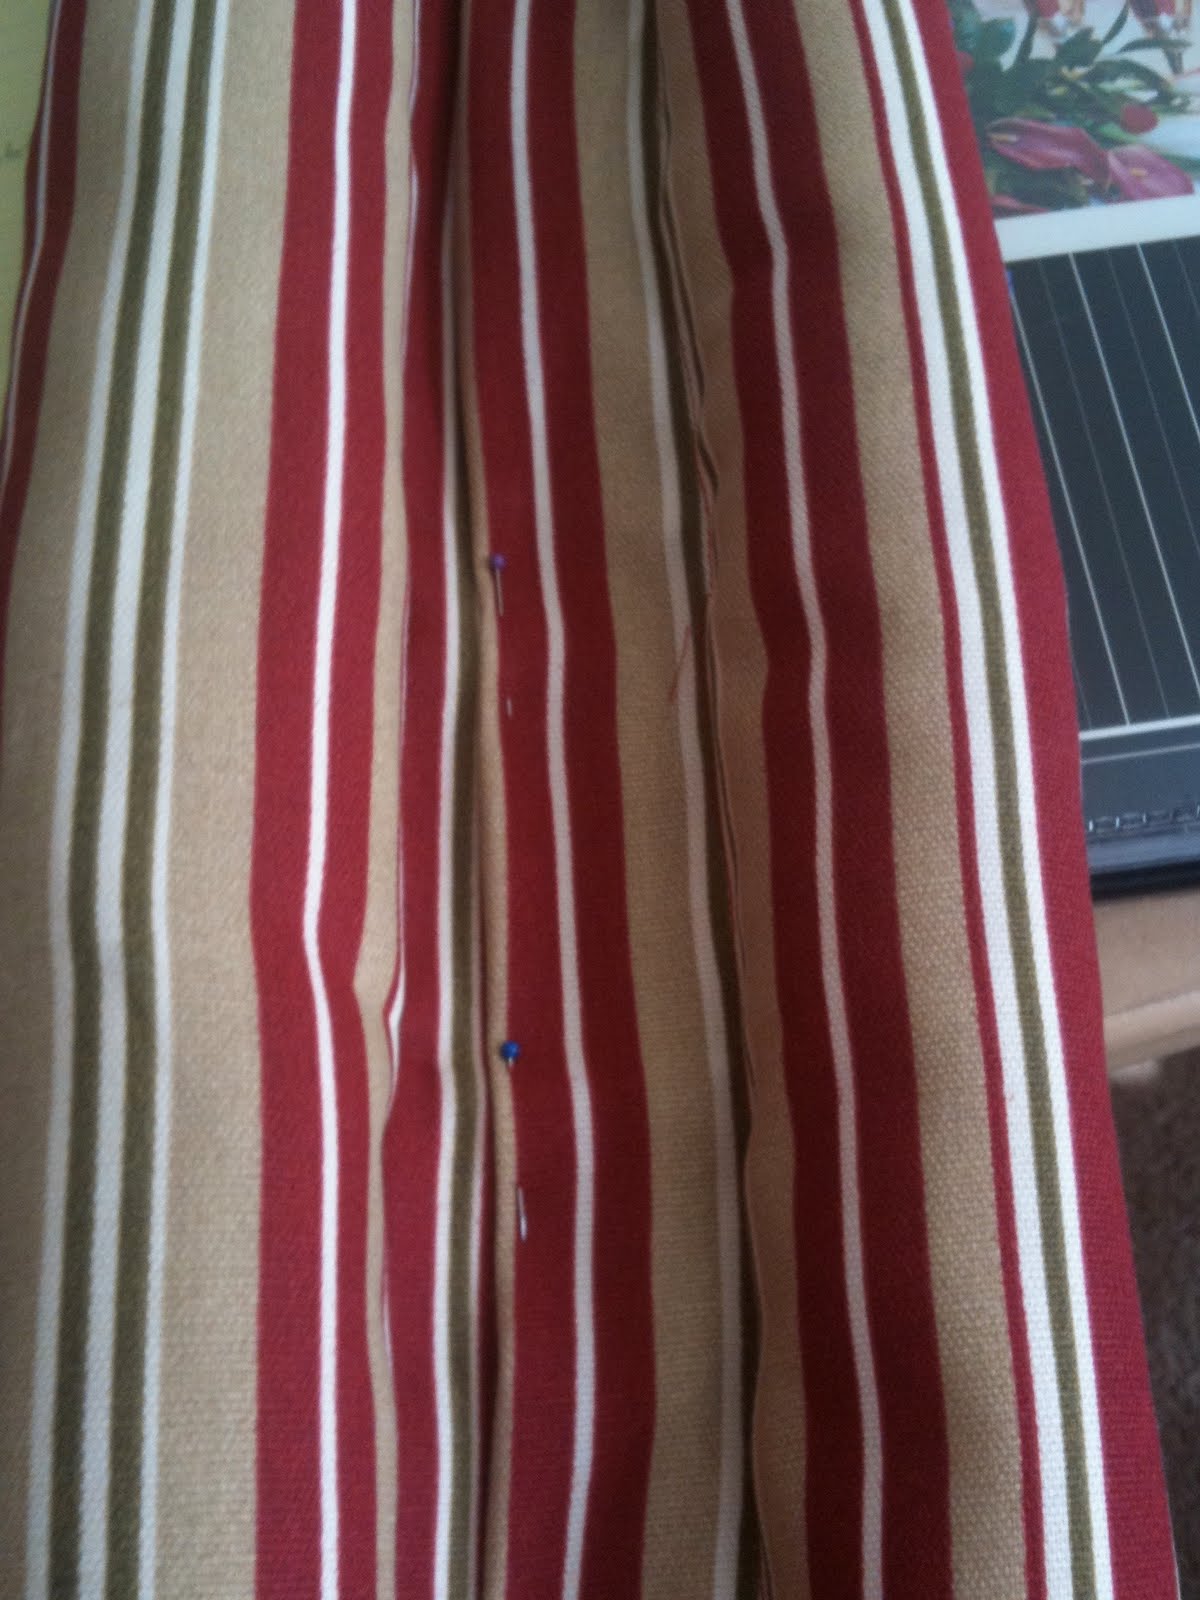
1. Measure door, I think it was around 30 inches and that’s the length of the fabric but add about ½ inch to the fabric. For the width of the fabric it is best to determine after you have made your bolsters. So in step 3.
2. Measure batting to match length of the door and cut two pieces to match the length
3. Roll batting as tightly as possible and sew the batting into a roll, this part is pretty tricky and really annoying but you can get it. For the width of the fabric, it needs to cover both bolsters, leave space to clear underneath the door and give a couple inches for sewing.
4. Find something that you can trace for a perfect circle, like a cup or something, that will fit/be good for the ends of the door draft stopper and cut them out
5. Carefully pin the circles to the ends of the fabric
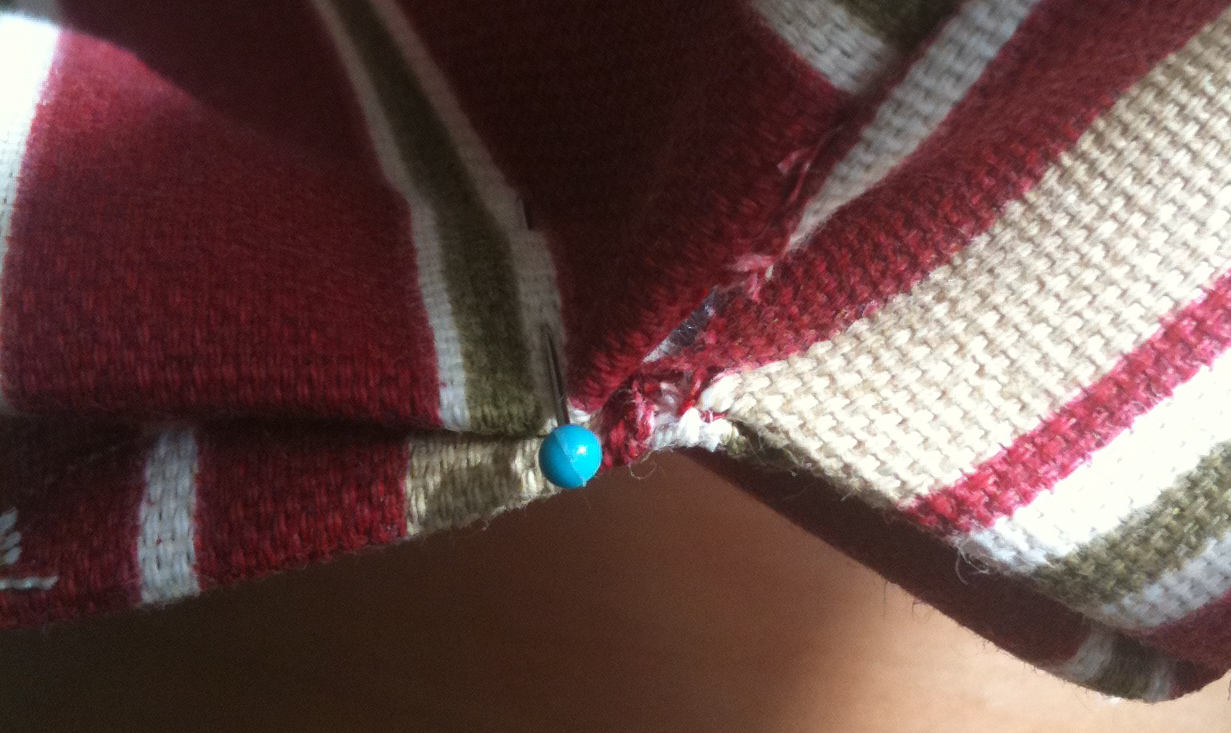
6. Sew on those circles! Right sides facing each other. Careful because this is another annoying part. Sew till the circles are almost all the way sewn shut so there is still space to stuff.
7. Flip to right side is on the outside and stuff the batting into their respected spots. Then pin the fabric tightly holding it into place and then at the end, fold over the ends between the bolsters so the raw edges aren’t exposed.
8. SEW! This gets its own step because it is also annoying to sew to sew as close as possible to the bolster so the machine is constantly hitting it. Repeat on the other side.
9. There should be a side with an exposed edge, fold the raw over and pin it. Then sew to encase the raw edge
10. SUCCESS!!
Might not be the easiest way but I made it up as I went along. Be creative, have fun and be warm!
 Pin It
So as I mentioned previously, I making a scarf for my niece. I’m using size 10 needles and I cast on 14 stitches. I decided on 14 through trial and error until I got a width I liked. I’m using a baby alpaca chunky yarn, it’s 100% baby alpaca and it’s from Cascade Yarns. Here’s the back of the tag, I thought it would be a good idea to keep it so I can remember how many yards there were and so I have reference for color number and lot number.

AHHH knitting frustration! As you can see..

some how I managed to catch more stitches than what I cast on in the beginning! I did this while sitting in the back seat of a car half paying attention to the conversation and half paying attention to my knitting. I didn’t notice it until I got and knitted many rows so I have decided that at the end of each row I’ll just catch two stitches each time until I get to my original number and the scarf will just have a little extra bulge to it. That’s the beauty of homemade, right?

 Pin It
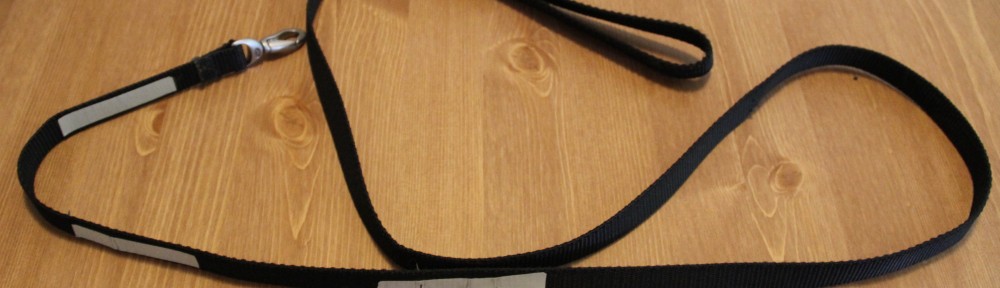
So I have two how-to’s already written out that I had done for others so I thought I would share! The first one is a reflective dog leash and the second is a double sided door draft.
Today I’ll share how I made Rusty, my dog, a reflective leash. Meet Rusty. He just turned three and is a cockerpoo, cocker spaniel/poodle mix. This is what he does when I lay fabric out on the floor, when my table isn’t big enough, to measure and cut. He loves to “help.”

Materials:


 Pin It
Hello and welcome! My name is Rachel and am currently living in the Boston area. I decided to create a space to display, vent my frustrations, express my joys, and share my trials and errors with you for all of my needle craft habits.
Recently a wonderful lady by the name of Marilyn taught me how to cast-on, knit stitch and purl stitch for knitting! I am currently knitting a scarf for my niece! I just cast on 14 stitches on US size 10 needles and knit knit knit! I’ll post step by step instructions on how to hand wind a hank, cast on and knit stitch when I start the second scarf for my other niece.
But until then, I’ll just jump right into it with the scarf I am currently working on. I am also getting a book call Chick with Sticks Guide to Knitting because I’m hoping between the book and Youtube videos I can learn how to bind off. Then I will be completing some of the projects in there as well.
-Rachel


