 Pin It
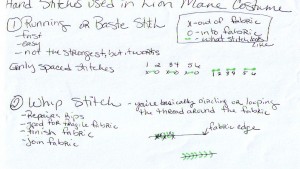
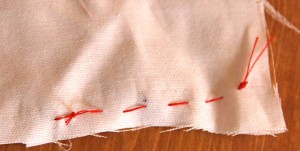
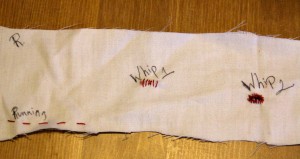
The past couple of projects I have used a couple of hand stitches. One is the running stitch and the other is the whip stitch. I tried my best to draw it but here are a couple of pictures as well.
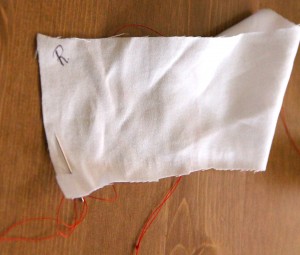
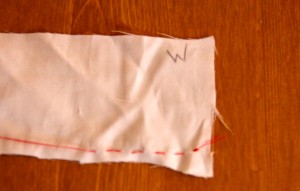
– On my fabric you’ll see a R and W written on it, this is for Right side of the fabric or the side everyone sees when the project is finished and Wrong side of fabric or the underneath part people don’t see.
– Another side note, I found out the hard way that this wasn’t the greatest fabric to do my tutorial with, it breaks and pills very easily. It’s an old pillowcase.
The first stitch is a running stitch. Also called a basting stitch because you can increase the length of this stitch and use it to mark/baste fabric and then easily remove the stitch.
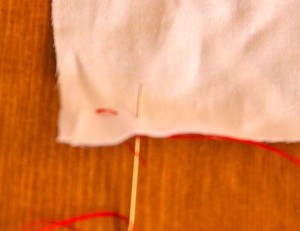
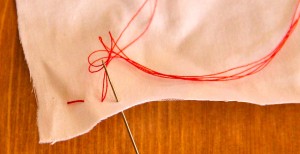
For all hand stitches, use two of string only about forearm length so you aren’t tangling or doing extra unnecessary movements. Also, tie a knot at the end of the thread, sometimes more than one knot in the same place is needed so the knot doesn’t go through the fabric.
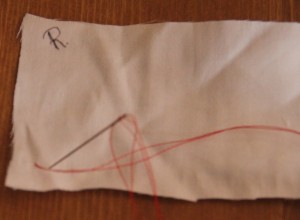
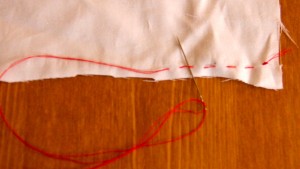
This is where I need to decide how long I want the stitch to be, because I need even straight stitches, which takes practice but even length stitches should always be the goal.
Continue with even stitches until you’ve reached the end.
The wrong side of the fabric should look like the right view of the fabric.
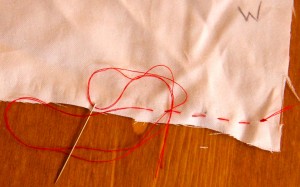
After the stitches are complete, I need to tie it off so the stitches don’t come out, unless I’m basting, I take the needle underneath the last stitch and into the loop it creates to create a knot. I then tie another knot to make sure it is secure.
Tomorrow I’ll go over how to do two different variations of the whip stitch.
