rit dye

How to use RIT dye in the Sink

Posted on
Follow Me on PinterestPin It

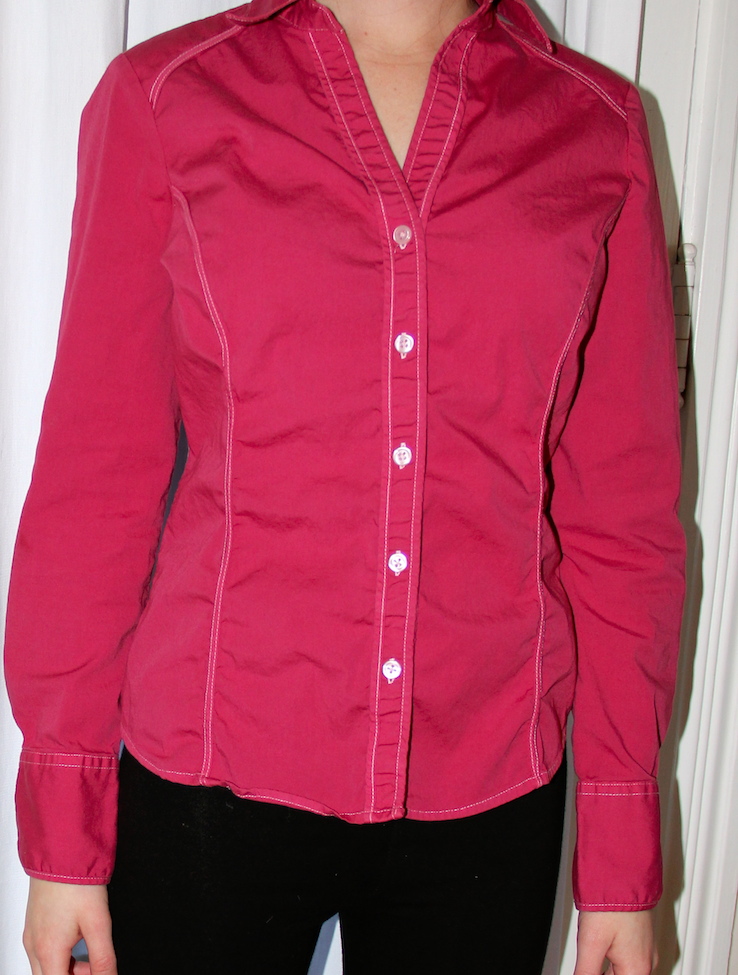
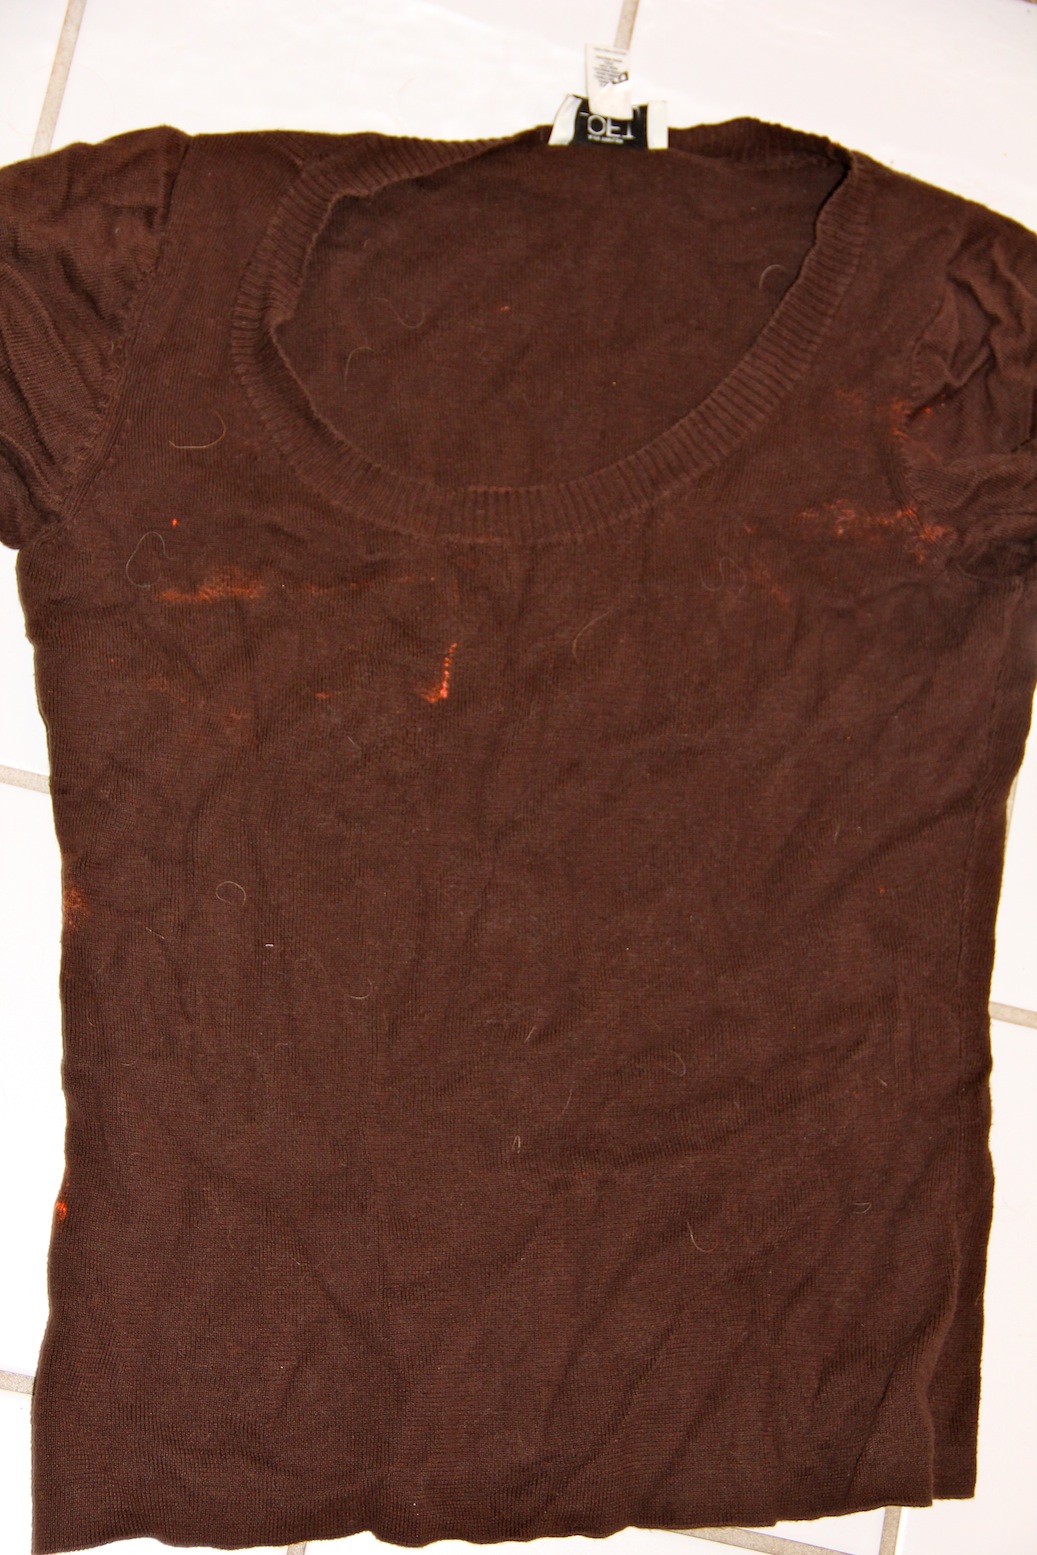
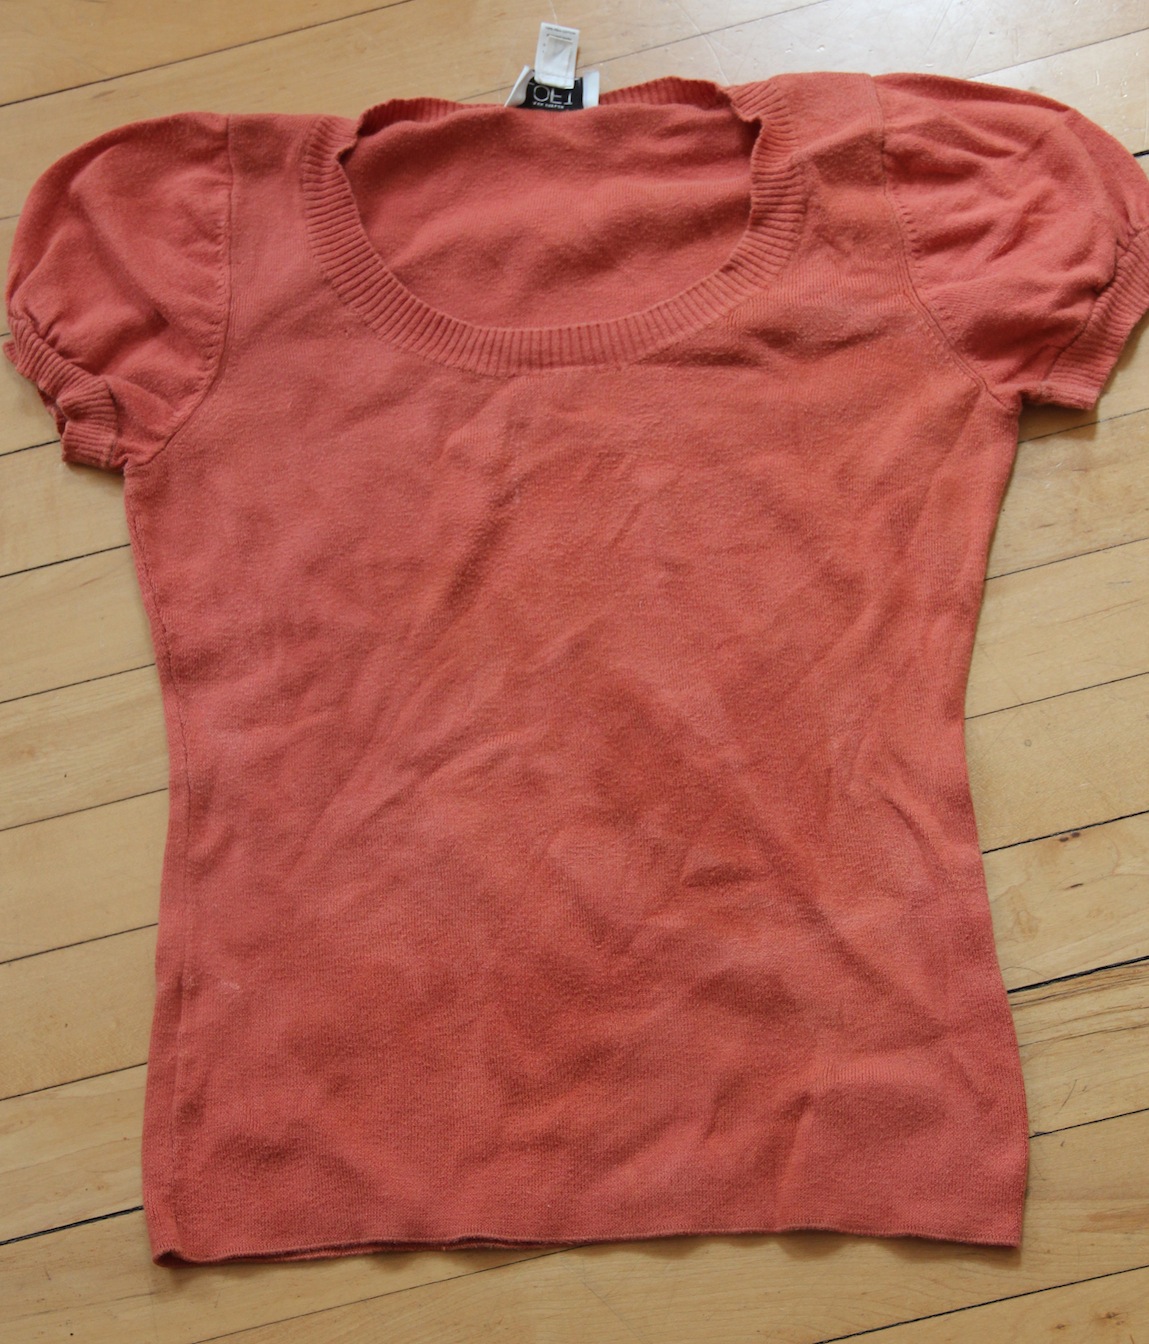
I have this shirt that I love the way it fits but I managed to get a stain on the sleeve. I have a couple of RIT dye just sitting in a drawer begging to be used. I decided to go with the wine color. It’s a pretty color for a button up shirt. I have to use the sink to dye because my apartment upright machines are plastic and I’m slightly terrified I’d stain them. My stainless steel kitchen sink works out perfectly, it won’t stain and I don’t have to be in the basement of my building.
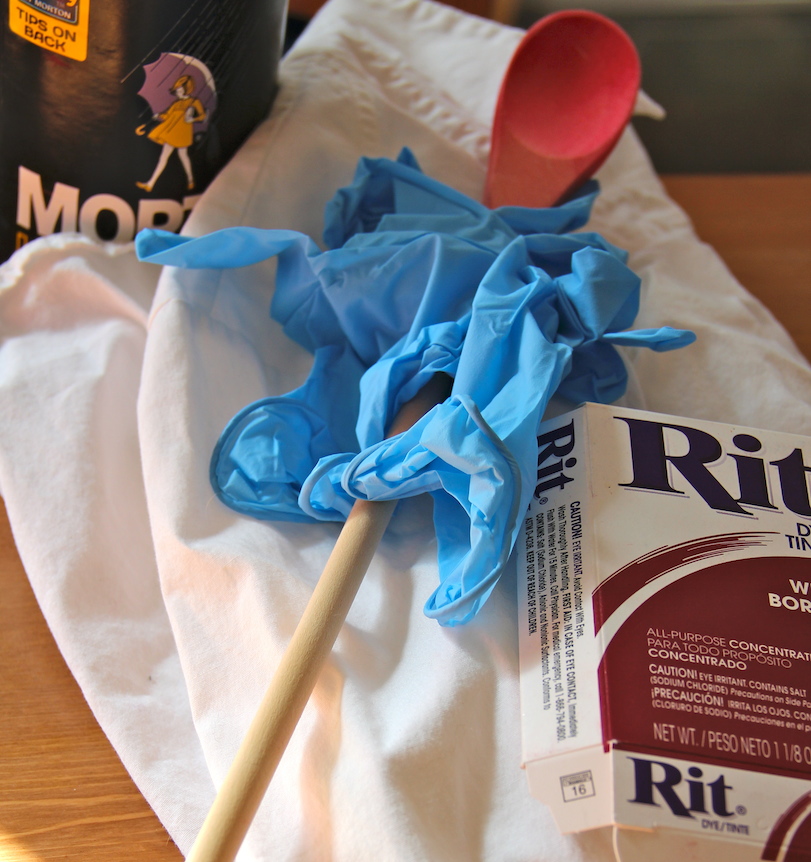
Things I used:

  • Hair tie – always need to pull your hair back
  • Throw away clothes –  chore clothes, clothes you don’t care if they get stained
  • Towel – again one you don’t care if it gets dyed
  • Gloves
  • RIT dye
  • Clothes to dye
  • Something to stir the dye bath
  • Approximately 1 cup of salt
  • Measuring cup with something to stir that will get dye on it like stainless steel spoon

rit dye

Notes:

  • Wear gloves the entire time! Yes, they’re uncomfortable and probably don’t fit right but it’s better than stained hands.
  • I don’t care what the package says. I always do one packet of dye per article of clothing. I feel it gets the best color that way.
  • Put some music song to get you from getting bored while stirring the dye bath.

Directions:

  1. Put your gloves on and mix 2 cups hot water and one packet of dye.
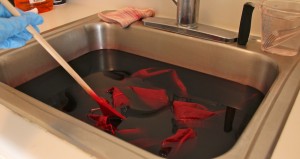
  2. Put stopper in and fill sink with hot water so there’s enough water for the clothes to freely move around in the sink. Add the 1 cup of salt. I didn’t measure it, I just guessed.
  3. Add the dye to the sink and stir.
  4. Start your microwave or kitchen timer to 30 minutes. I actually did 20 minutes but you’re going to leave the clothe in the dye bath until the desired color is achieved.
  5. Add clothes, make sure it is completely soaked and start stirring. Stir the entire time.rit dye
  6. When time is up, let the water out (yay for gloved hands) of the sink and rinse the clothes. You want to rinse in warm water and gradually going to cold until the bleeding stops.
  7. Wash separately in warm water and dry as usual. Also, rinse and wash separately the towel used to clean up.
  8. Clean the counter and sink with bleach.
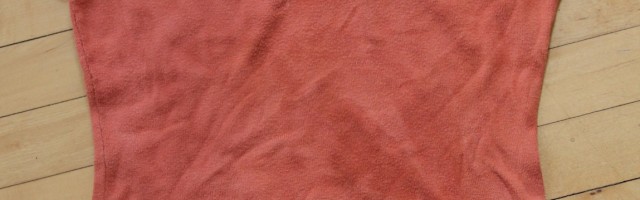
  9. Enjoy your newly dyed clothes!

rit dye


bleach a shirt

How to Bleach a Shirt

Posted on
Follow Me on PinterestPin It

I have this sweater style t-shirt that I accidentally got some bleach on. It’s disappointing but not surprising that I managed this. I didn’t want to go around with a dark brown shirt with a few random orange spots and I also didn’t want to throw the shirt away. So, I decided to bleach my shirt in trying to make the entire shirt orange.

bleach a shirt

This to ———->bleach a shirt


Here’s what I did.

Materials:

  • bleach
  • water
  • shirt/item you want bleached
  • rubber gloves
  • clothing you’d be ok if bleach accidentally got on
  • hair tie, bobby pins to keep hair out of your face

Instructions:

  1. Make sure the item you want bleach is clean
  2. In a stainless steel sink or something white, I used a small white trash can, do a mixture of ¼ cup bleach to 2 quarts warm water, the warmer the water the more bleach the item will absorb. I also did this in my tub if some of the bleach water splashed around.
  3. Add your item and let it soak for about 20 minutes. I let it soak for 30 minutes because I went and watched TV while I waited and checked/stirred it on commercial breaks.
  4. In the tub or sink completely rinse out item and wash in your machine separately,  following tag instructions. 

Now I have a new shirt and I didn’t have to pay for it! I feel like the picture doesn’t do the pretty pumpkin shade of orange justice.


dye fabric

How to Dye Fabric in the Sink using Dylon’s Dye

Posted on
Follow Me on PinterestPin It

dye fabric

I am going to make another costume for Rusty, well at least attempt to make one. I really didn’t want to spend the money on expensive fabric because I’m going to make it up as I go, so I decided to buy muslin and dye it. I also decided to dye some of the embroidered fabric that I used for my tree skirt. I have a lot of that leftover and I was curious to see how it would take to dye.

I used Dylon Dye in Tulip Red because it is a permanent fabric dye and I wanted to try something new. The dying process took a little over an hour.

Here’s basically what the package says with my advice thrown in there:

Have a plastic bag open and ready for you to toss in the dye packet and gloves for when you’re finished to avoid the risk of staining other things around your kitchen like the floor or garbage can. 

dye fabric

supplies

1, 1.75oz, packet can be used for up to ½ lbs of fabric or one large t-shirt

Cover your counter around the sink with newspaper or rags if there is a spill or splash or you’re a klutz like me.

1. Weigh and wash fabric and leave it damp.

2. With gloved hands dissolve entire packet, use scissors to open to prevent the dye from flying everywhere, into 4 cups of warm water in a bowl or something you don’t mind getting stained

3. Fill a stainless steel sink, or bowl, with enough warm water to allow the fabric to flow freely give it space to dance

4.  Add 4 Tbsp of salt to the water and add the dye Yes that IS a lot of salt

5. Put that fabric in the sink

6. Stir constantly for 15 minutes. I made the mistake of not having any music on making the 15 minutes seem like an eternity. 

dye fabric

muslin after 15 minutes

dye fabric

embroidered fabric after 15 minutes

Then stir regularly for 45 minutes. Looking for a way to make your significant other or roommate nervous? Stir the dye bath with your dominant hand while texting with your non-dominant over  the sink. 🙂 Just don’t accidentally drop it in. 

7. Rinse fabric with cold water. Then wash it in warm water. To dry, line dry inside away from direct heat and sunlight. I laid mine flat on a towel that was darker than the dye and didn’t care about if the dye happened to stain it. Let it dry over night.

dye fabric

right after washing, still soaked

dye fabric

fabric after it dried

I’m kind of pleased how it turned out. I had no idea if the embroidered fabric would take dye, because I couldn’t remember the fiber content. As for the pattern piece, it’s a little more pink than I was hoping but part of that is my fault. I did have slightly more than ½ lb of fabric which was the greatest weight recommendation. My hopes were for a richer red. But I can make it work and I would use Dylon’s Dye again. I just need to buy 2 packets instead of one to be on the safe side.

dye fabric

color I got vs color I was hoping to get