 Pin It
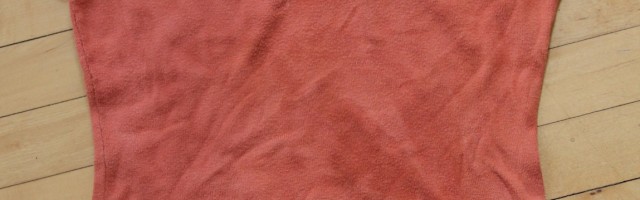
I have this sweater style t-shirt that I accidentally got some bleach on. It’s disappointing but not surprising that I managed this. I didn’t want to go around with a dark brown shirt with a few random orange spots and I also didn’t want to throw the shirt away. So, I decided to bleach my shirt in trying to make the entire shirt orange.
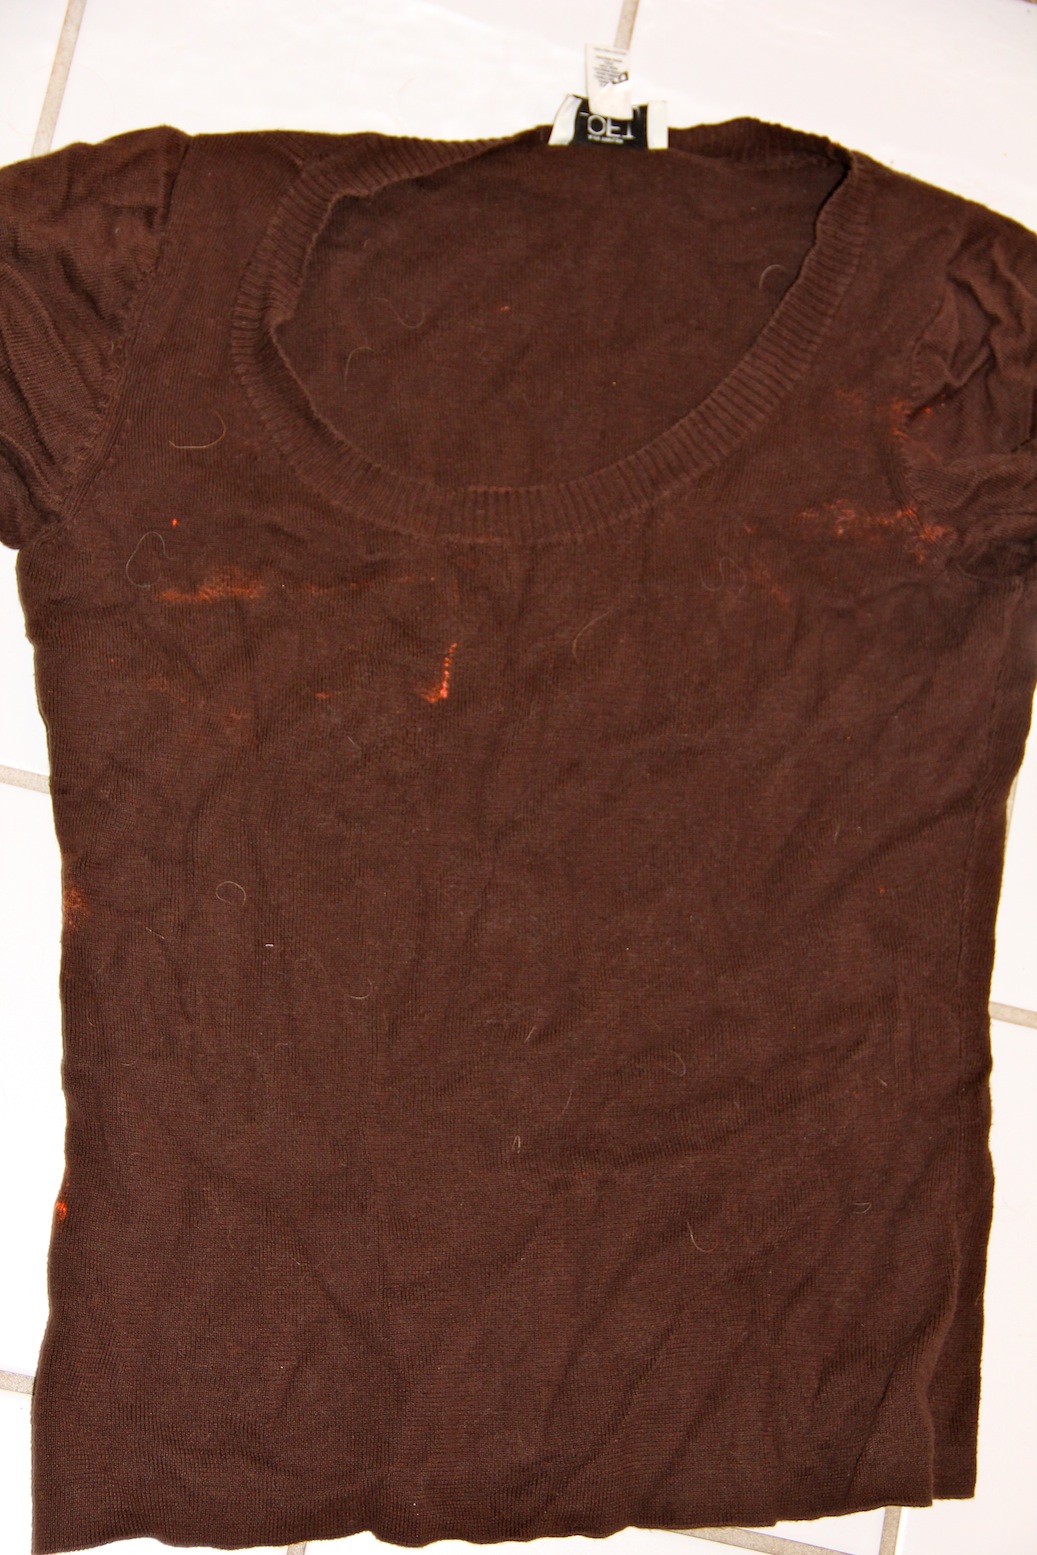
This to ———->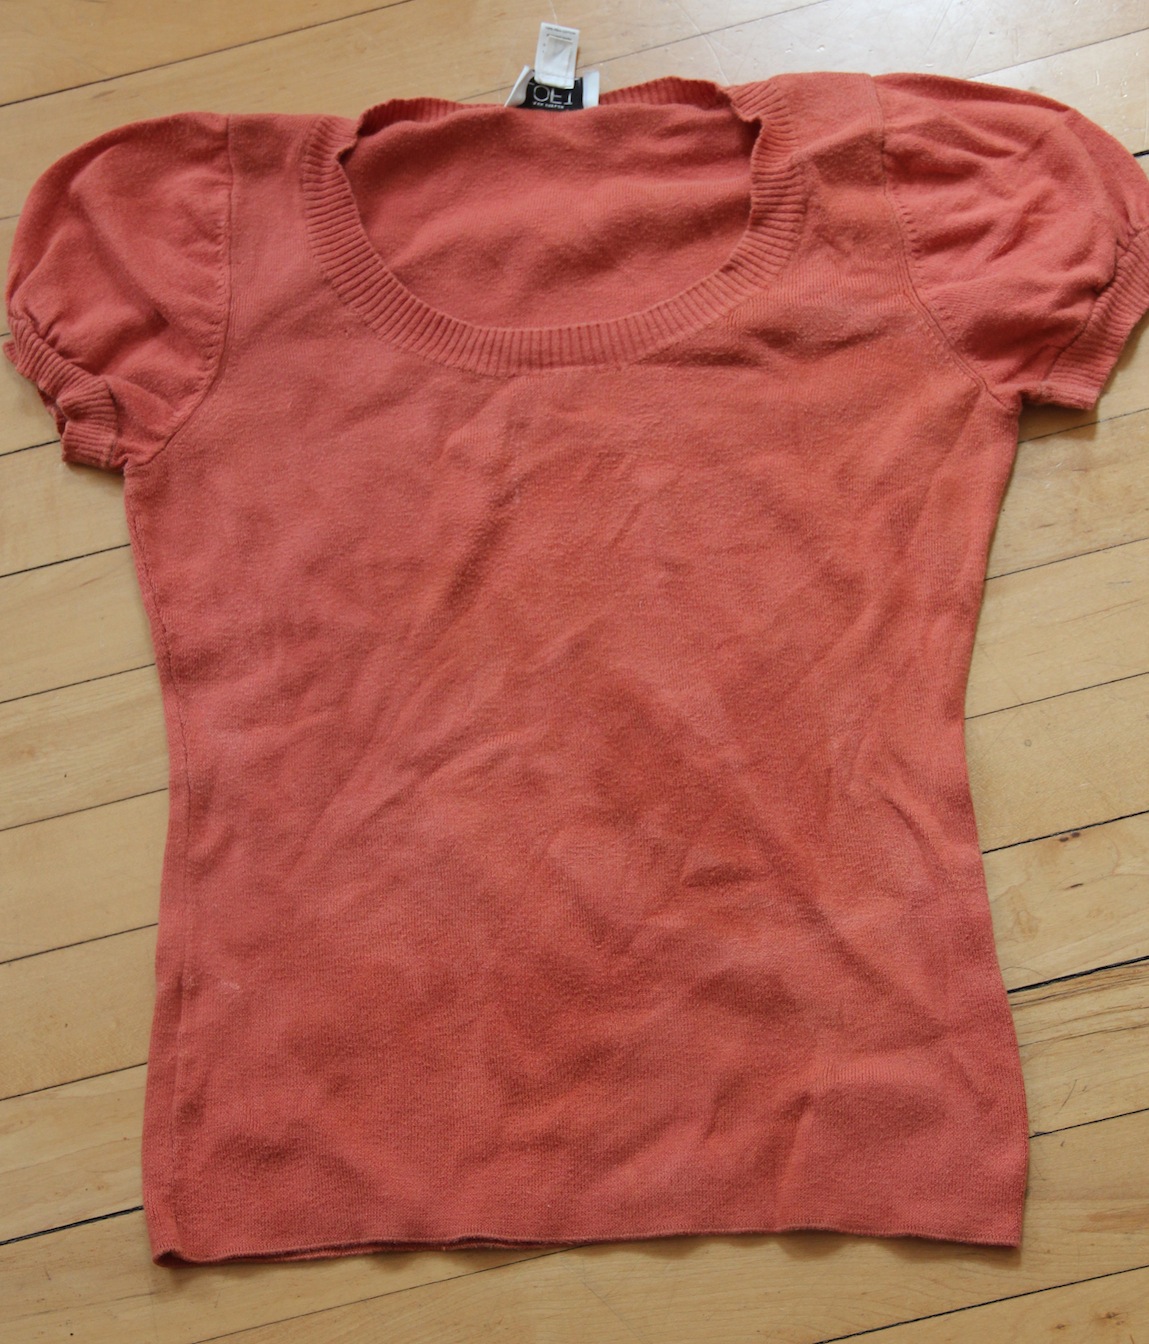
Here’s what I did.
Materials:
- bleach
- water
- shirt/item you want bleached
- rubber gloves
- clothing you’d be ok if bleach accidentally got on
- hair tie, bobby pins to keep hair out of your face
Instructions:
- Make sure the item you want bleach is clean
- In a stainless steel sink or something white, I used a small white trash can, do a mixture of ¼ cup bleach to 2 quarts warm water, the warmer the water the more bleach the item will absorb. I also did this in my tub if some of the bleach water splashed around.
- Add your item and let it soak for about 20 minutes. I let it soak for 30 minutes because I went and watched TV while I waited and checked/stirred it on commercial breaks.
- In the tub or sink completely rinse out item and wash in your machine separately, following tag instructions.
Now I have a new shirt and I didn’t have to pay for it! I feel like the picture doesn’t do the pretty pumpkin shade of orange justice.


