cross stitch heart

Cross Stitch Heart Pattern

Posted on
Follow Me on PinterestPin It

Cross Stitch Heart

I was thinking about Valentine’s Day and realized I didn’t have a cross stitch heart pattern. I wanted it to be like something I use to draw in junior high, you know, the heart with my love’s and I’s initials in it. Then I thought about Rusty and how he is part of this family, so I put half a paw peeking out over the top of the heart.

cross stitch heart

Pattern


The pattern didn’t turn out the greatest when I scanned it because I pretty much beat it to death while I was completing the stitching, taking it everywhere with me. Next time I’ll scan it before I start the stitching. Lesson learned.


cross stitch heart

Stitching the paw print was a pain in my rear. Even though I had my pattern the squares are so tiny that it would have benefited me and the pattern to make it a bit bigger if I want to stitch this heart again.


I really need graph paper with smaller squares so I can make bigger patterns. This tiny heart reminds me of a Pound Puppy patch! I don’t know what I’ll do with it now that the stitching is complete, maybe I will put it on a stuffed animal and then watch the Pound Puppies.


tie for dog

How to Make a Tie for a Dog

Posted on
Follow Me on PinterestPin It

tie for dog

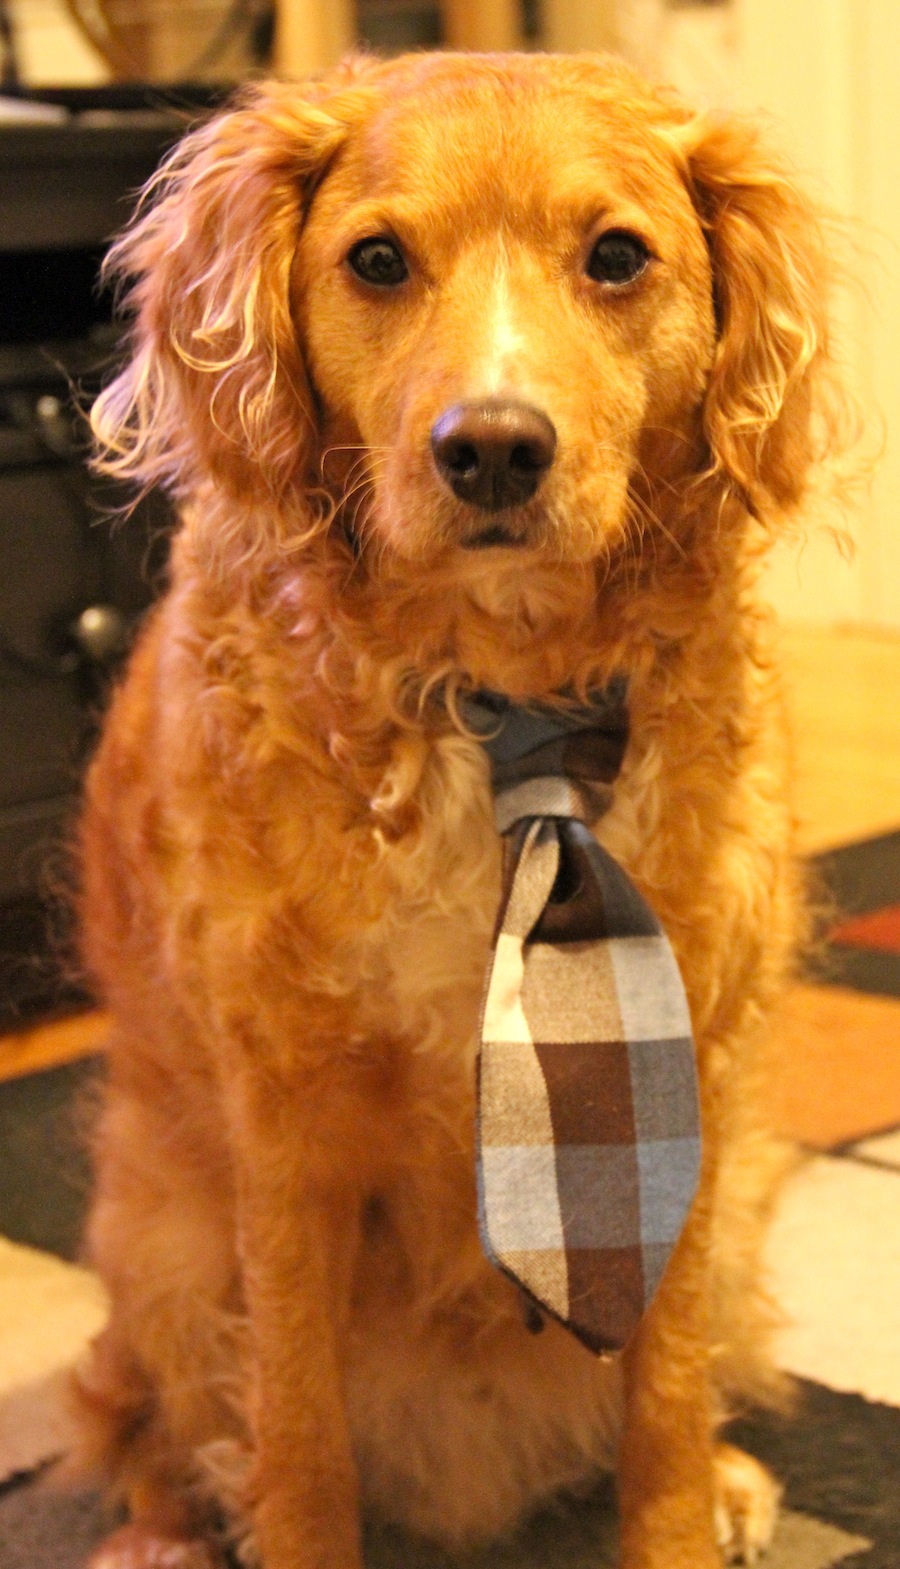
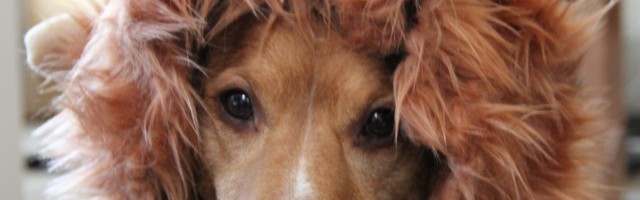
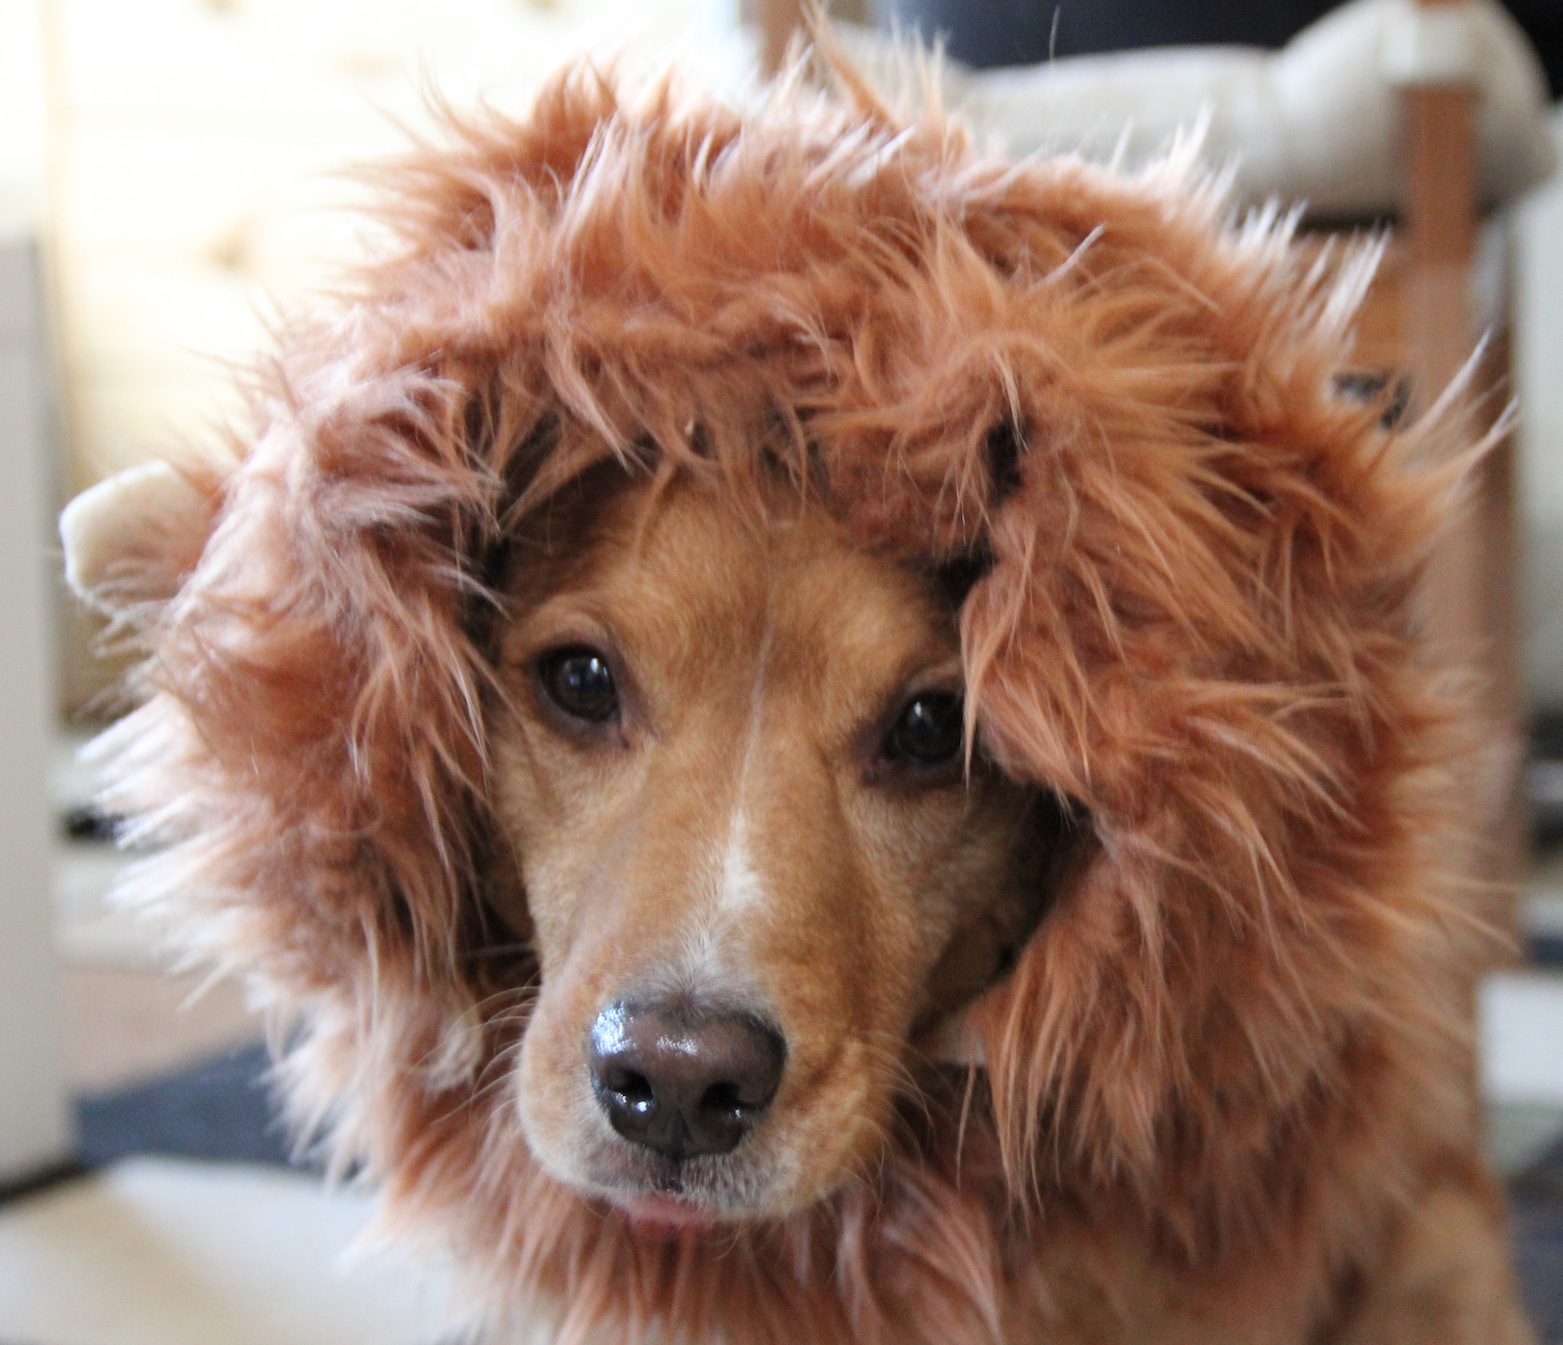
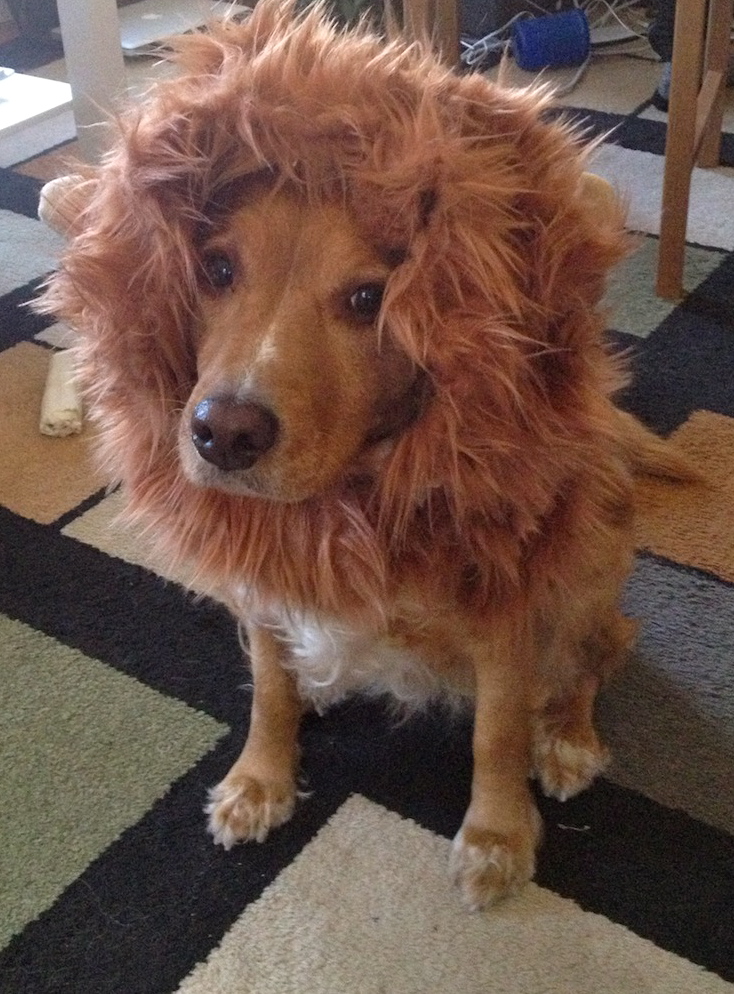
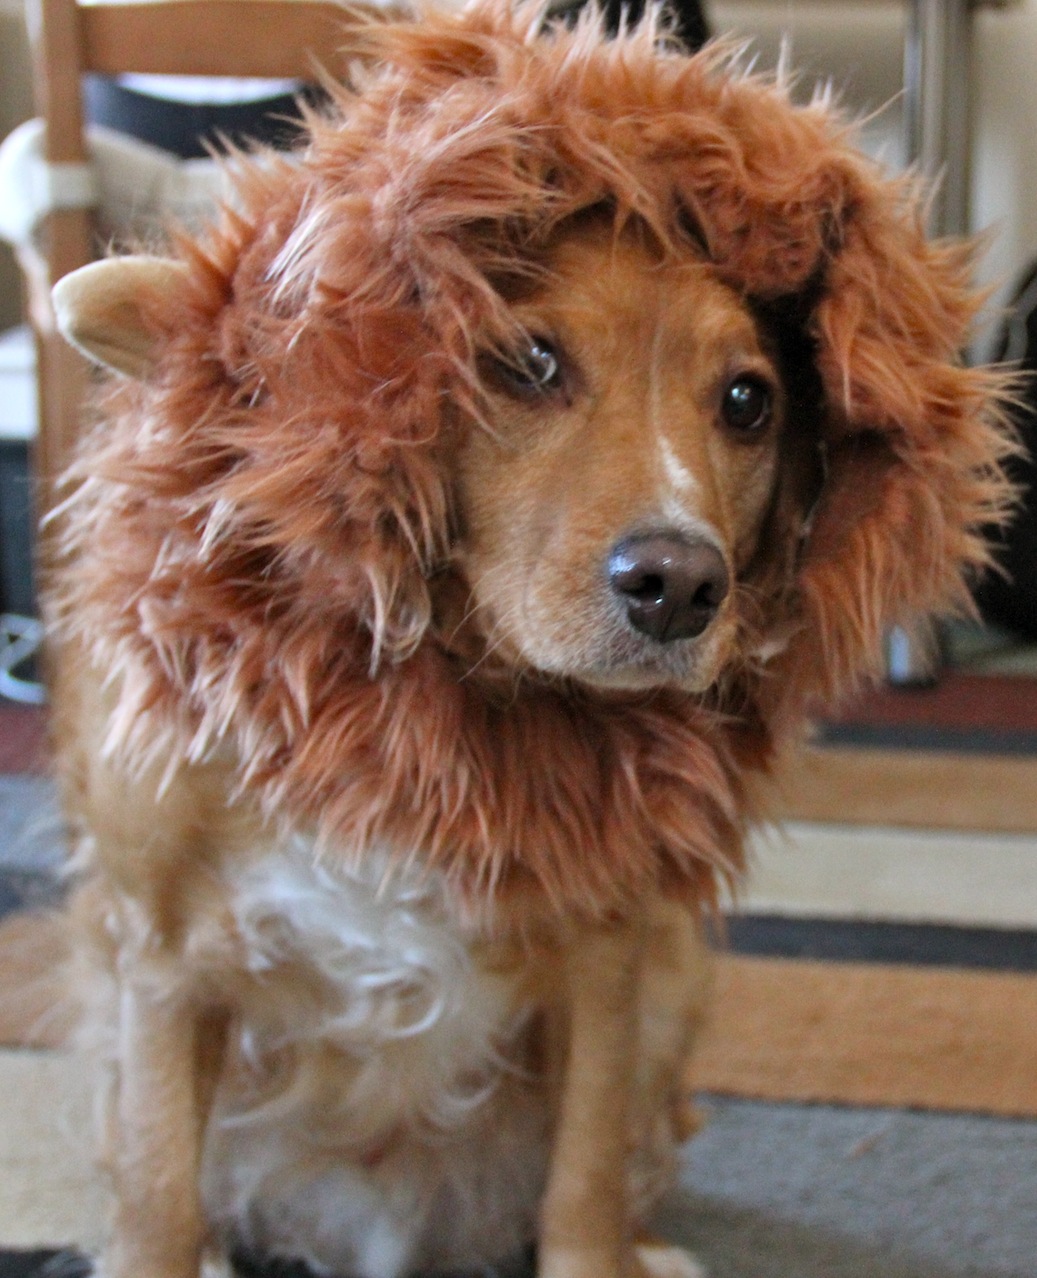
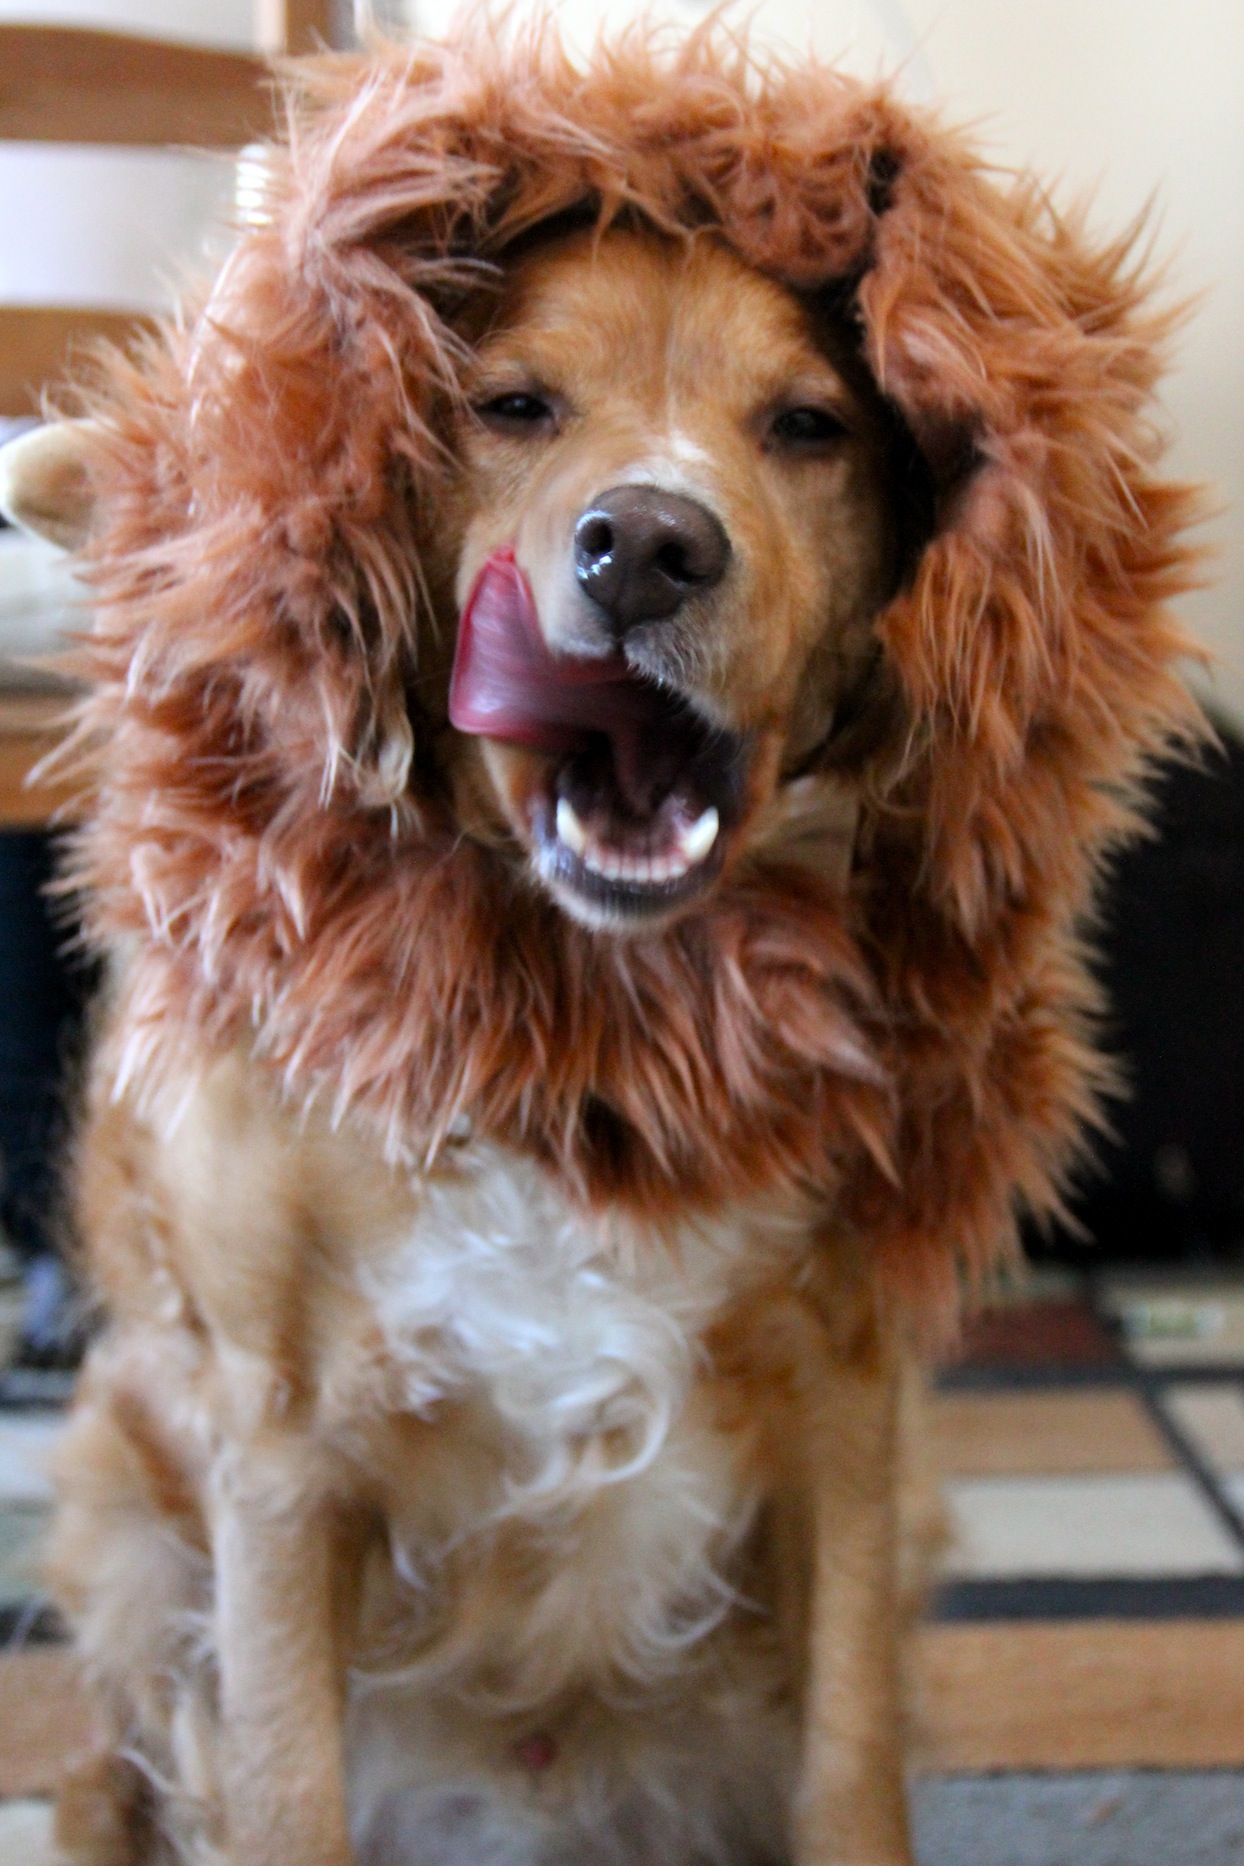
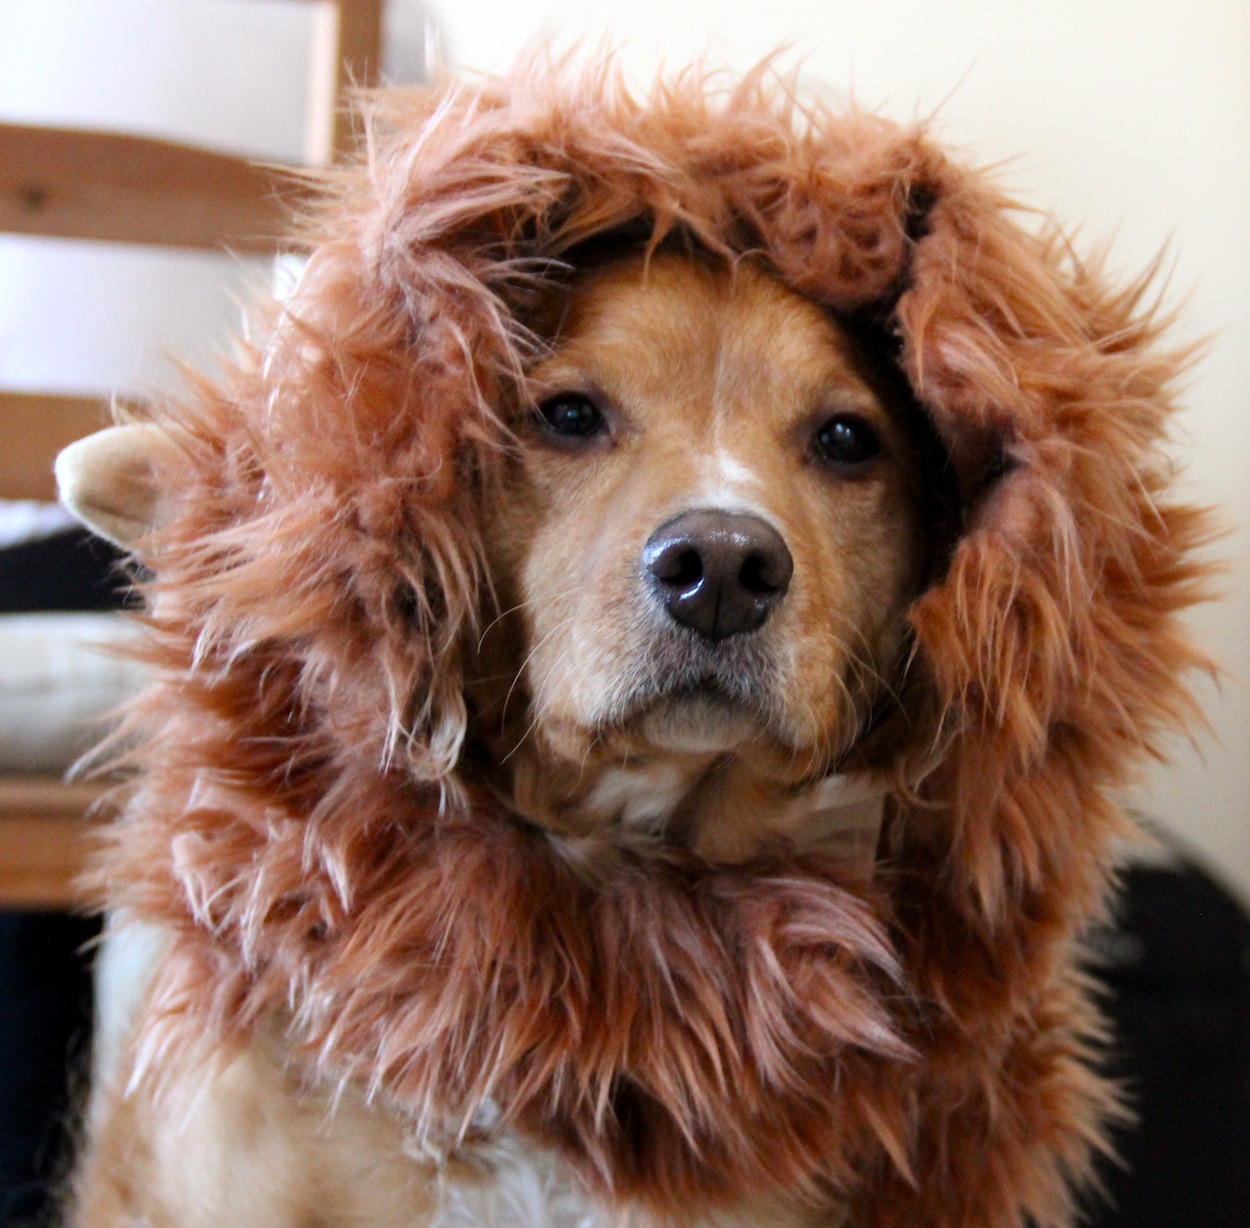
I made a tie for a dog, my dog! Rusty has been going to work with me and I decided he needed an update to his office attire. I went with a tie. Now this is a very simple design. I could have gone one step farther and made it wider and then folded the sides in and tacked them down like a typical tie but the way I did it worked for me. Besides, it’s a tie for a dog, perfection is not required because any dog wearing any type of tie is going to be adorable.

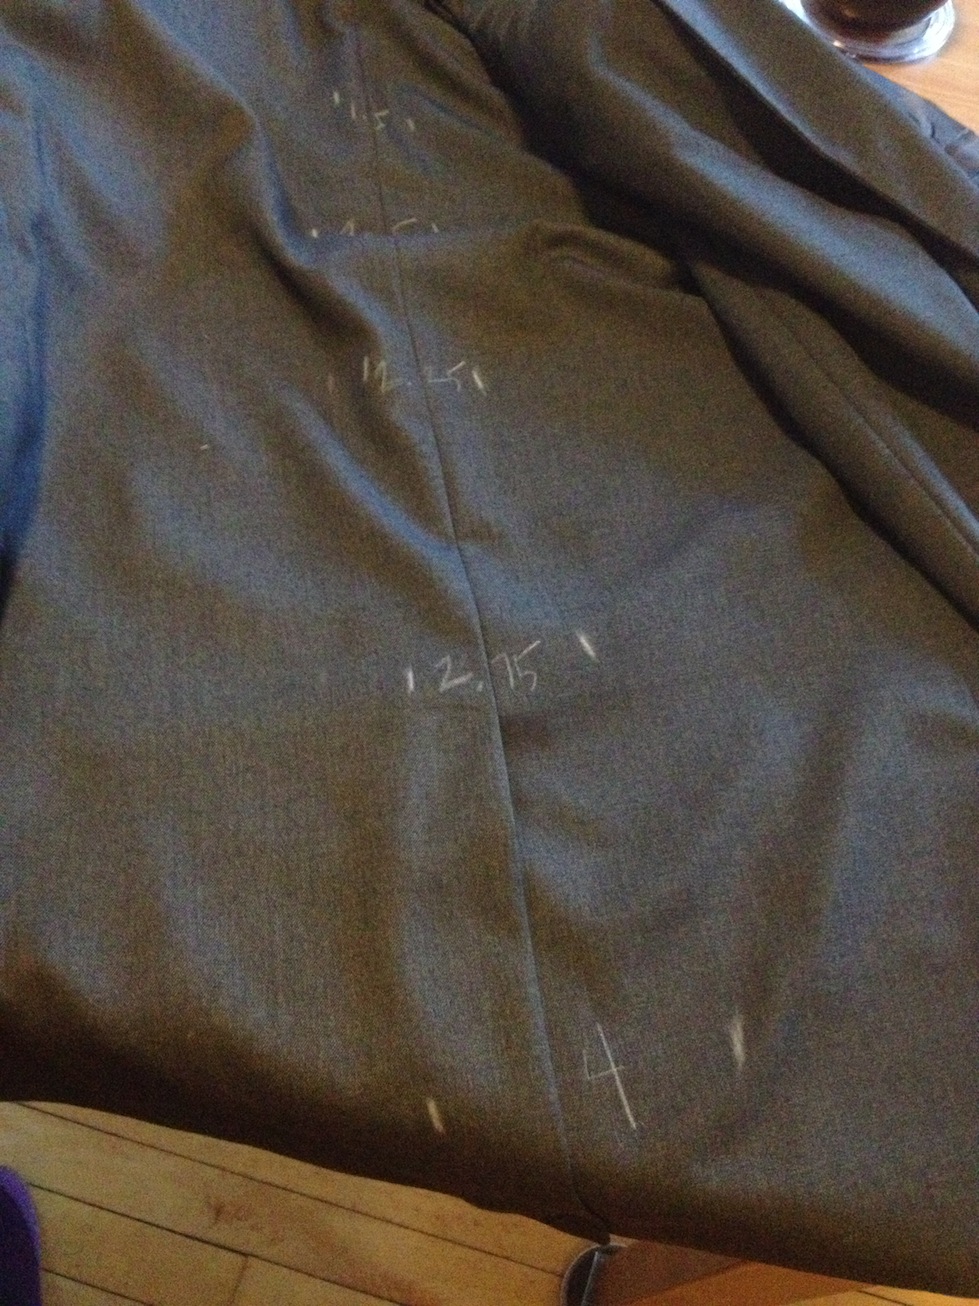
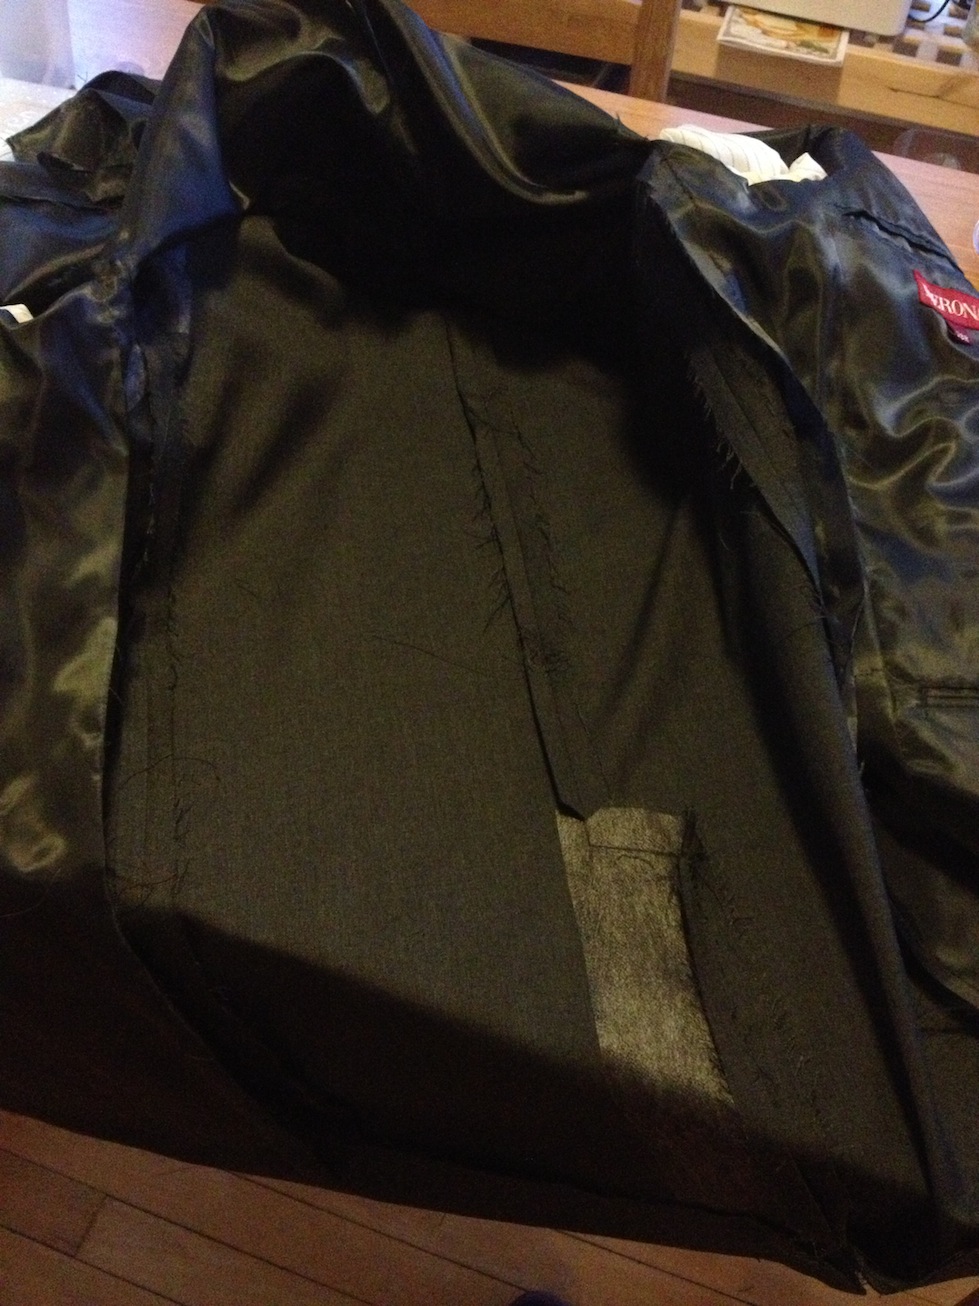
1. I used one of my husband’s old ties as a basic pattern and just shortened the length. The length of my tie is 40 inches mainly because that is the length of the leftover flannel fabric I had. Also, I used an old tie just in case I accidentally clipped it with my scissors. If you don’t have a tie to use, there are many free patterns online for ties from newborn sizes to men’s.

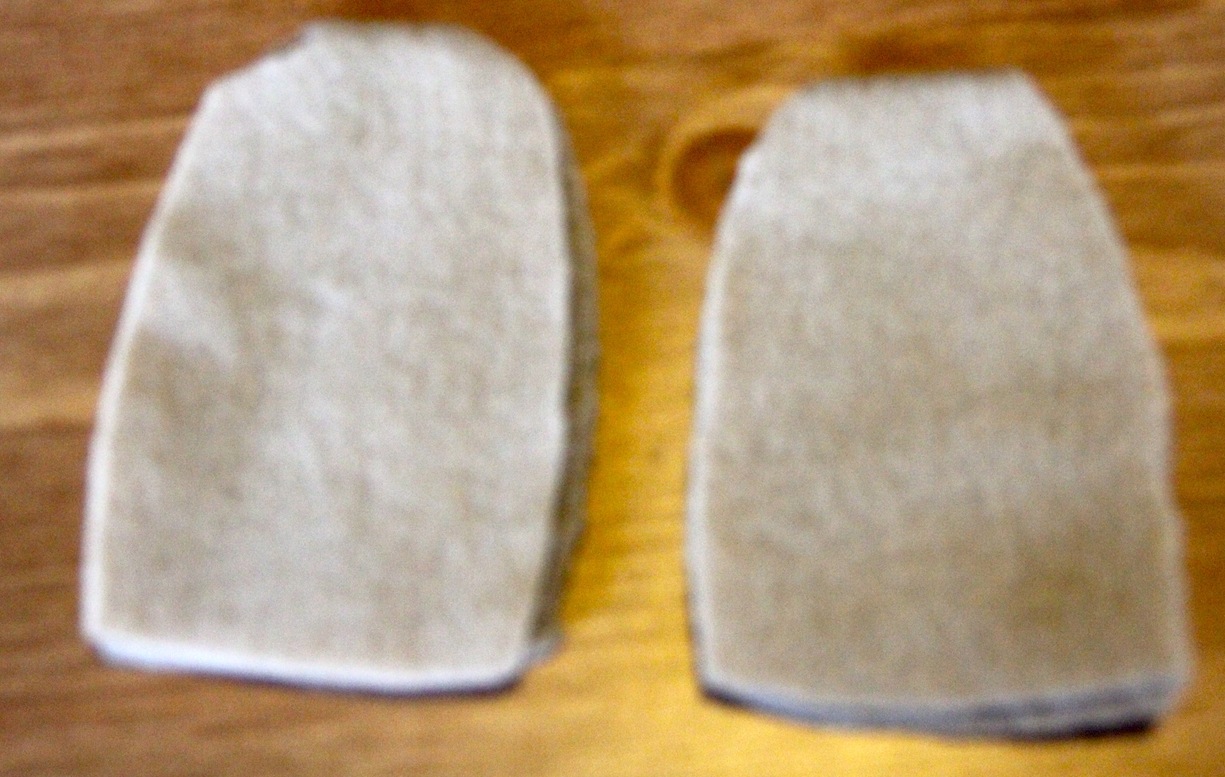
I pressed the fabric and then folded it in half before I laid the tie on it so I could cut two equal pieces.

tie for dogtie for a dog


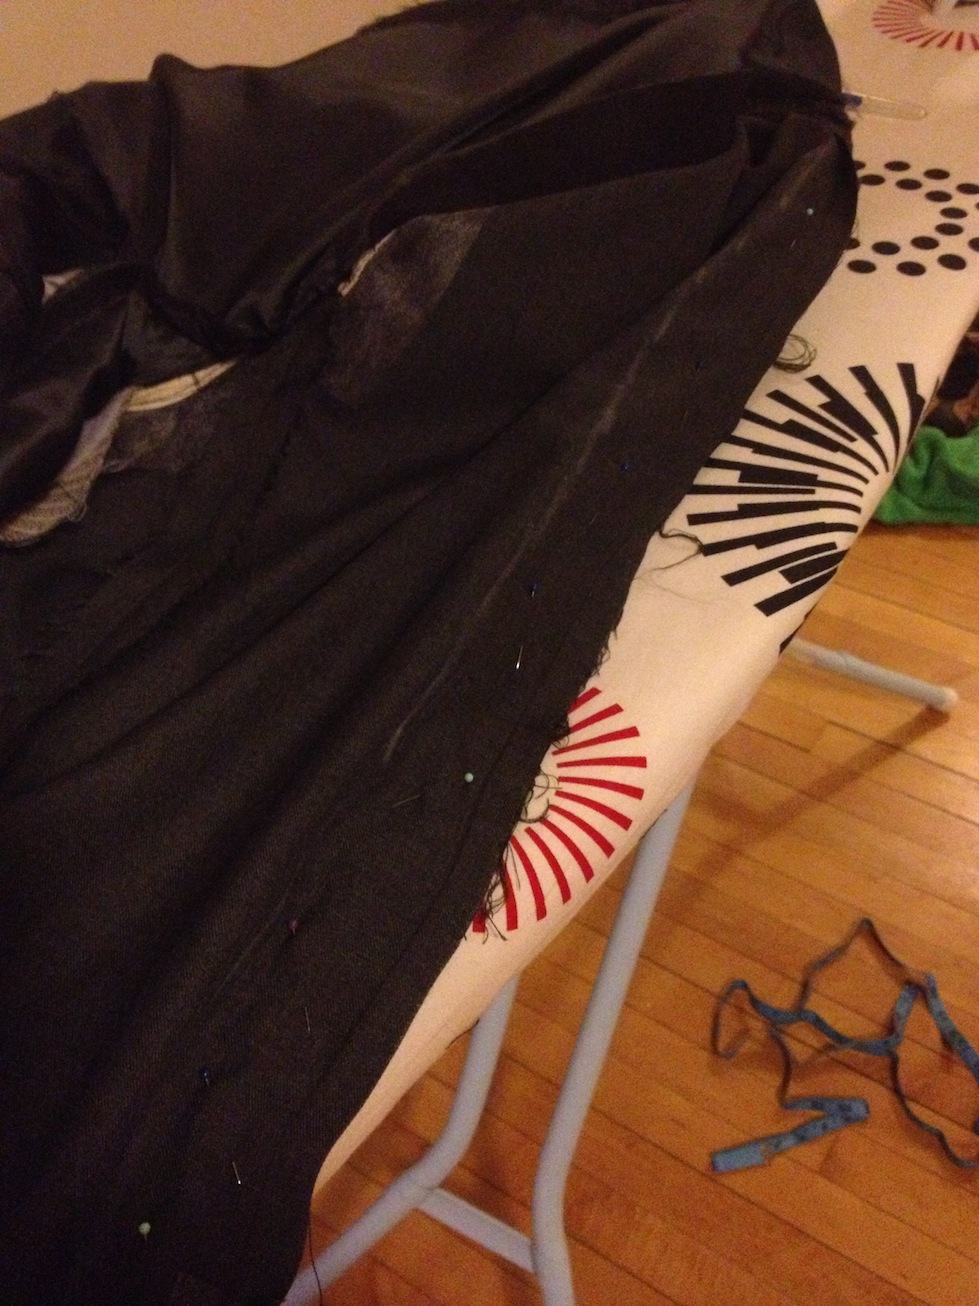
2. Next I pinned the tie onto the fabric, folding the tie to adjust the length.

3. I cut the fabric with my pinking shears because I just bought them and couldn’t wait to use them. I cut just outside the fabric. The area where the tie is folded, I just angled the scissors inward to reach the skinny part of the tie. Then I unpinned and removed the tie and adjusted the angle to make sure there was smooth line for the length of the tie.

4. I decided to apply fusible interfacing to both points of the tie because I wasn’t doing the traditional tie where, on the back of the tie, both sides fold in towards the middle, and wanted to create a little bit of heft to the fabric.

– For interfacing, cut it just on the inside of the seam line so you don’t have to sew through the extra bulk. Next, lay the fabric wrong side up on the ironing board. Then place the interfacing on the desired part of the fabric shiny side down. Place a pressing cloth over the fabric and interfacing. With a steam setting, use the spray button on the iron and wet down area of interfacing and iron over it, constantly moving for about 30 seconds. Allow the fabric to cool and then check to see if it is fused. If not, repeat the ironing.

5. Pin both layers together, right sides facing each other.

6. Press, just in case wrinkles have formed.

7. Sew around the edges with a 1/2 inch seam, start in the middle of the tie, in order to machine stitch each point, and leave an inch wide opening. Backstitch at the start and finish.

8. Press.

9. Pull fabric through so the right side of the fabric is now on the outside and press.

tie for dog


10. Slip stitch the hole closed, pressing it in the step before should have folded the fabric giving a nice area to stitch the hole closed.

tie for dog


I used this Youtube video to learn how to actually tie it.

Now Rusty is ready for work!

tie for dogtie for dog


altered men's suit jacket

Altered Men’s Suit Jacket

Posted on
Follow Me on PinterestPin It

My husband bought a $30 suit jacket from Target that was too big for him, mainly in the waist. We decided it would be a good project for me to work on since I’ve never done any tailoring or altering of men’s clothing except for the hem of pants. So I attempted at creating a great altered men’s suit jacket.

1. First thing I did was have him put it on and I pinched the fabric to fit and then pinned it. Then I unpinned it because I got his undershirt :/ and re-pinned it.

2. Then I marked the place where the pins went into and out of the fabric just in case a pin fell out with a chalk pencil. I did this on the lining of the jacket as well.

men's altered suit jacket

pinch and pin

3. I measured in between the dots and marked the measurements on the jacket, with a fabric chalk pencil, and on a piece of paper. These measurements are what I needed to take the jacket in by. I did this on the lining of the jacket as well.

men's altered suit jacket

my measurements

4. I then got out my handy seam ripper and separated the lining from the back of the jacket. I just did the bottom of the jacket and up the closest seam line on the side of the jacket.

altered men's suit jacket

lining pulled back

5. With the lining up and out of the way, I ironed the seam so it was no longer open. Then from the seam I measured and marked half the distance that I wrote down and because the measurements were slightly different in some locations I did this at each site of where a pin was and connected the dots. This starts with no measurements at the top because the shoulders fit so the line in a diagonal down the back of the jacket increasing as it goes to the bottom because the waist of the jacket is what was too big. I pinned the layers together and sewed down the chalk line, cut off the extra fabric and ironed the seam open. The first time I did this, I had a notch of extra fabric at the collar and had to redo it. 

men's altered suit jacket

mark and sew

6. Repeat step 5 for the lining.

The last couple of steps is figuring out the tail and reattaching the lining to the jacket.

7. For the matching the lining to the tail I just kept folding and pinning until I had what I thought looked acceptable.

altered men's suit jacket

all sewn up

8. To reattach the lining to the jacket, I am sure there is a machine stitch way, like a blind hem stitch possibly, but I decided to hand stitch it with a slip stitch, I own a book called Teach Yourself Visually Sewing and does a great job illustrating how to do it. The stitch mimicked the rest of the lining to the jacket pretty well which is another reason why I picked it. I then ironed the lining and now the jacket is a great fit!

altered men's suit jacket

finished!


lion mane dog costume

How to Make a Lion Mane Dog Costume Version 2

Posted on
Follow Me on PinterestPin It

lion mane dog costume

I made another version of my lion mane dog costume for Rusty because I had bought way too much fake fur and I didn’t know what to do with it. I decided to be a little more adventurous with it this time. I actually used my sewing machine on the fake fur and I sewed fleece. Two things I have never done before. I basically made a doggy ski mask and then sewed layers of pleated fake fur onto it.

I lost all of my pictures of each step :/   But I took some other pictures that will hopefully help out.

Things I used:

How I did it:

1. Take a LOT of measurements the dog’s head and neck. If all else fails drape the fabric around the dog and mark the fabric.

2. Cut a ski mask out of a base material, I choose lycra. I did this in two pieces one to go around the head and one to go around the neck. I then sewed the neck piece to the head piece using a tight zig-zag stitch, since lycra is a bit stretchy. If your fabric snags, try adding tissue paper under the fabric and then tear it away after the seam is created. Also, I didn’t finish the edges of the lycra, mainly because I can be lazy.

lion dog costume

inside of the mane

3. Fuse the velcro into the correct positions. Hopefully you can see what I did in the picture.

4. Next, cut 1 inch to 2 inch wide strips of fur (it depends on the amount of volume and work you want to do, my strips were 2 inches wide) that are about 4 inches longer than the mask.

To cut the fur mark on the back where you want to cut and then use a straight blade like a box cutter or a razor blade to prevent trimming the fur and creating a huge mess. I, unfortunately, didn’t have either one of those and used scissors. BIG MISTAKE fur everywhere! and because the scissors trimmed the fur and created a weird raw edge I needed to fold over the edge and sew it down. Something I wouldn’t have had to do if I had just went out and bought a box cutter.

5. Next step is to pleat and pin the fur to fit the mask. If you don’t know how to pleat, here is a drawing I did that might help. Pleat whichever way is most comfortable to you, I find the knife pleat to be the easiest.

box, inverted, knife pleat

Drawing of different pleats for sewing

lion mane dog costume

pleats

Sew the layers, fur side down on the machine,  onto the lycra mask, starting with the bottom layer first working your way up so the layers don’t get in the way. I did the layer that goes around Rusty’s face going in the opposite direction to create more volume around his face.

6. Repeat for around the neck, I only did 2 layers for that part.

7. Fold fleece into fours, to where there are 4 layers of fleece and draw out an open bottom oval and then cut along your lines.

Lion Mane Dog Costume

lion ears

8. Next, combine two of the pieces and sew as close to the edge as possible, turn inside out and repeat for other ear. Pin onto mask for placement and hand stitch the ears to the mask.

Finally you have a lion mane dog costume!

lion mane dog costume

Manne modeling it

lion dog costume

Manne model shot

lion mane dog costume
lion mane dog costumelion mane dog costume

lion mane dog costume

lion mane dog costume


fingerless gloves

Simple Knit Men’s Fingerless Gloves Pattern

Posted on
Follow Me on PinterestPin It

Homemade presents are the best presents in my opinion because you know the person really thought about the gift and put some time into it. Also, I enjoy making gifts for people too so it’s a win win.

I needed to get a gift for a friend and decided on fingerless gloves. I have a pair and love them.  I have also decided to make a pair of fingerless gloves for my dad because he uses a cane and these will allow him to keep his hands warm and still have the ability to grip the cane. For my friend’s gloves, I decided on a 100% baby alpaca chunky yarn in gray because it’s so soft and warm. It’s also just my favorite yarn to knit and gray goes with everything.

easy pattern/ how I did it:

  1. cast on 32
  2. k2 p2
  3. continue pattern until it reaches desired length  I made mine about 8 inches because I wanted the glove to go all the way under the coat sleeve so no skin was exposed
  4. cast off in the k2 p2 pattern
  5. fold in half lengthwise and whip stitch up the side leaving an opening for your thumb about an inch down from the top

Then you have great fingerless gloves for the late fall and winter!

This pattern can easily be adjusted for men and women. Just reduce or increase the stitches by the pattern of 4 stitches (k2p2)

fingerless gloves

action shot


mushroom

Simple Cross Stitch Patterns made from an App

Posted on
Follow Me on PinterestPin It

I mentioned previously that I found an app for iPhone and iPad. It’s basically pixel art transferred to cross stitch patterns. I did make some simple cross stitch patterns. But, the app doesn’t allow for half stitch, back stitch or knots. It is fun to play with and see just how difficult it is to create a pattern. I’m posting pictures of the ones I made. They are very basic and the graph space doesn’t expand to be a very large canvas. For some reason, some of the patterns I could save with the graph behind it, as a .pdf.  Other patterns, the program had issues with and had me save as an image file resulting in no chart. All in all the program is fun to play with and to get a basic idea of pattern making but it’s not for serious pattern makers. Now I know what I’ll be doing to pass the time when I ride the T.

simple cross stitch pattern


simple cross stitch pattern

Key

background in Mario Brothers

background in Mario Brothers


mushroom


pattern

Cross Stitch Chevron iPhone Case

Posted on
Follow Me on PinterestPin It

As mentioned before, I was cross stitching a chevron patterned iPhone case. It’s finished and I LOVE it! Isn’t it beautiful?

chevron iphone


I decided to do the chevron pattern in white, turquoise and 3 different shades of grey.

I was going to do all of the grey stripes in the metallic thread but I decided it would be too much shine for me and I find metallic thread to be a pain in the you know what to work with. But I like the way there’s just a little bit of shine. I wanted to find a grey that was just the matte version of the metallic and I knew I had some in my tangled ball of thread left over from other projects. There are two shades because the lighting in my apartment is bad and I didn’t realize they were two different shades until I was in natural light and had already stitched using both colors. But I am really thrilled with how it turned out. The variations add just enough personality without being too loud. I find it to be perfect for me.


tree skirt fabric

How to sew a quick Tree Skirt

Posted on
Follow Me on PinterestPin It

all finished!

We have a Christmas tree at work and it was looking bare to me because it didn’t have a tree skirt. So, I decided to make one. Here is my very professional pattern that I drew at work.

tree skirt

my make shift pattern

I have this fabric from curtains that I made and am no longer using. I thought it would make a beautiful tree skirt.

tree skirt fabric

fabric

Since I had a long panel, I folded it in half and then in half again so it is folded into fours.

folded in half and half again

Next is time to measure. I divided the diameter in 4 because I folded it so it needs to be 3 inches from the point. I did the semi-circle by just measuring out 3 inches from the point in different spots on the fabric.

measure with a fabric marker

I did the same thing with the outer measurement but went with 22.5 inches instead of the 16 inches I originally wrote down on my professional pattern. The I cut along the lines I drew.

cut the along the lines

a few steps left

This is what is looks like unfolded and of course Rusty needed to help me out.

Next I cut a line down the fabric.

cut down to be able to wrap around the tree

The last, and time-consuming thing to do is finish it to hide the raw edges. This can be done in three ways.

  1. folding edge over and folding it again and hem to encase the raw edge
  2. add binding to the edges to encase the raw edge
  3. zigzag stitch around the edge to prevent fraying and then folding over and sew a hem

Although the first two options are probably the better options, I went with the zig zag stitch and press seam and sew a hem because the first two requires more time at the ironing board and pinning. I hate ironing so I went with the zig zag stitch.

all finished!

all finished!


Chevron Cross Stitch Case Iphone 4 Pattern

Posted on
Follow Me on PinterestPin It

I ordered a cross stitch cover from ThinkGeek! I am so excited to have a chevron cross stitched phone case. The case actually came with three colors of thread, needle and some patterns and the company has more case patterns at Leese Design. Just go to the bottom right of the page and click the red “chart” box. There are a lot of patterns to choose from but most were of certain themes/holidays and I wanted something to that didn’t look out of place throughout the year. I decided to create a chevron stripe pattern because I’m kind of obsessed with them at the moment. I didn’t know which way I wanted the stripes to go so I found some blank graph paper at Better Cross Stitch Patterns website, and started coloring. These are the two I made.


chevron cross stitch iphone horizontalvertical chevron cross stitch

Black and white versions

b&w horizontalvertical black and white

I don’t have the little camera hole in the upper left corner on the patterns because I figured it’d be pretty simple to omit it. Now I need to decide which pattern to use!


Basket Weave Pattern Knit Scarf

Posted on
Follow Me on PinterestPin It

My next project was a basket weave pattern scarf for my husband. I’m using a crimson color wool yarn on size 8 needles. The pattern I decided on was:

  • Cast on 30
  • Knit 5 Purl 5 for 5 rows
  • Purl 5 Knit 5 for 5 rows
  • Repeat until it’s long enough
  • Bind off

It is a skinny scarf for a man but the basket weave pattern is very nice because it gives the scarf texture without being girly.  I think it will be good when it’s really cold so he can bundle up with it.

I don’t know when I’ll finish but hopefully it’ll be soon so I can post a picture.

rusty, basket weave pattern

This is Rusty hard at work making sure my yarn ball doesn’t roll off of the couch while I’m knitting.

 Finally finished in June!