knit headband

Knit Headband for Running

Posted on
Follow Me on PinterestPin It

knit headband

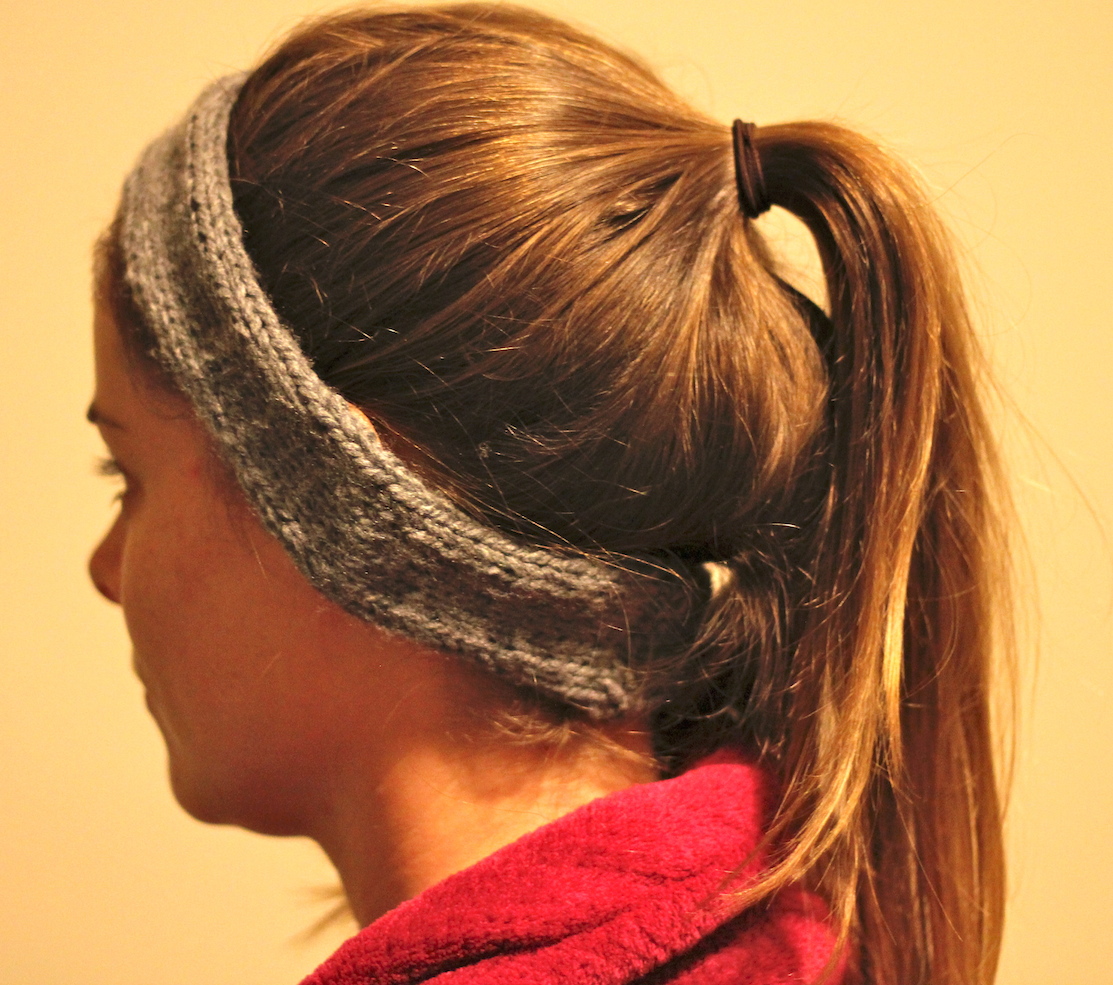
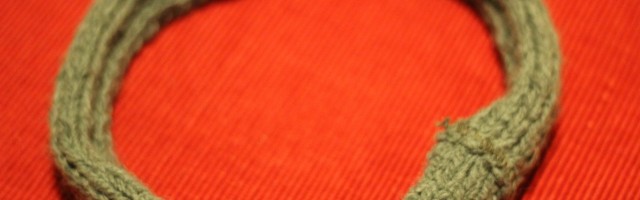
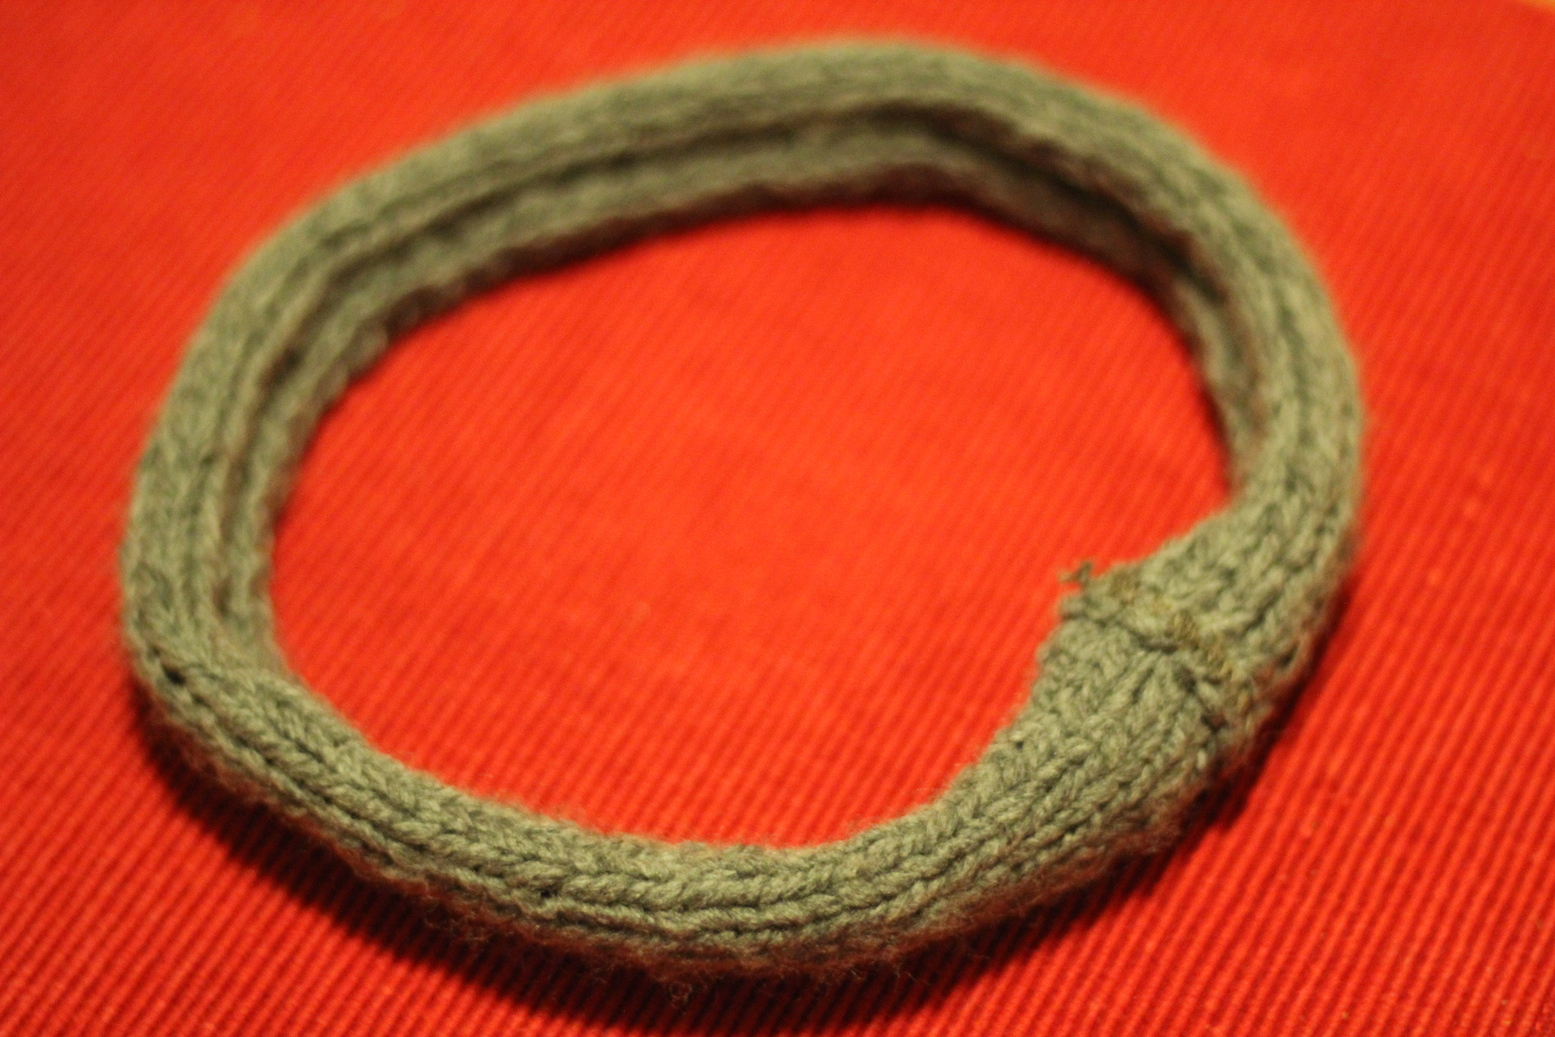
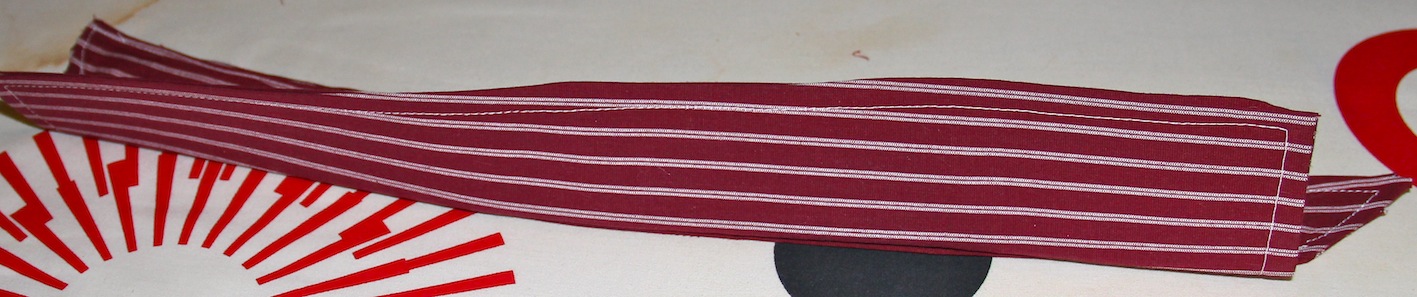
I wanted to a knit headband I could wear while running in the late fall early spring that would cover my ears. I decided on Lion Brand pattern #60760, which is available for free if you sign up for an account with them. I did not check my gauge in this like it says to do in all capital letters. But it turned out well in the end, it was supposed to be 3.5 inches wide and mine turned out to be 2.5 inches which was perfect because I only wanted my ears covered. I used an acrylic instead of wool because I want to be able to throw it in the wash after each run.

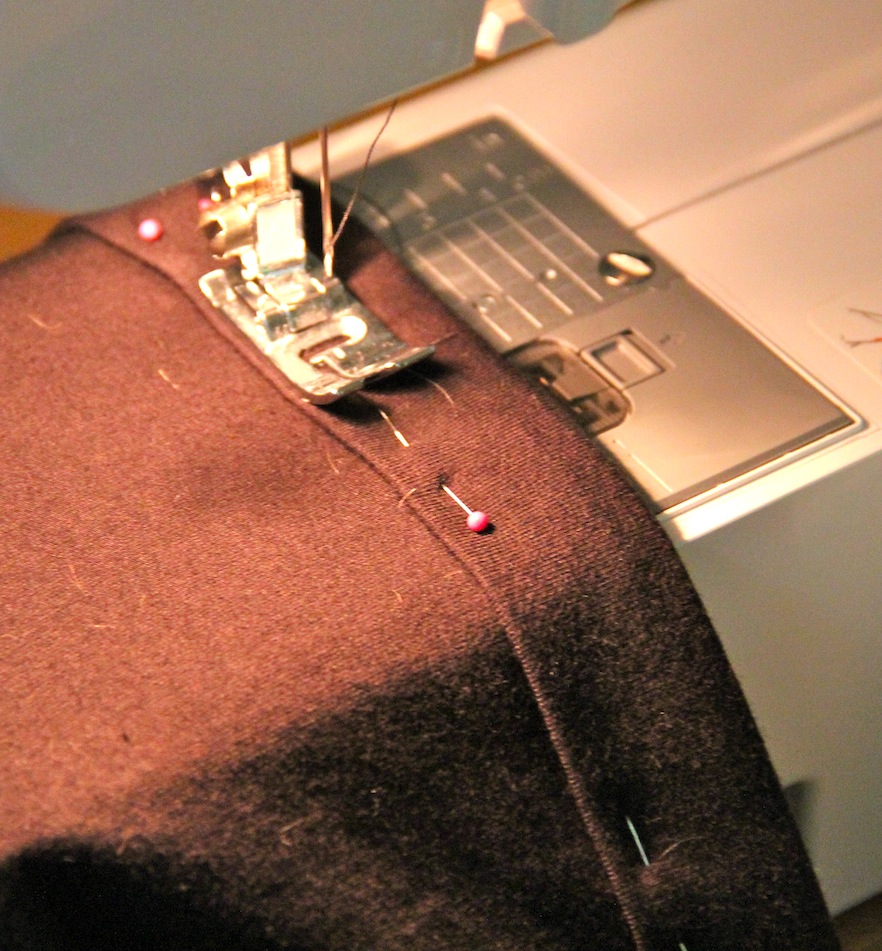
The pattern is super simple, US size 10 needles, cast on 10 stitches and stockinette stitch until desired length, bind off. Sew ends together, weave in tails.

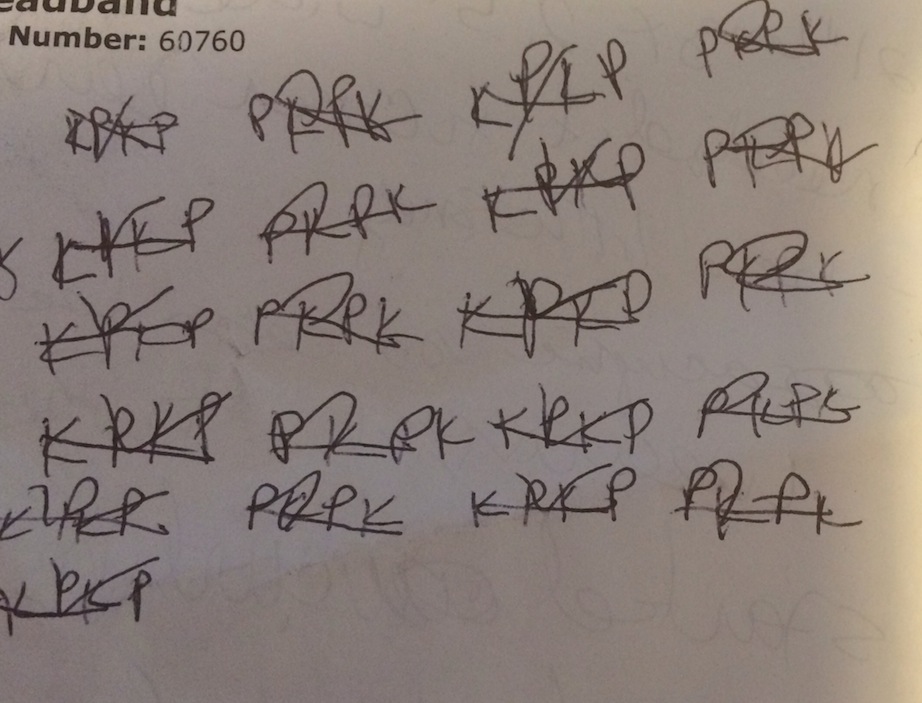
To make the stockinette stitch you knit one row and purl the next, and repeat. I wrote down a K or P after I completed each row to help me keep track.

knit headband

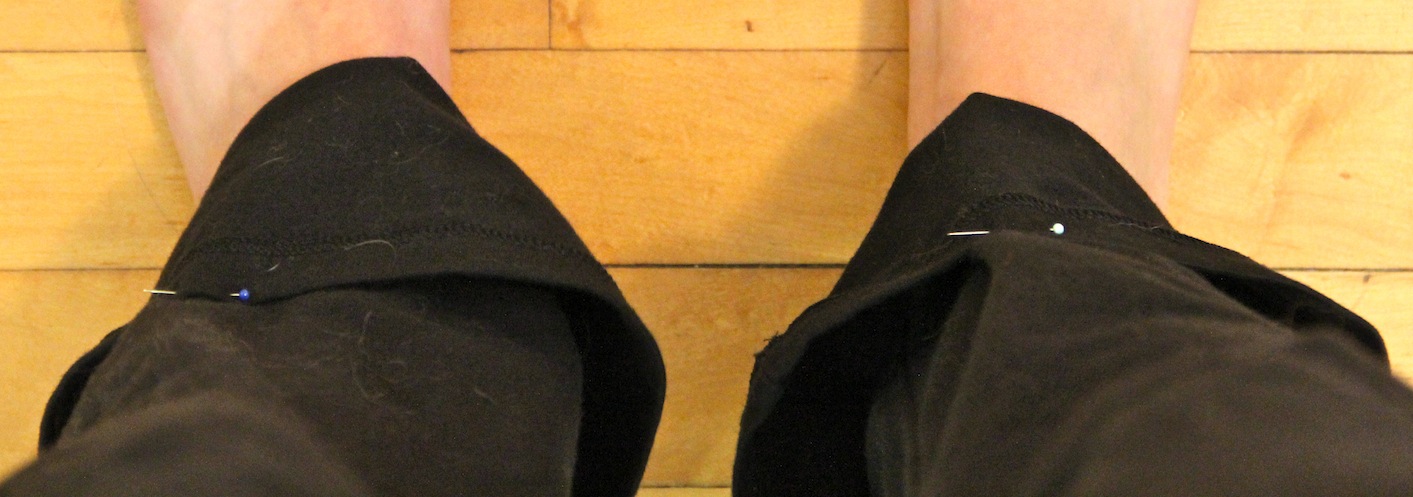
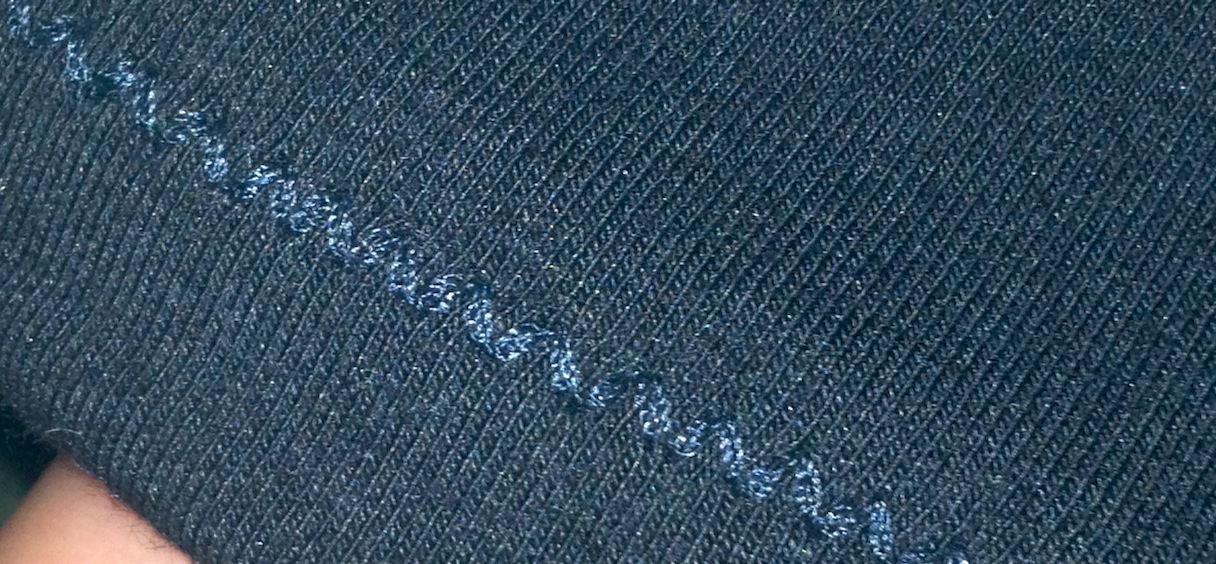
It started to curl around row 20 but that’s ok, it just hugs my ears that way. I whip stitched the ends together with a fingerling weight yarn in a similar color. I did this because I wanted to be able to go over it twice for extra strength but not add a lot of bulk.

knit headband 
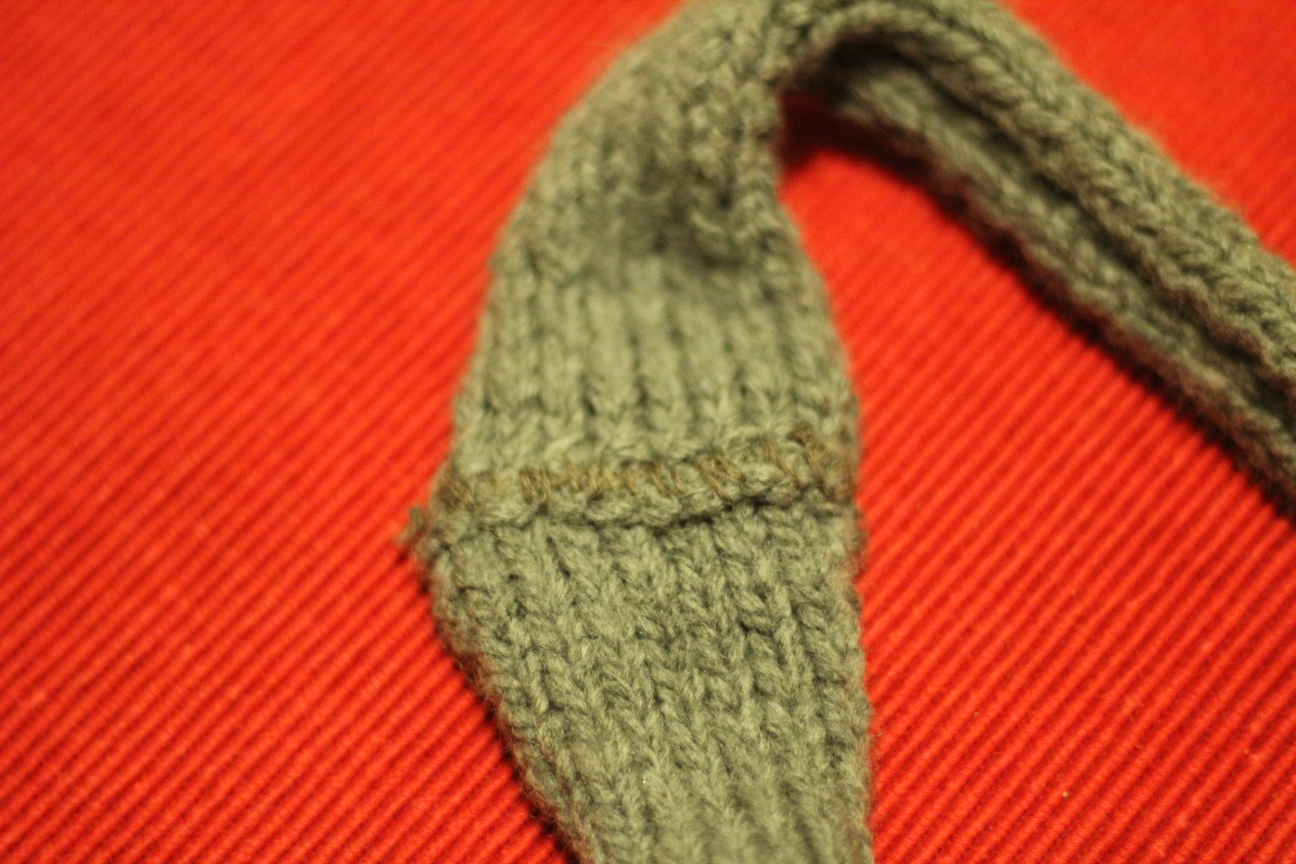
So different colors but I’m going running, I don’t really care that it’s not perfectly blended. But, if I make another one to wear just out and about I’ll be more careful with my yarn choices.

knit headbandNow I can’t use “my ears are cold” as an excuse to not run. I don’t know if I’m happy or sad about that.


kiwi

How to Peel a Kiwi

Posted on
Follow Me on PinterestPin It

kiwi

I bought a couple kiwis at the store and I realized that I didn’t know how to peel them.  Usually I buy them pre-cut so I have never thought about how to do it.  My husband showed me a quick an easy way to peel a kiwi. It was so clever I thought I’d share.

First cut the fruit in half.

kiwi

Next, take a soup spoon and wedge it between the flesh and the skin and move it around the fruit to separate it

.kiwikiwi

Peel back the skin from the fruit.

kiwi

Slice.

kiwi

Enjoy!


shorten a shirt dress

How to Shorten a Shirt Dress

Posted on
Follow Me on PinterestPin It

dress

I recently bought a shirt dress to wear with boots as a fun fall work outfit but of course it is too long, about 2 inches too long. I knew I needed to shorten my shirt dress. This was going to be tricky for me because of the curves at the bottom. I usually only work with straight lines because my lack of patience usually gets the better of me when trying to work on a curve. But after a long afternoon with Rusty whining behind me from lack of attention I managed to get it to my desired length.

Here’s what I did:

Stood in front of a mirror and figured out how much fabric needed to be taken off the bottom. I pinned the length and then stood up straight to make sure that was my desired length.

shorten a shirt dress

chalk marks

Next I unbuttoned the shirt and laid it out, right side down, and with my chalk pencil, I marked a lot of spots up to the desired length of the dress. Then,  I also marked about an inch below that to serve as a cutting line.

shorten a shirt dress

two rows of chalk

It’s now time for my most time-consuming part, the hem! I needed to clip a couple of spots on the curves in order for the fabric to lay flat. Little by little I rolled over a ¼inch of fabric and then another ¼inch of fabric and pinned. I made sure to put the pins in to where I could sew with them still in the fabric so I’d have one less thing to worry about. And after all of that work, carefully, put the dress back on to make sure it is at the desired length.

http://www.covergirl.com/collections/nfl-collection/chicago-bears

lots of pins

Sew time! Slow and steady with some patience, wins the race because it is a tiny hem and there are curves, it’s best to go slow.

Try on one last time. Good? Press. Now I have a dress that will be perfect with flat and boots this Fall!

shorten a shirt dress


tortilla

Tortilla Recipe

Posted on
Follow Me on PinterestPin It

tortilla

I love soft shell tacos and love to make tacos at home. I decided I wanted to learn how to make tortillas. I’ve made these flour tortillas with two different types of flour, all-purpose and bread flour. Whichever flour I have the most of, that’s the one I use. All-purpose flour tends to be a little stiff but still good choice. Bread flour is chewier than all-purpose so it really depends on what you have on hand and what you prefer. My husband can barely tell the difference between the two so I don’t think it really matters.

Makes around 6 tortillas.

Ingredients:

  • 1½ cups of flour, bread or all-purpose
  • 1 Tbsp olive oil
  • 1 tsp garlic salt
  • ½ cup hot water

Directions:

  1. Pre-heat large skillet on medium heat.
  2. In a medium bowl, add all ingredients and stir until it becomes an elastic lump, about 5 minutes. If it’s too sticky, add some more flour. If it’s too dry, add some more water.
  3. Divide into 6 pieces and roll into balls.
  4. On a floured surface, place a ball and roll into a flat tortilla. *I can never get mine into circles. They’re always ovals or rectangles.
  5. Place tortilla onto preheated, non-greased, skillet. Cooking each side for about 5 minutes, until there are golden brown circles on it.
  6. Roll out another tortilla while one is cooking on the skillet. Repeat until all are cooked.
  7. Enjoy!

I like to make my tortillas before the rest of the meal, when I’m done making them I wrap them in tin foil so they stay warm while I’m making the rest of dinner. These can be refrigerated for a couple of days but are best when eaten on the same day.


yoga pants

Shortened Yoga Pants

Posted on
Follow Me on PinterestPin It

yoga pants

This always happens when I buy new pants. They’re too long and these new yoga pants are no exception. I was a little worried about altering them because my experience with stretch fabric is next to zero. There was that one time when I used lycra for Rusty’s lions mane. But these pants needed to be about three inches shorter if I was ever going to get any use out of them. And let’s face it, when I say use, I mean lounging around my apartment, not working out in a yoga studio.

yoga pantsI folded and pinned the pants so they were the proper length while they were still on me. I changed and then measured the in-seam and the folded part to make sure that the lengths of each pant leg were even. Also, to see how much length, 3 inches, needed to be taken from each leg.

Next, I removed the pins and turned the pants inside out. I then carefully measured and cut 2 inches from each pant leg.

yoga pants

I then folded over ½ inch of fabric and pressed and then another ½ inch and pressed. Then I pinned the folds into place.

yoga pants

Rusty was not impressed by my cutting and ironing skills. I gave him a stretchy collar but he was even less impressed with that.

yoga pantsI placed my pins so they could be quickly and easily removed as I was sewing. I realized that although my machine can use a double needle, I don’t have two spools of thread in the same color. So that option was thrown out and instead I used a stretch stitch function my machine, a triple zig-zag stitch. I definitely had to pull out my user’s manual to make sure I was doing it correctly, very glad I kept it.

yoga pants

I stitched both legs using the edge of the folded fabric as my seam guide. I then pressed the seams.

yoga pants

I have crazy flip-flop tan lines on my feet. :/

I turned the pants right side out, put them on, and enjoyed my shortened yoga pants by watching TV and cuddling with Rusty.


hard boiled eggs

How to make Hard Boiled Eggs

Posted on
Follow Me on PinterestPin It

Every time I want to make hard boiled eggs I have to call my dad and ask how to do it. It really is a simple process but for some reason I can never remember how to do it. Well, I finally wrote it down and decided to share.

Get a sauce pan, with lid, large enough to put the eggs in a single at the bottom of the pan.

Put enough room temperature water in the pan to fully cover the eggs.

Place on stove and add a dash of salt and vinegar. I usually add rice vinegar but I’m not sure if it really matters what kind of vinegar you use.

Carefully place the eggs in the pan and put the lid on.

hard boiled eggs

Put the heat on medium and bring water to a rolling boil.

Turn the heat off and leave the eggs in the pan with the lid on for 15 minutes.

Remove lid and carefully remove eggs from pan with a slotted spoon.

Let eggs cool down and then peel and enjoy!

hard boiled eggshard boiled egg


shirt collar

How to Make a Shirt Collar for a Dog

Posted on
Follow Me on PinterestPin It

dog shirt collar

I decided Rusty needed another piece for his work wardrobe. So I decided to make his a shirt collar. I have a pattern for it. But the easiest way, I think, for someone to make it at home is to use an old collared shirt you don’t want anymore and take apart that collar for the pattern. Or if you use my pattern, please note the sizing of 14.5inch neck and adjust the printing size accordingly. Also there is a lot of ironing for this pattern. Yes, it is annoying but taking the time to properly press each piece will end in much cleaner results and make sewing much easier.

bottompatterntoppattern

Things you need:

  • fabric, preferably cotton
  • interfacing
  • matching thread
  • if you’re like me, a sewing machine that can make a button-hole because I don’t know how to do it by hand.
  • button

1. Place, pin and cut out fabric and interfacing pattern pieces.

applyinterfacing

2. Apply interfacing B to Fabric A leaving about ¼ inch of fabric at the top of A.

3. Apply interfacing D to fabric C leaving about ¼ inch of fabric at the bottom of C.

shirt collar

4. On pieces, A and B fold over and press raw edges on 3 sides, leaving the bottom as is.

5. Pin together A and B, right sides out, and sew with a ¼ inch top stitch and the 3 sides you’ve pressed the edges.

6. On pieces C and D fold over about ¼ inch and press all four sides.

7. Center AB in between C and D and pin all the layers together, right sides out.

8. Stitch around all four sides of C and D, encasing AB in between the layers making one piece.

9. Position and mark where the button-hole should be, and use your machines button-hole foot to create the button-hole. If you don’t have a machine that can do that click here to learn how to do it by hand.

10. Sew on the button.

shirt collarshirt collar

11. Put it on your pooch and enjoy!

shirt collarshirt collar


Hopefully your dog will enjoy it more than Rusty because he looks scared in these pictures 🙁


eggplant sandwich

Eggplant Sandwich

Posted on
Follow Me on PinterestPin It

eggplant sandwich


I bought a gigantic eggplant from the store the other day. I bought it with no idea how I was going to cook it. I decided to try an eggplant sandwich, burger type thing. I did add bacon to it but it can easily be omitted to make this a vegetarian option. I liked it and my husband even enjoyed it! Now what to do with the rest of this thing, eggplant parm?

Ingredients:

  • toasted bun
  • 2 pieces of cooked bacon
  • sautéed/wilted spinach – little bit of oil and saute in medium heat until wilted
  • slice of eggplant
  • shredded mozzarella
  • some Parmesan
  • basil
  • tomato slice
Directions:
  1. Pre-heat the to oven 350°F
  2. Pour a  tiny bit of oil in a skillet on medium-high heat.
  3. Cook eggplant on each side for 2-3 minutes until it has softened.
  4. On a baking sheet, place eggplant slice, sprinkle some salt on it,  followed by bacon, then spinach and then both cheeses. Place either a fresh basil leaf or generous amount of dried basil on top of cheese.
  5. Place in the oven for about 7 minutes or until cheese is completely melted.
  6. Put tomato slice on the bottom bun and then place eggplant on top of the tomato.
  7. Enjoy! I served with sweet potato fries.

eggplant sandwich


shredded chicken

Shredded Chicken Recipe

Posted on
Follow Me on PinterestPin It

shredded chicken

Shredded chicken is a very versatile food. You can cover it in barbecue sauce, taco seasoning or anything else you can think of; there are endless possibilities. This makes it a great meal starter and it’s super easy to make!

How I make shredded chicken:

Serves 1-2

Ingredients:

  • 2-4 chicken tenders or 1-2 chicken breasts, boneless and skinless
  • 1 cup chicken broth

Directions:

  1. Pour broth into a skillet that has a lid, bring to a boil.
  2. Reduce to a simmer and carefully place chicken into the skillet. Cover with the lid.
  3. After 4 minutes, carefully flip the chicken and cook another 3-4 minutes. *I found using tongs much easier than using a turner.
  4. Remove the chicken from skillet and place onto a cutting board. Discard the broth.
  5. With two forks, shred the chicken.
  6. Season as you wish.
  7. Enjoy!

shredded chicken


jack and ginger

Jack and Ginger Drink Recipe

Posted on
Follow Me on PinterestPin It

jack and ginger

I love ginger ale so I often try to find ways to include it in my drinks.

Jack and Ginger:

  • 3 ice cubes
  • 4oz oz ginger ale
  • 1oz Jack Daniels
  • 1 lemon wedge or 1/2oz lemon juice
  1. Mix them all together and garnish with lime.
  2. Enjoy!

jack and ginger