 Pin It
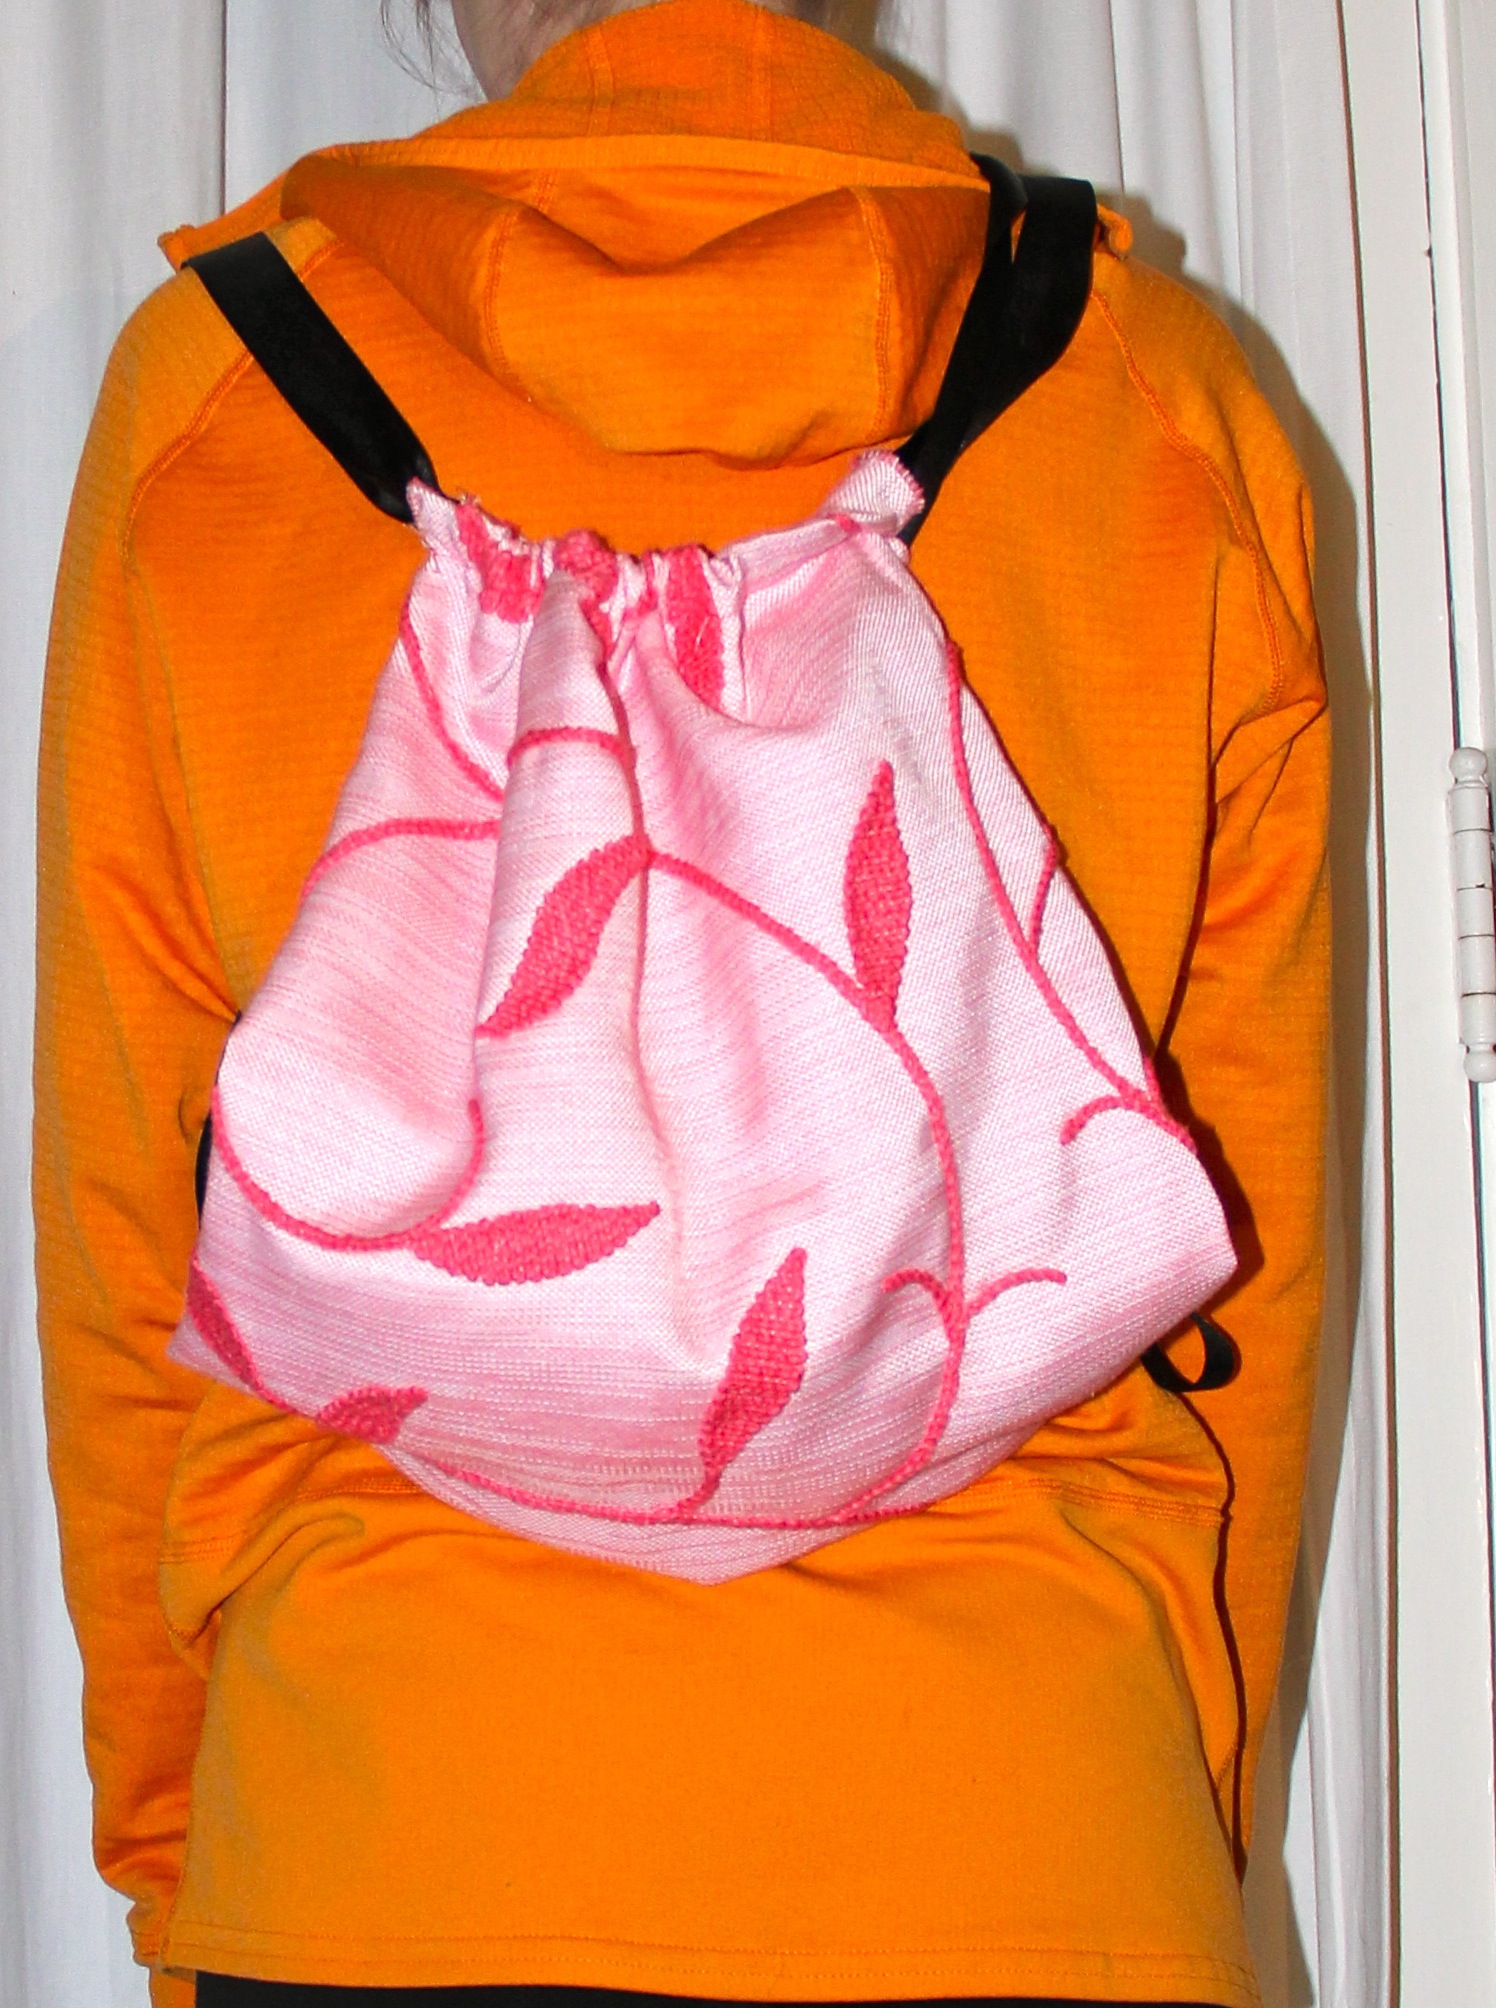
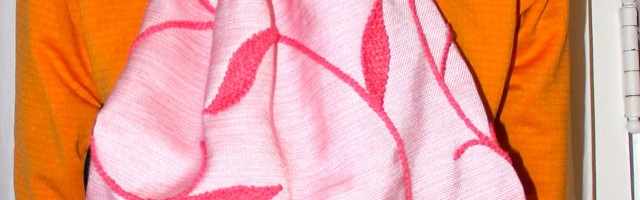
I needed something lightweight and easy to carry on my long walks with Rusty. I decided to go with a drawstring backpack. It’s big enough to hold everything I need and keeps my hands free. I am using leftover material from my tree skirt and had dyed awhile ago.
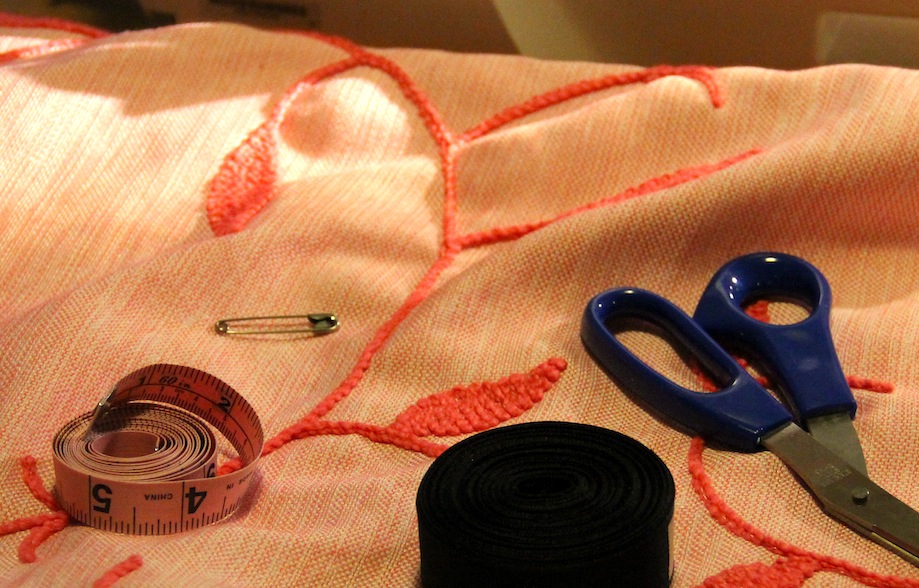
Materials:
- (2) 17″ X 15″ rectangles of fabric
- (2) 60″ pieces of ribbon, or cording would work great as well
- safety-pin
- sewing machine
- matching thread
- iron and board
Instructions:
1. After you have measured and cut your fabric, I think mine is a cotton/polyester blend, figure out which end of each piece you want to be the top or opening of your bag. Fold over and press a tiny bit of fabric, ~¼”, and sew. Repeat with the other piece. This is to take care of the raw edge at the opening of your bag.

2. Next, take what you have just sewn and fold over about an 1½” and press. Then sew on top of the stitch line in Step 1. This will create a tube for your ribbon to go through.
3. With right sides together, pin the rectangles and stitch with a 5/8″ seam all along the three unstitched sides, starting and stopping where the tube begins. Back stitch at the beginning and end.
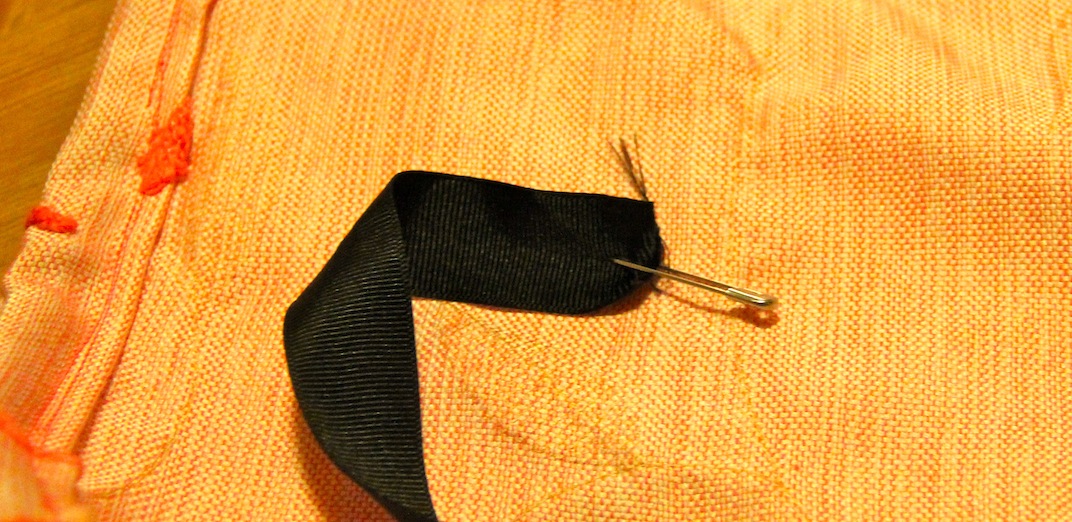
4. Attach a safety-pin to an end of your ribbon, and thread the ribbon through the tube on one side of the bag. Repeat for the other side. The safety-pin just makes this process easier.
5. Make sure that both pieces of ribbon are of equal length on each side of the bag. With right sides still together, seam rip up the bottom corners of the bag about an inch. Place the ribbon, inside the bag and through the hole you just ripped open. Stitch the hole closed, securing the ribbon to the bag.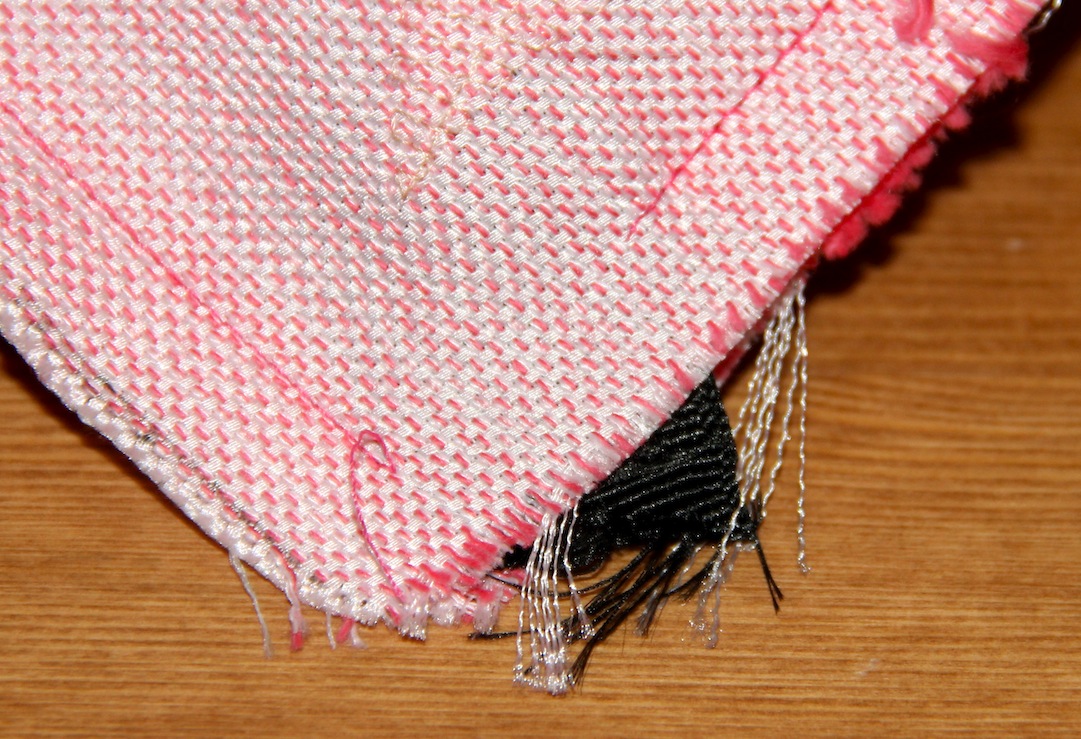
6. Next to take care of the raw edges, zigzag stitch all along the three stitched sides to the bag as close the stitch line as possible. This also double secures your ribbon at the bottom of the bag. Trim the excess fabric close to the zigzag stitch.
Now I have the perfect and unique bag for our walks to work! So excited to use it.
