
 Pin It
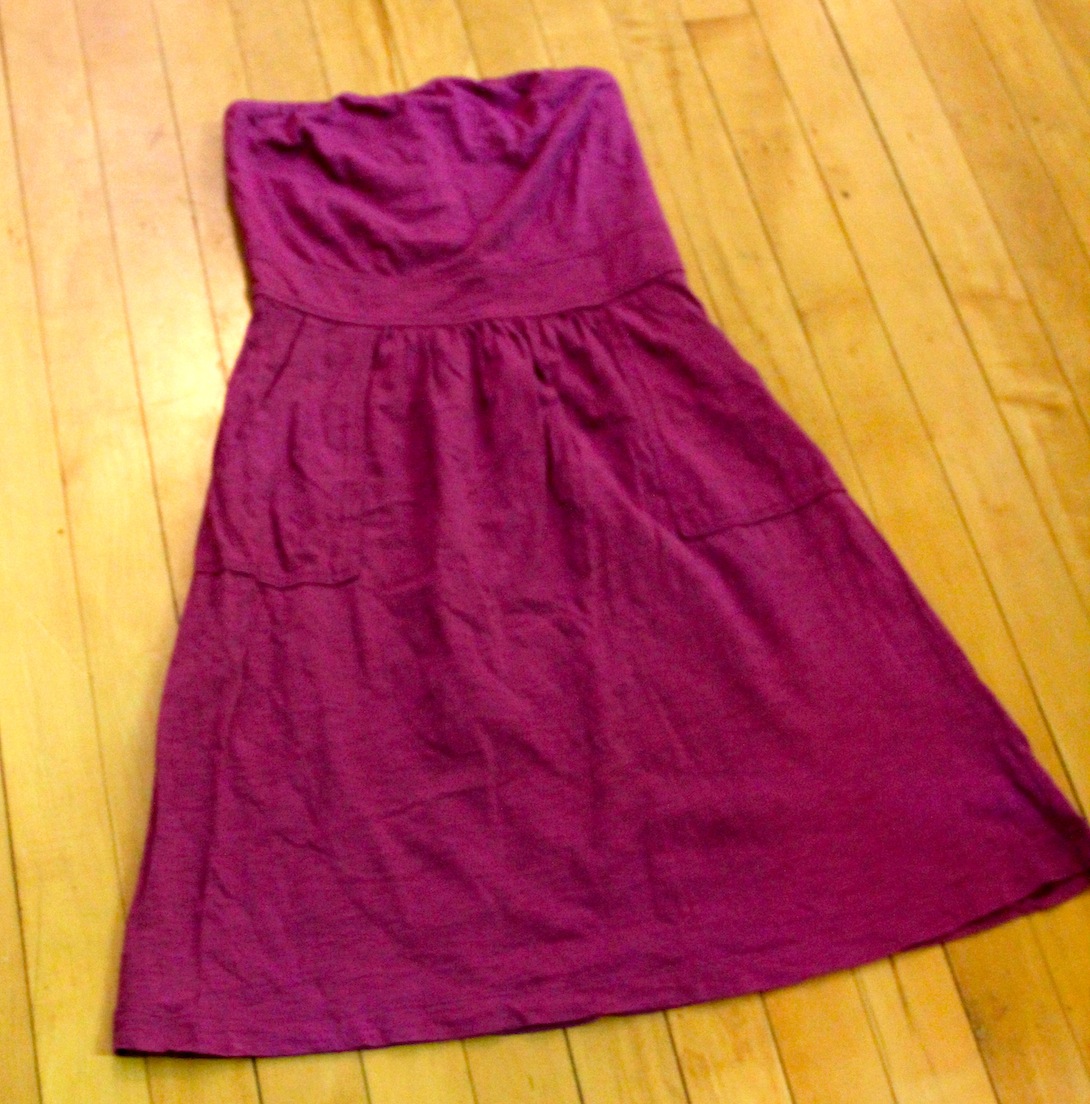
I had this strapless dress and although I like it and love the color, I hardly ever wore it. I decided it needed a make over into something I’d actually wear. I made it into a high-waisted skirt and kept the pockets. I worked on the fit in the waist of the skirt before I moved on to the length of the skirt.
How I did it:
1. Removed the hook and eye and zipper.
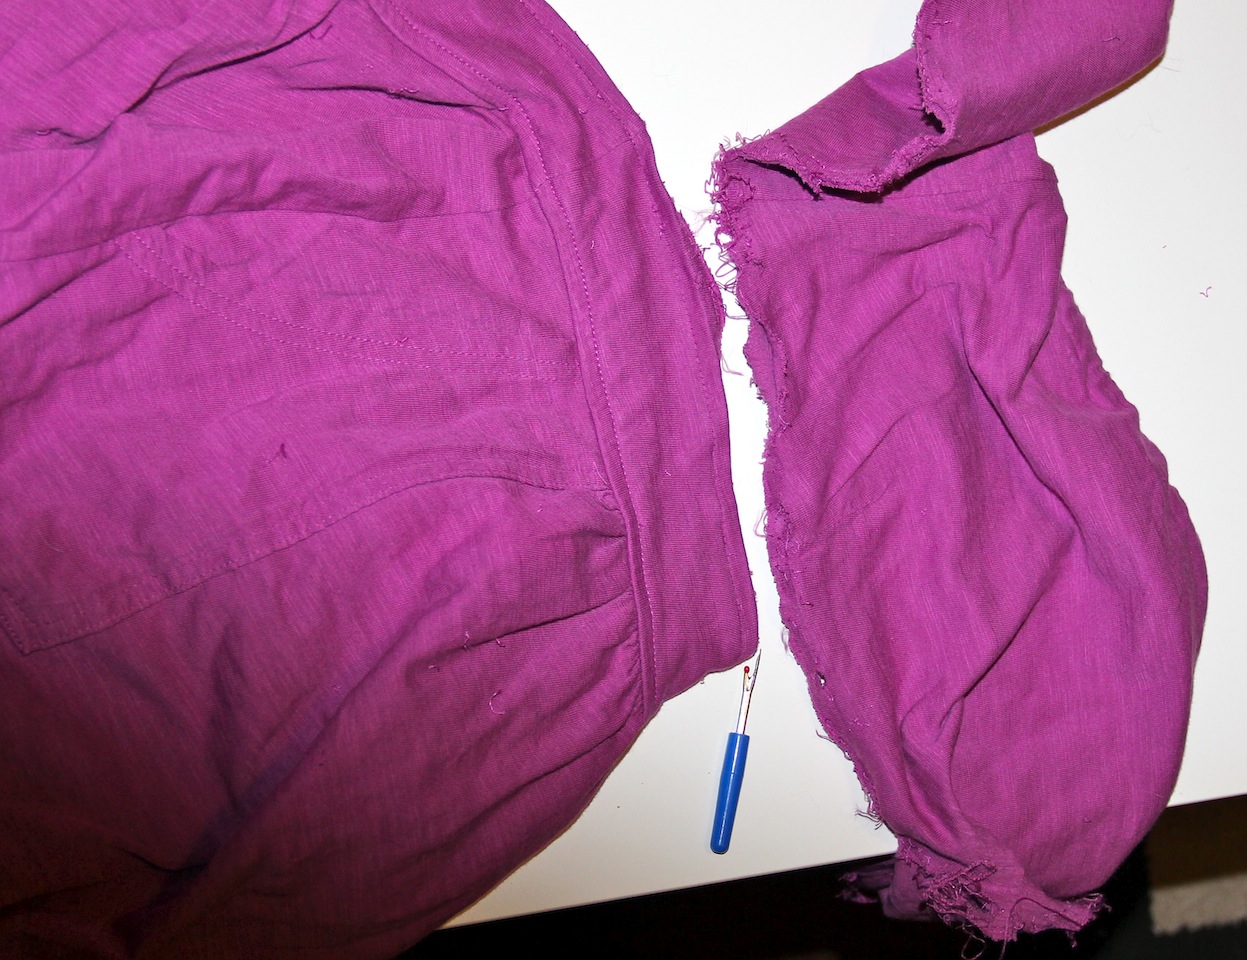
2. Next I removed the top part of the dress being careful to keep the seam stitching on the top part of the band that is in between the top part and the skirt part.
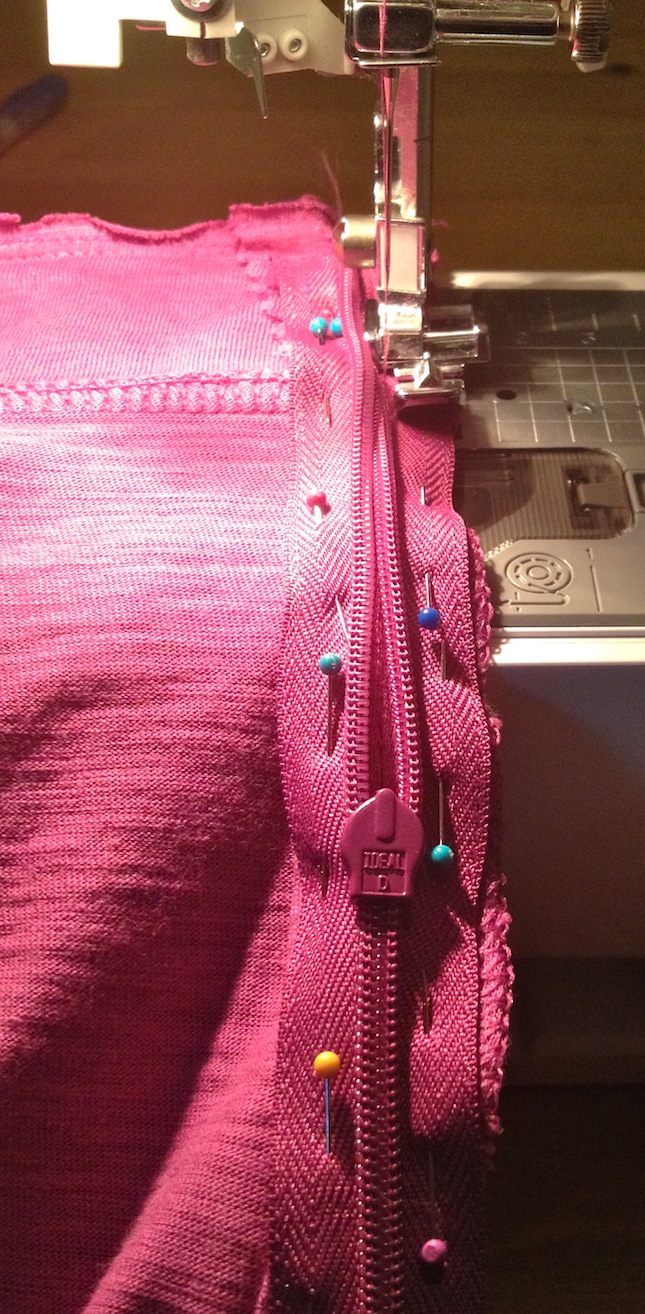
Close Up of the Seam
4. Next I put on the skirt to figure out how much I needed to take in on the waist because it is going to sit at a different spot on my body.
5. Seam rip the side seam. Mark and pin it together with the new measurements. I left the seam allowance to be quite large to be cut down a bit with pinking shears later if I needed to let out the seam a bit.
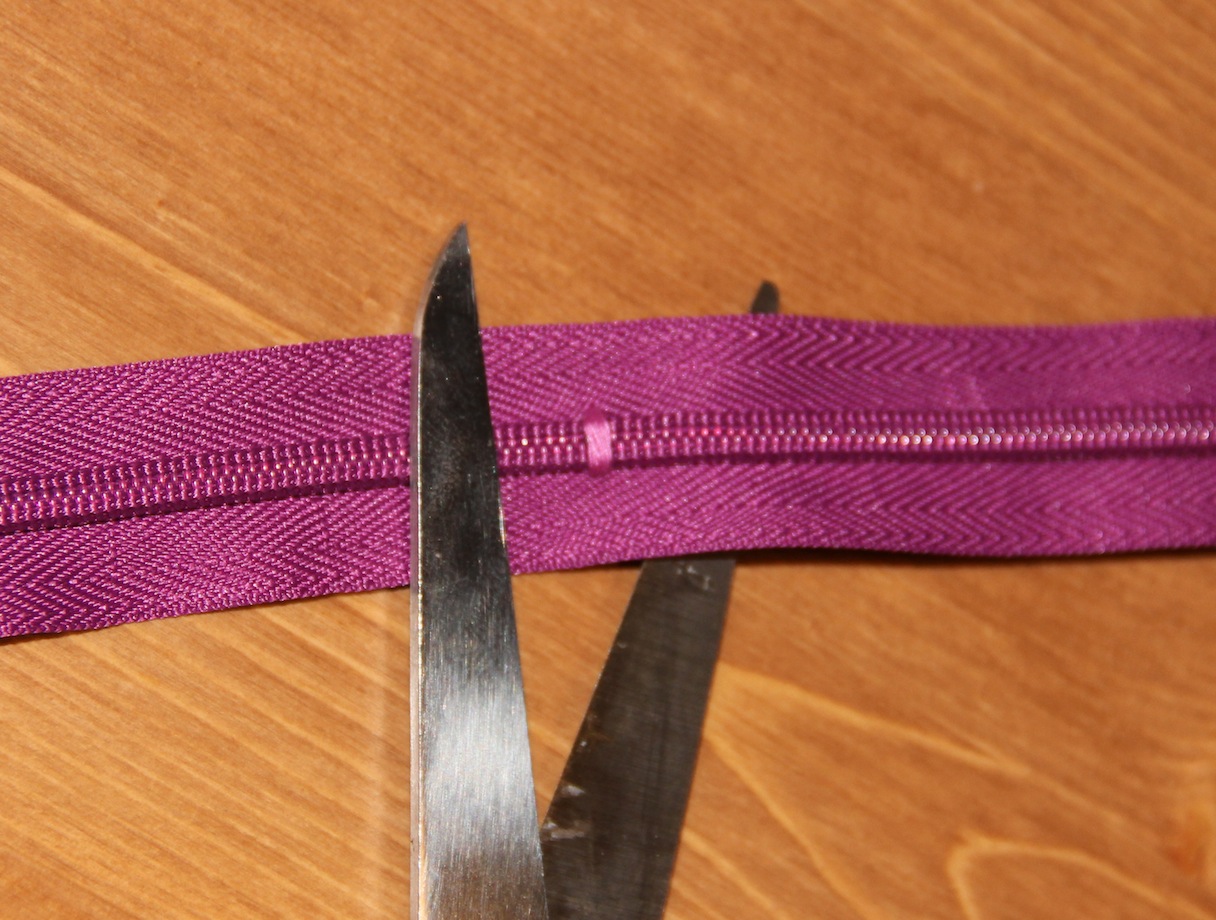
6. It’s time to sew the new seam and install the zipper! It is important to note to TEST your FABRIC and USE the CORRECT NEEDLE in your machine. I’m sure you all know that, but I had a blonde moment and didn’t test my fabric first resulting in my universal needle poking/ripping some major holes into the material.
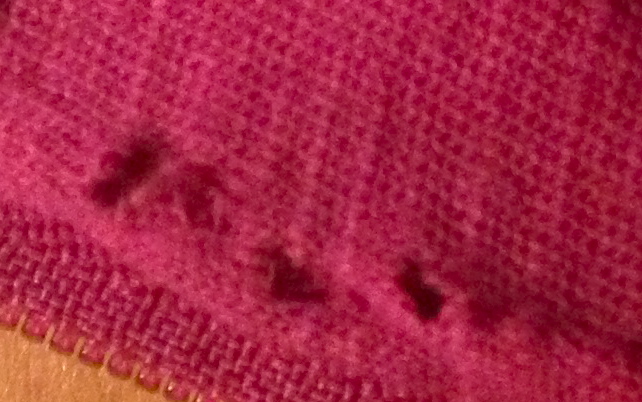
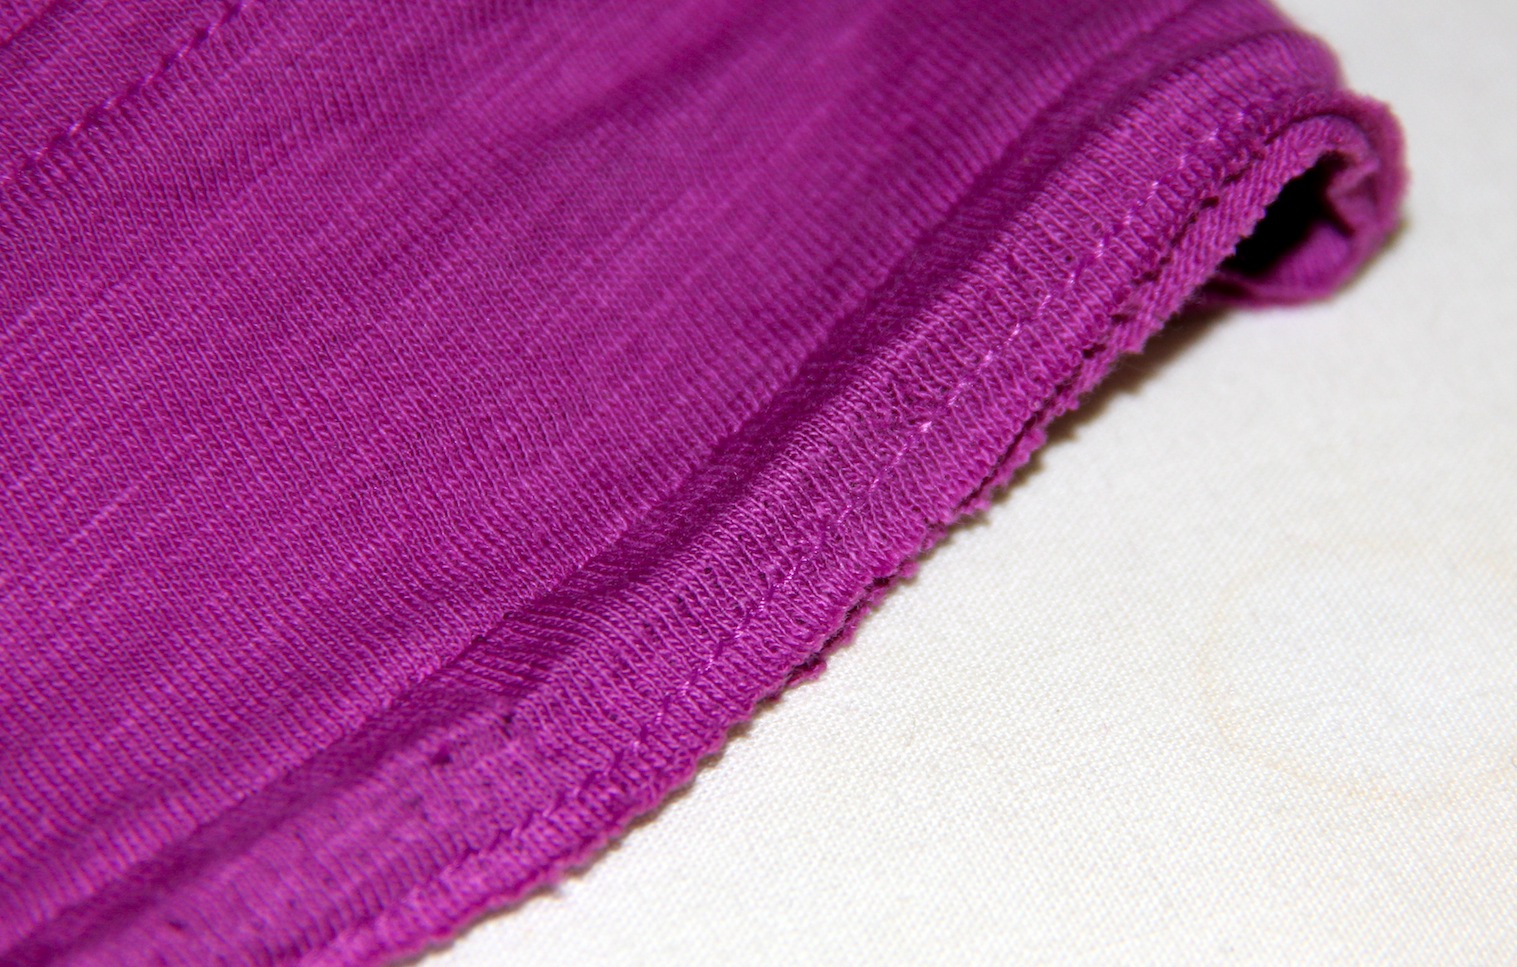
blurry picture of the holes that need repaired
The jersey/knit needle worked much better. Mark on the skirt where the zipper will begin. At that point, you’ll back stitch a couple of stitches and then change to a longer or basting stitch on the machine. The basting stitch is where the zipper will go.
7. Press the seam open, and carefully pin the zipper onto the seam making the teeth directly over the seam line. Make sure the pins can easily be removed as you sew the zipper on and that you changed to a zipper foot on your machine.
8. After the zipper is installed, it’s time to finish the top hem. Because I cut the top to where there was stitching at on the top band, I simply folded over ¼inch pressed and pinned. I then sewed it and pressed again. The only thing I wish I had done differently with this side seam and zipper would have been to leave space for the hook and eye. Rookie mistake on my part.
9. I put it on to make sure it fit and to figure out the length I wanted. I pinned it to the desired length. I needed to remove about 3½ inches. I marked the skirt to just below the desired length, and cut with my pinking shears. Folded up ¼inch and pressed and pinned.
10. Sew that seam! Press! Try on!
11. Enjoy!

Finished skirt and bonus flip flop tan lines!


