rock climbing

Rock Climbing Cross Stitch

Posted on
Follow Me on PinterestPin It

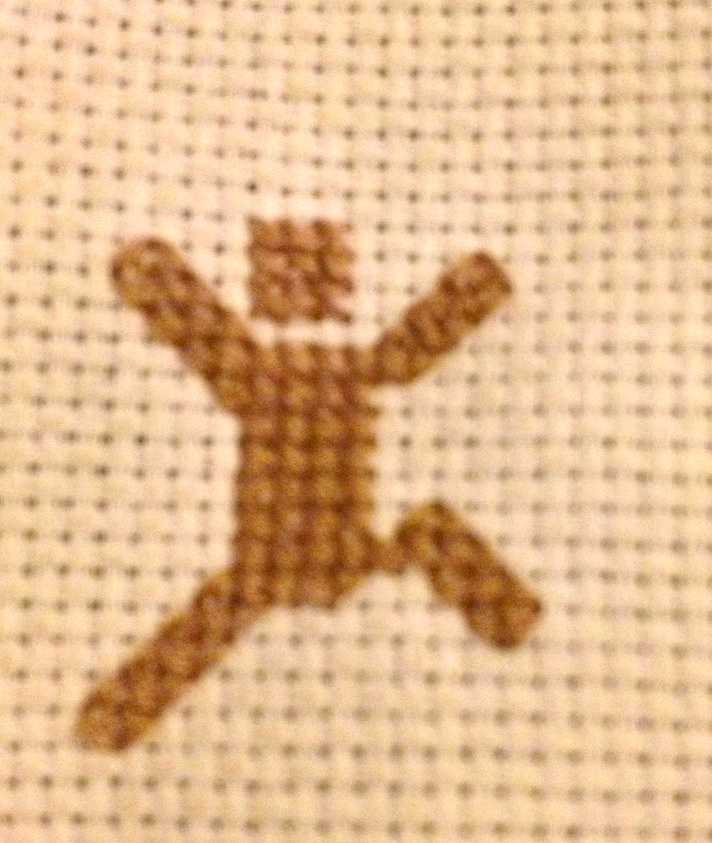
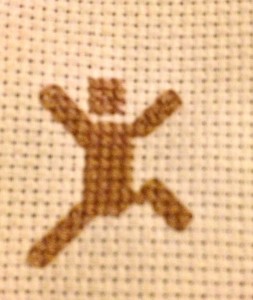
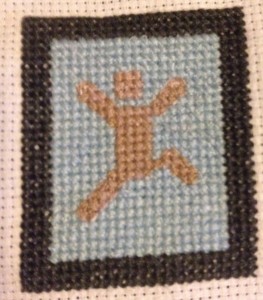
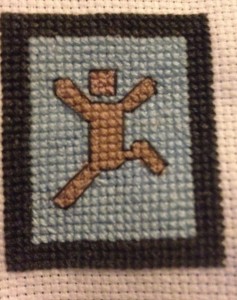
Over the weekend I cross stitched Joshua’s rock climbing ornament. I made a few adjustments to the rock climbing man/pattern. Here is my rock climbing cross stitch.

rock climbing cross stitch

naked rock climbing man?

I asked Joshua what color he wanted his rope and belt to be, and his response was “I want to rock climb naked” :/ So the little guy is naked and without equipment.  I guess that means he’s bouldering and not rock climbing.

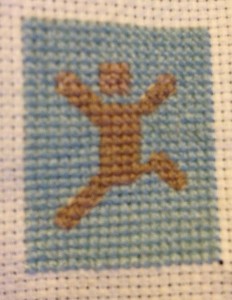
with background

background done

At this point it looks like a “It’s a Boy!” announcement to me.

I put a border to help curb that look.

with border

One last step, I backstitched around the rock climbing man the same color as the border.

rock climbing cross stitch

finished

Joshua’s guy is complete! Well, the stitching part anyways.


background complete

Paw Print, How to Cross Stitch

Posted on
Follow Me on PinterestPin It

After I drew my paw print pattern I got to stitching! Here’s how to cross stitch. First I’ll go a little backwards with photos of doing the cross stitch with a border I’m putting around it. But a starting note, remember, is that there is no knot at the end of the thread, you simply leave about an inch on the back side of the fabric.
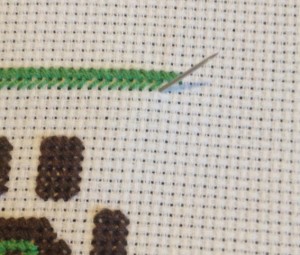
step 1

take the needle through to the front side of the canvas from the bottom hole
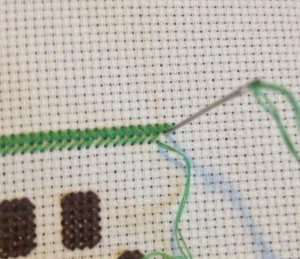
step 2

pull through and go to the next row over, up and to the right diagonally, pull needle all the way through to the back of the canvas
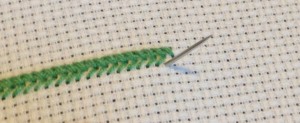
step 3

next go to the hole directly underneath the hole in the previous step and pull the needle through to the right side of the fabric
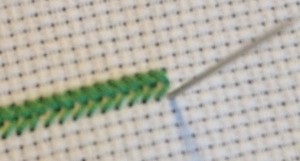
step 4

after you’ve done another diagonal stitch, go to the hole underneath the one previously used and pull needle through to the right side of the fabric
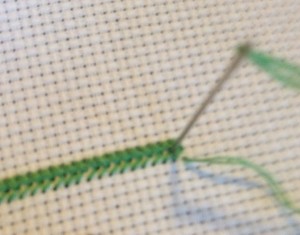
step 5

now go up and diagonal to the left

step 5

now go up and diagonal to the left

step 6

the first X is complete and now repeat
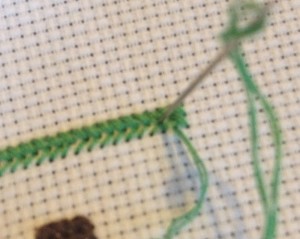
step 7

go diagonal again to complete the second X

In my pattern I have a lot of half squares which could be confusing. But really it either means a half of stitch, literally a half of a stitch where the needle goes through the center of the square making the diagonal half of it’s usual length.
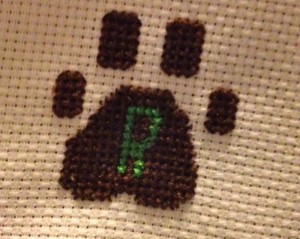
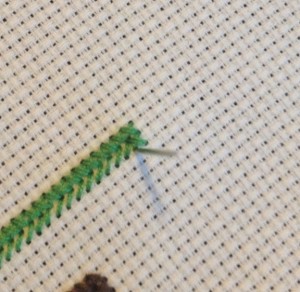
with green

Pattern Complete

This is the pattern complete! But I needed a way to finish it, make it actually look complete. So I decided to make a border around it.
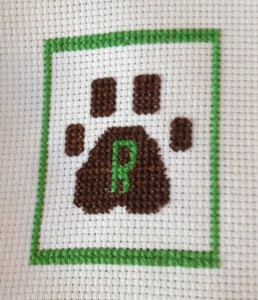
green

It still quite wasn’t what I hoped so I added another border.
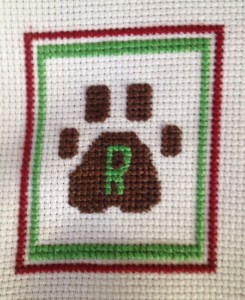
red and green

almost complete

That looks much better to me, so now I’m going to fill it in with a cream colored thread to leave no square unstitched.
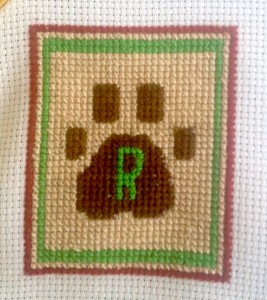
background complete

background is filled in

To finish the stitching part of this I decided to backstitch around the paw print to highlight it. This is easier, I think, than back stitching in sewing because it has the holes to put your needles in to make your stitches the same length and it is often used as a finishing stitch in cross stitch.
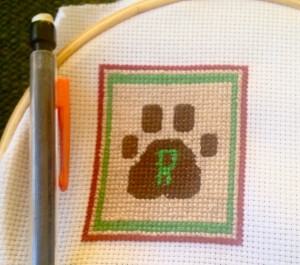
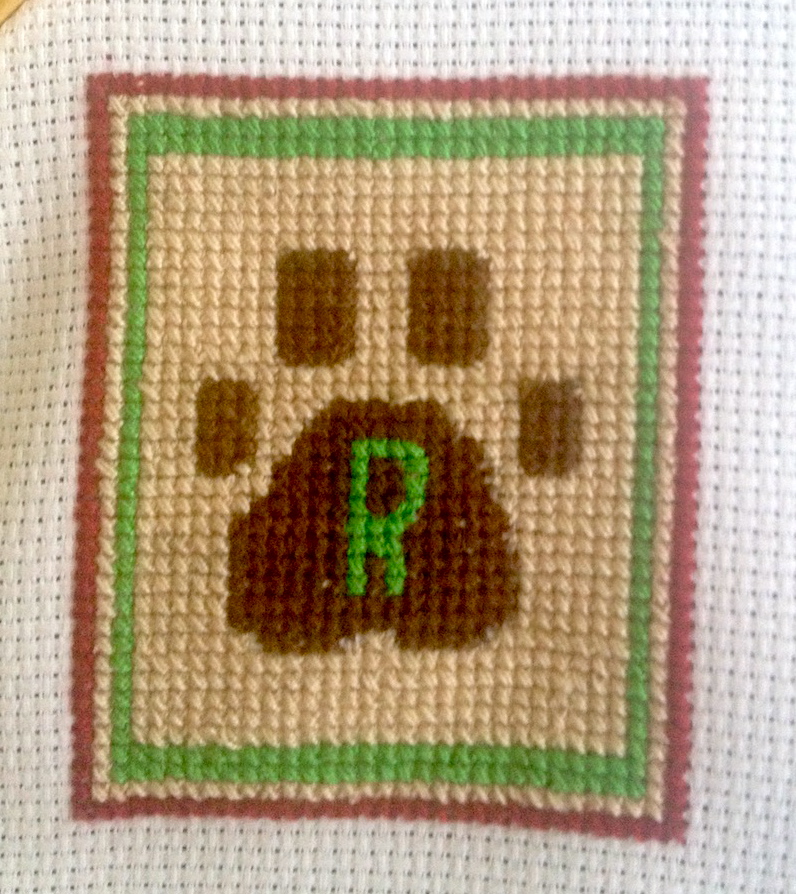
Stitching is Finished!

I put a pencil next to it to give a size reference. Now I need to figure out how to turn this into an ornament.


More Cross Stitch Patterns

Posted on
Follow Me on PinterestPin It
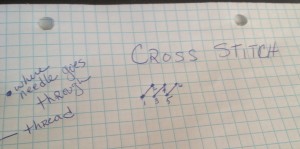
I’ve drawn more cross stitch patterns! I’ve gotten the pattern making bug! But thank goodness for pencils and erasers because I used them a lot! 🙂

I made more patterns because I made Rusty a cross stitch pattern, which will be turned into an ornament that I decided my husband and I needed one too. Granted they are very basic, beginner cross stitch patterns, but they are my first group of patterns I’ve ever drawn. I can’t really draw that well to begin with but I wanted to try.

I have decided not to do a color legend for these because I wanted to keep my options open, as in, I wanted to make sure I had enough thread in my thread mess ball.

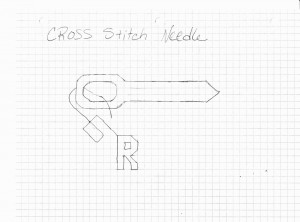
needle cross stitch pattern

my pattern

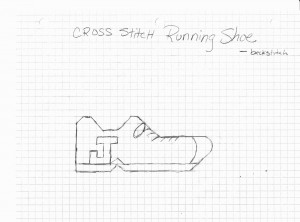
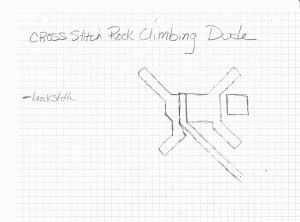
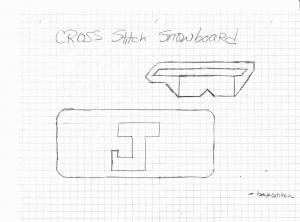
I couldn’t decide what to make for Joshua, my husband, so I sketched a couple of his hobbies and let him choose which one I made.

running shoe cross stitch pattern

running shoe

climber cross stitch pattern

mountain climber

snowboard and goggles cross stitch pattern

snowboard and goggles

He picked the mountain climber so now I have two more ornaments to stitch and make into ornaments! Still deciding on whether or not to backstitch the year onto it.

Graph paper really is a girls best friend when trying to draw cross stitch patterns.


Drawing a Cross Stitch Pattern

Posted on
Follow Me on PinterestPin It
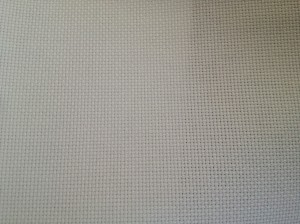
I have never sketched out my own pattern before. I’ve only bought patterns or found them for free online. I figured I would try it. This is what a blank canvas used for cross stitch looks like:

cross stitch canvas

canvas

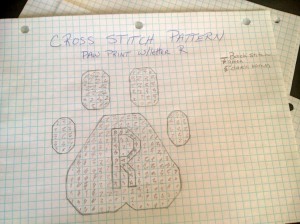
Lots of tiny squares with holes at each corner. So graphing paper is the perfect tool to help me because it will make things easier to draw. I have decided to try to make a paw print with a R in the middle of it for Rusty!

It’s important to know that the size of the squares on my graphing paper are big so the finished cross stitch will actually be quite small.

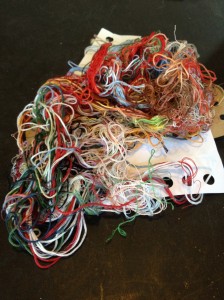
Another reason why I decided to draw my own cross stitch pattern is because I have this mess of thread left over from previous projects that I wanted to put to use.

ball o thread

my thread mess

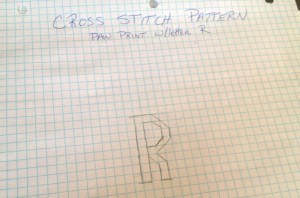
I started with drawing the R.

R

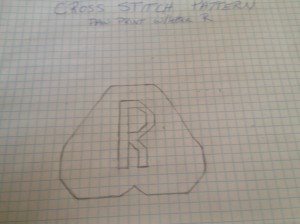
After staring at Rusty’s paws for what seemed like a long time, I decided the part surrounding the R will look like an upside down heart with the point chopped off.

paw pad

upside down heart

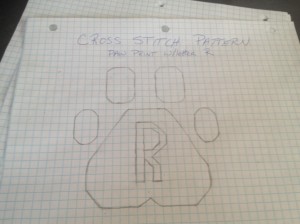
Next I needed the four little guys to go around the pad. I went with ovals but with angles instead of rounded edges to make the stitching easier.

paw complete

paw

The next thing I did was unnecessary, but when you get a cross stitch pattern, there is usually a symbol that represents the color you need to stitch for that square. So I made my own key.

pictures

with symbols

Now I have a pattern to make the paw print! Eventually I will turn it into an ornament. Maybe I should put the year on it?


How to Cross Stitch

Posted on
Follow Me on PinterestPin It
I feel like the holiday season is a popular cross stitch theme. Mainly because I have cross stitched and finished three cross stitch stockings. So I thought I’d show how to cross stitch.

To start with new thread, there is no knot at the end of the thread, you simply leave about an inch on the back side of the fabric and your stitches will make it tight.

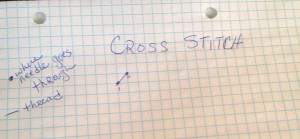
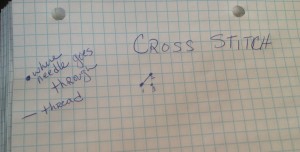
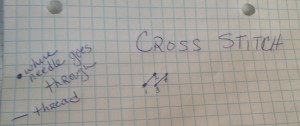
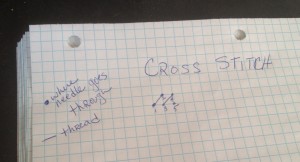
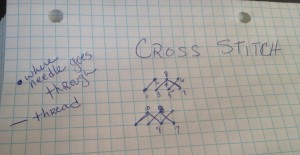
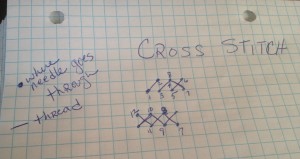
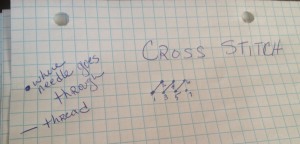
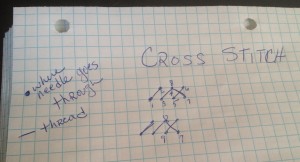
Here’s the basic cross pattern, thank goodness for graph paper:

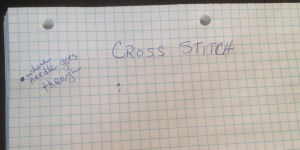
the . are where the needle goes through the needlework fabric

the solid lines represent thread.

step 1 how to cross stitchstep 2 how to cross stitchstep 3 how to cross stitchstep 4 how to cross stitchstep 5step 6step 7

Drew the same row of Xs underneath because it was getting crowded on the top row with all of the numbersstep 8step 9 and 10cross complete You are literally making an X with your thread. Going left to right, when all of the / are done in that row you go right to left with a stitch that looks like this \  completing the X in cross stitch.

To end make sure your needle is on the back, wrong side, or your canvas and pull needle under a couple stitches to secure the thread in place.