 Pin It
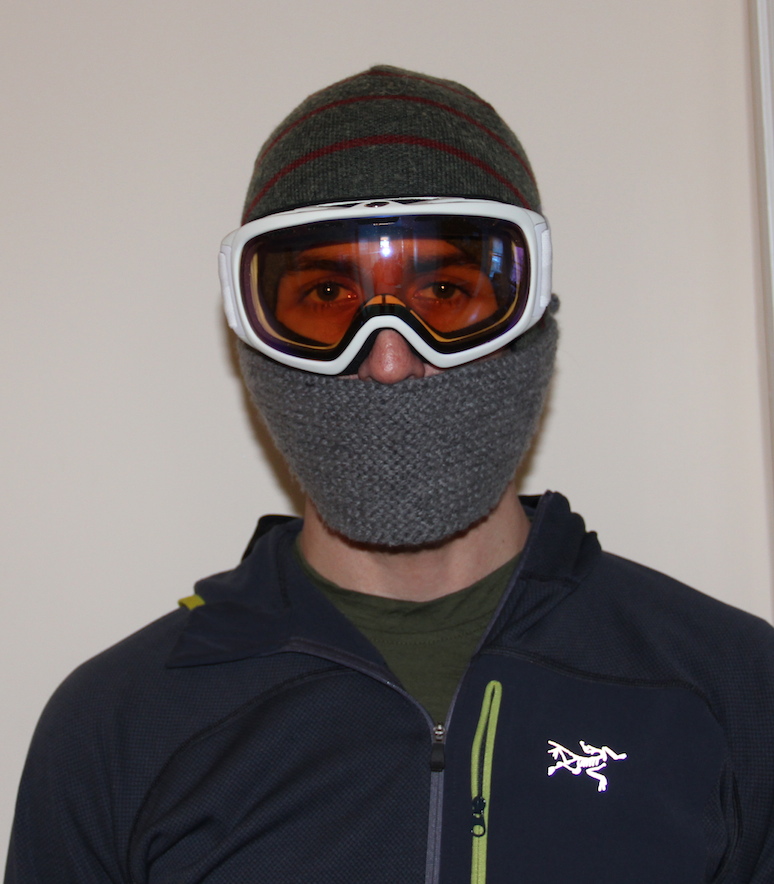
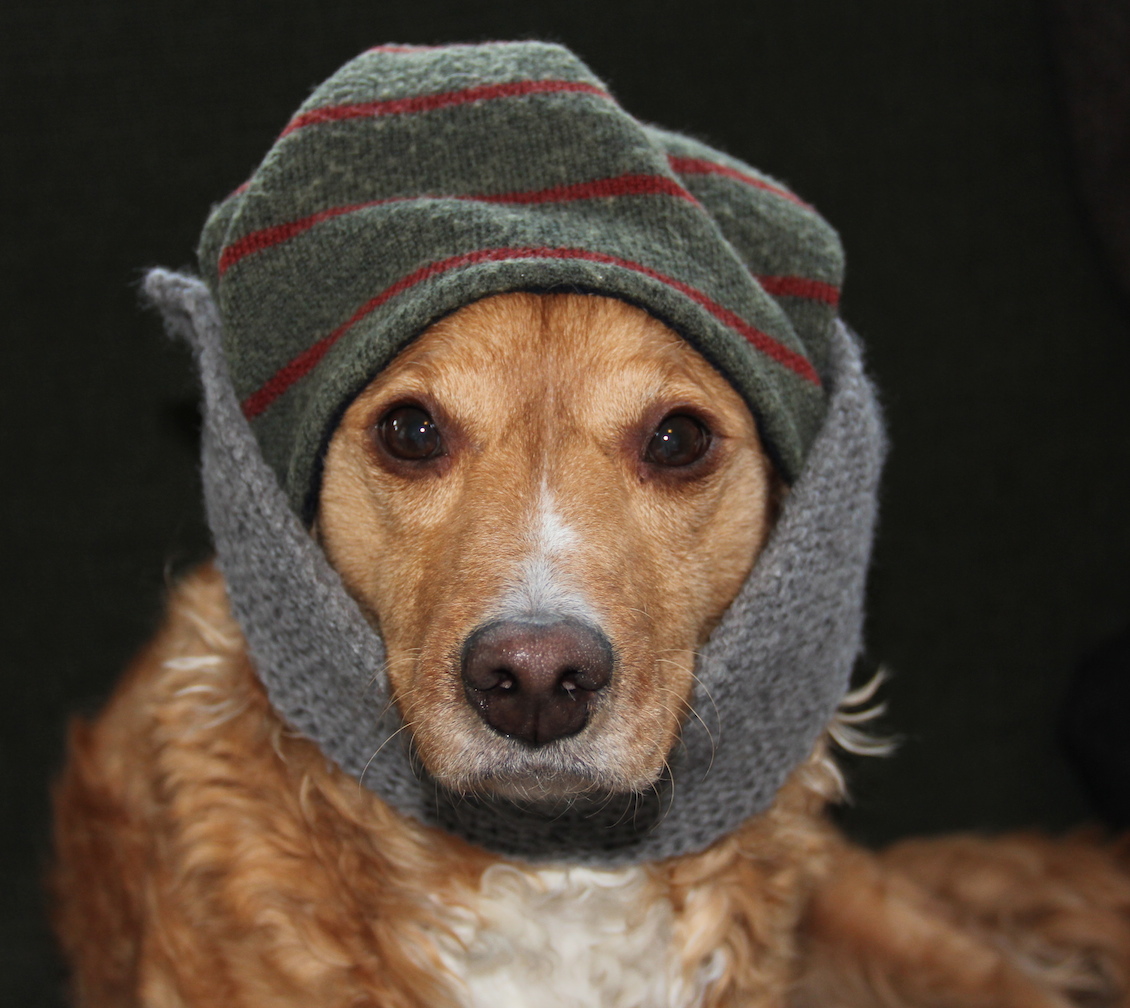
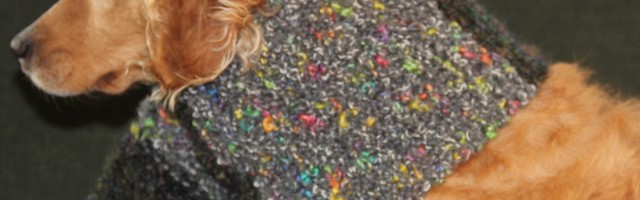
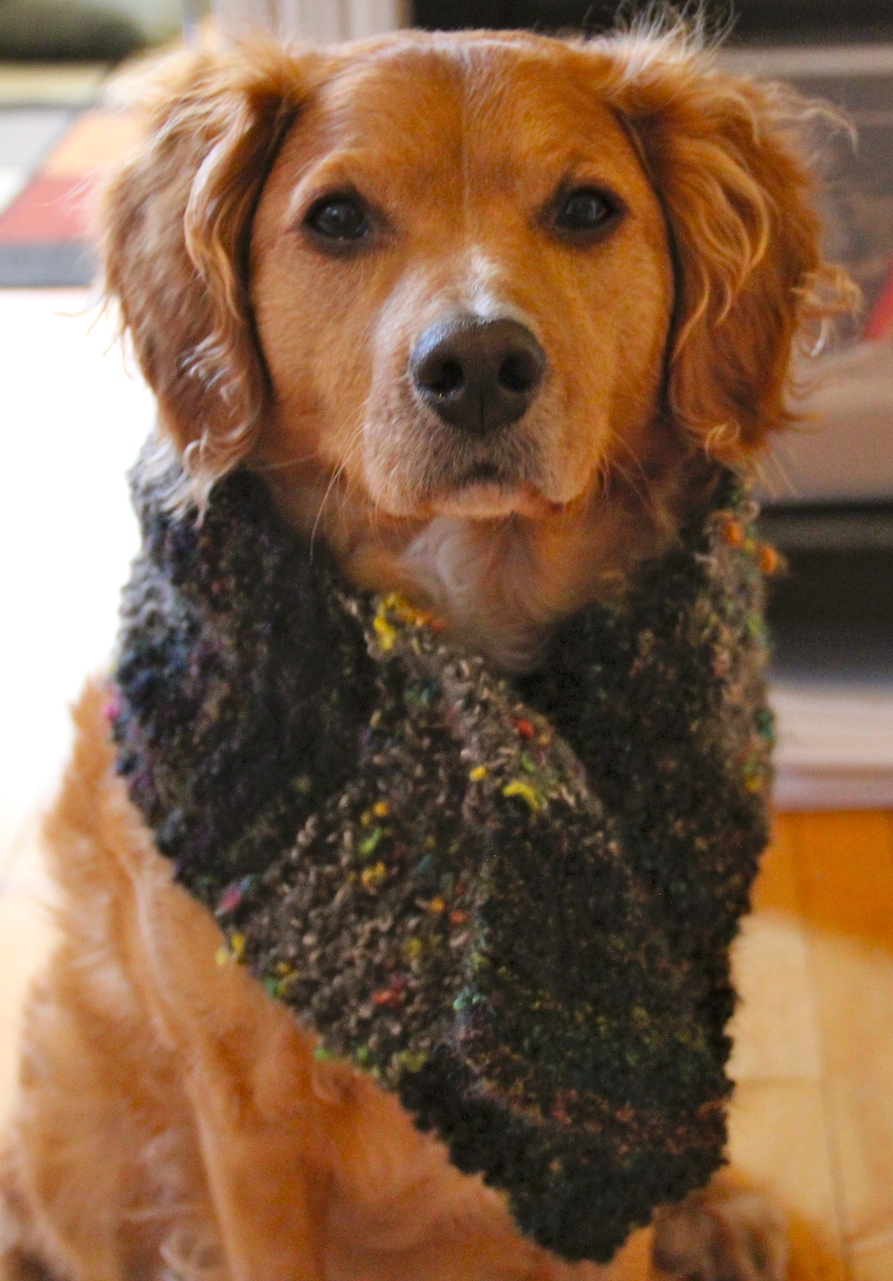
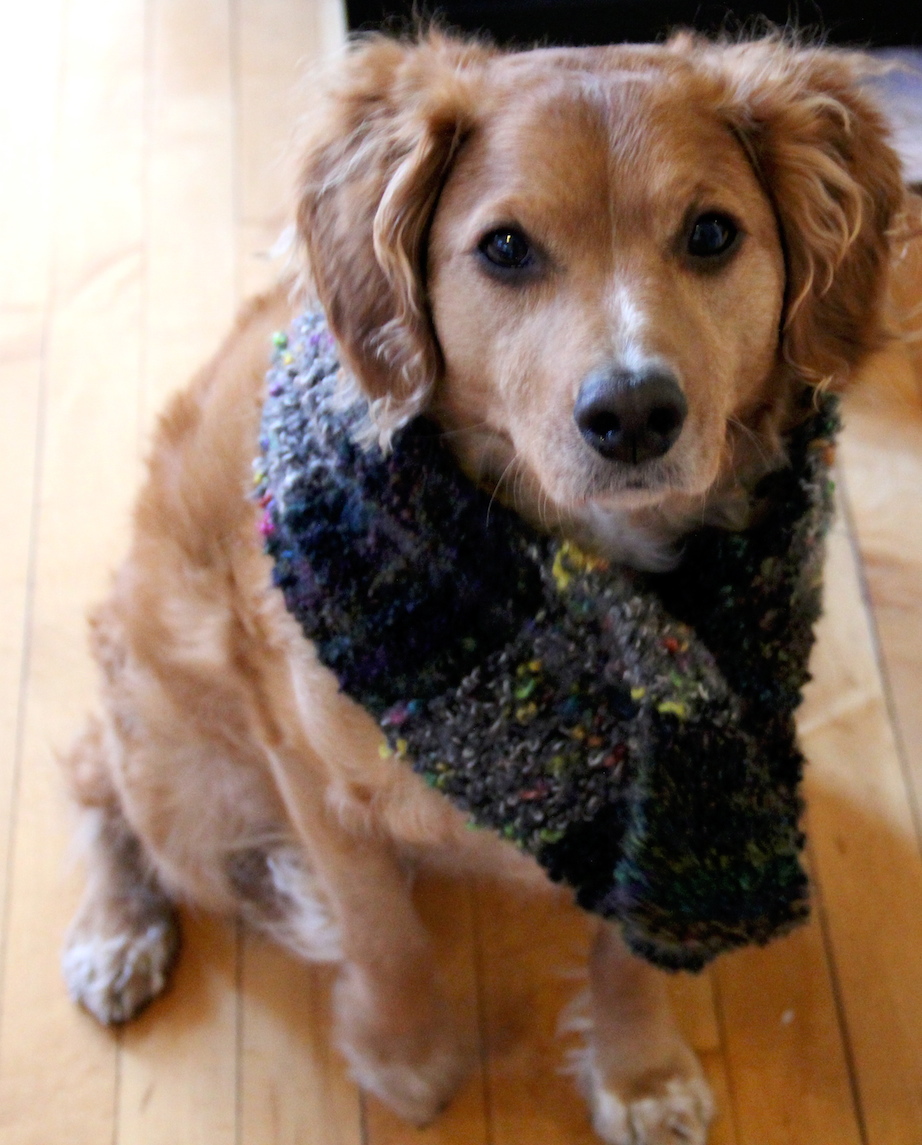
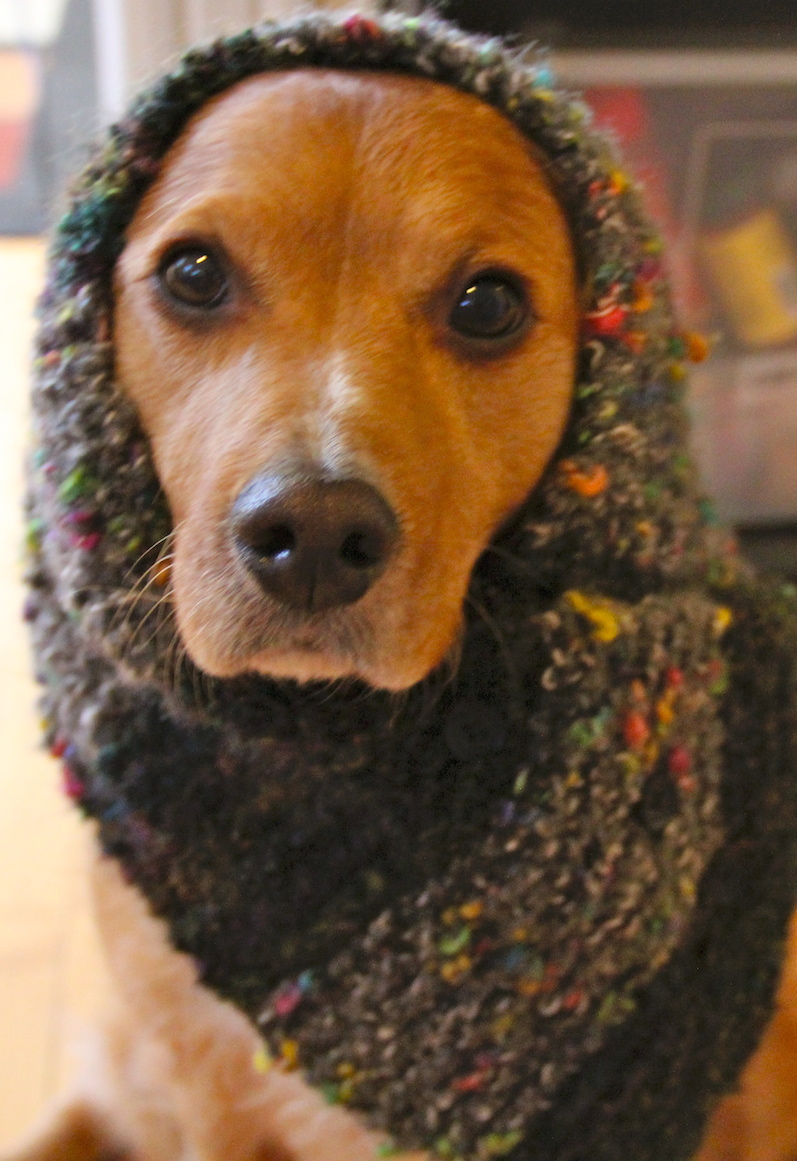
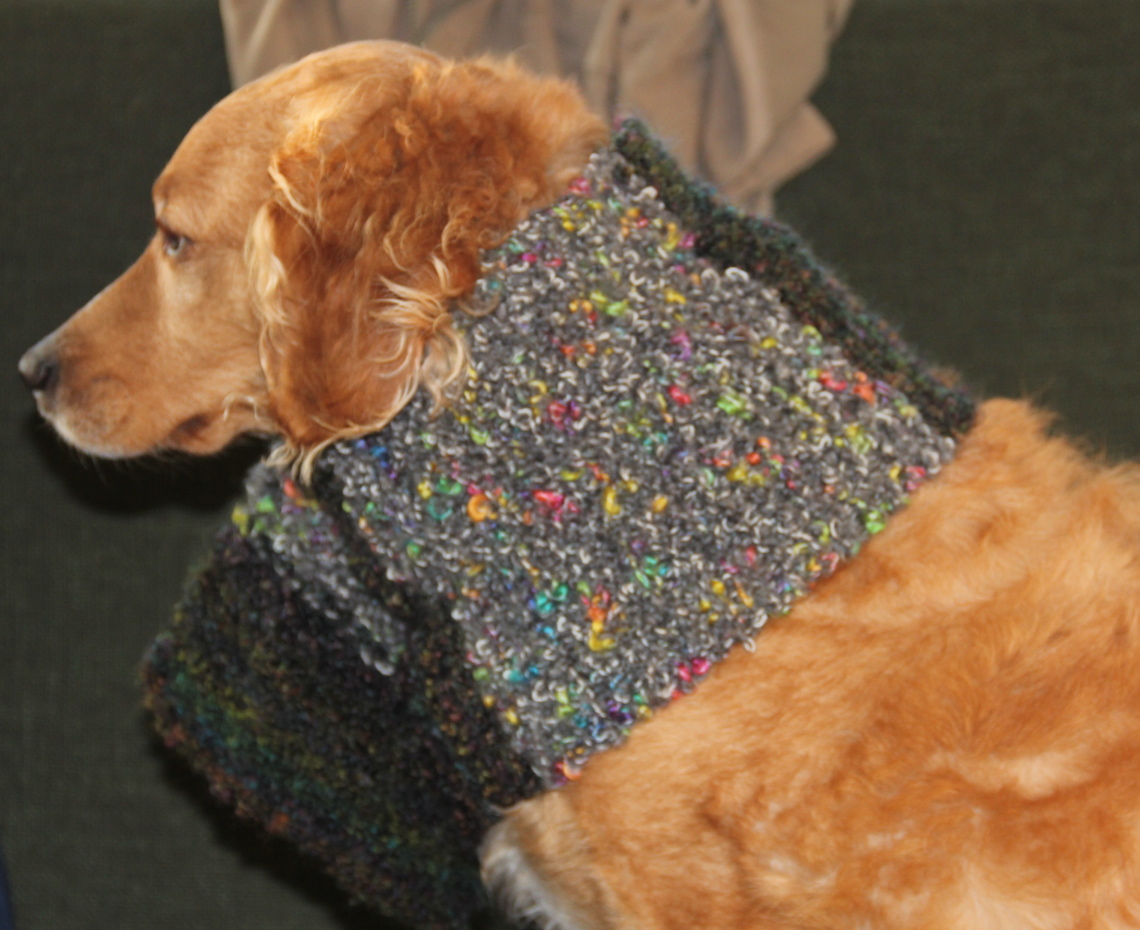
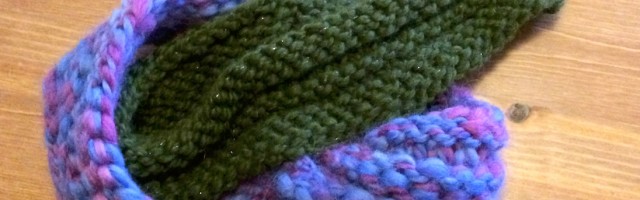
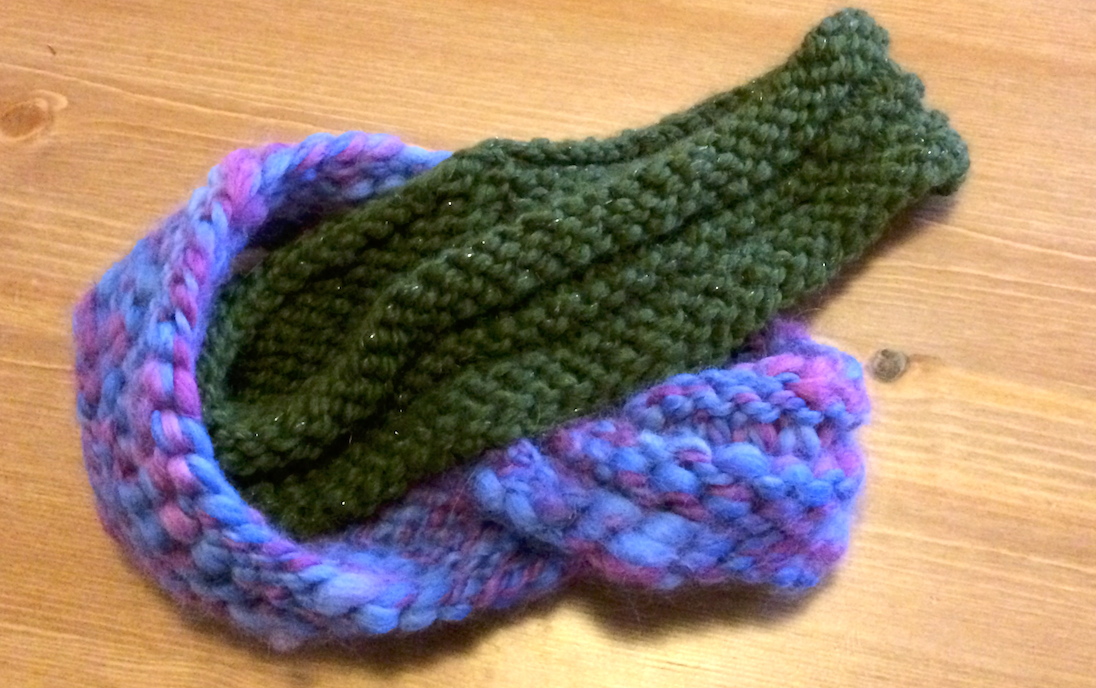
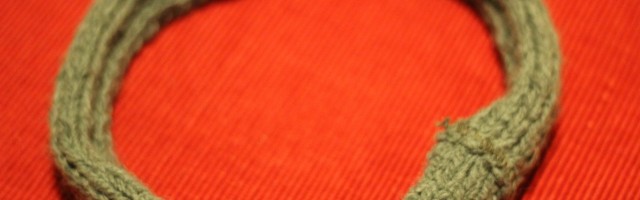
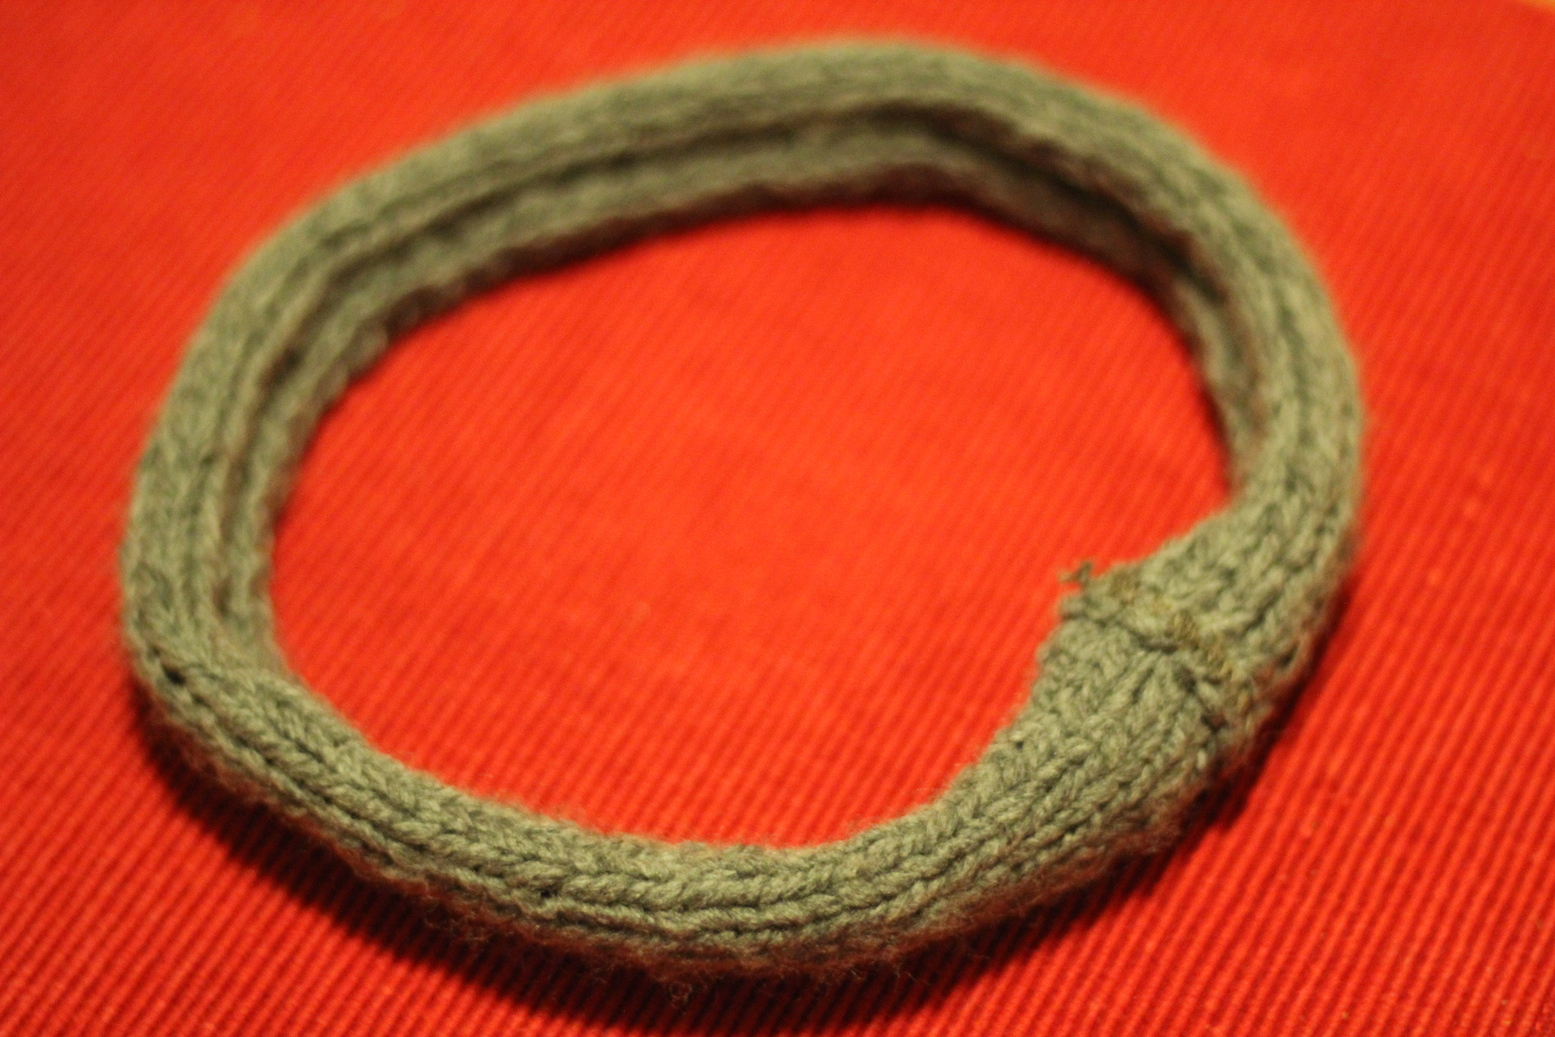
My husband requested a knit face mask that would cover his nose and mouth while he went snowboarding but the tricky part what that he wanted to be able to push it up when not going down slopes and removing it completely when it’s not necessary. I asked Reddit about how to carry out this and they suggested finding a calorimetry pattern on Raverly. That is exactly what I did.
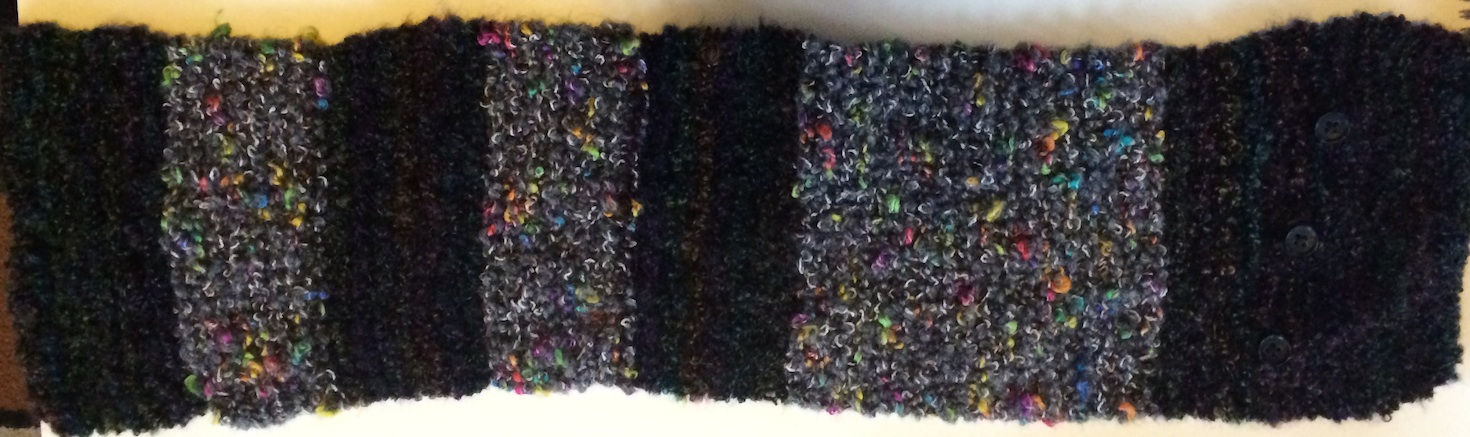
I decide on the Calorimetry Pattern by Kathryn Schoendorf, Knitty.com directions. I attempted this many times and I found myself being too concerned about the pattern. I didn’t even know if it would even work and it was way too long. I made many changes, and simplified the pattern throughout my attempts. After I figured out my pattern, it only took me a couple of hours to knit.
This is what I ended up doing:
- 1 skein of bulky weight yarn, the one shown is acrylic, with lots of yarn left over
- size US 8 knitting needles
- 2 stitch markers
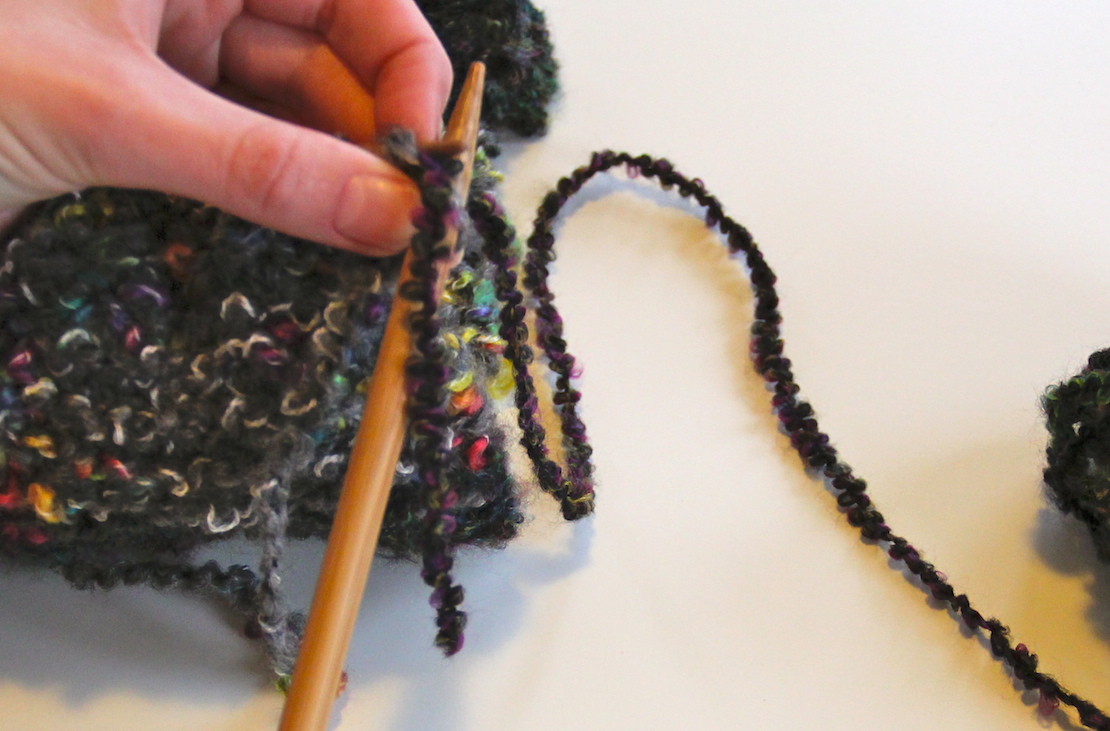
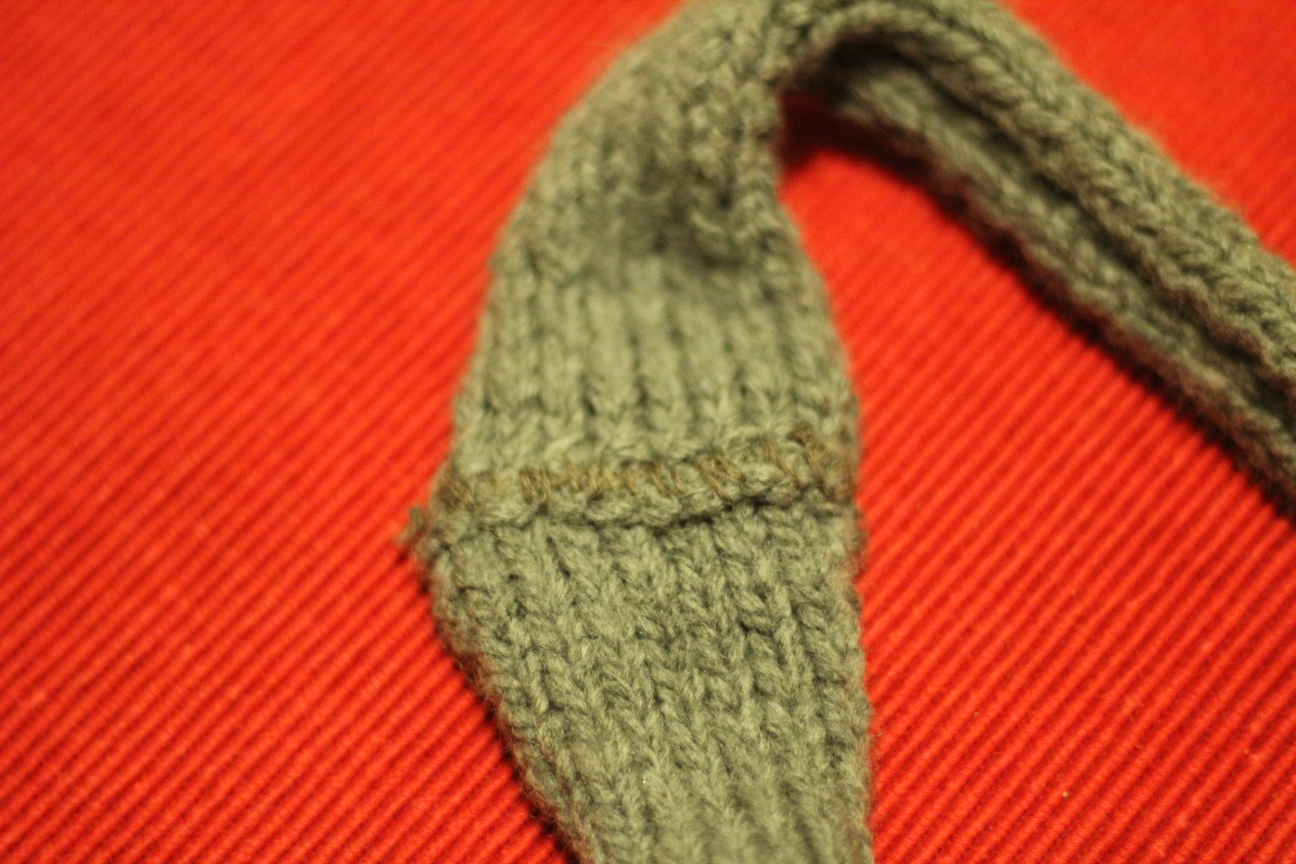
Cast On 80 stitches
Row 1: Knit stitch all
Row 2: Knit stitch all until last 2 stitches, turn work
Row 3: Knit stitch 4 stitches, place marker, knit until last 2 stitches, turn work
Row 4: Knit stitch 4 stitches, place marker 2nd marker, work until next marker, turn work
Row 5: Remove marker, knit stitch 4 stitches, replace marker, knit stitch until next marker, turn work
Repeat row 5 nine more times
Row 6: Do not remove marker, knit stitch until next marker (knitting in between the markers, there should be an equal number of stitches on the outside of the markers)
Row 7: Knit stitch until next marker, remove marker, knit stitch 4 more stitches, replace marker, turn work.
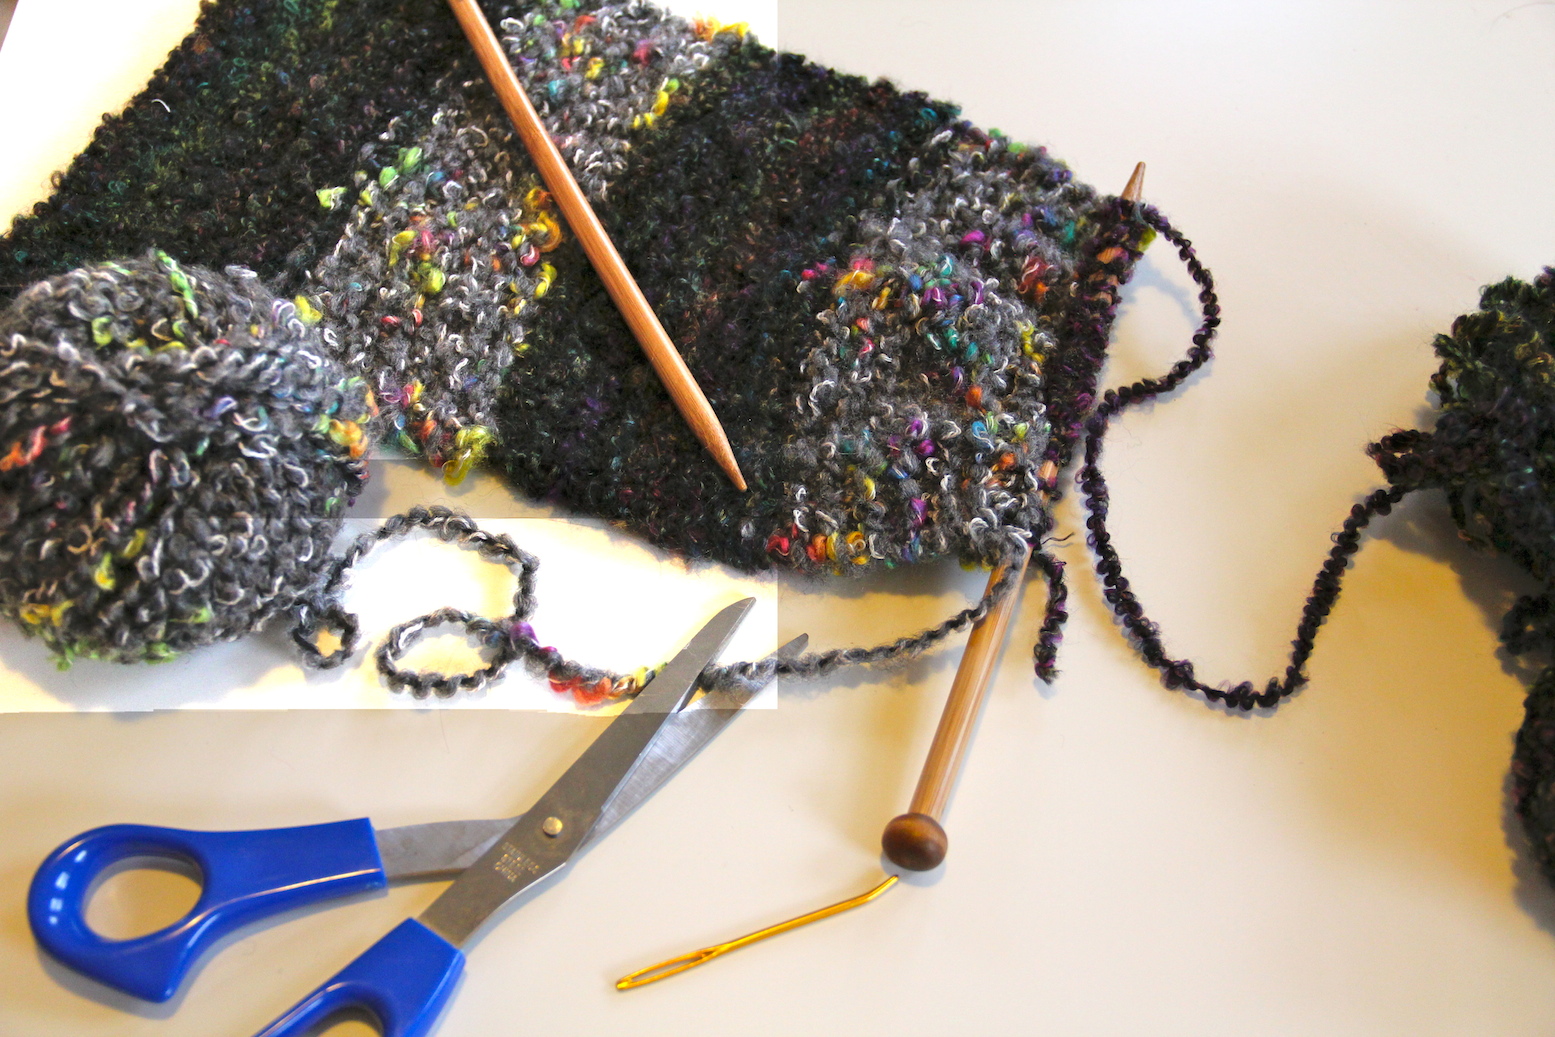
Repeat row 7 until there are only 2 stitches on the outside of each marker.
Row 8: Knit stitch until marker, remove marker and knit stitch last 2 stitches, turn work.
Row 9: Knit stitch the entire row removing the last marker
Bind off loosely.
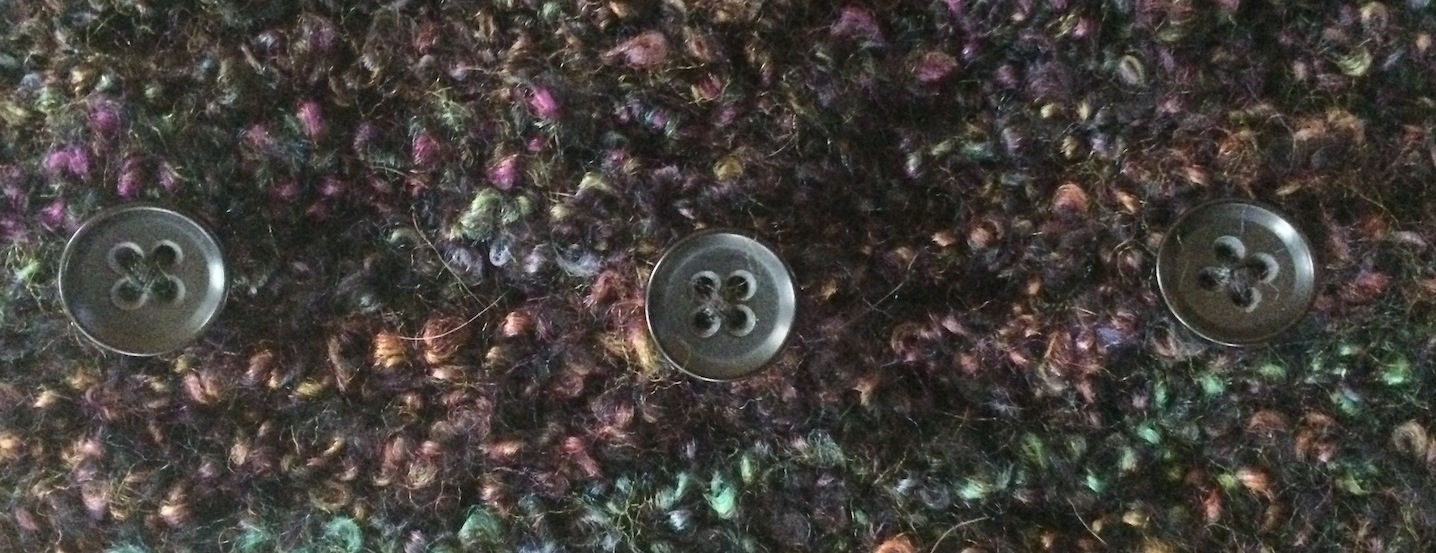
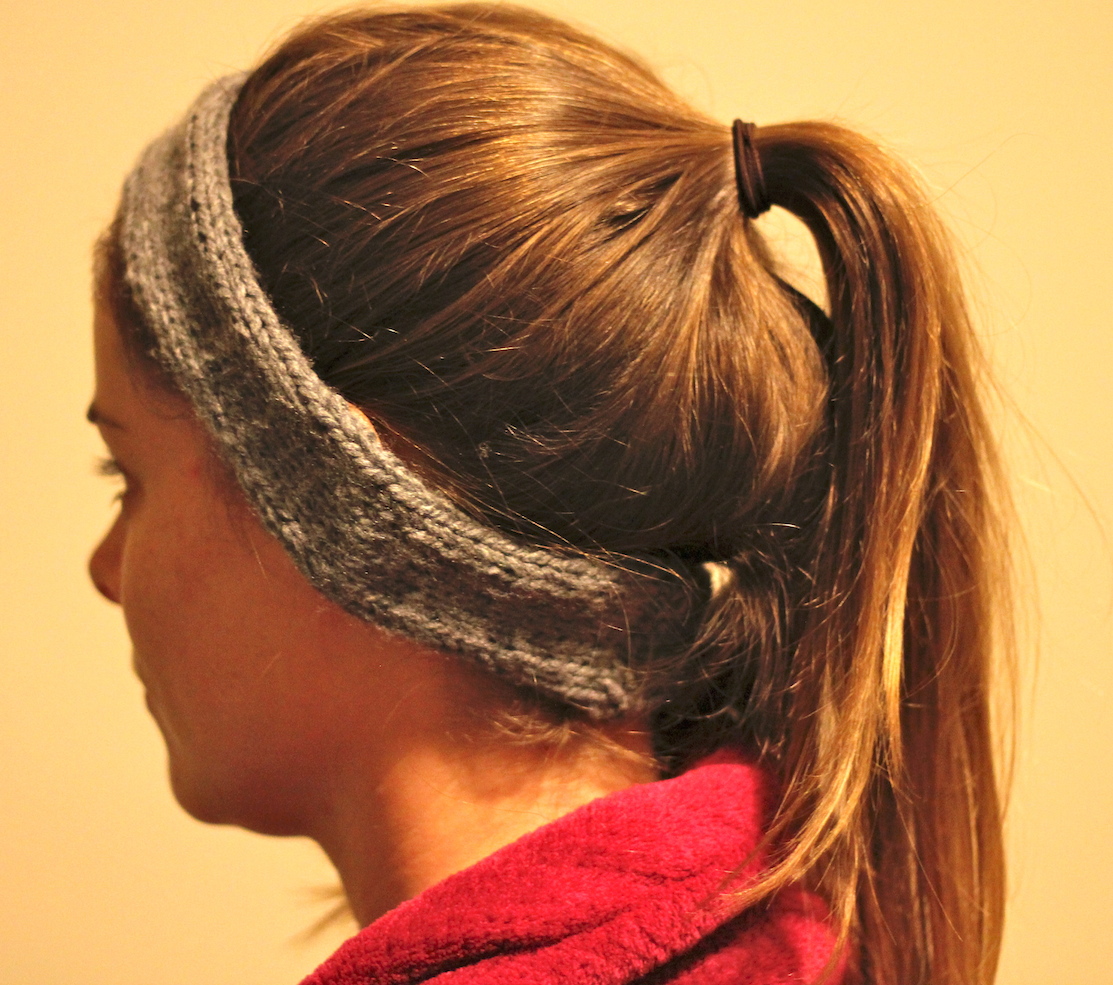
To attach it to the hat:
- hat
- thread
- buttons

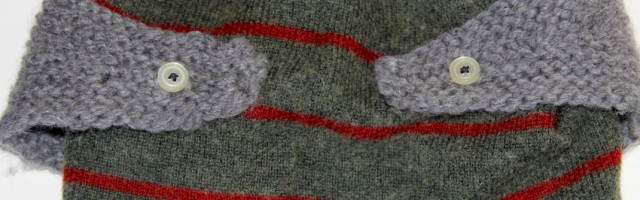
Mark where buttons should go.
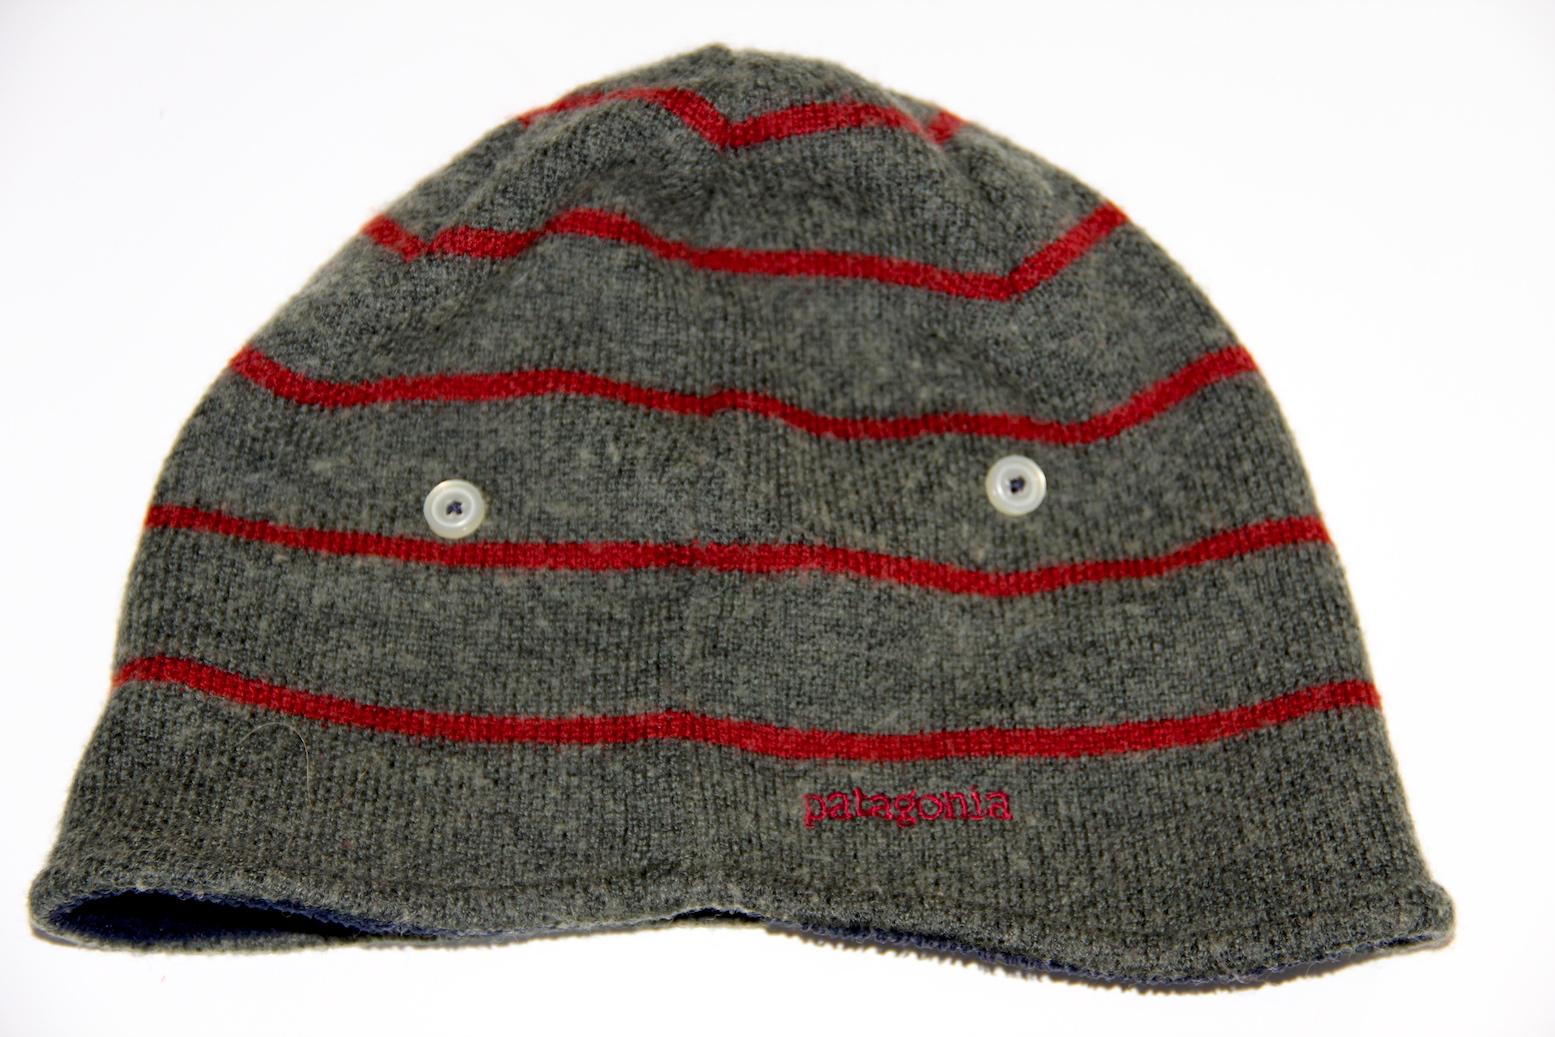
Sew buttons onto the hat.
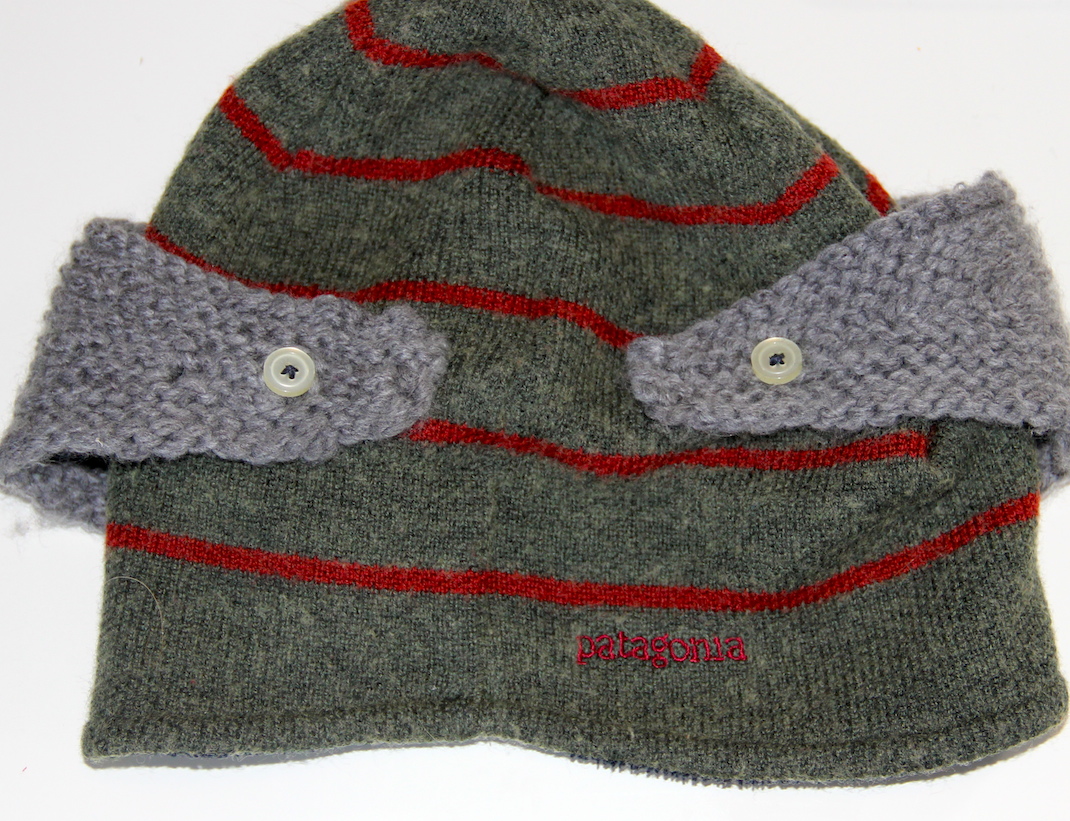
Use the holes in the calorimetry, to attach it to the buttons.


